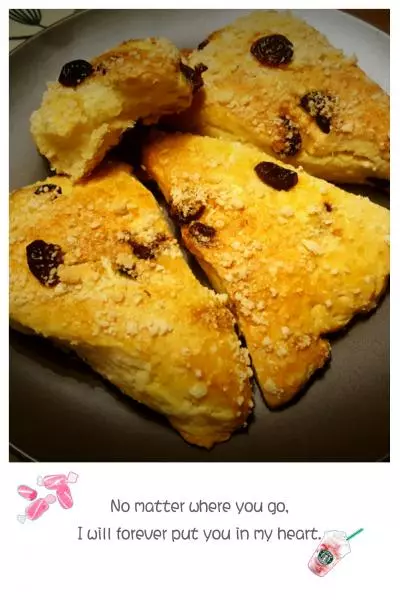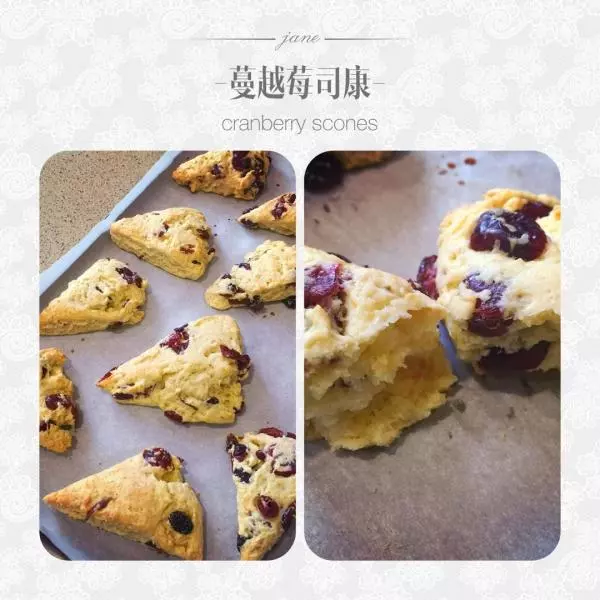
简介
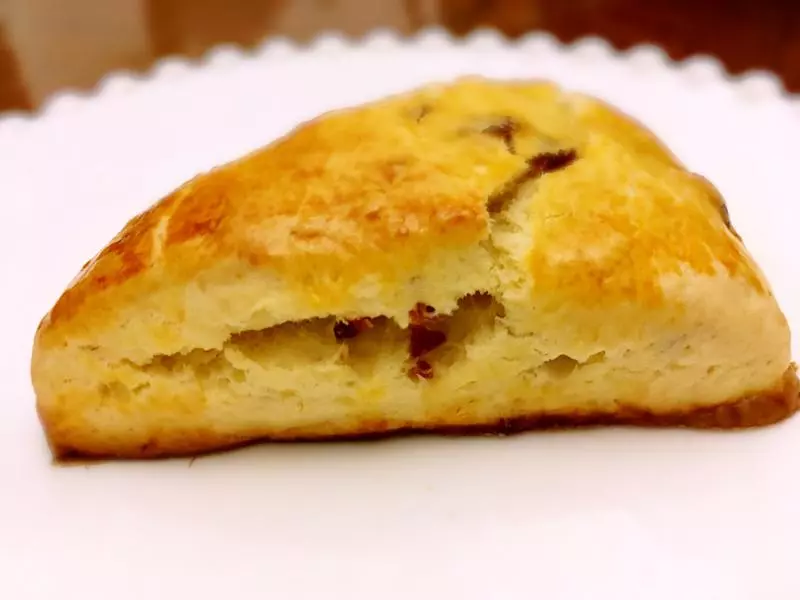
司康制作简单方便,但要制作的外酥内软,口感不硬,还是要折叠的时间注意不要出筋才好。制作好的司康烤后膨胀会比较高。膨胀越高就越松软。
原料
蔓越莓 20克, 低筋面粉 150克, 淡奶油 120克左右, 无盐黄油 30克, 白糖 10克, 无铝泡打粉 4克, 盐 1克
步骤
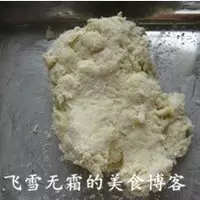
1低粉,加入白糖,盐,无铝泡打粉混合均匀
2再倒入切块的冷藏的黄油
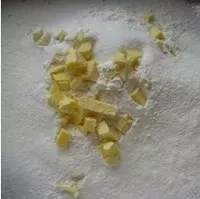
3然后用刮板切碎黄油粒,并和面粉混合均匀
4再倒入淡奶油
5再进行切拌。不要揉,那样会容易出筋
6淡奶油的量能混合成团为标准
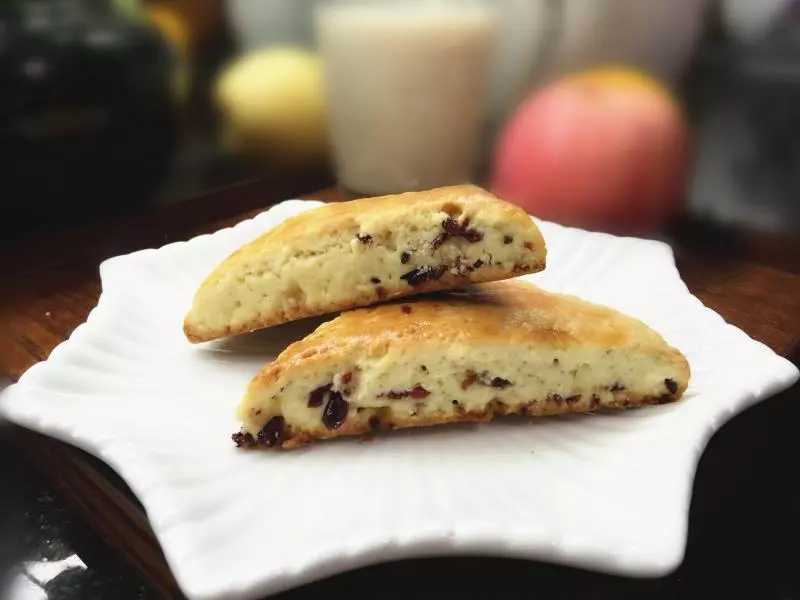
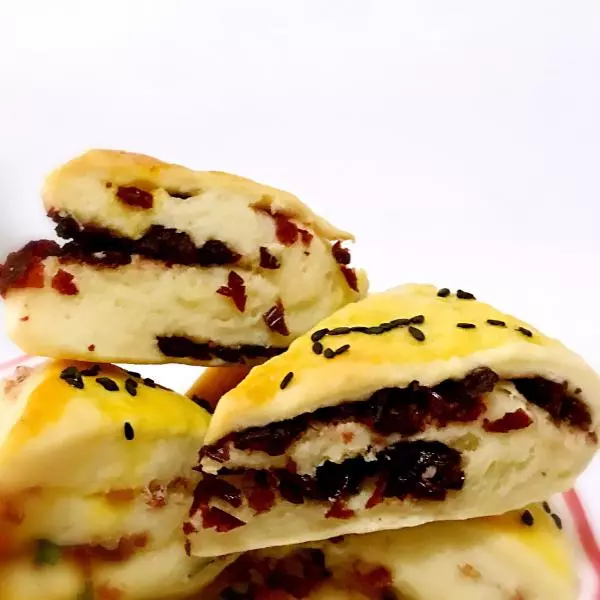
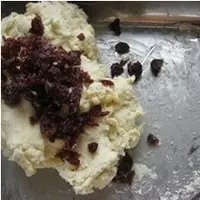
7再倒入切碎的蔓越莓,切碎后会更容易混入面团中,也是要用按压的方式。不要揉
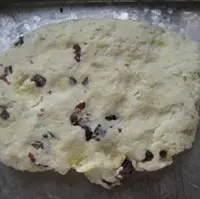
8最后擀成长方形面团,注意表面不要有太多蔓越莓,不然烤时会将蔓越莓烤干
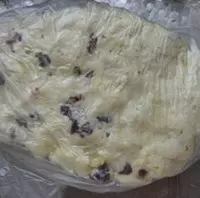
9然后用保鲜袋包好放冰箱冷藏室1个小时,放入冷藏是为了让面粉和液体能更好的溶和
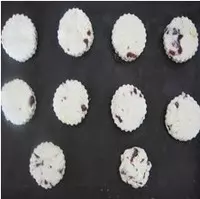
10再用5-6厘米左右的切模压出形状。厚度约1.6厘米左右

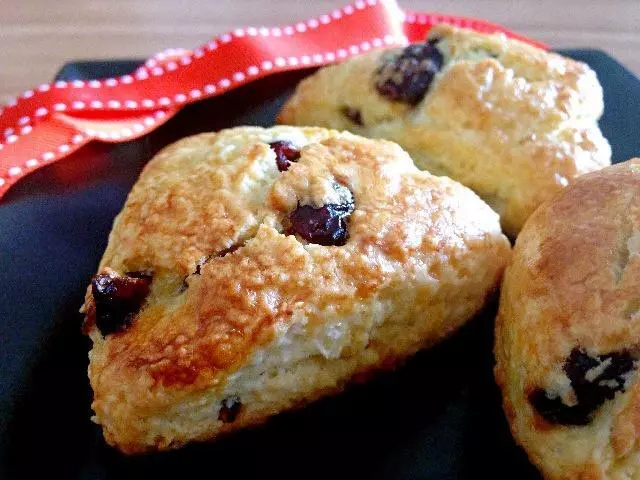
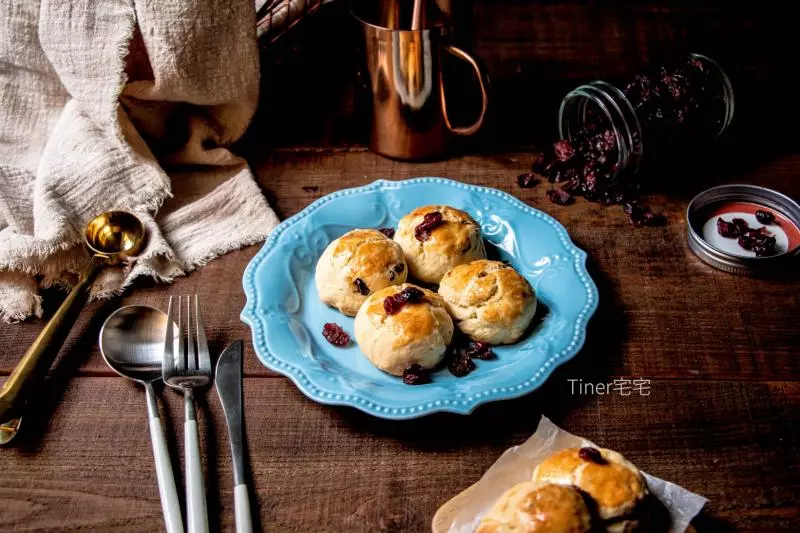
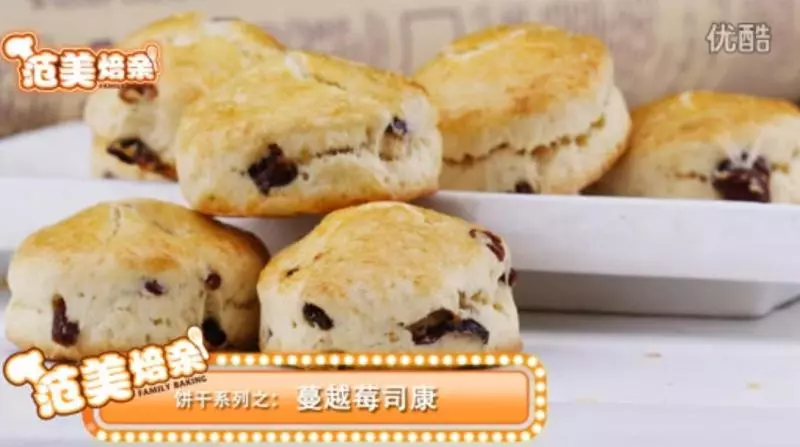
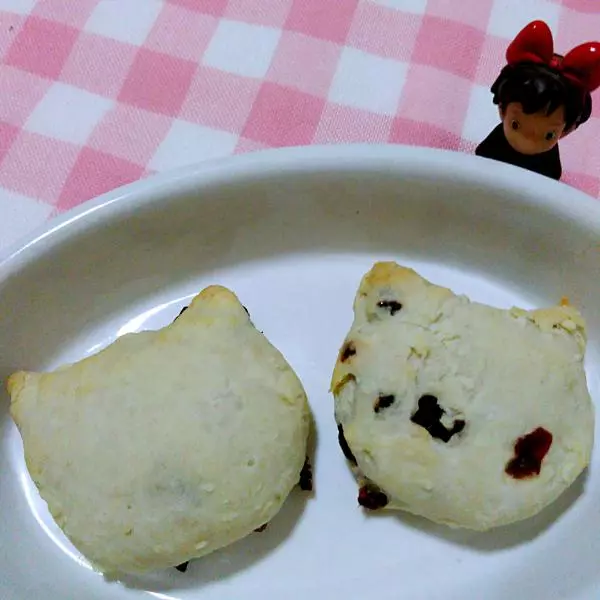
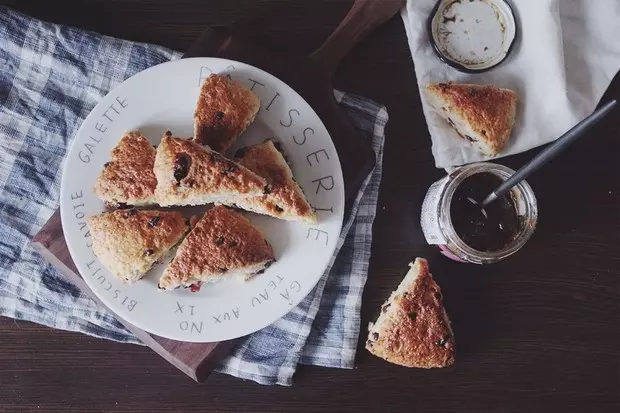
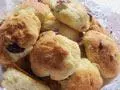
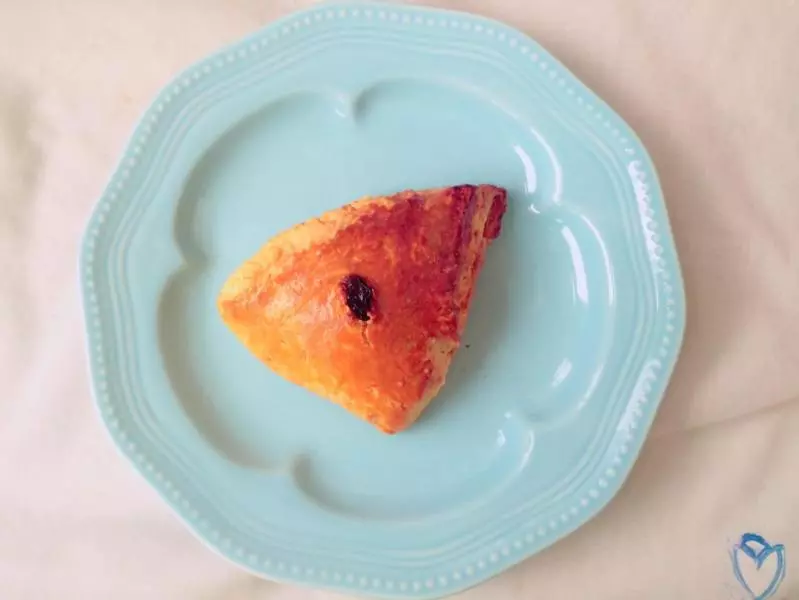
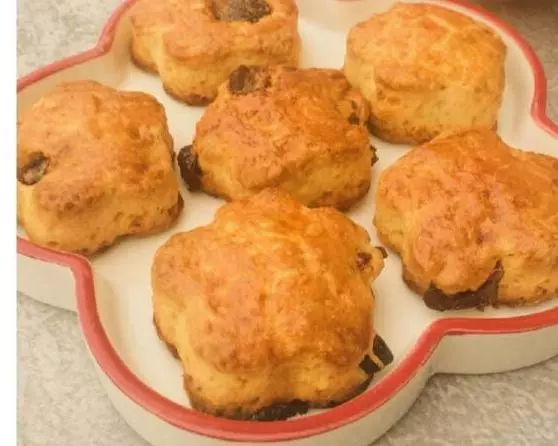
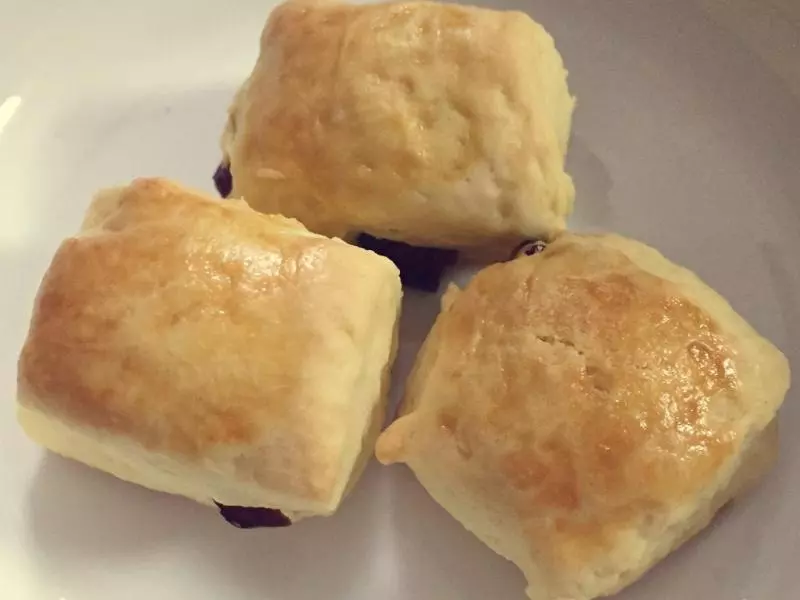
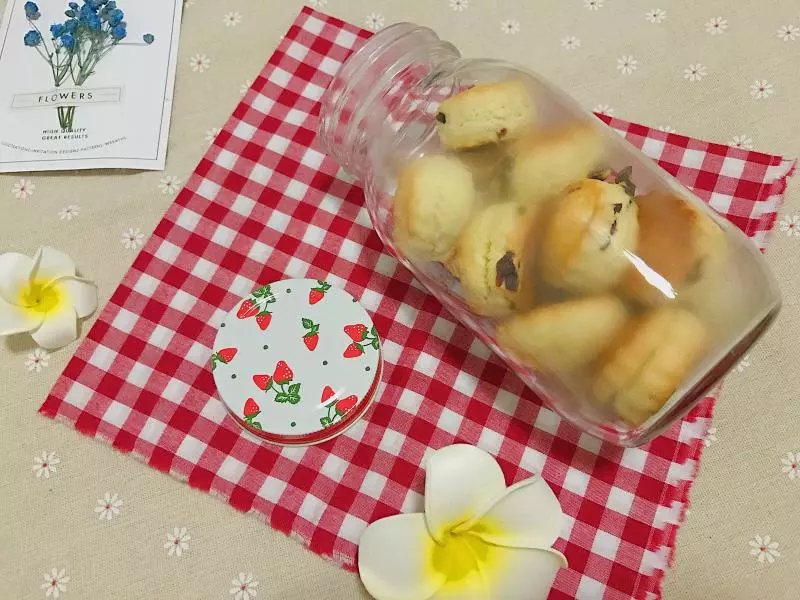
11成品约8-10个
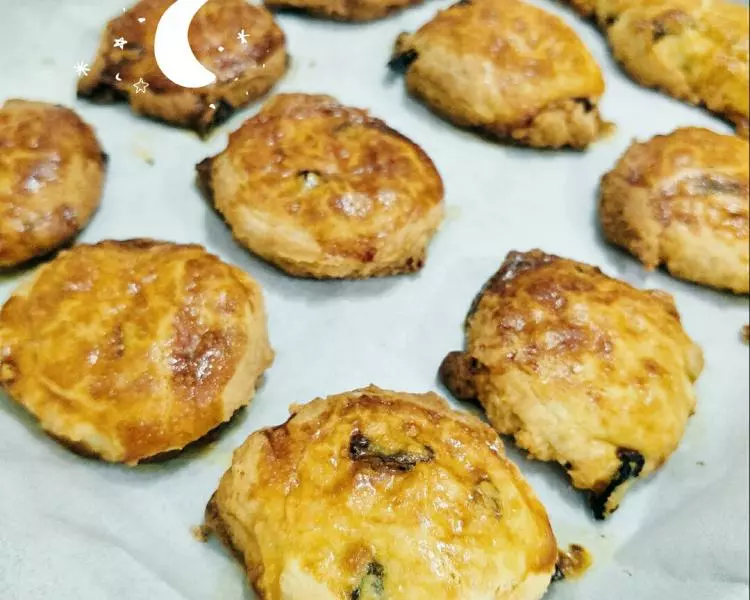
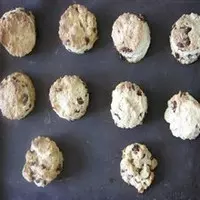
12烤箱200度预热,中层烤18分钟左右,表面上色即可
小技巧
司康好吃,黄油的加入和无铝泡打粉功不可没。 一层一层的按压,可以让烤出来的司康层次分明。表皮可烤的稍焦一点,这样才会外脆内软。如果一次吃不完的司康,可以用烤箱150度烤几分钟,这样会恢复松软,或者用微波炉转十几秒即可。