原料
蛋黄: 4个, 细白砂糖: 40G, 橙汁(鲜榨): 113G, 玉米油: 68G, 橙皮屑: 8G, 香草精: 几滴, 低粉: 140G, 柠檬汁或橙汁: 少量, 蛋白: 4个, 细白砂糖: 90G(橙子甜可略减)
步骤
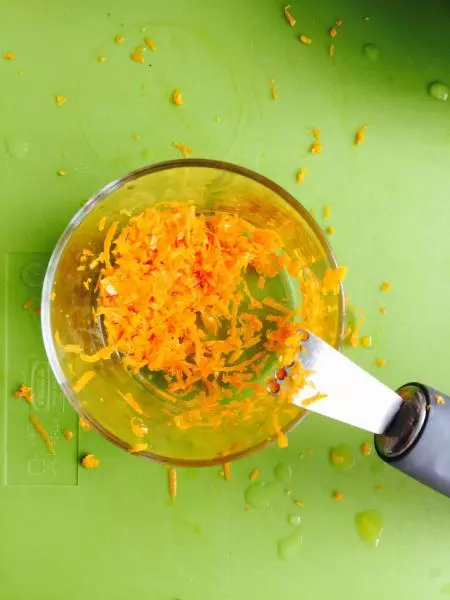
1首先准备好所有材料工具,将两个中等大小的橙子去蜡(开水泡洗)取屑、榨汁。
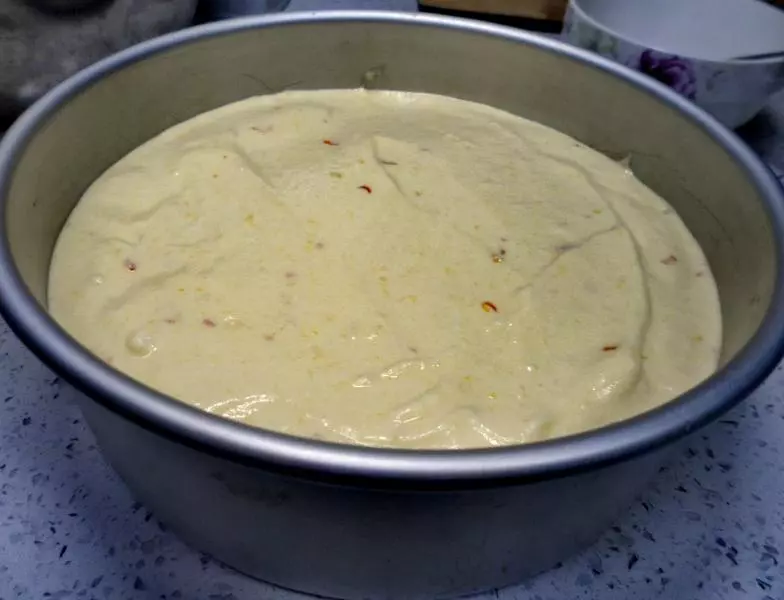
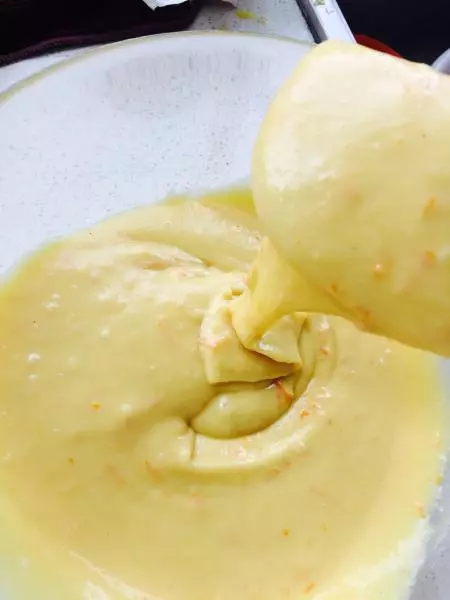
2蛋黄打散加入香草精白砂糖,略拌至砂糖融化,依次加入玉米油、橙汁。需等前一个充分融合后才可加入下一个。加入面粉,使用蛋抽之字形搅拌,搅拌均匀后加入橙皮屑,略搅拌。放一边备用。图上为搅拌好的面糊状态
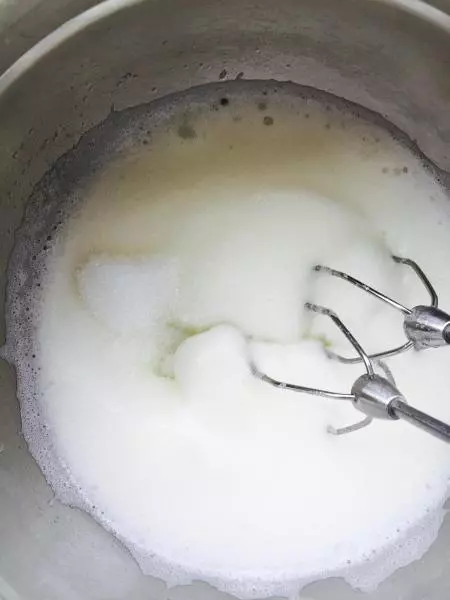
3开始打蛋清,打蛋器开到高档搅打几下加柠檬汁。图上为第一次加糖时的蛋清状态

4第二次加糖状态,本次加完糖后打蛋器挑中档
5第三次加糖,这时蛋清有纹路但是打蛋头提不起来蛋清。加好后调高档
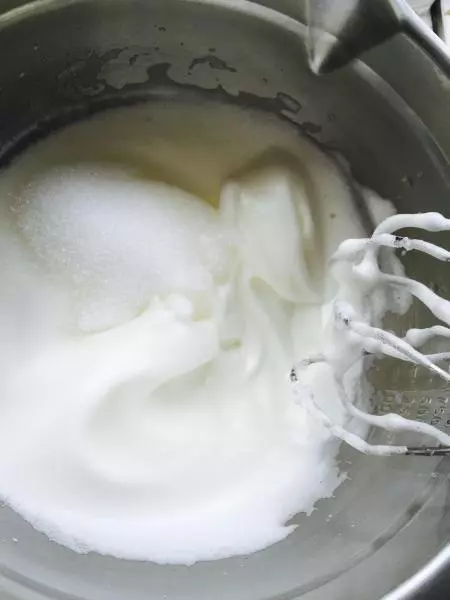
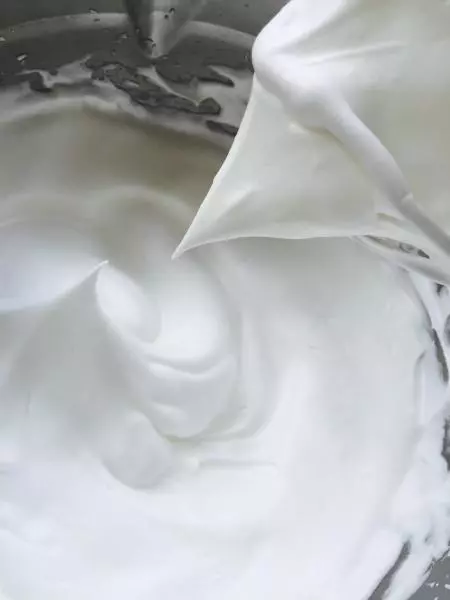
6打至干性发泡,小尖角。调最抵挡略转几下去掉大气泡
7取三分之一蛋白至蛋黄糊翻拌
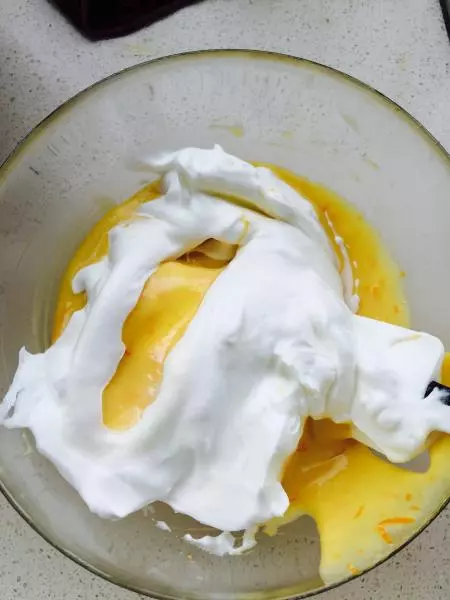
8翻拌(炒菜那样,哈哈)。本次翻拌一定要翻拌均匀
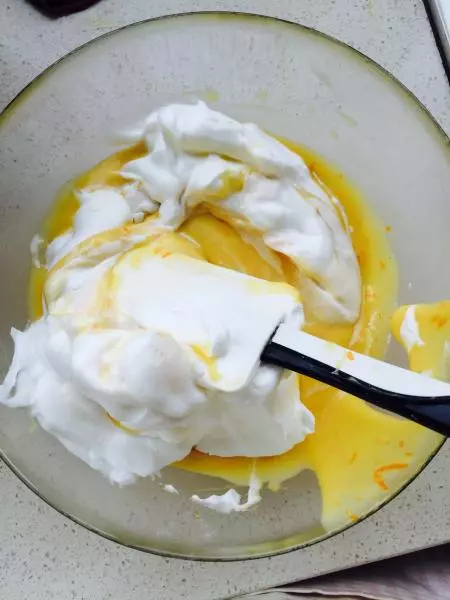
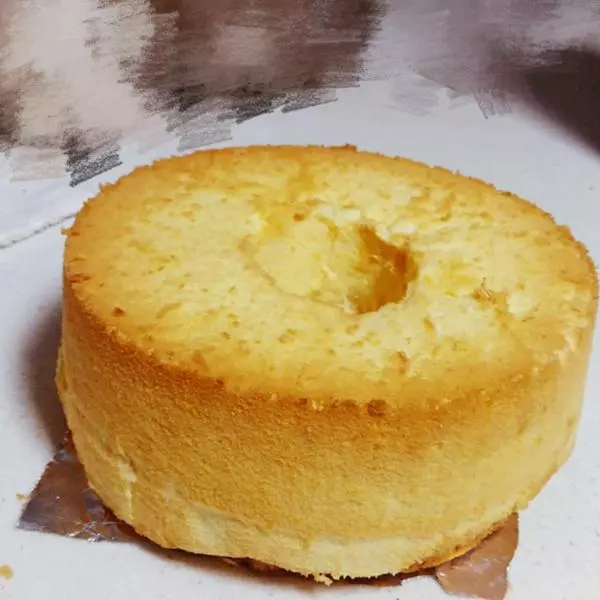
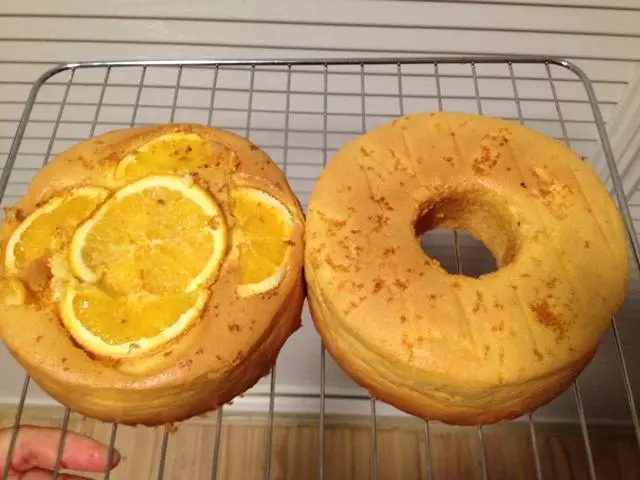
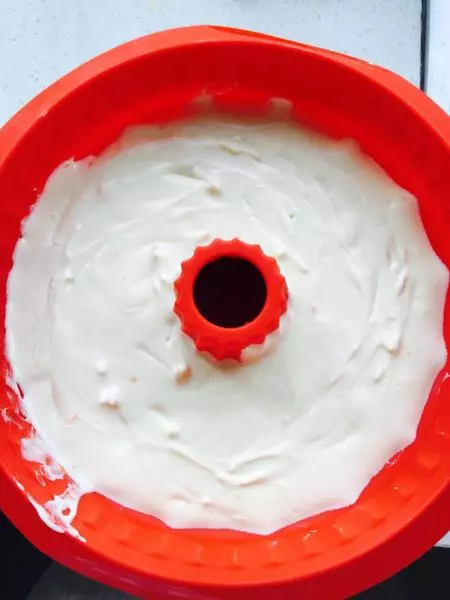
9然后将翻拌好的面糊倒入蛋白中,继续翻拌均匀。然后入模具,放入预热160度的烤箱中下层。烤箱旋钮至150度,烤40-45分钟。插入竹签拿出来不带面糊就是好了。
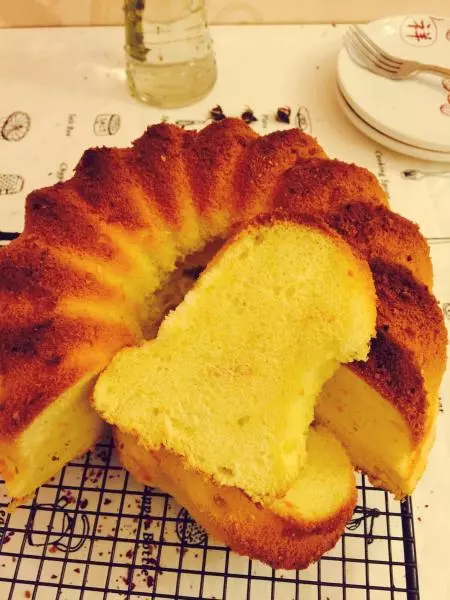
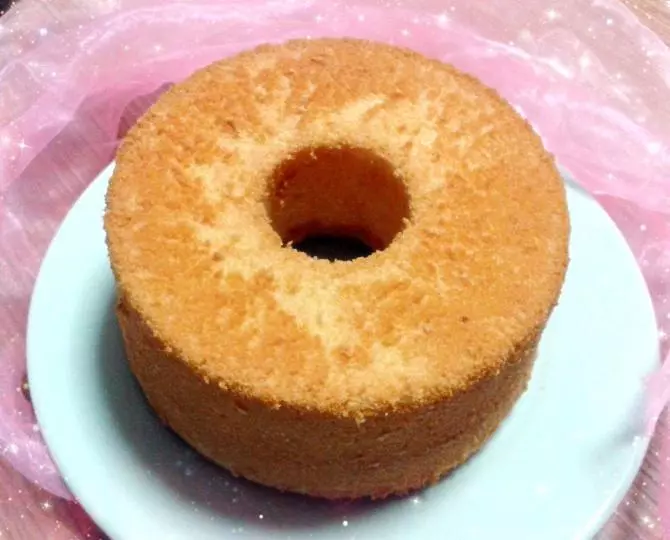
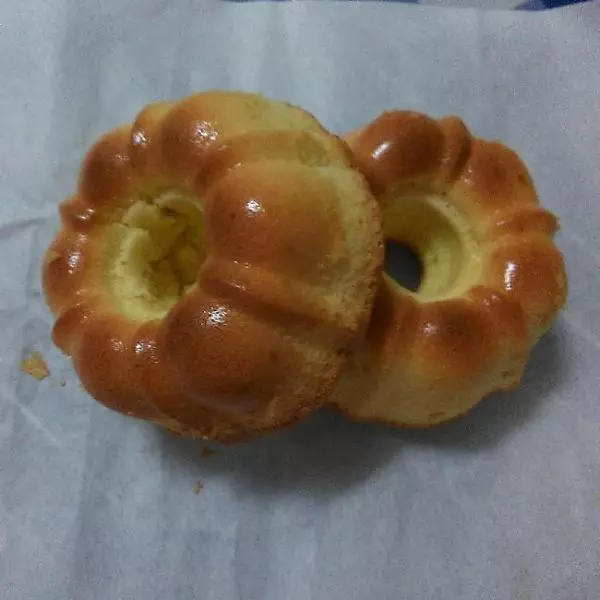
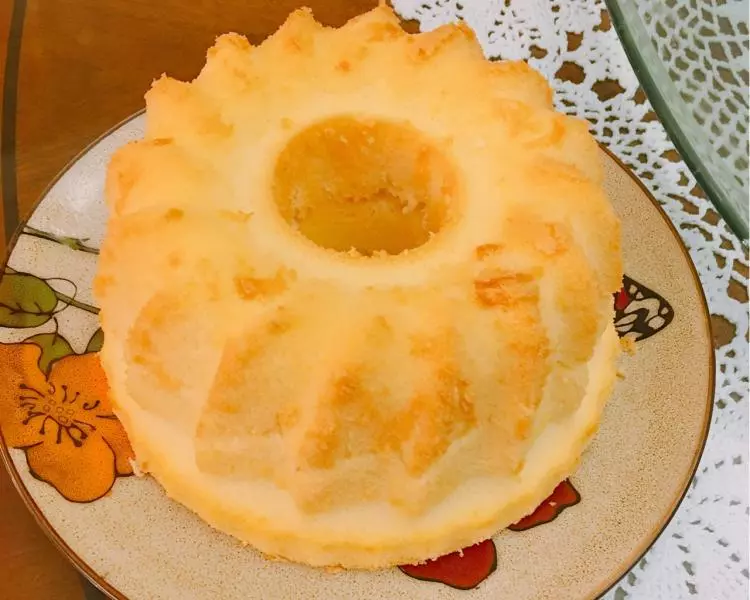
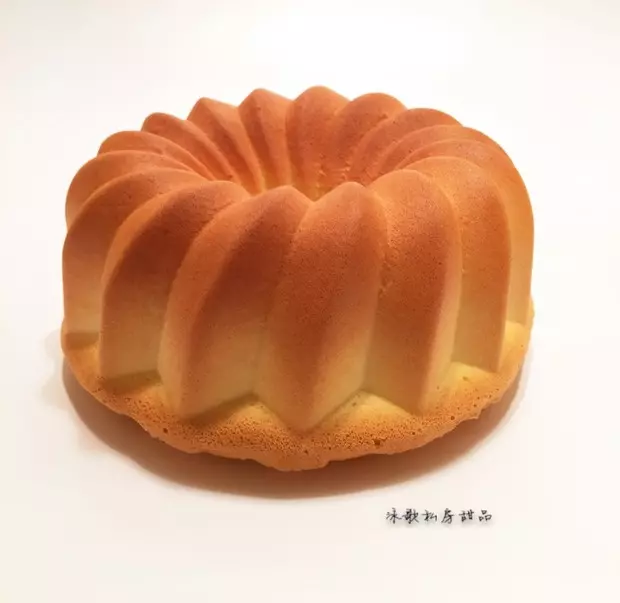
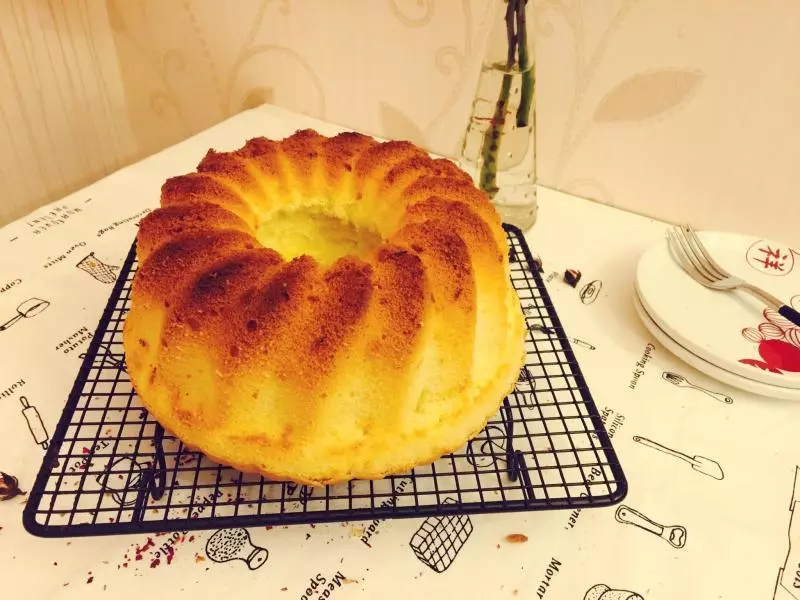
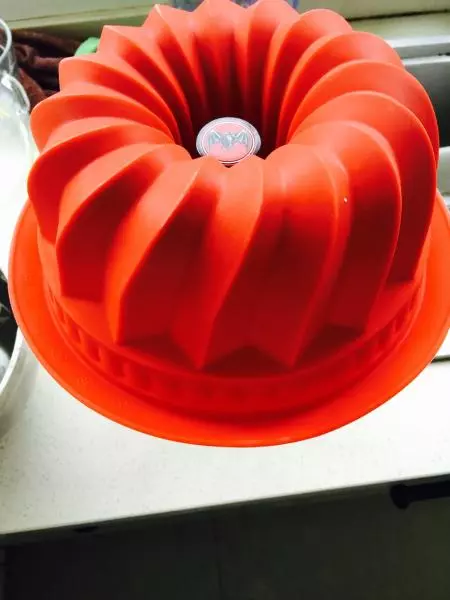
10中空模具这样倒扣。我真心不适合中空模具,第一次用搞成这样。我还是安稳回来普通模具的怀抱吧,省几个模具钱。
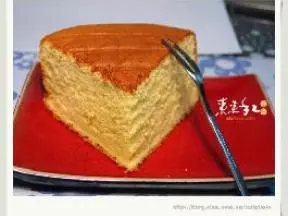
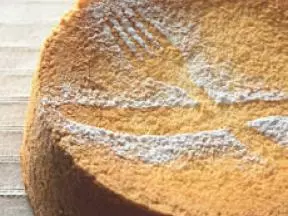
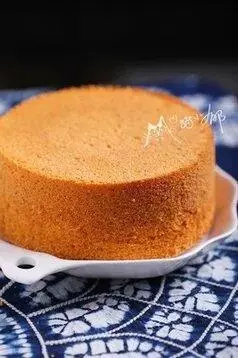
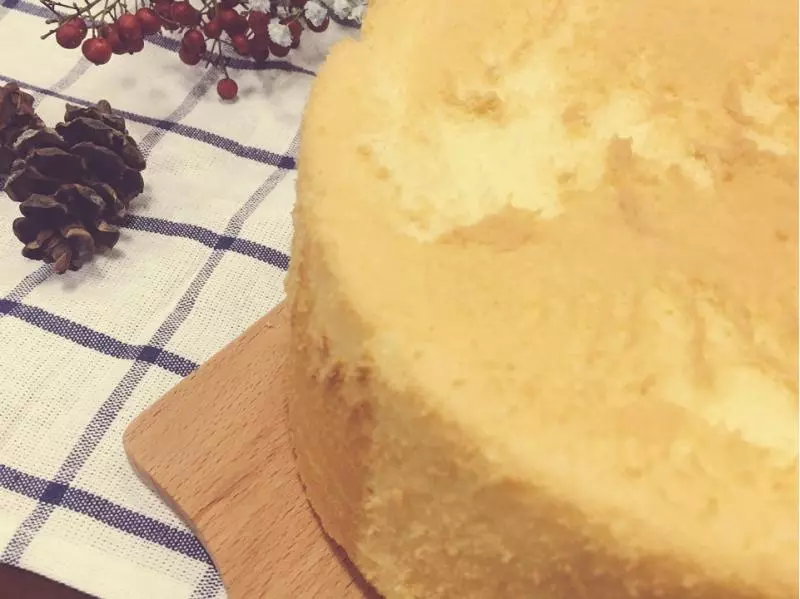
11切下来看了看,还行。主要是好吃。