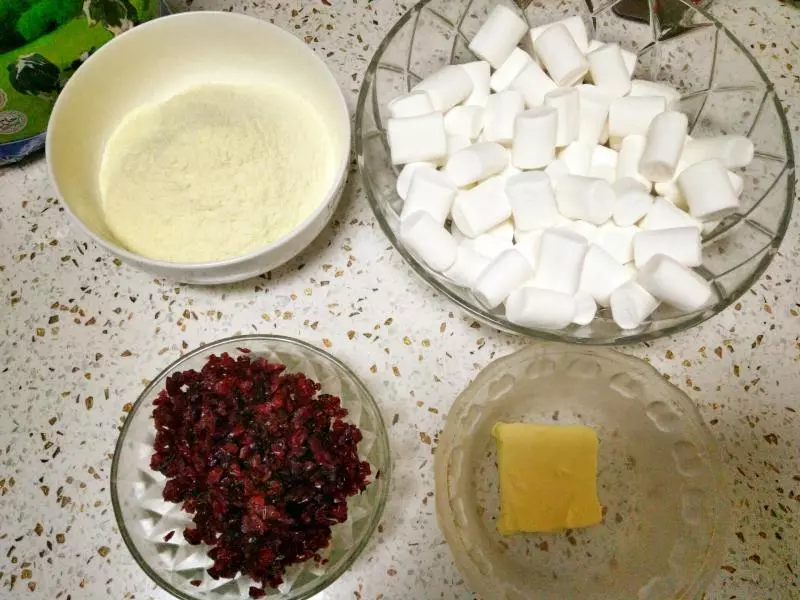
原料
蔓越莓135: 克, 棉花糖200: 克, 黄油35: 克, 奶粉: 150克
步骤
1准备好食材 蔓越莓我习惯性放多点 黄油稍微少点 奶粉多点不会那么软!
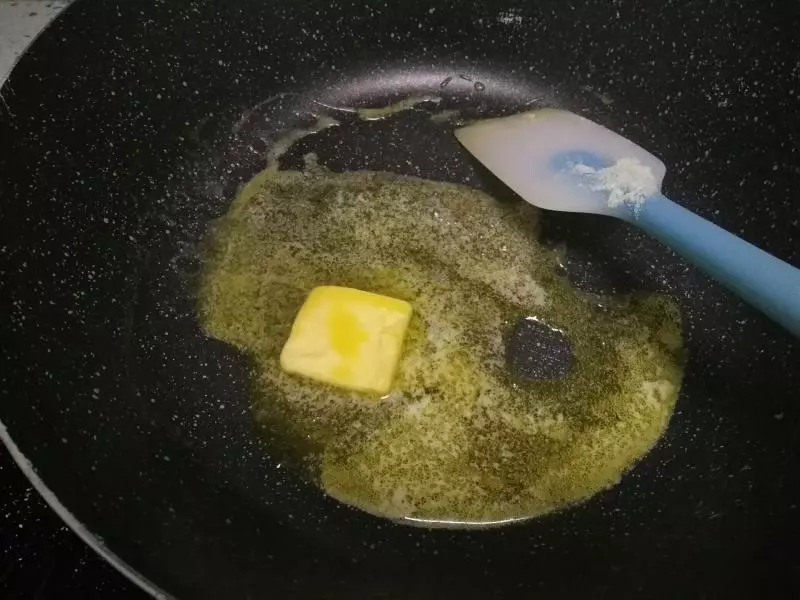
2黄油入锅 小火融化
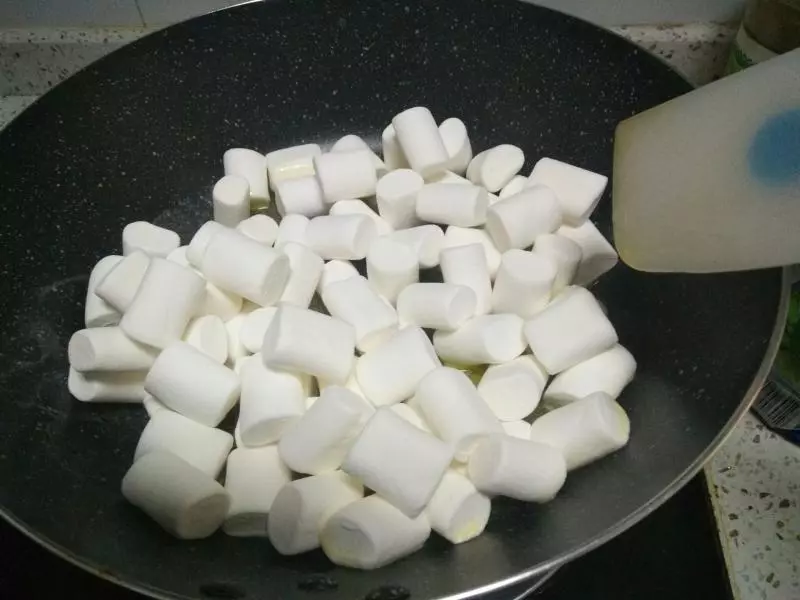
3倒入棉花糖!
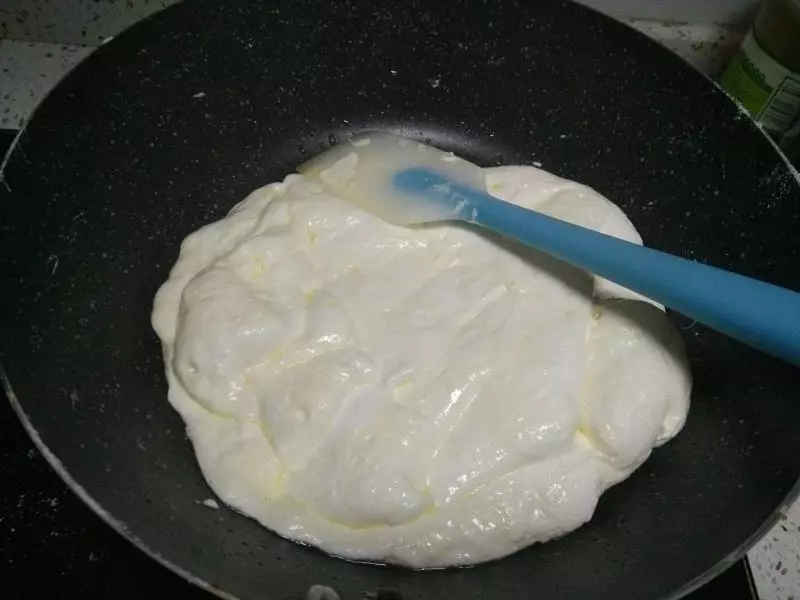
4棉花糖融化。中间不断用硅胶铲翻 以防糊掉 ,再次提醒,小火小火 !!! 我的第一次惨不忍睹!
5加入奶粉
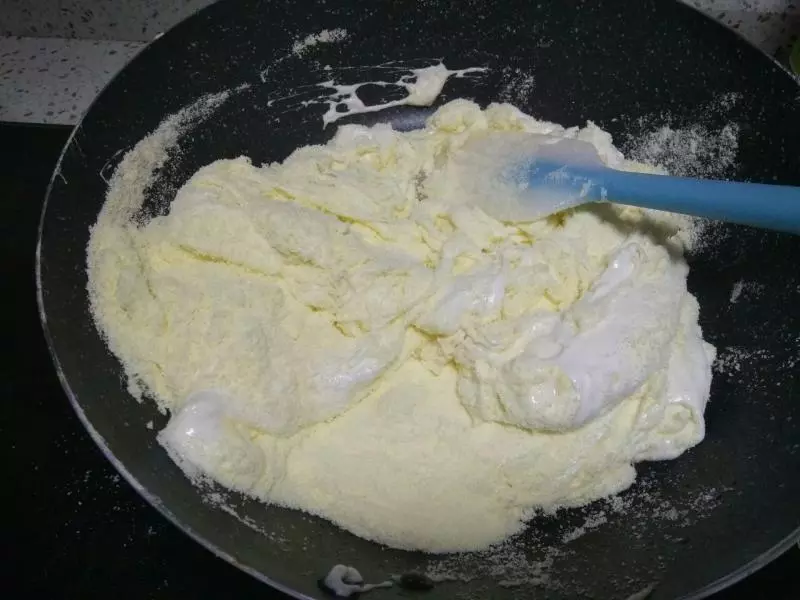
6奶粉和棉花糖混合均匀
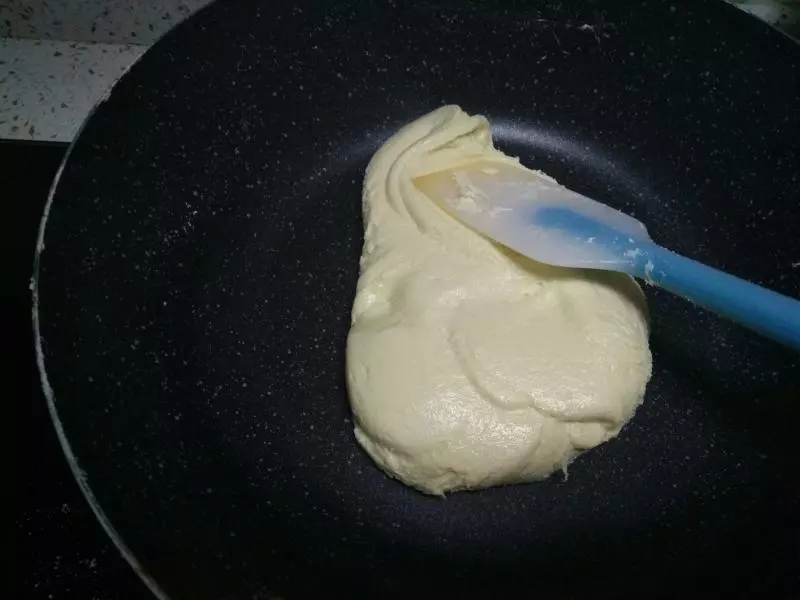
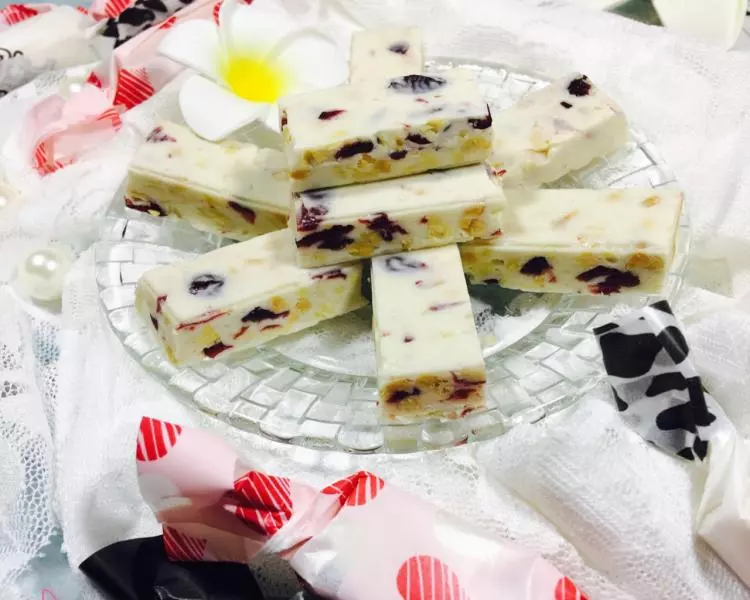
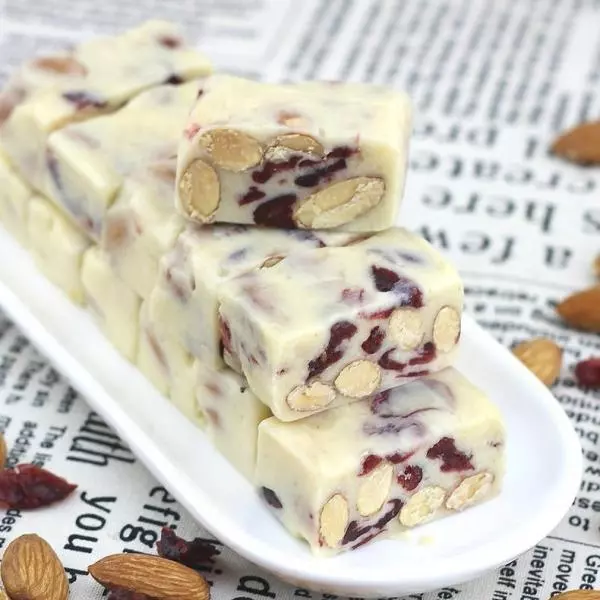
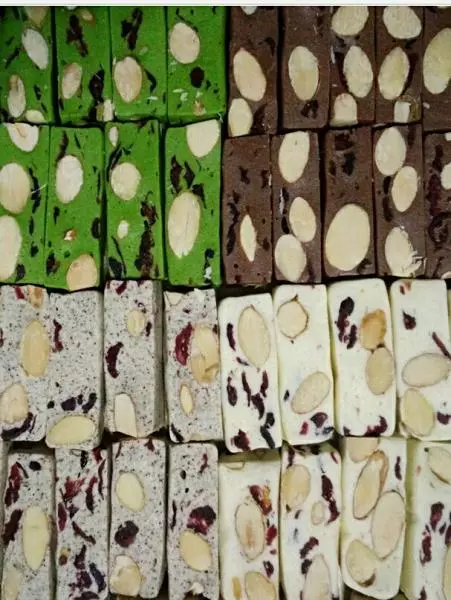
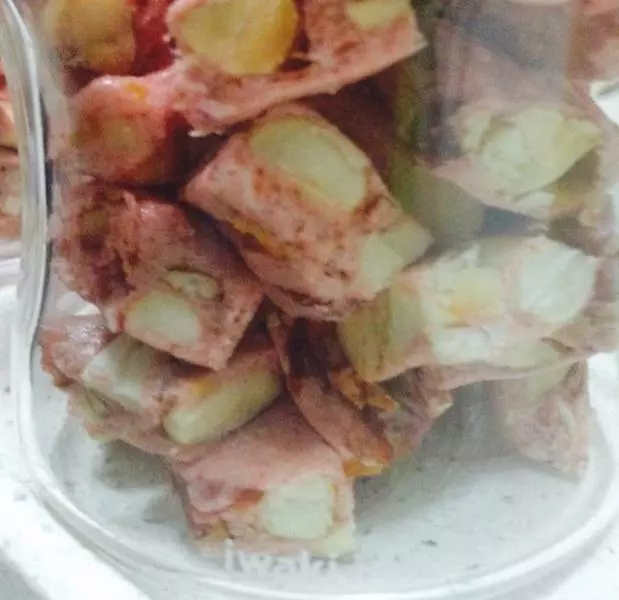
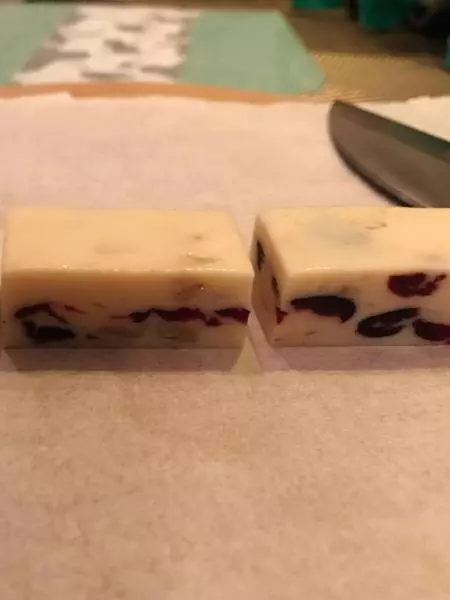
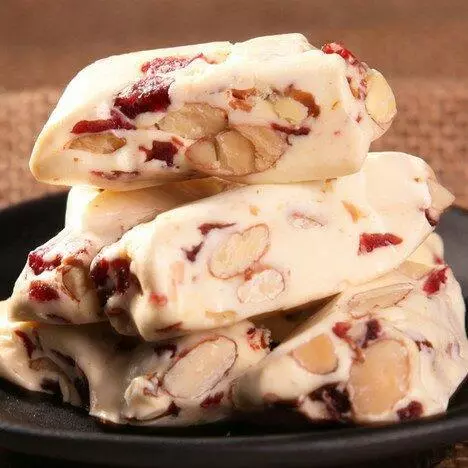
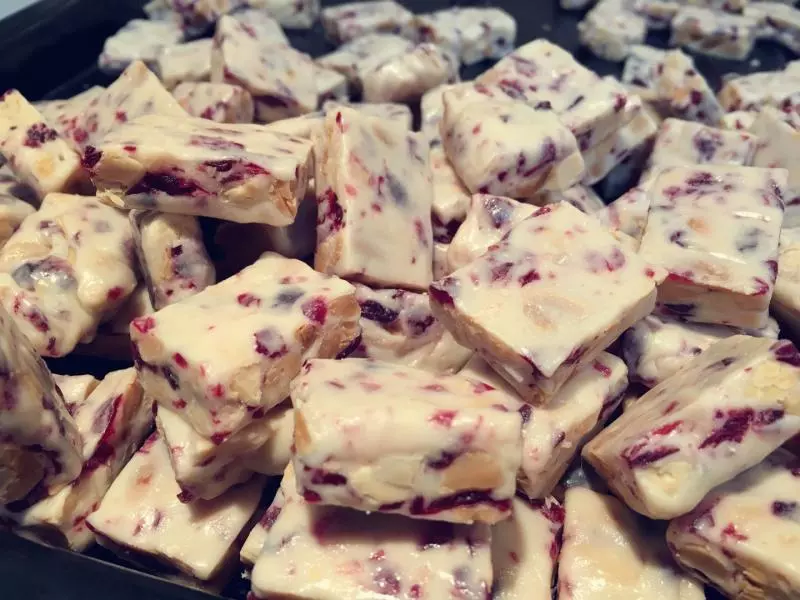
7加入蔓越莓干继续混合均匀

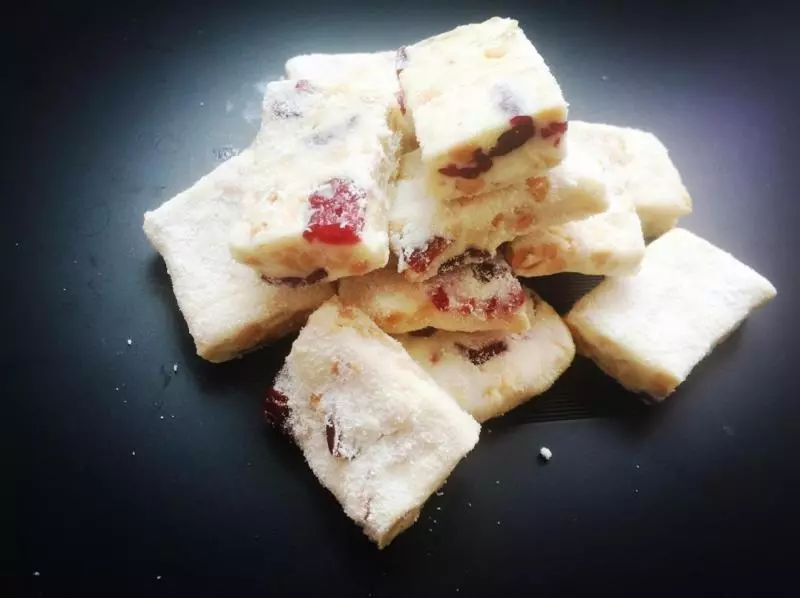
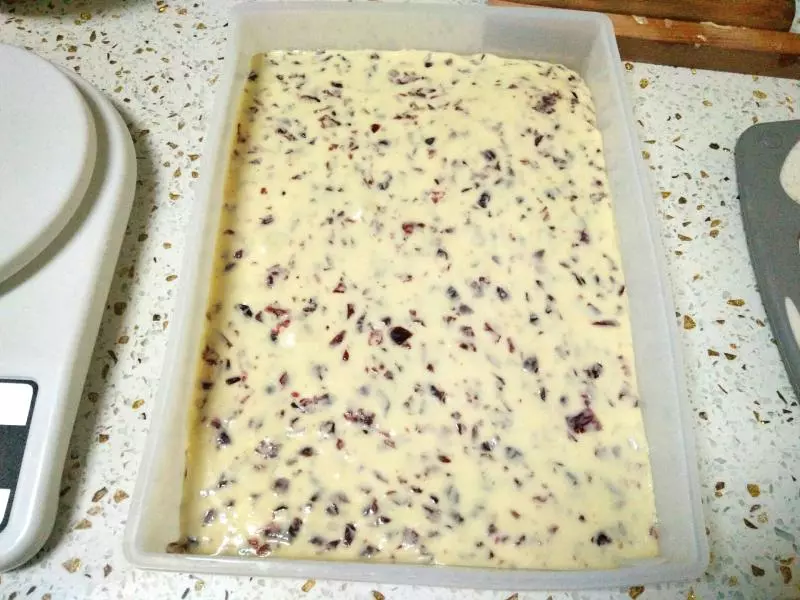
8混合好后倒入磨具中,放入冰箱冷藏15分钟 可延长至20分钟。
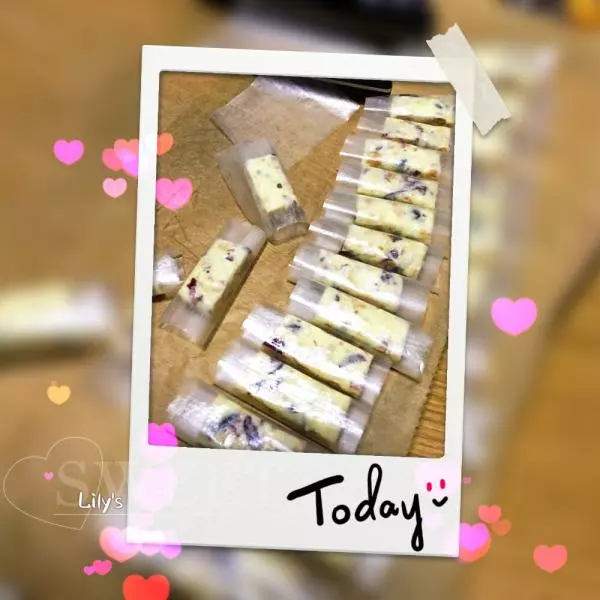
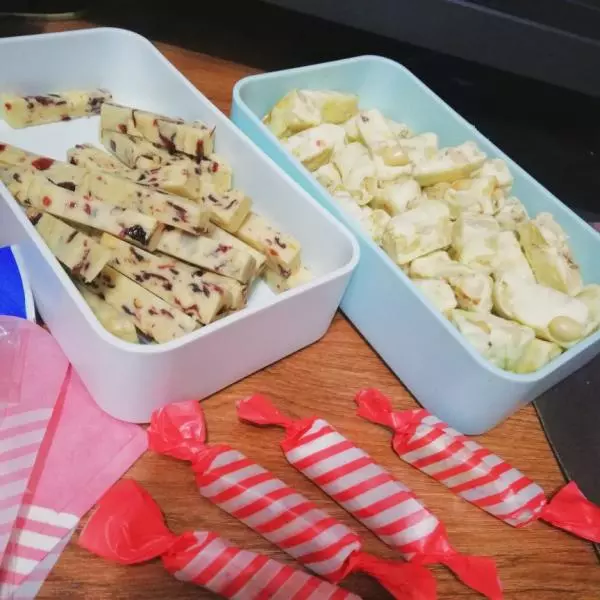
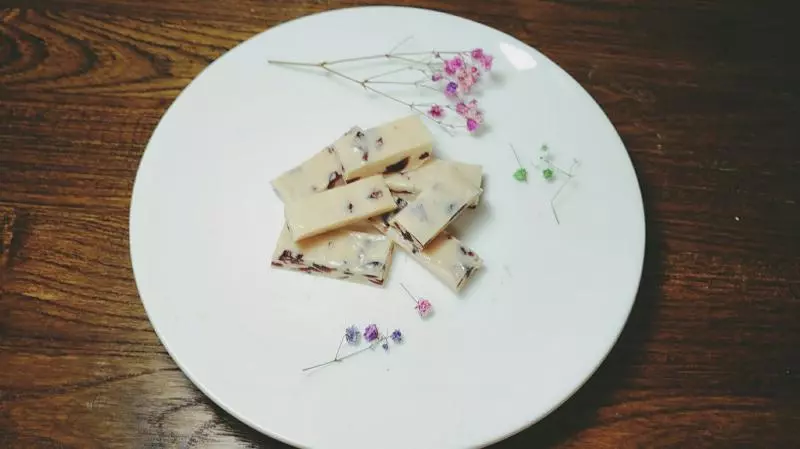
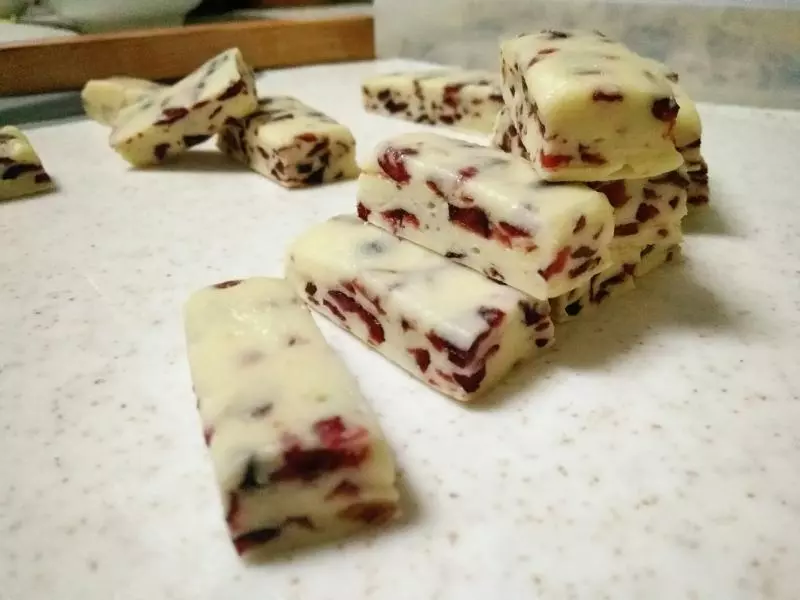
9从冰箱拿出来倒出来切块,我用的磨具,淘宝买的
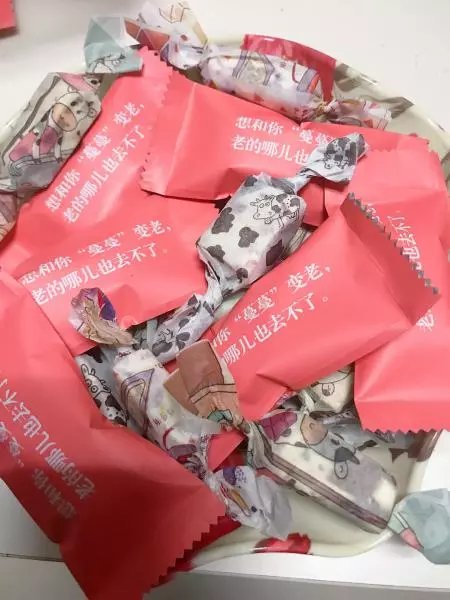
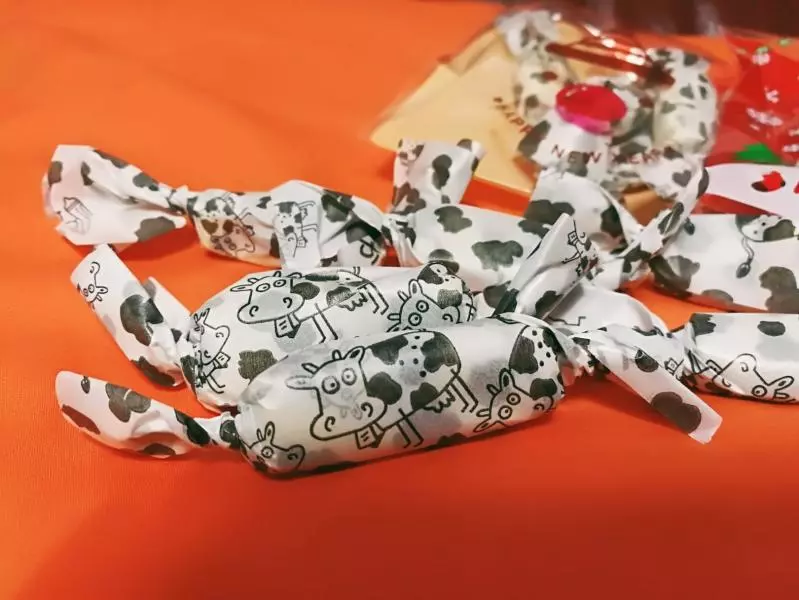
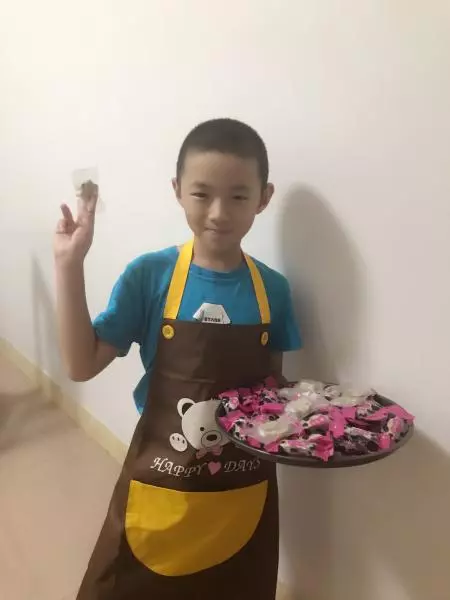
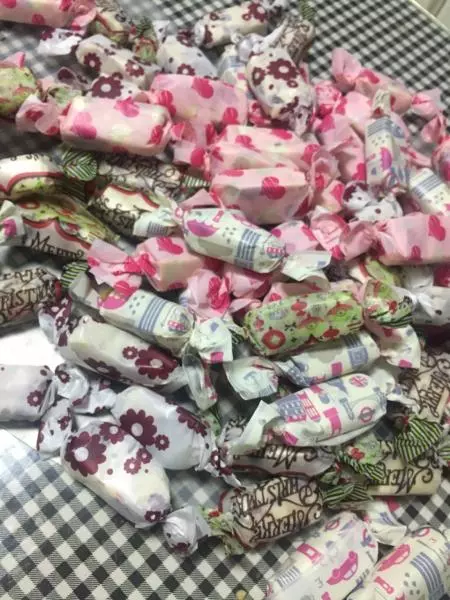
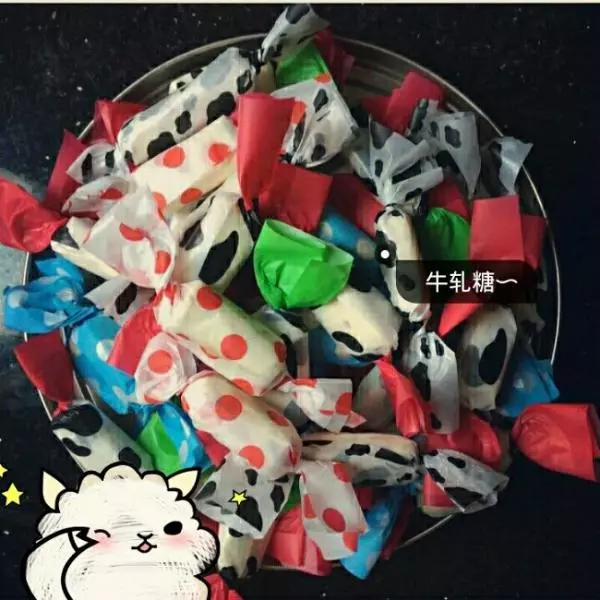
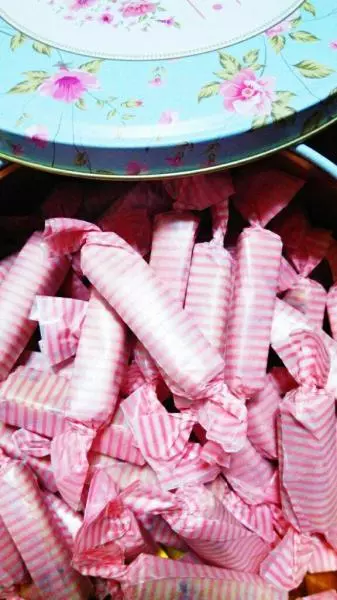
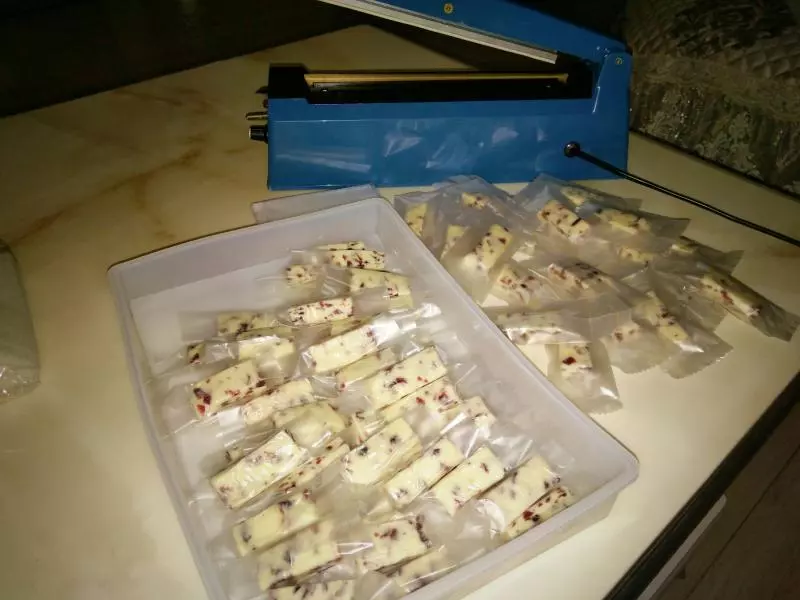
10糯米纸,用了就不粘啦! 外包装糖纸 以及封口
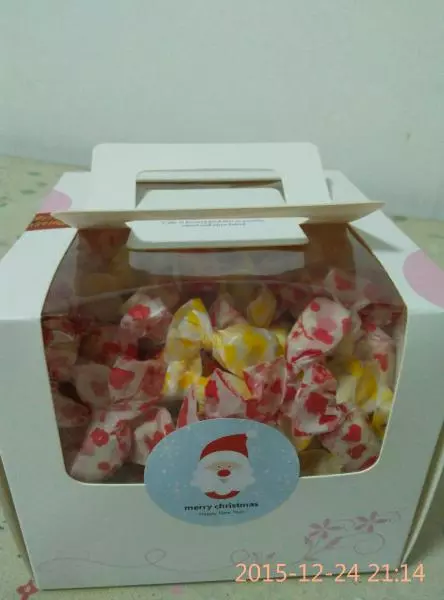
11包装盒
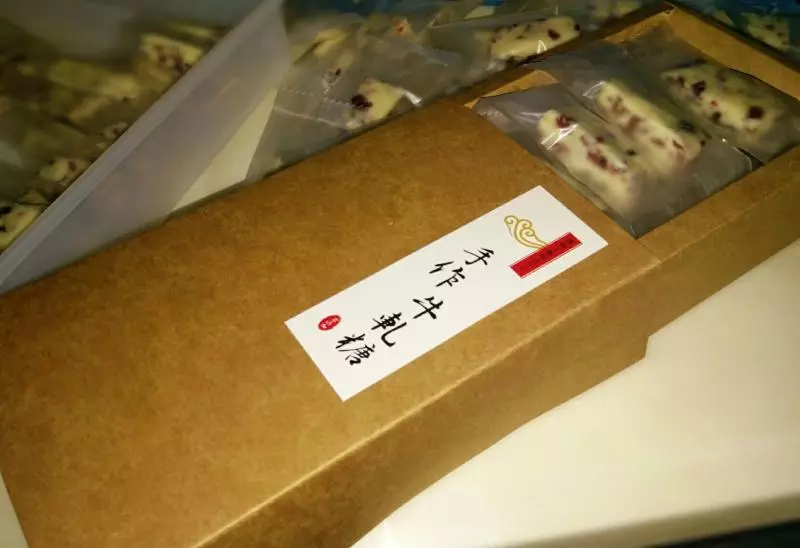
12是不是看着很高大上!今天出去送的

小技巧
1.不粘锅! 2.小火小火小火! 3.奶粉太少会粘!