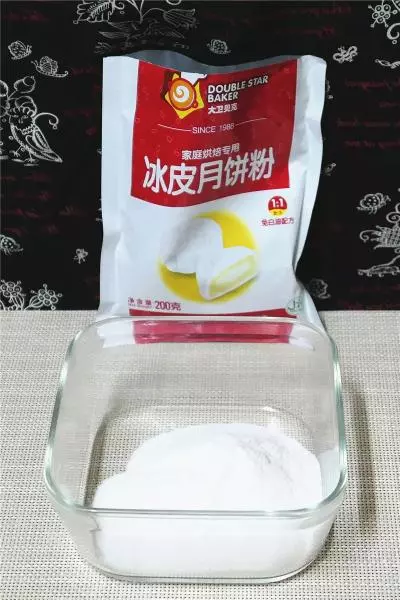
原料
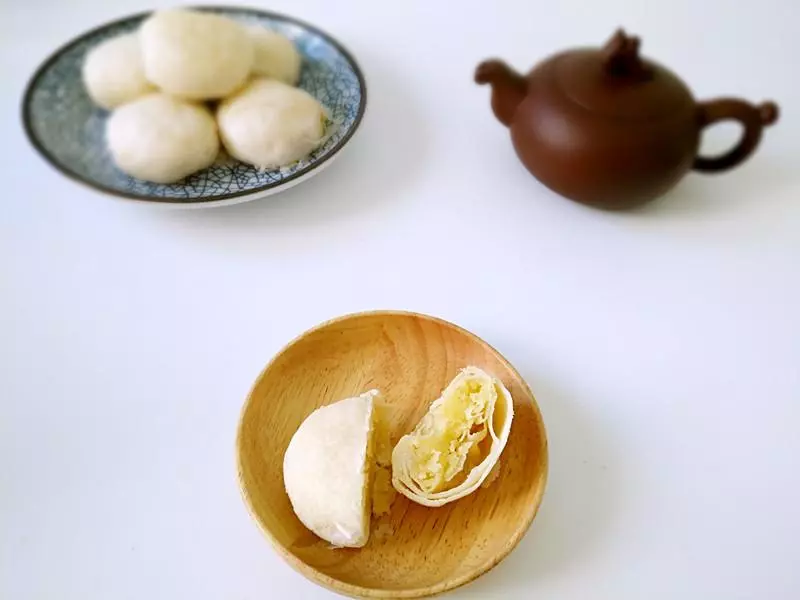
绿豆沙冰皮馅: 250克, 油: 20克, 热水: 200克, 冰皮月饼预拌粉: 200克, DIY月饼模具: 一套
步骤
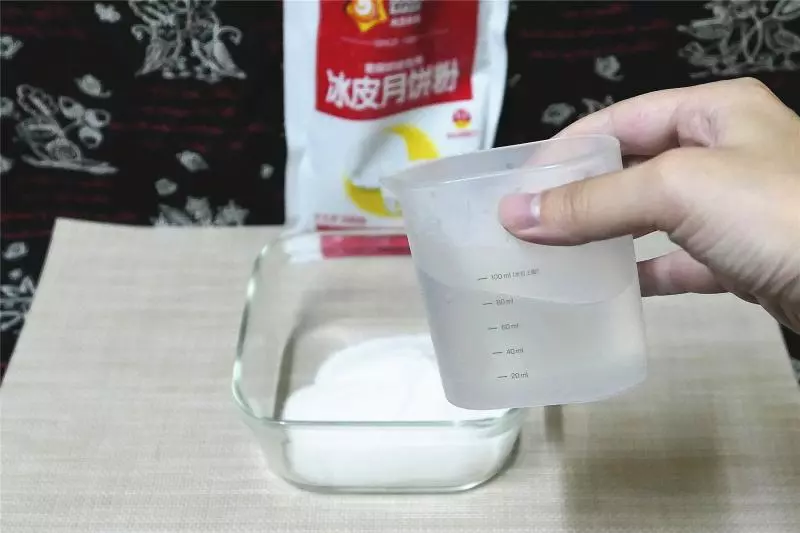
1做饼皮月饼的皮,别看网上很多教程都会有很多步骤,实际上如果买了冰皮月饼预拌粉的话,只要用80度的热水进行搅拌即可(像大卫贝克 冰皮月饼预拌粉里面,大多数成分是糯米)~
2水和粉的比例一般是1:1,边加水变搅拌是比较明智的选择哦~
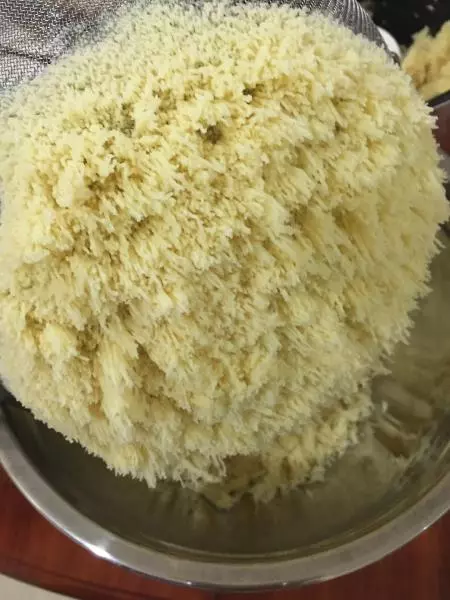
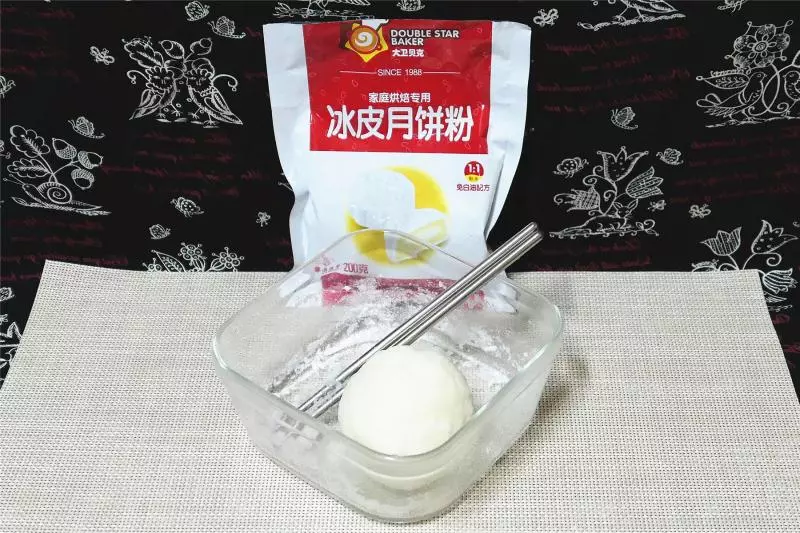
3到没有粉末也不粘筷子的程度就可以了,讲究一点的可以多揉几分钟(会比较有弹性)~
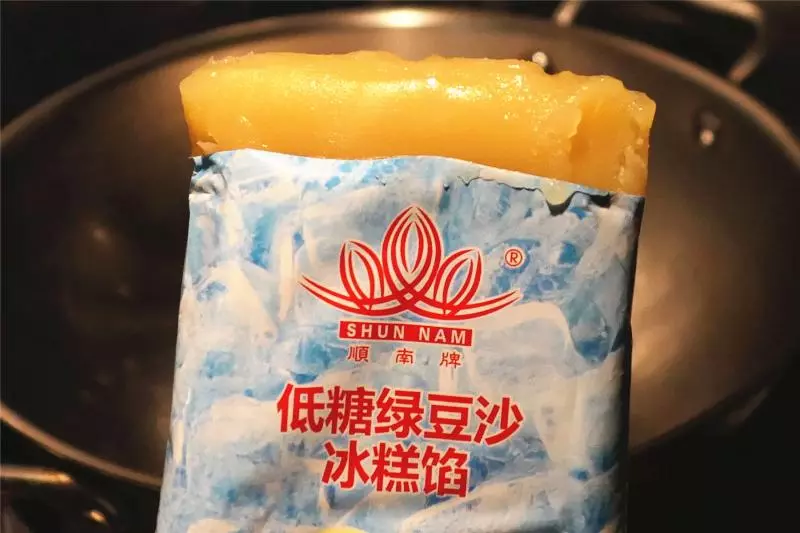
4制作月饼的芯子,这里我用的是成品绿豆沙,省去了自己从泡发绿豆开始做起的时间~
5制作流程也很简单:依据自己的口味,加入少许的油和糖,进行翻炒和融合~
6记得一定要放到冷却,这样才可以定型也不沾手~

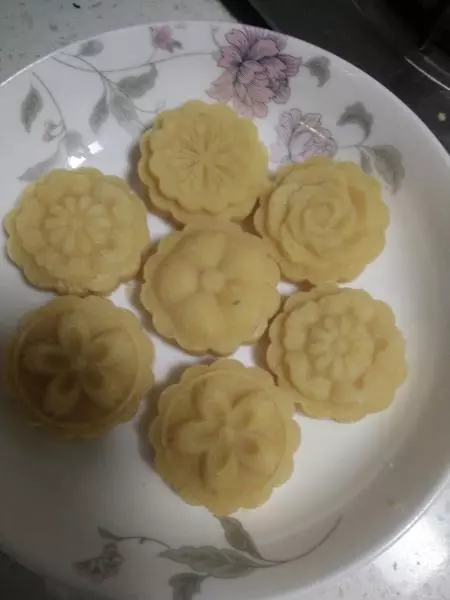
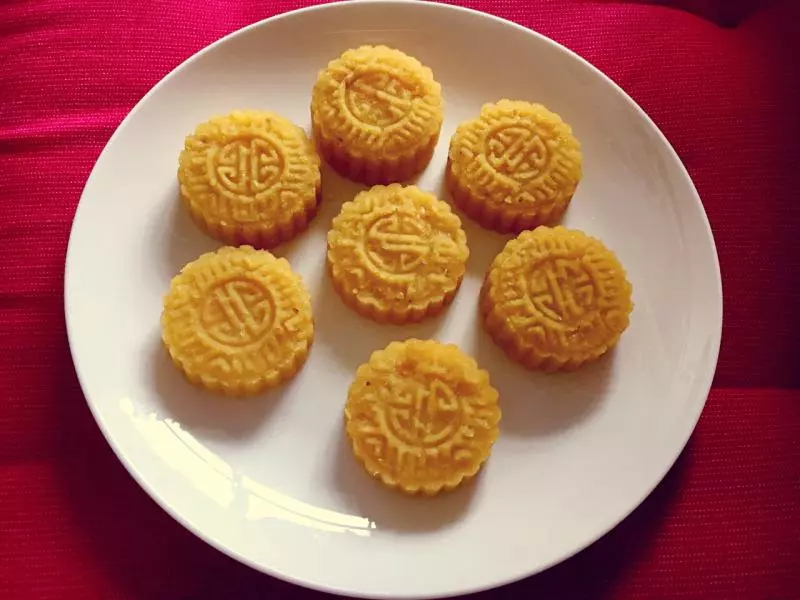
7开始包月饼啦~
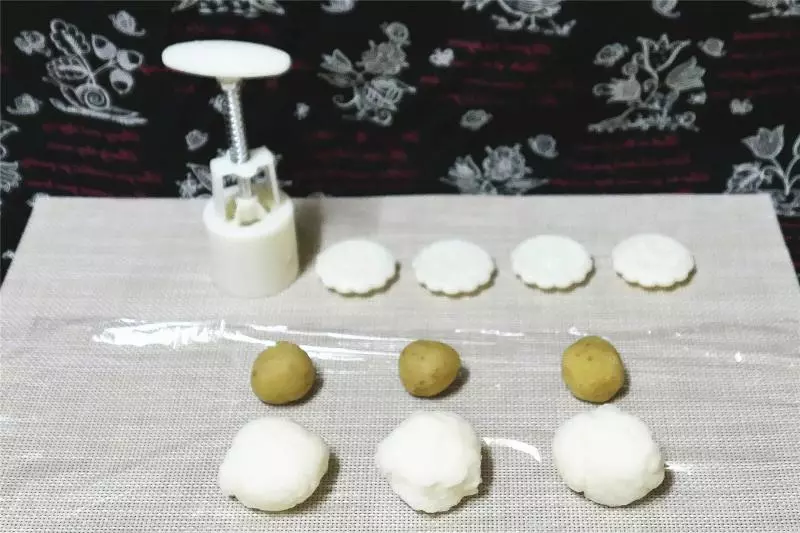
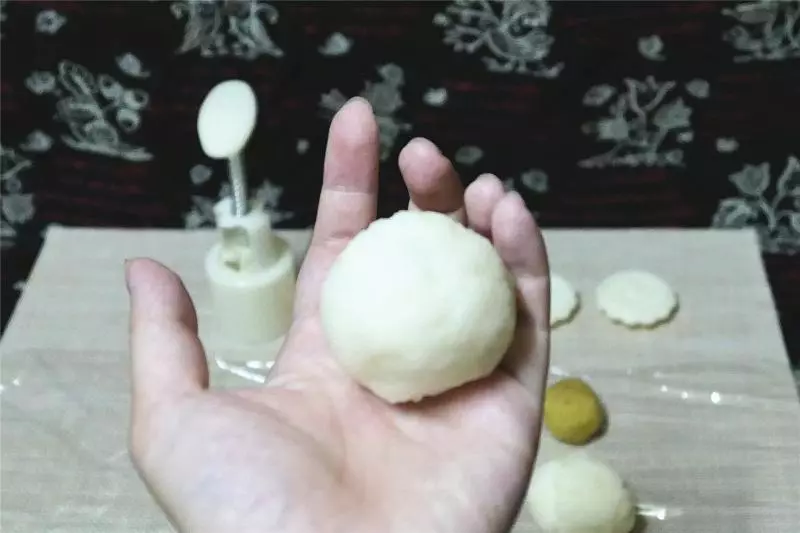
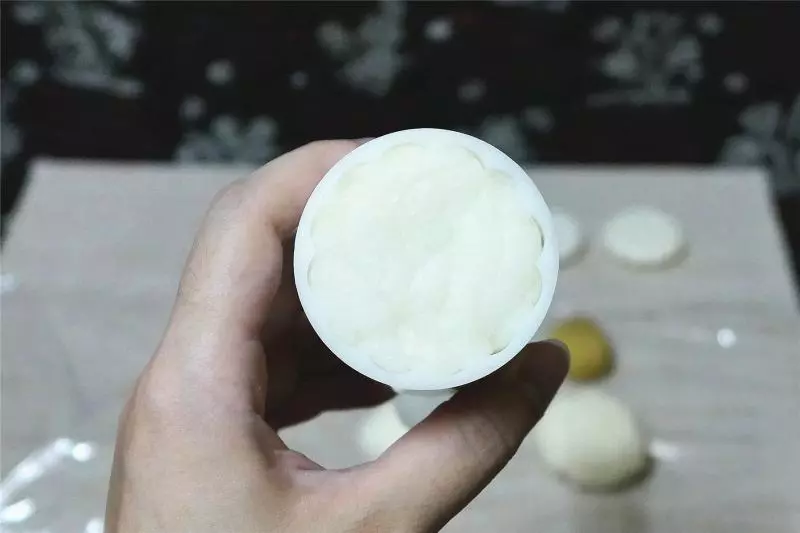
8因为我用的模具是50g的,所以建议是月饼票搓成30g左右的球,内陷搓成20g左右的球~将饼皮摊开(尽量薄),然后裹进内陷后再全捏起来就可以啦~
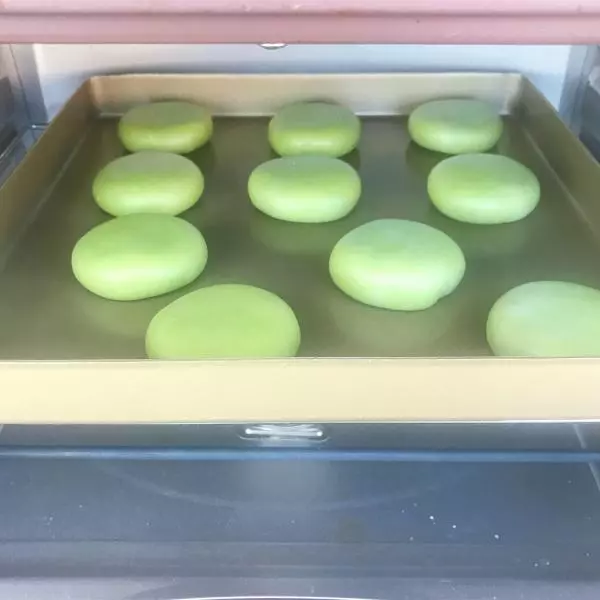
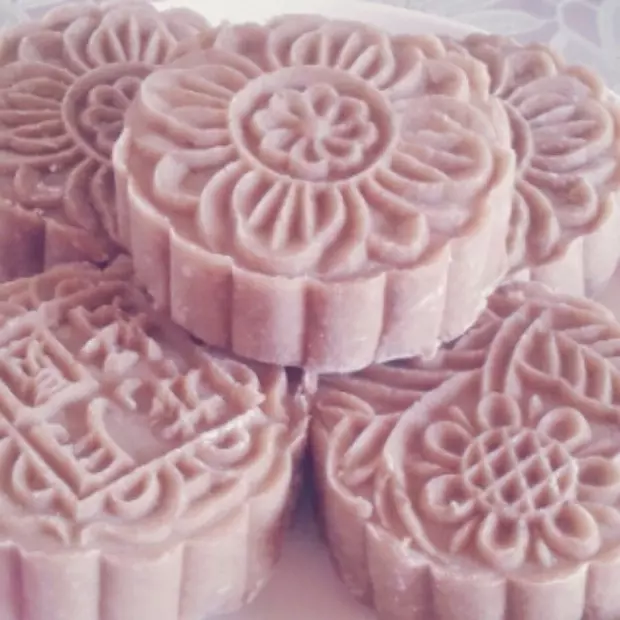
9如果觉得白色的皮有点单调的话,活饼皮的时候适当加入些果味粉就可以变成五颜六色的了~
10绿豆糕放入冰箱冷藏室,冰皮月饼放入冷冻室~

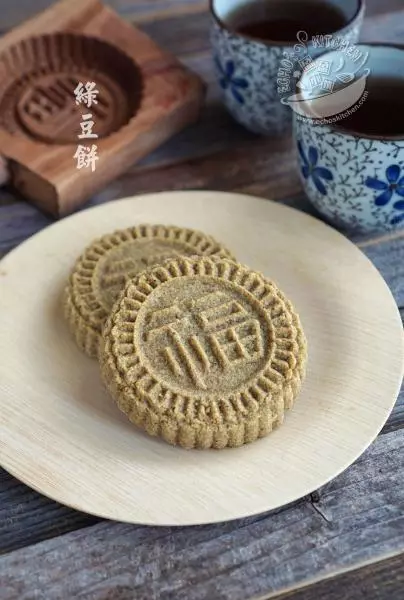
11完成,开吃~