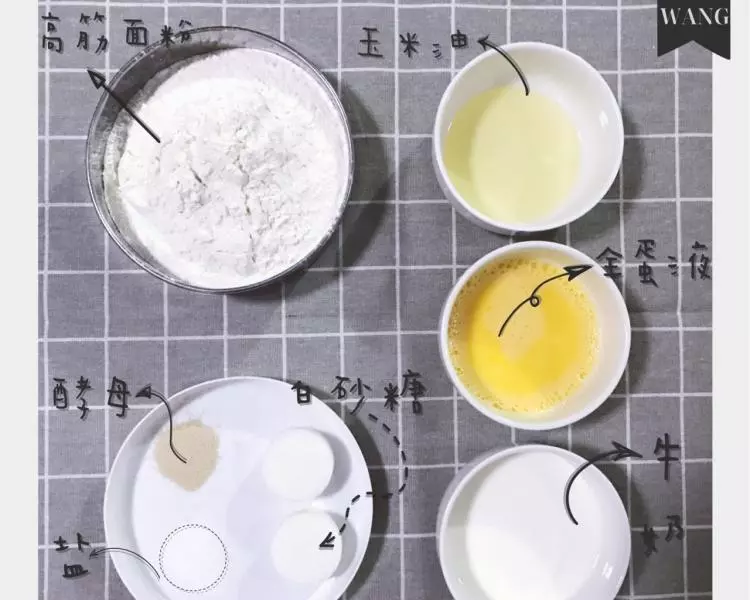
原料
高筋面粉: 190克, 牛奶: 100ml, 玉米油: 20克, 鸡蛋: 1个, 棉砂糖: 45g, 酵母: 3g, 盐: 3g
步骤
1? 准备食材 用量用法上面有详细
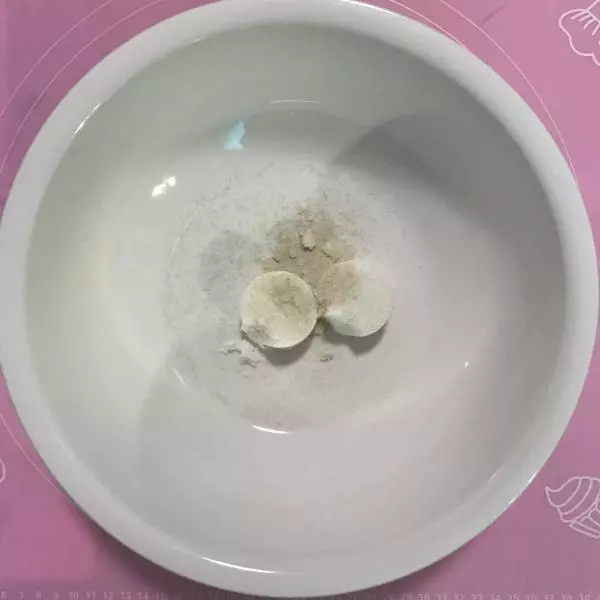
2棉砂糖 酵母 盐 混合
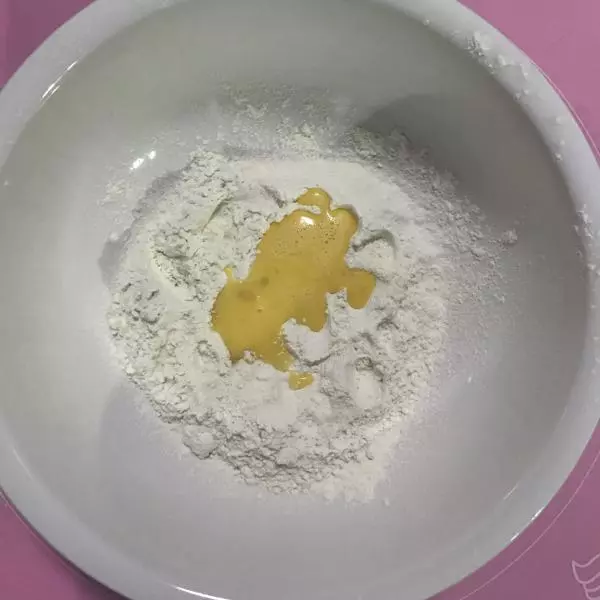
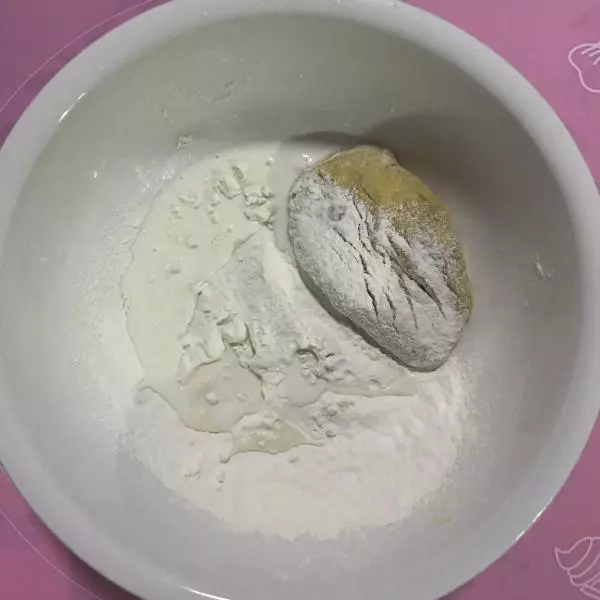
3面粉过筛 加入1/3 点面粉和全蛋液 全蛋液分两次倒入 开始和面 到最后别怕粘手 因为还有下一步呢
4继续加1/3点面粉 倒入 1/2的牛奶
5混合一下开始加入玉米油 预留约1g玉米油 稍后刷模具
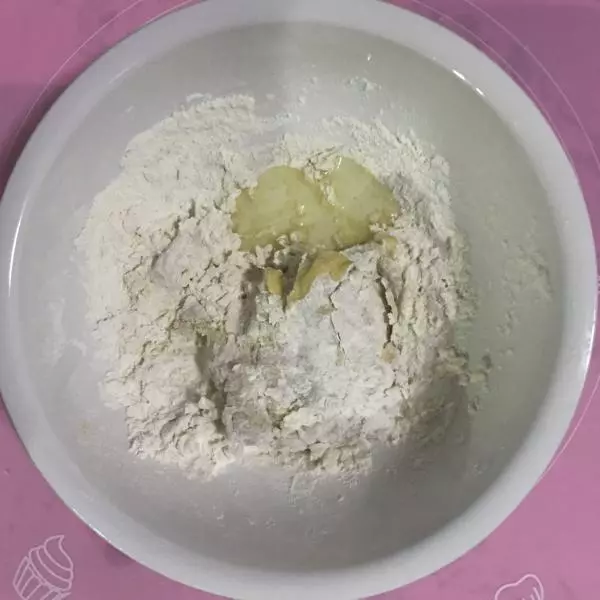
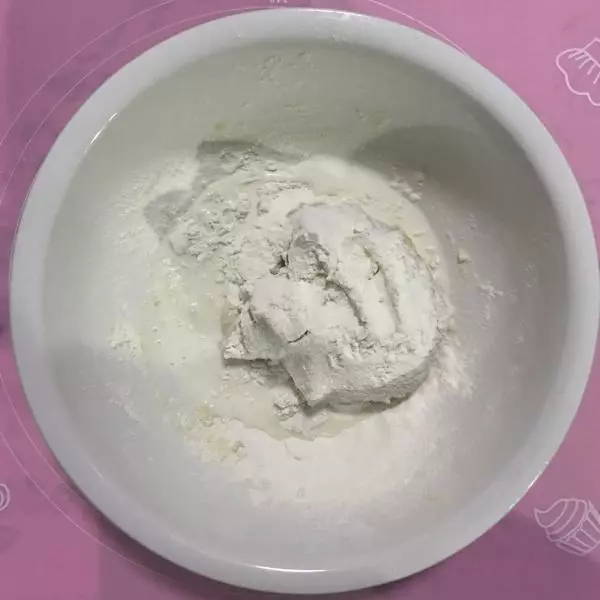
6把剩下的牛奶全部倒入 面粉预留约5g洒在垫子上 一会在硅胶垫上和面 在继续揉面15分钟 使面团产生韧性
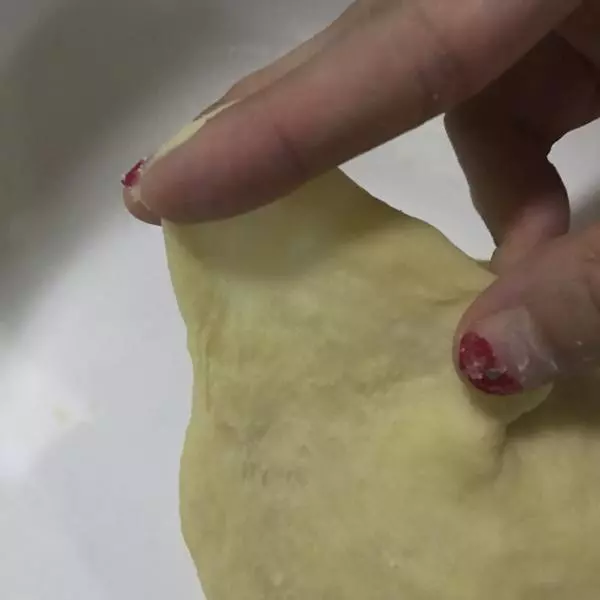
7直到开始有韧性的薄膜 这里没有揉好就拍照了
8揉至面团光滑 盖膜发酵50分钟
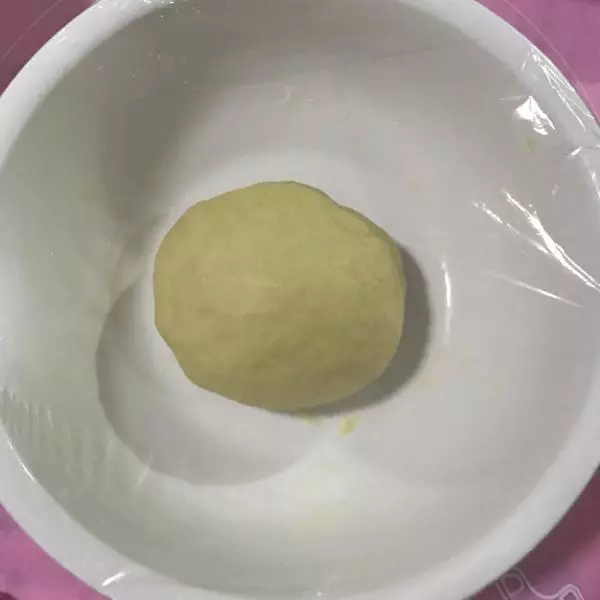
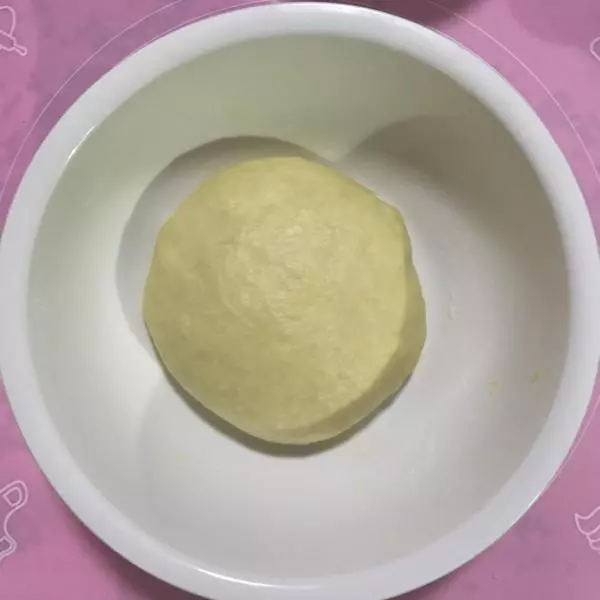
9发酵约至1-2倍大 取出 注意:这时候不要再揉面了
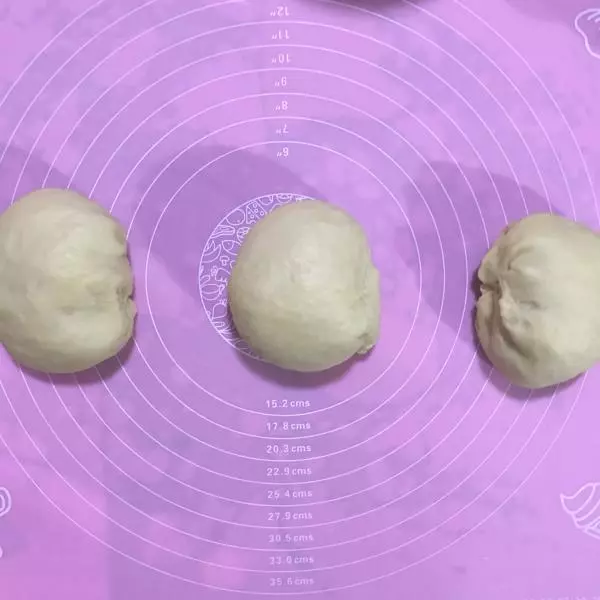
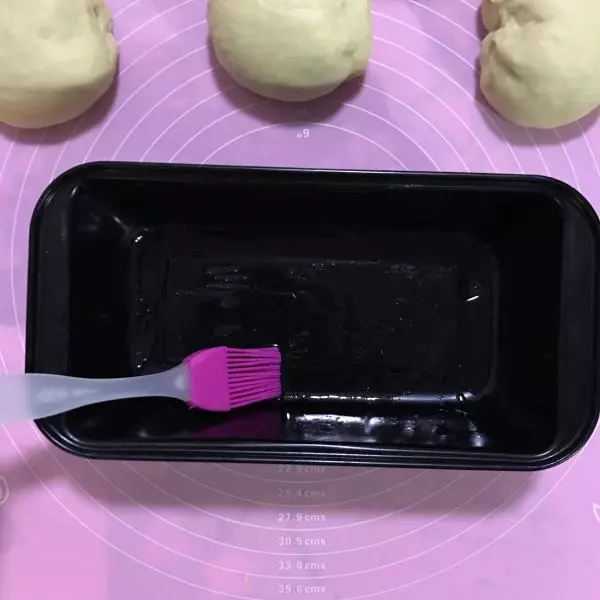
10面团分成三份
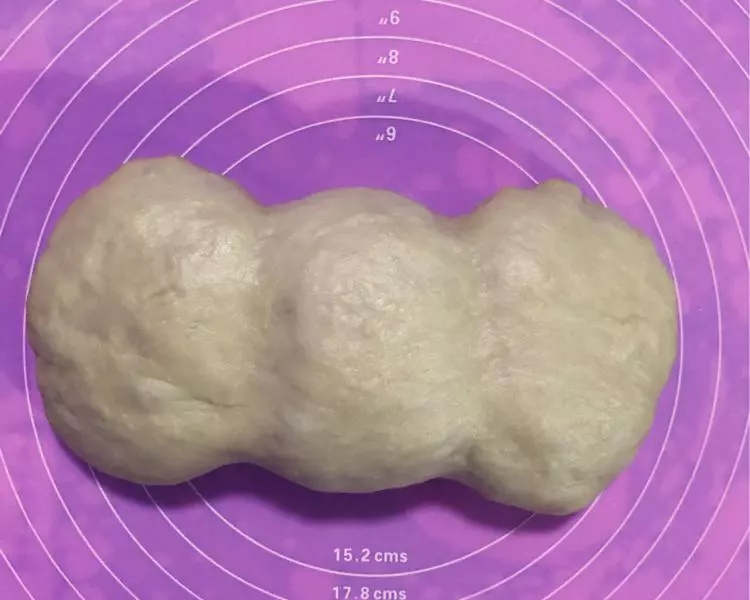
11松弛8分钟
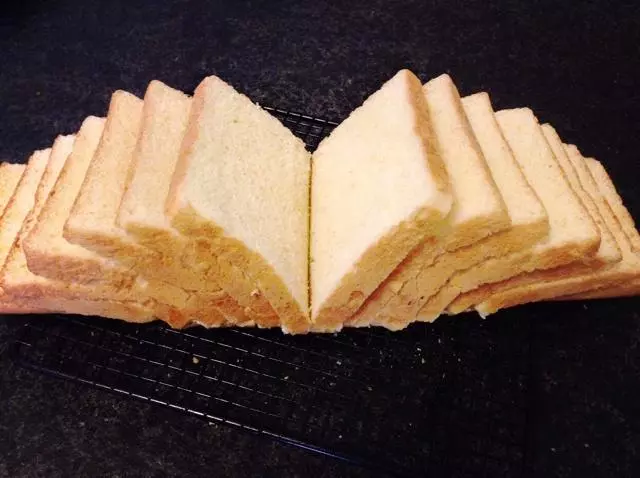
12模具刷油 用刚刚预留的1g 如果感觉不够 可以根据自己增加油的用量
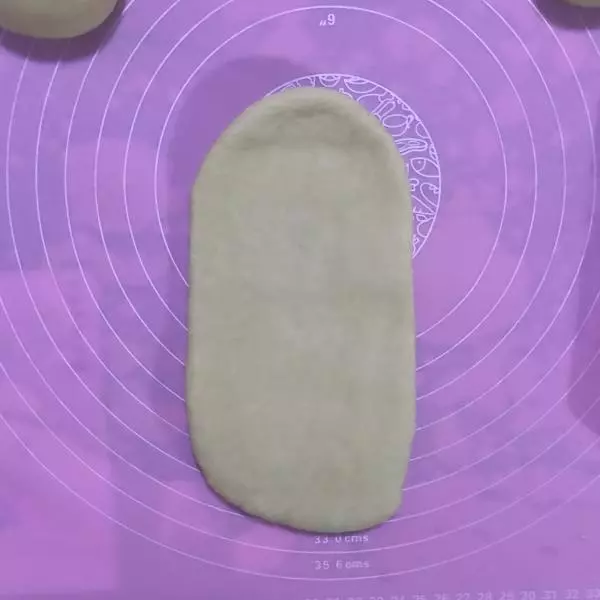
13擀平
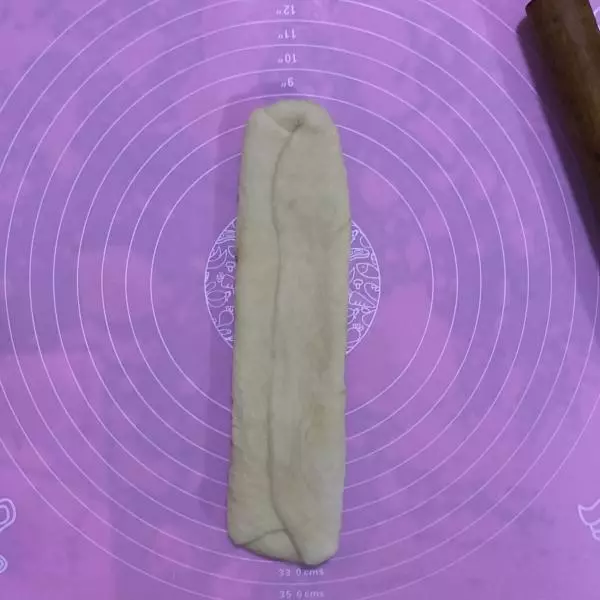
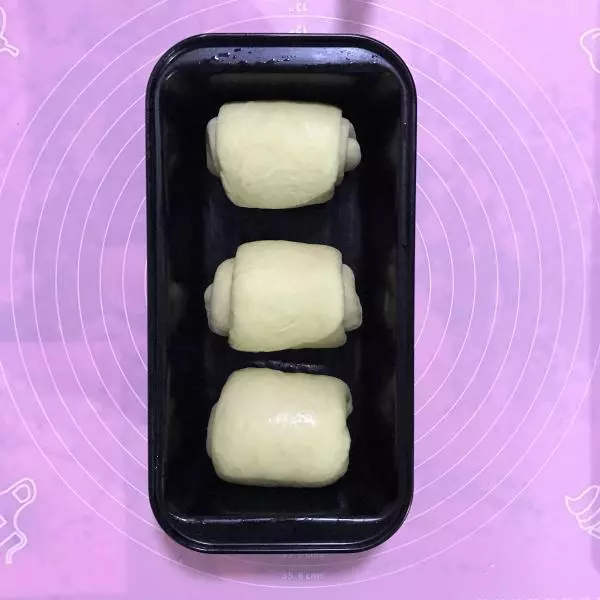
14折叠成图上 继续擀平
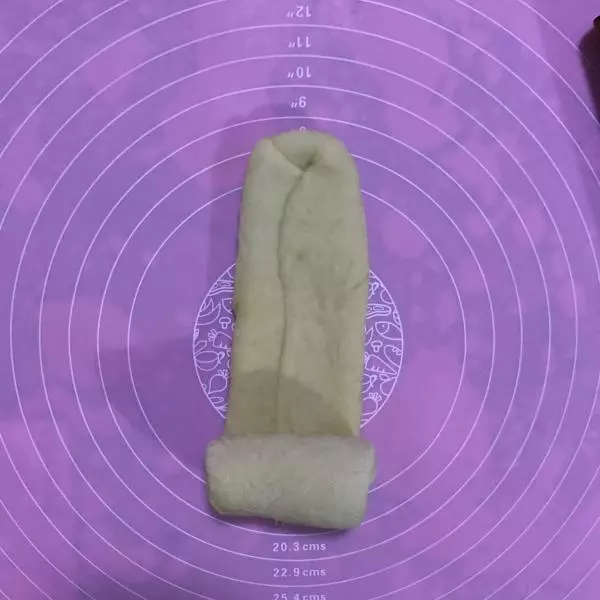
15成卷
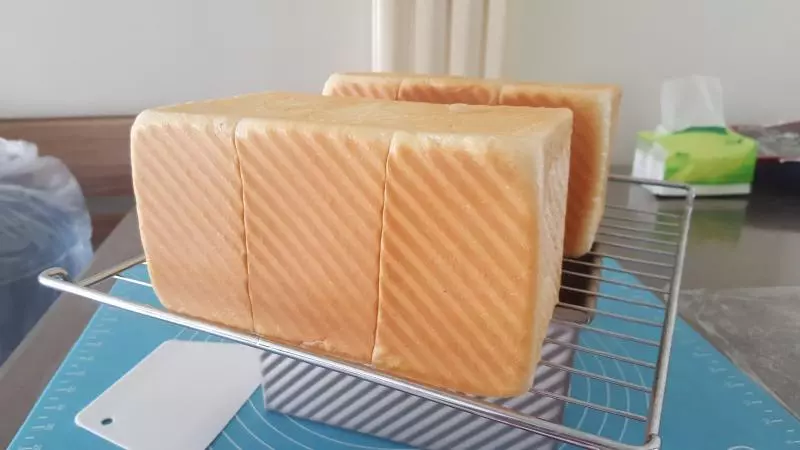
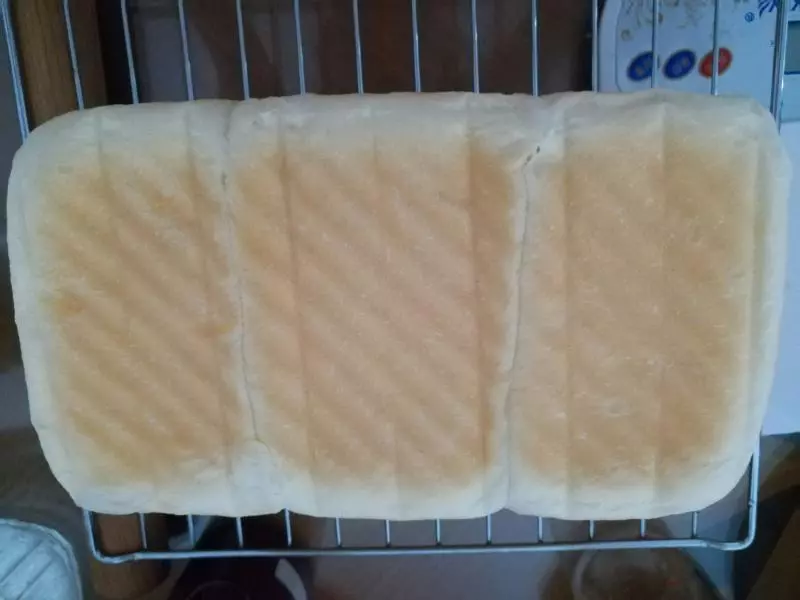
16放入模具 注意中间留有空隙 用450三能模具的二次发酵时间可以长一些
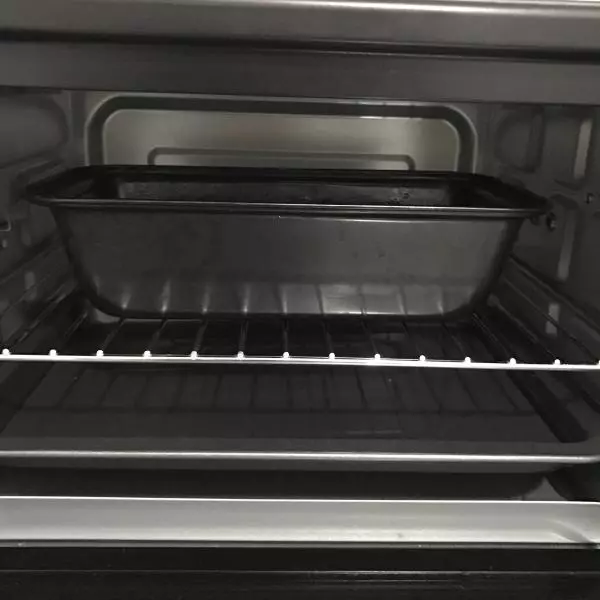
17进烤箱二次发酵 这里是预热55度 烤盘放入75度的热水 入烤箱发酵45分钟 至面团发至充满即可 因为烘烤的时候还会继续蓬松
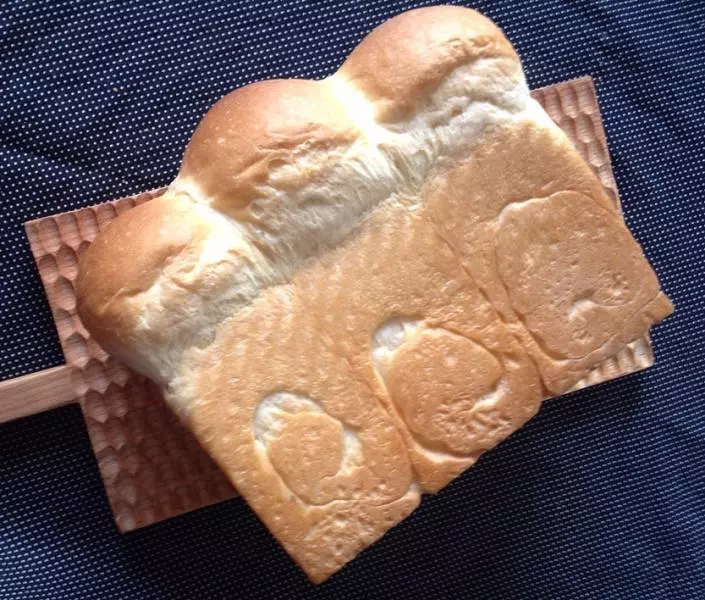
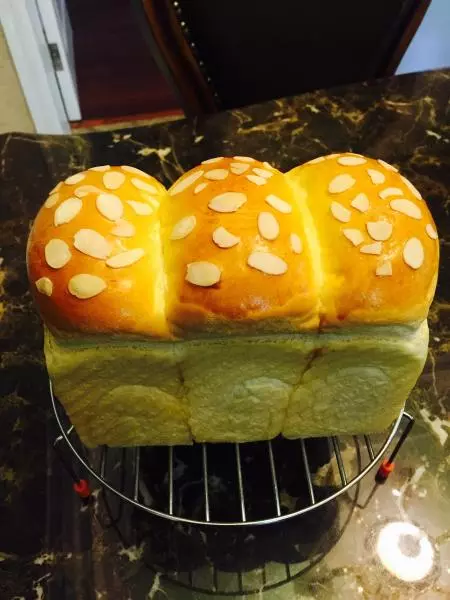
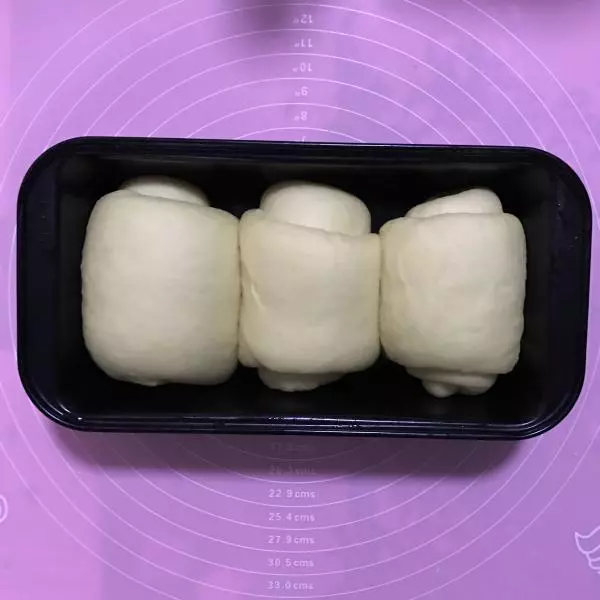
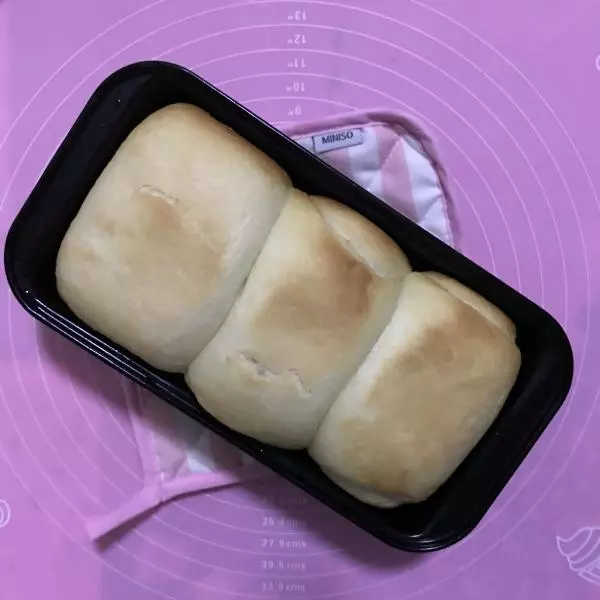
18二次发酵完成 取出 烤箱预热190度
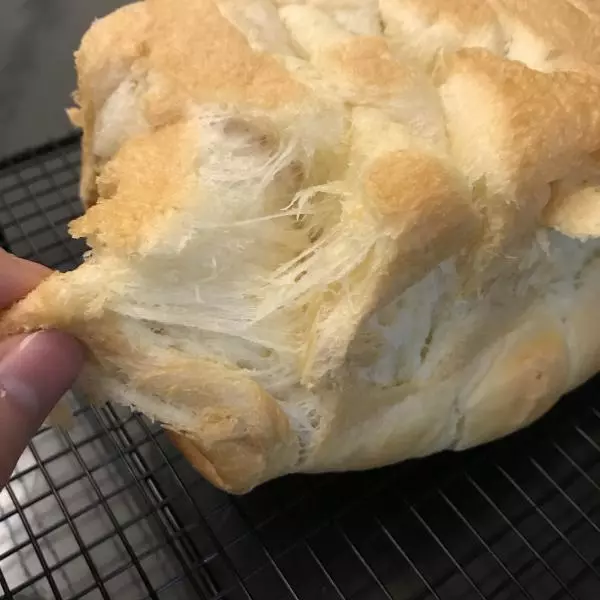
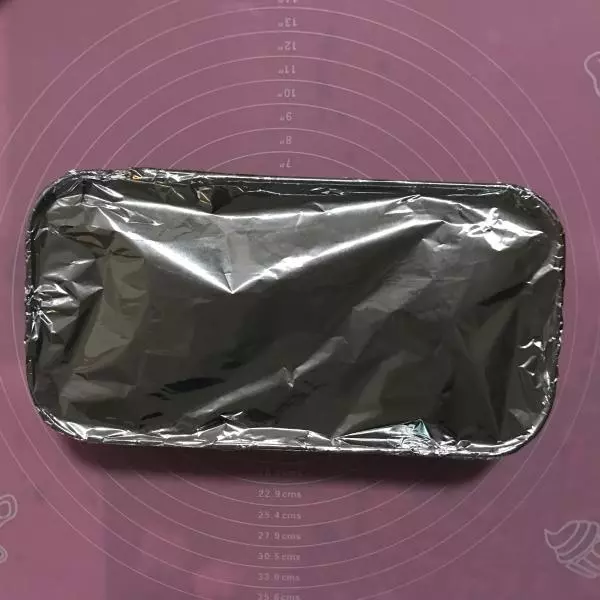
19盖上锡纸 因为没有盖子 入烤箱170度烤40分钟
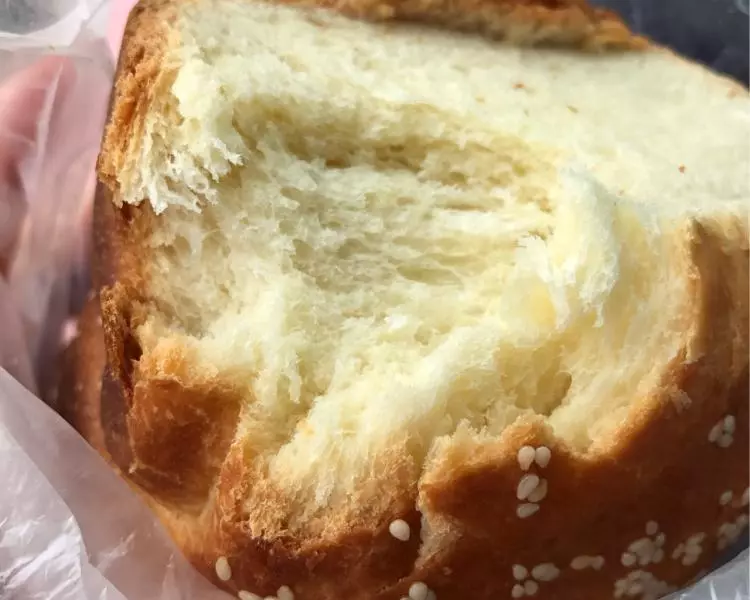
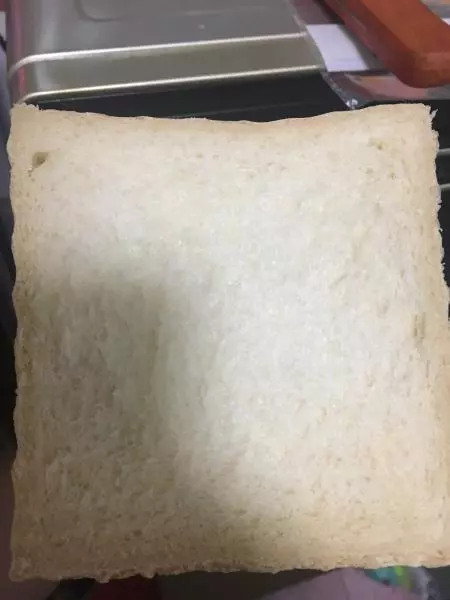
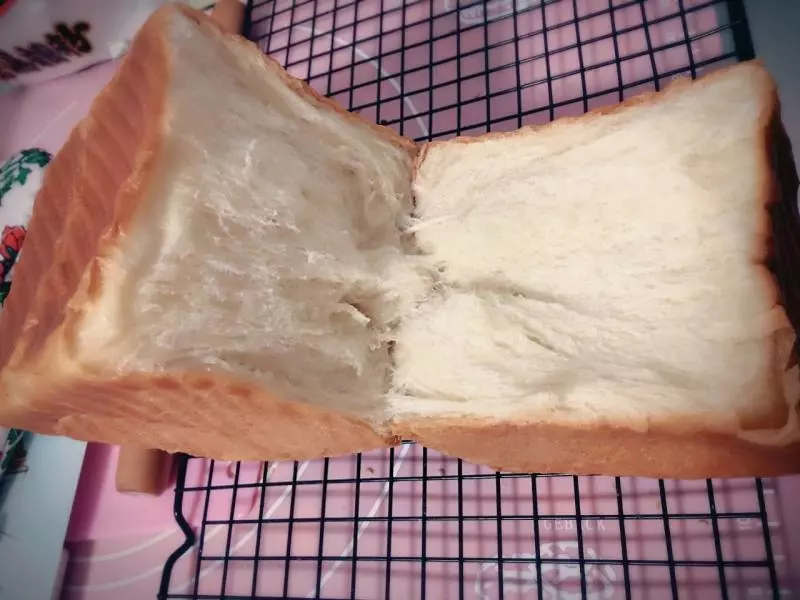
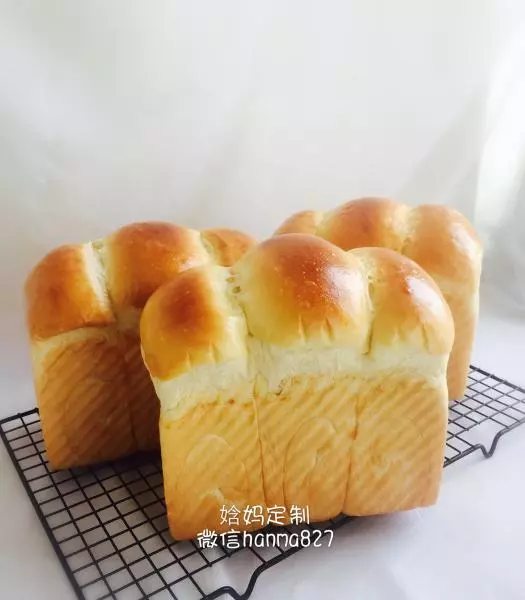
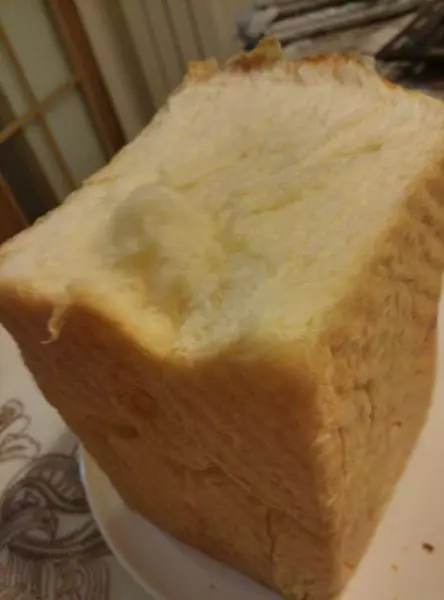
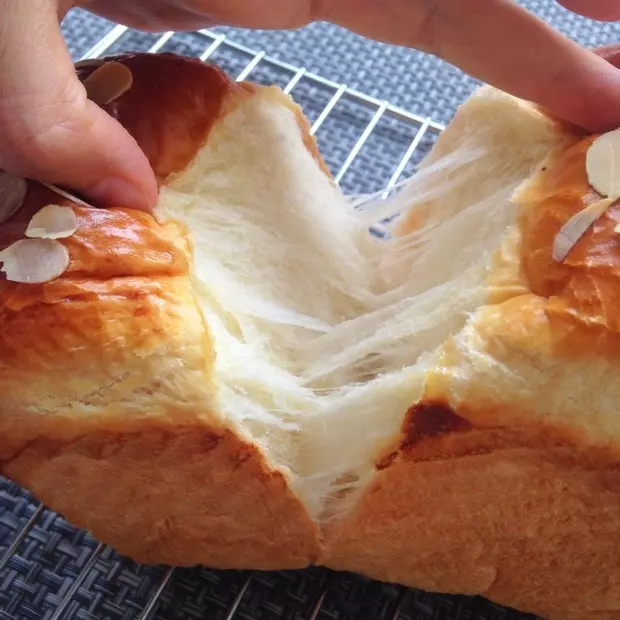
20成品 这个时候可能有点不太好看
21刷上一层蜂蜜
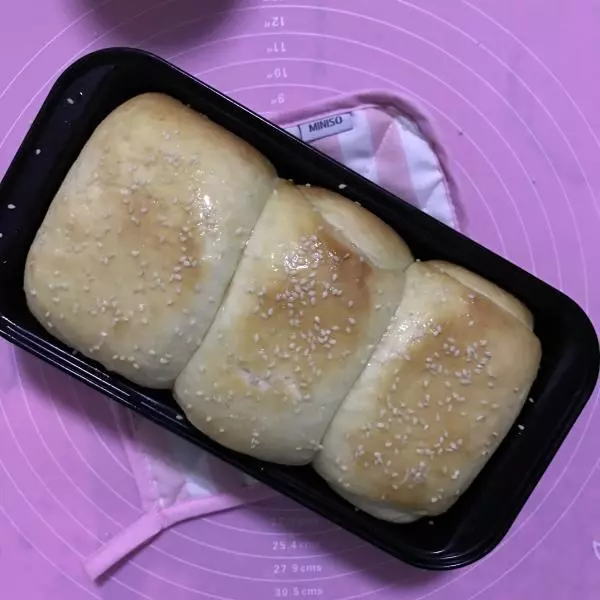
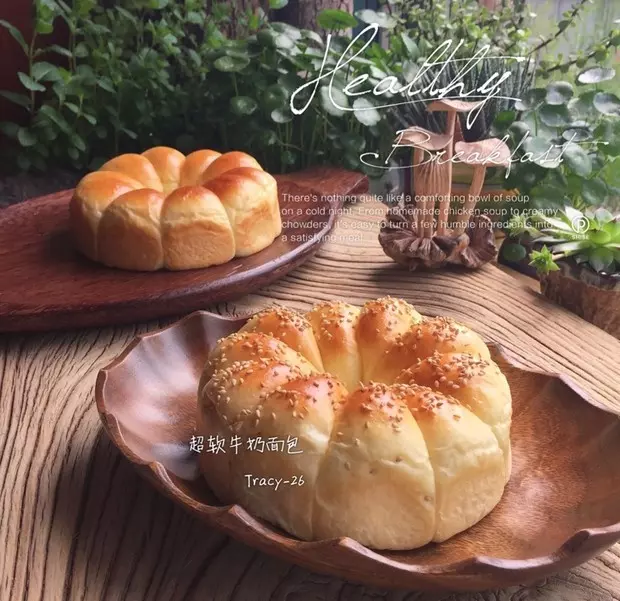
22可以根据自己口味撒上芝麻 葡萄干杏仁等
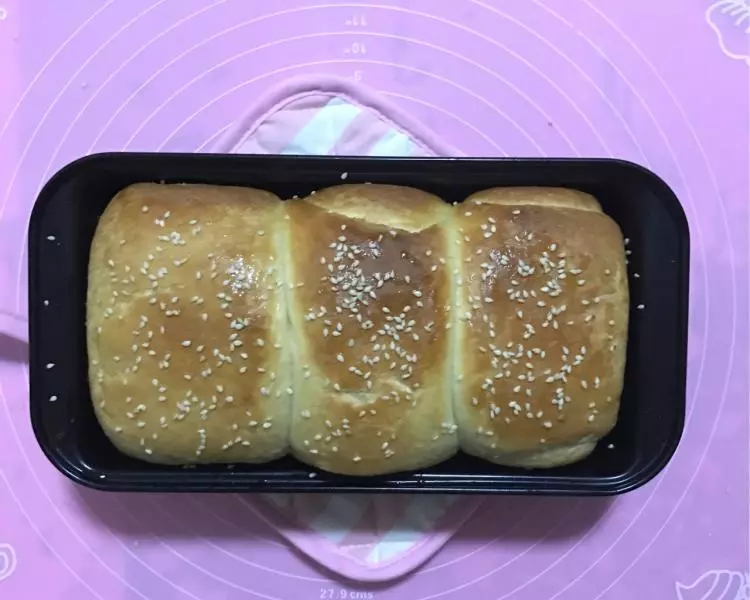
23松软可口 可以撕着吃 有兴趣的各位可以试试 这个方子可能会比其他方子简单很多 多图详解 一边和面一边去洗手拍照哈哈哈哈