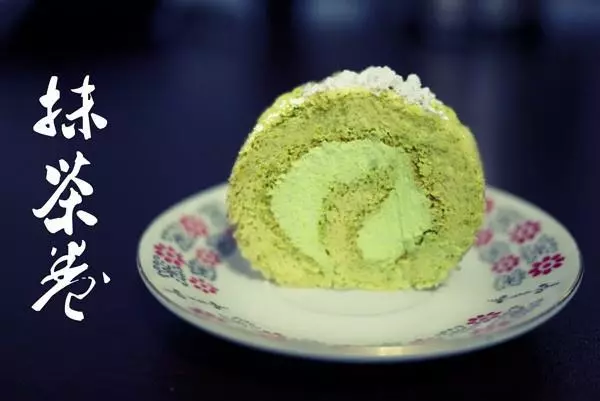
原料
三能金盘: 一个, 油布: 一张, 蛋白糊(四个蛋白): , 细砂糖: 60g, 柠檬汁/香草精: 适量少许, 蛋黄糊(四个蛋黄): , 细砂糖: 20g, 抹茶粉(日本): 10g, 橄榄油: 60g, 低筋面粉: 60g, 奶油: , 糖粉: 20g, 安佳奶油: 150g
步骤
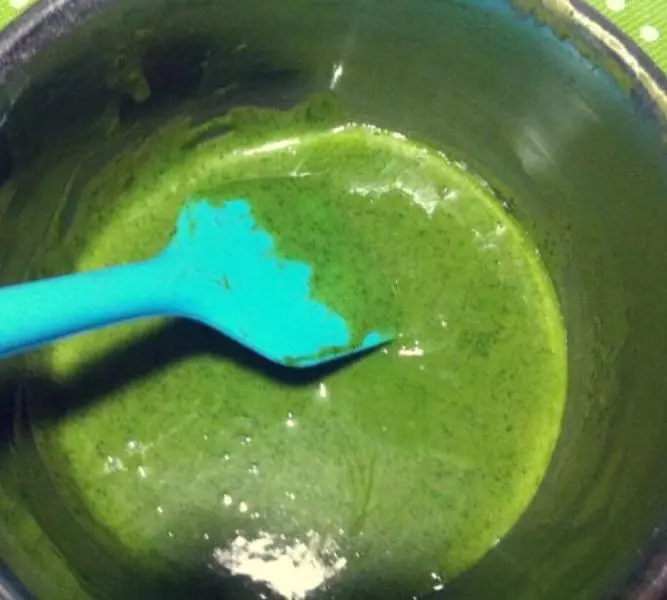
1第一步先用热水冲开抹茶粉,用勺子把所有的颗粒都融化,根据经验,日本买来的抹茶粉放10g就够了,国内的抹茶粉可以酌情加到15g。
2制作蛋黄糊,分三次加入细砂糖和橄榄油,不停的搅拌,直至搅拌均匀后加入完全搅拌好的抹茶液?
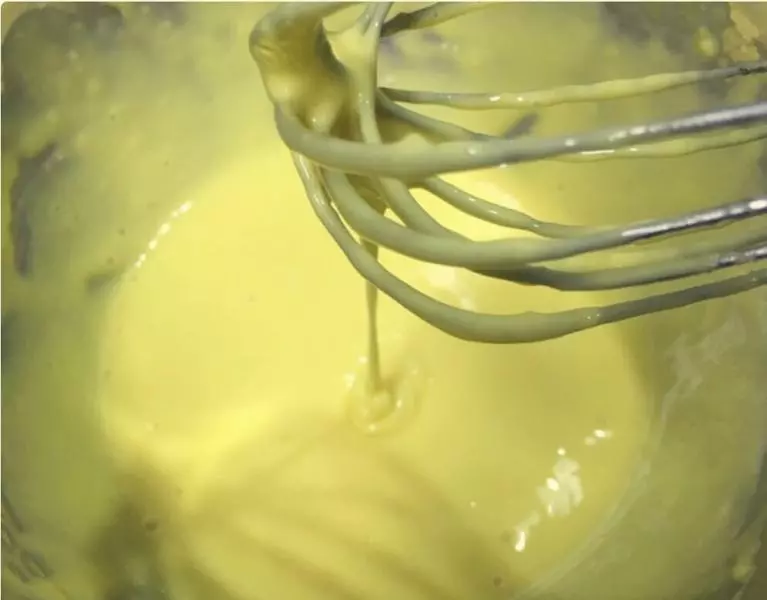
3低筋面粉过筛加入蛋黄糊,这个时候不要打圈圈搅拌,要用“z”字型,将面糊的小气泡搅拌完成,期间可以轻轻震动,将气泡慢慢融化。
4制作蛋白糊主要就是要用机器耐心搅拌,依然分三次加入糖粉,机器慢慢加速慢慢减速,不要一次调到最高度或者一次关闭机器。
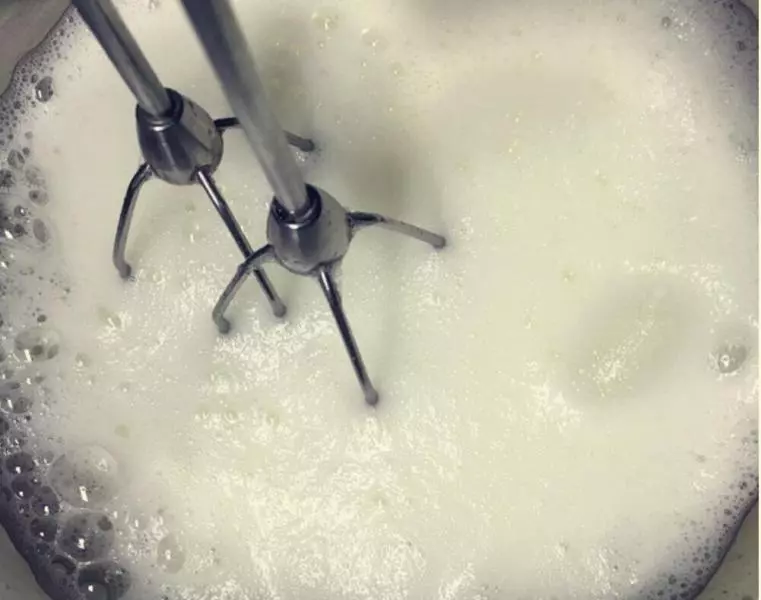
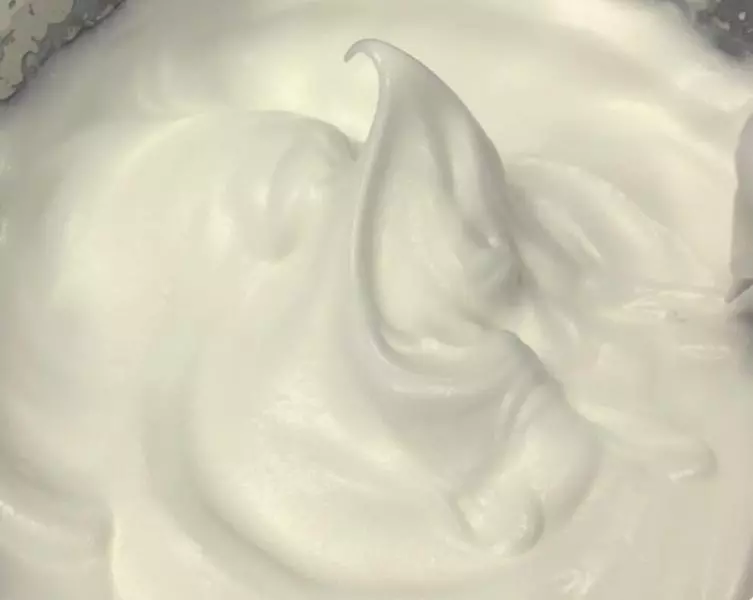
5蛋白糊打到可以倒扣不掉下来,有小角出现就说明ok啦!
6将蛋白糊分三次加入蛋黄糊中,搅拌好的糊倒入三能金盘中。烘培时间:160°烘培20分钟

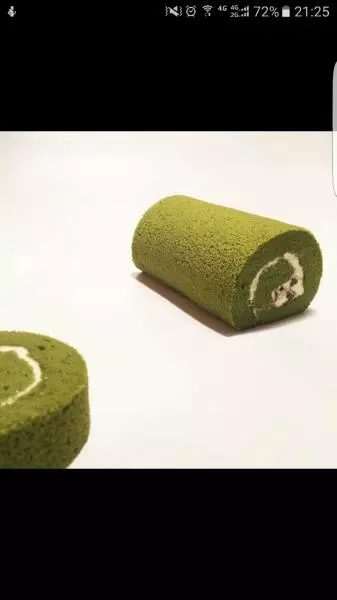
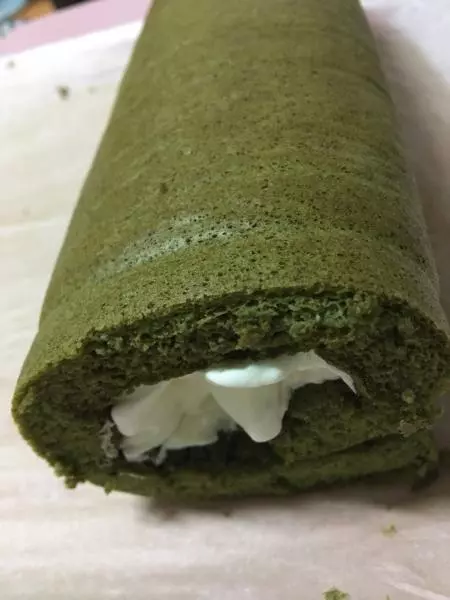
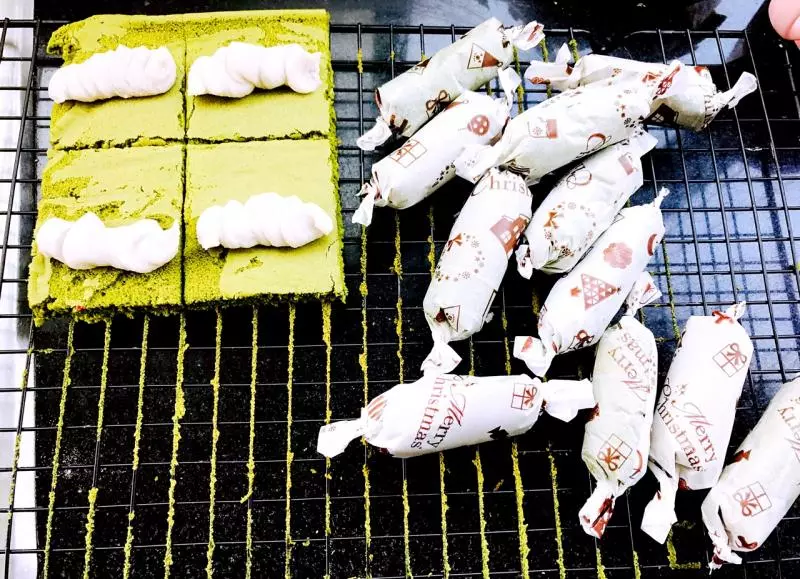
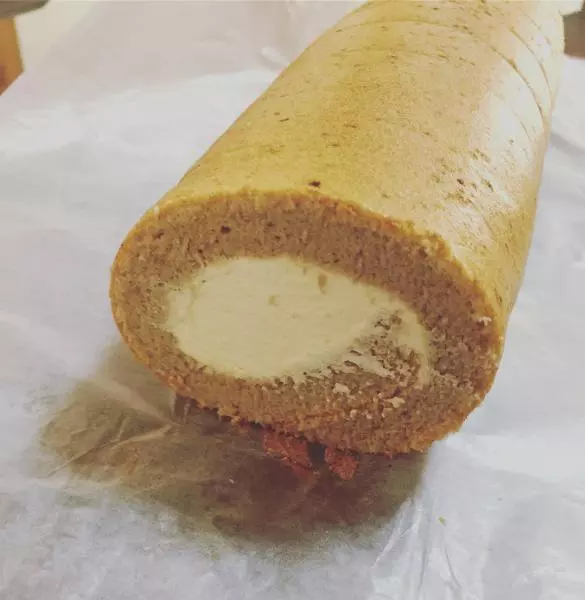
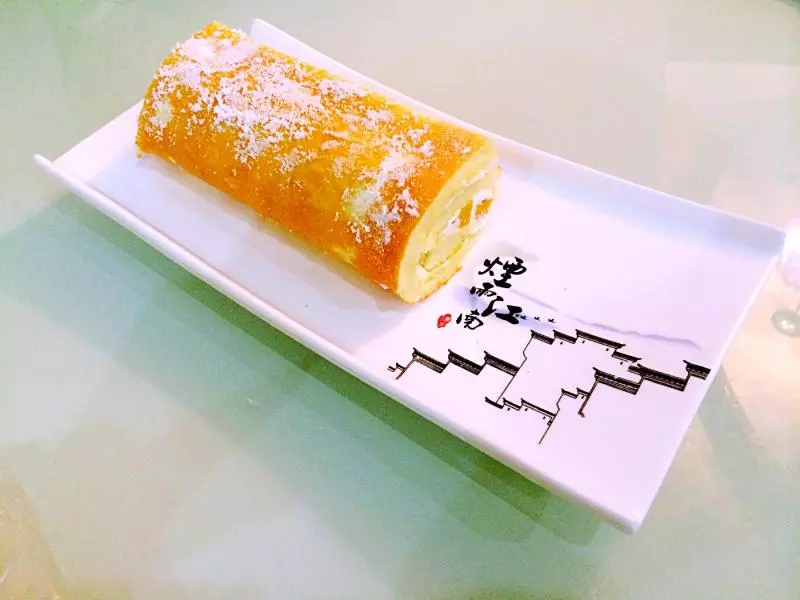
7趁热用油纸卷起来,让蛋糕皮卷曲。
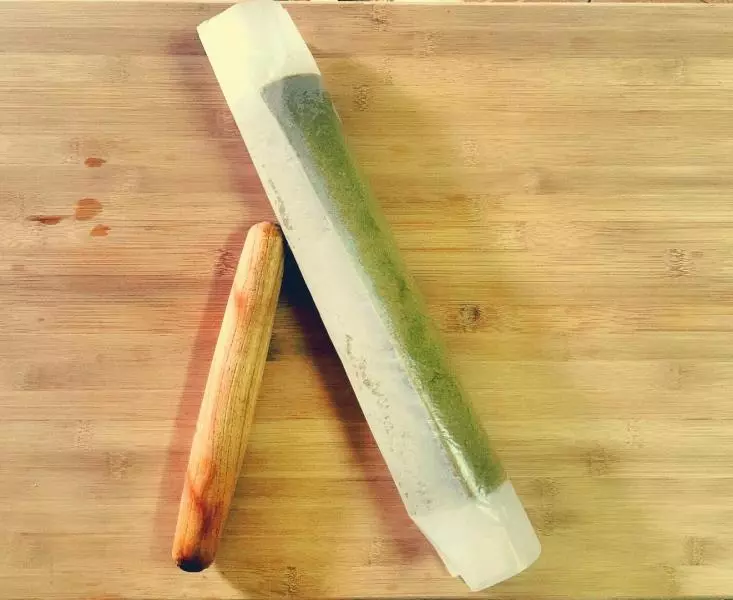
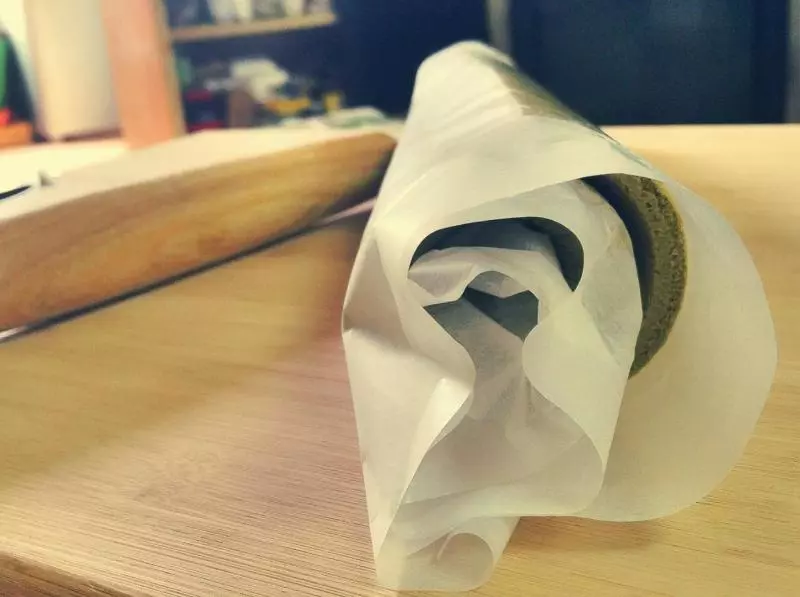
8像这样卷起来。
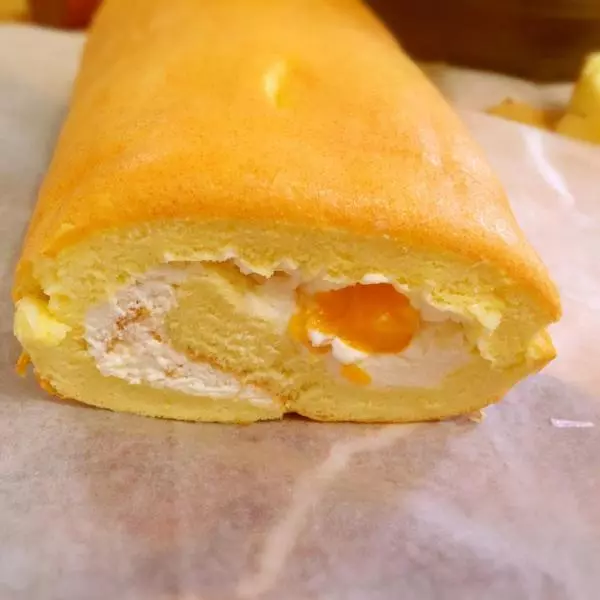
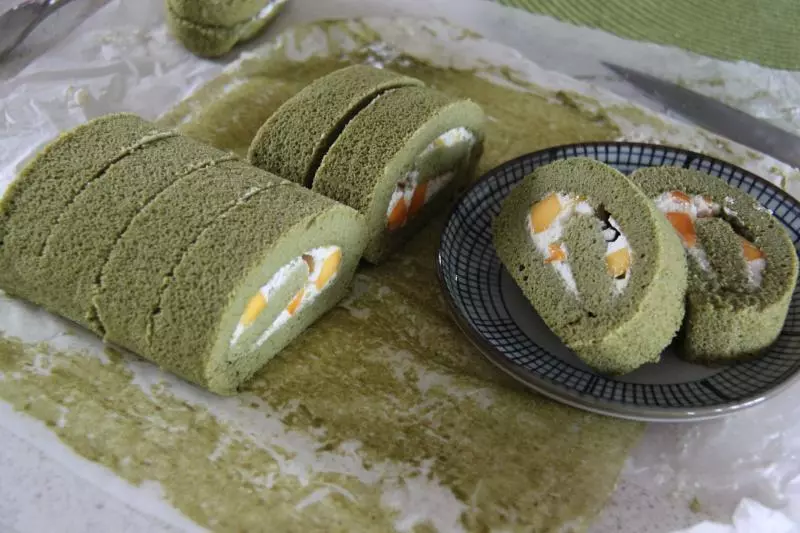
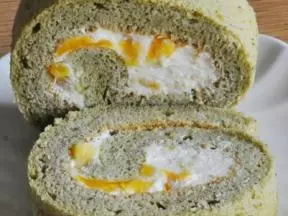
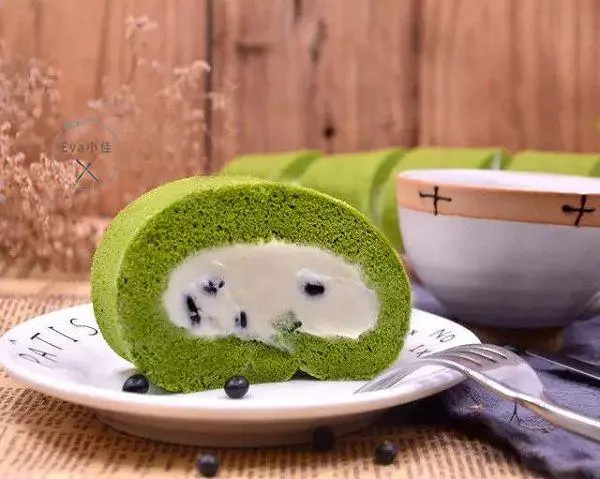
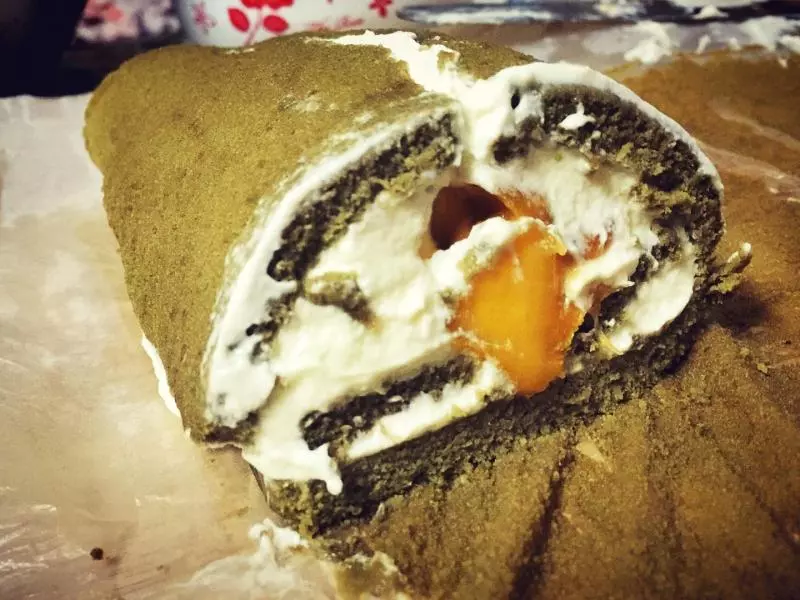
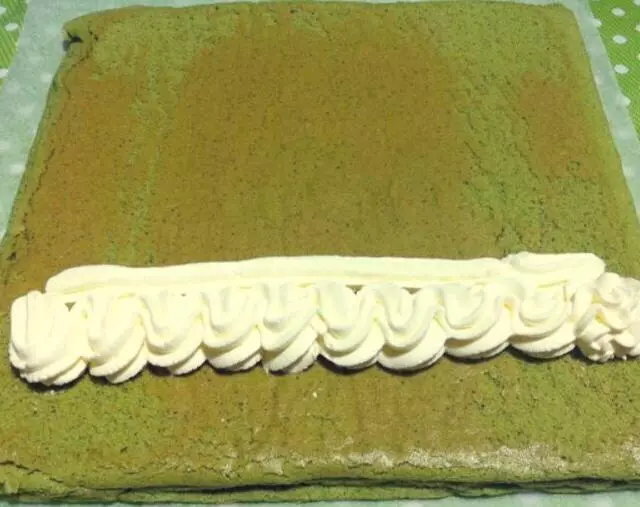
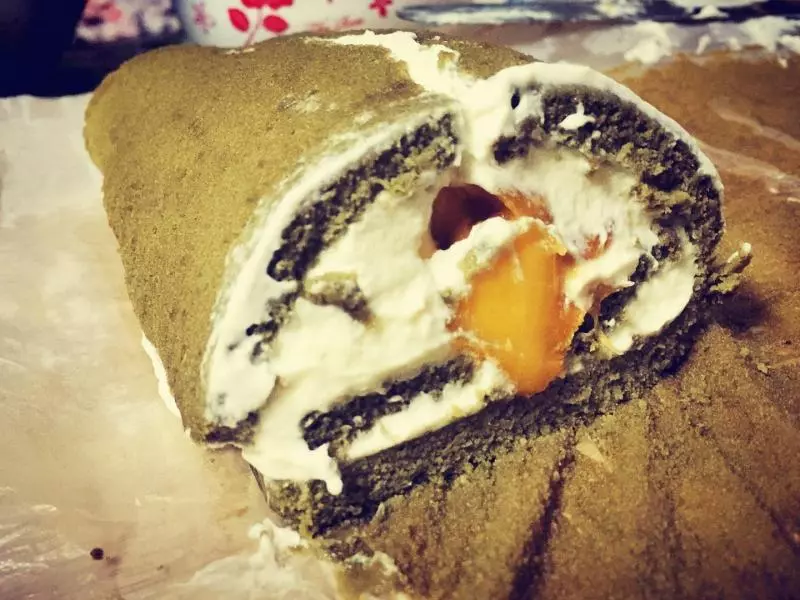
9定型好了之后抹上打好的奶油,中间多两头少,比较好卷起来。
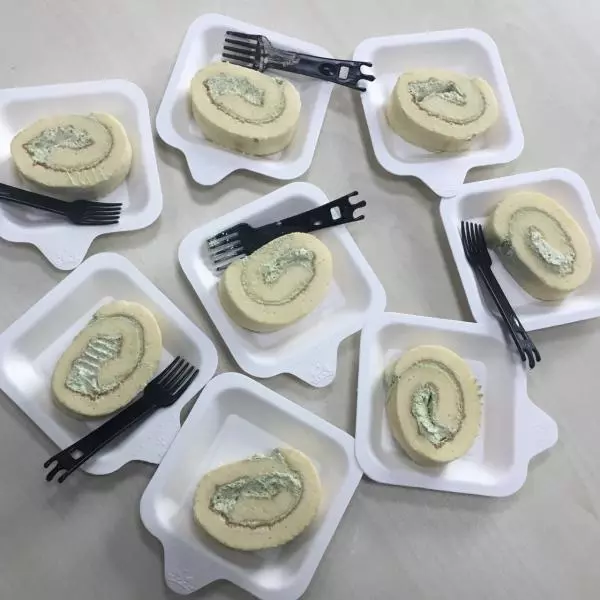
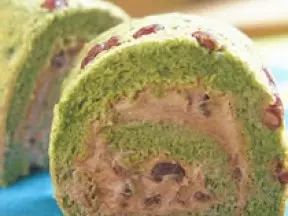
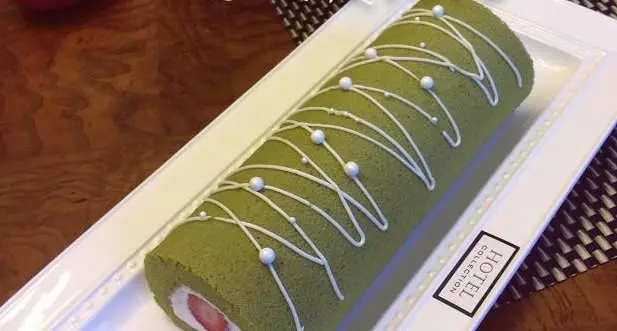
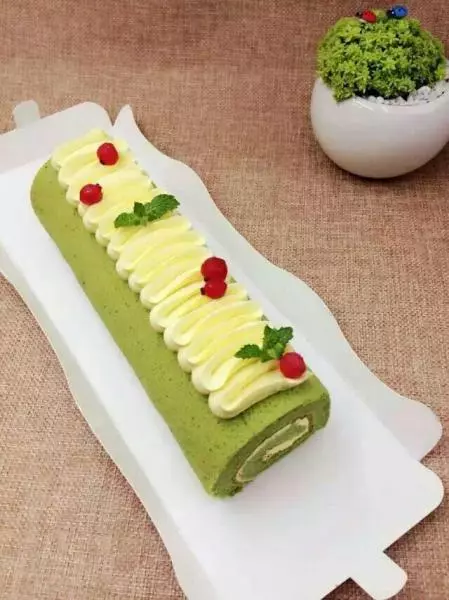
10加上切好的芒果卷起来就大功告成啦!
小技巧
油纸定型不能太长时间,要不然蛋糕会粘在油纸上哟~