原料
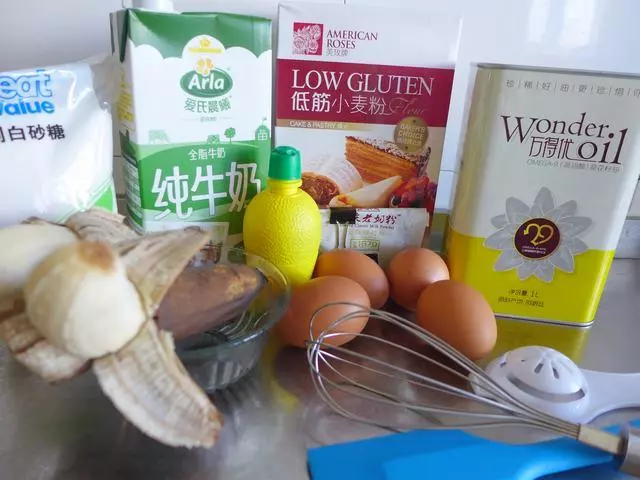
鸡蛋: 4个, 低筋粉: 80克, 葵花籽油: 30克, 牛奶: 50克, 砂糖: 35克, 奶粉: 5克, 熟香蕉(去皮): 100克, 柠檬汁: 3-5滴
步骤
1准备所需食材;
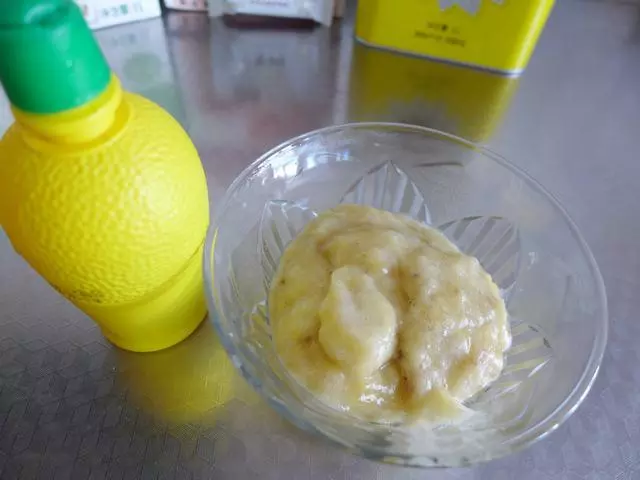
2把香蕉装入保鲜袋中,压成香蕉泥;

3在香蕉泥里加点柠檬汁备用;
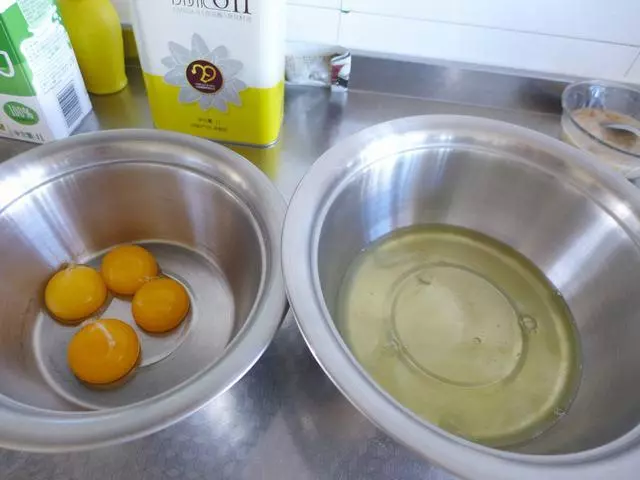
4将鸡蛋的蛋清和蛋黄分开;
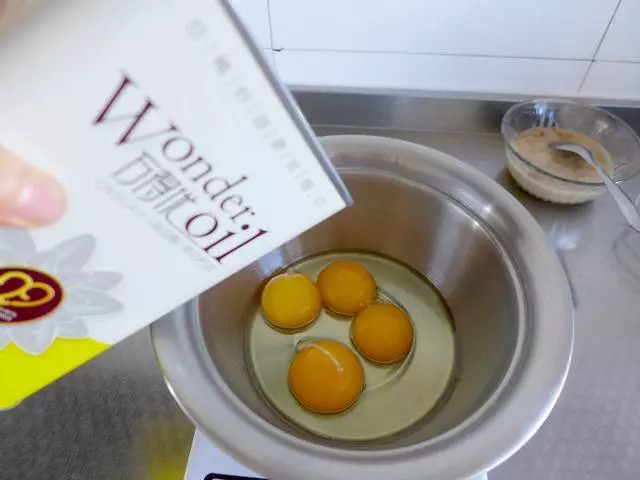
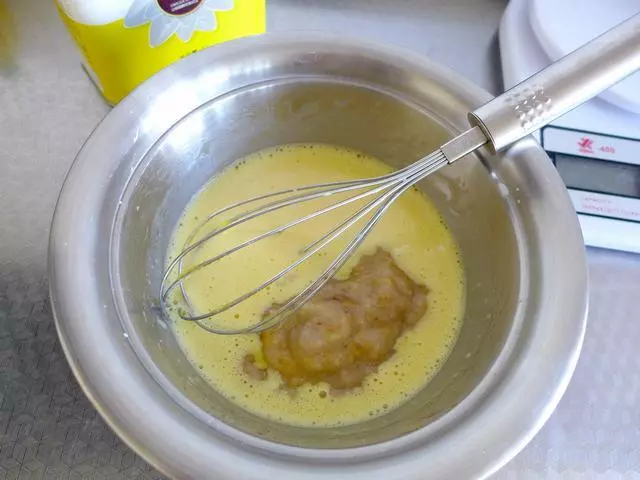
5在蛋黄中加入葵花籽油,充分打散,搅拌均匀;
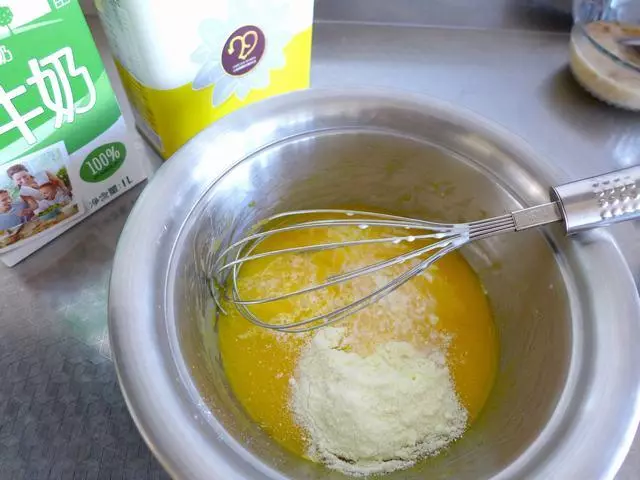
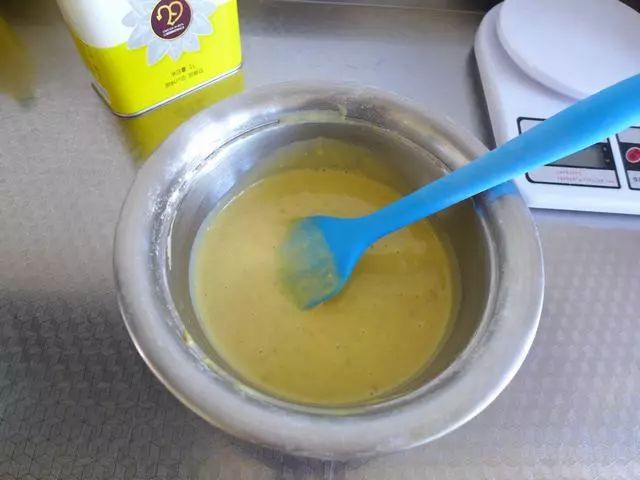
6继续加入牛奶和奶粉,搅拌均匀;
7加入香蕉泥,搅拌均匀;
8加入过筛的低筋面粉;
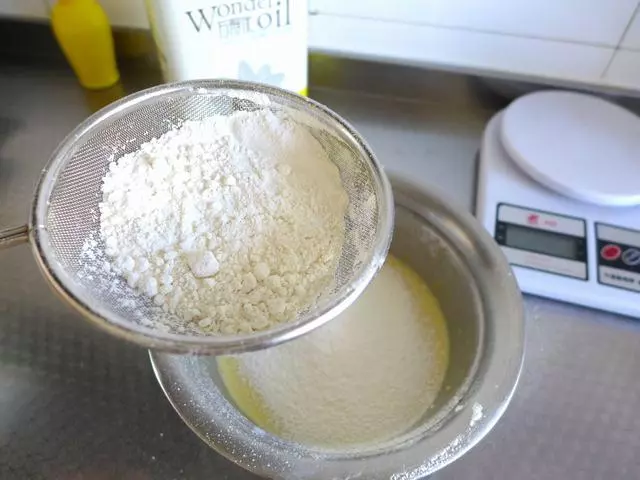
9轻轻地翻拌至光滑无颗粒;
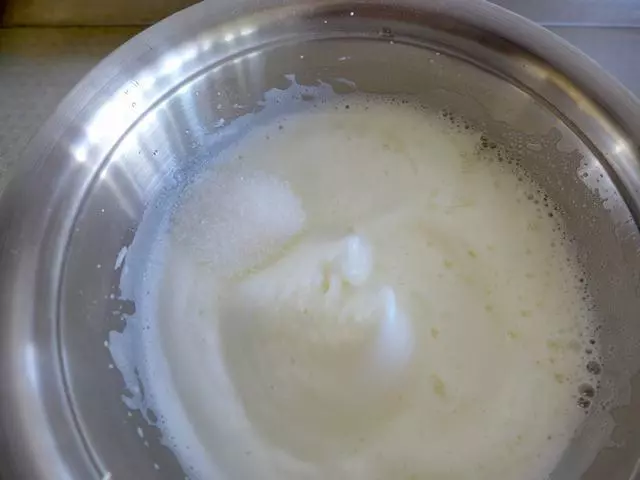
10用电动打蛋器将蛋清打至粗泡,加20克砂糖;
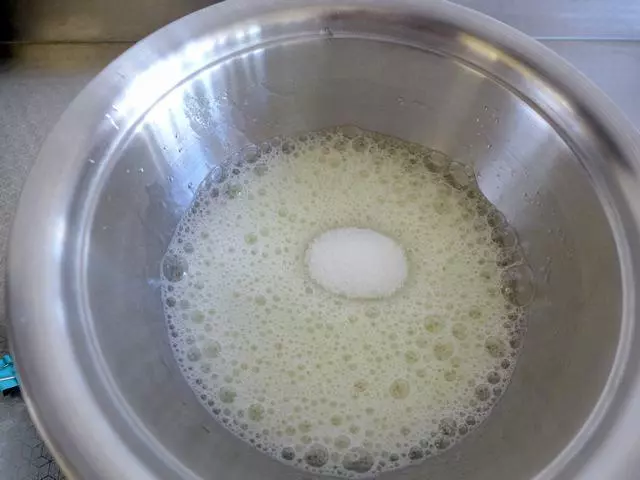
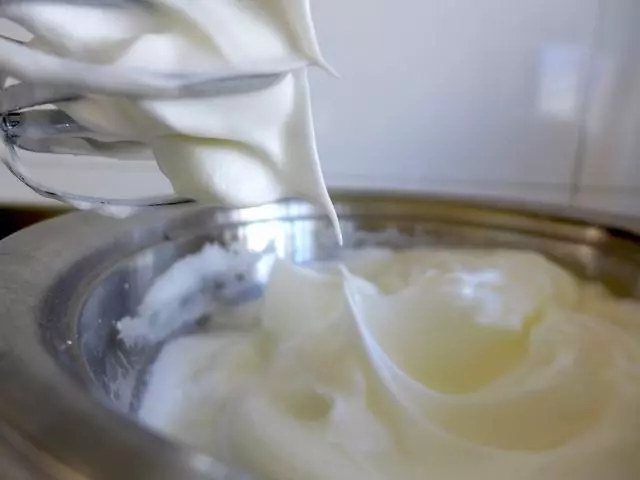
11打发至细腻泡泡时再加入剩下的15克砂糖继续打发;
12打至纹路更明显且光滑雪白,抬起打蛋头,尾端呈坚挺三角状,此时为偏干性发泡,约9分发,为戚风蛋糕蛋白打发最佳状态;
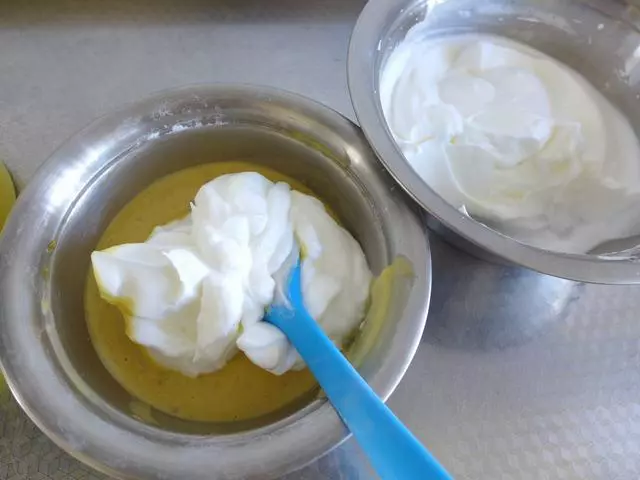
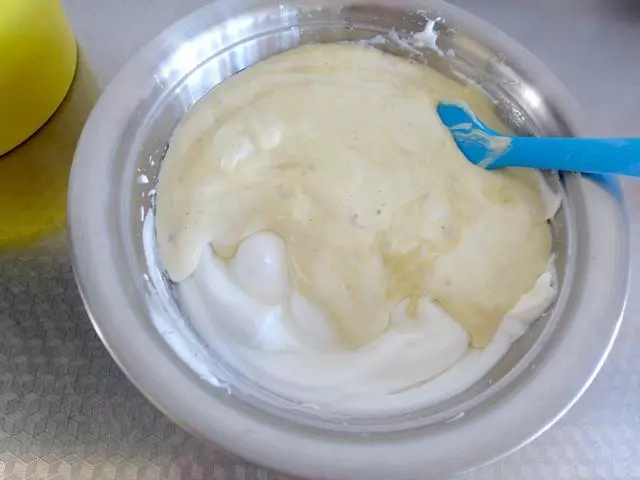
13香蕉蛋黄面糊里加三分之一打好的蛋白糊;
14用刮刀上下翻拌搅拌均匀;
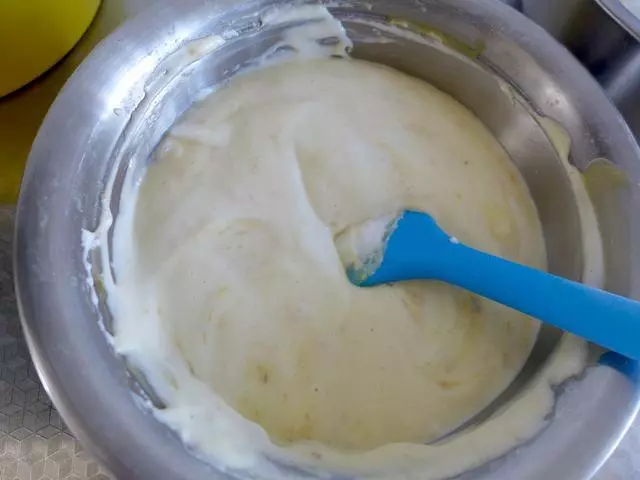
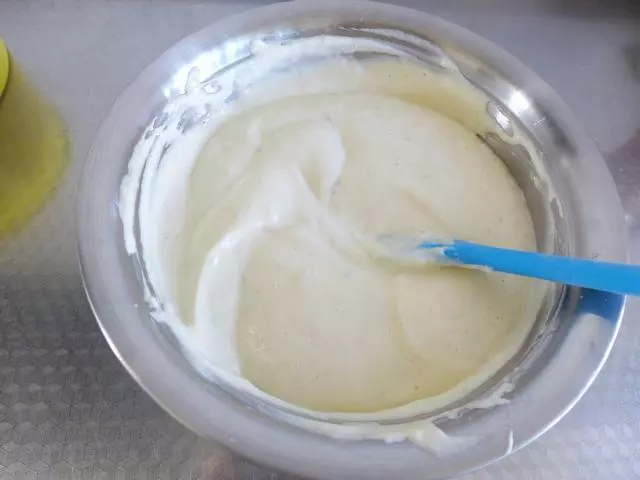
15把拌好的蛋糕面糊倒回剩下的2/3蛋白糊内;
16快速的上下翻拌搅拌均匀;
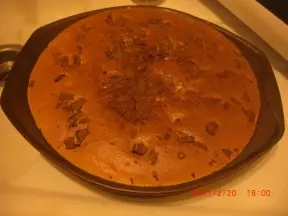
17最后把面糊倒入活底的蛋糕模具内,用力震两三下;
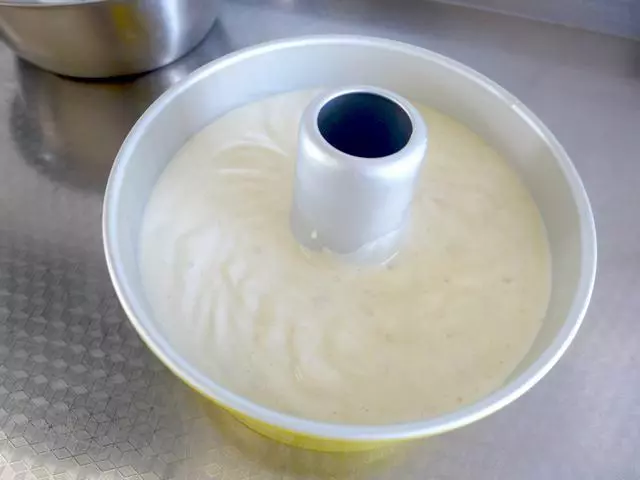
18放入烤箱下层,烤箱温度150度,定时60分钟;

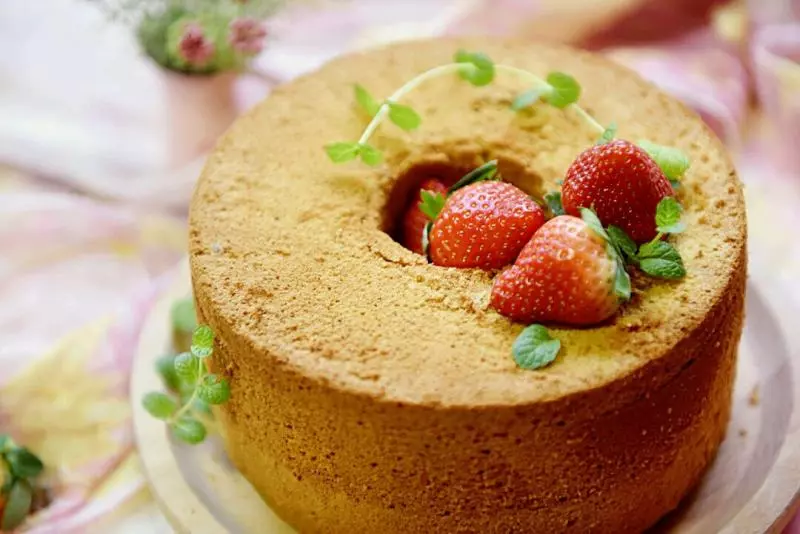
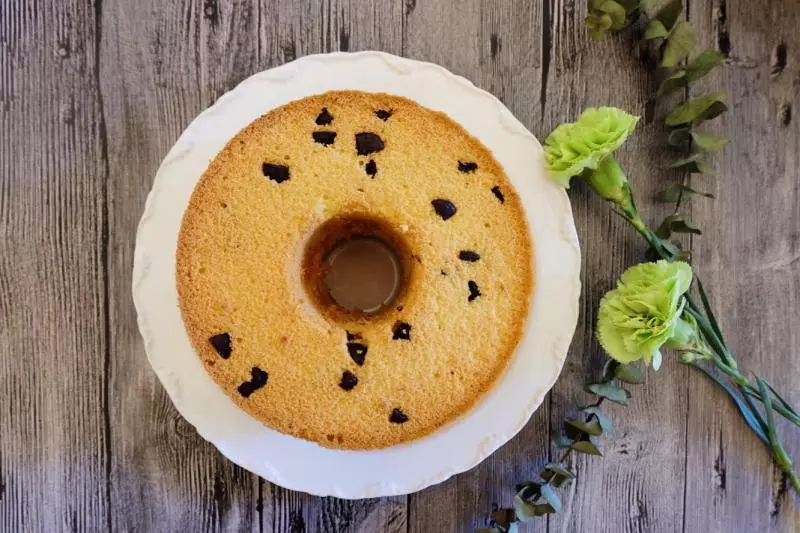
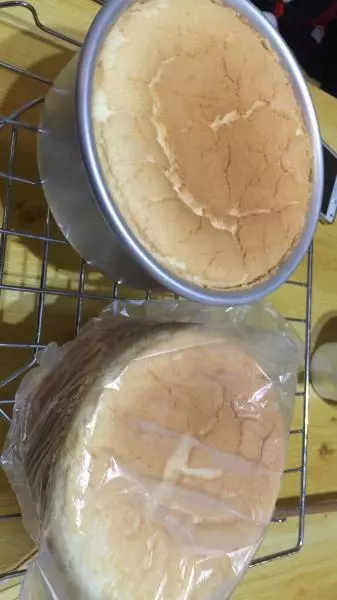
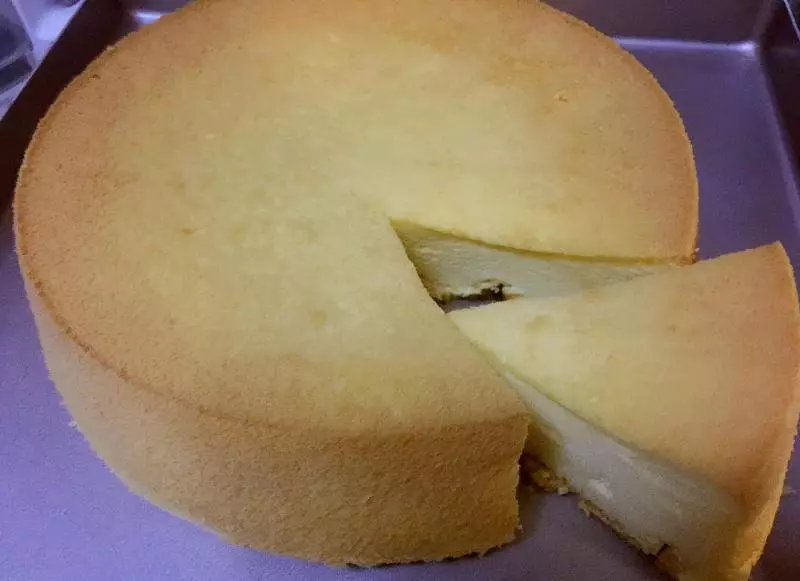
19烤好后取出马上倒扣;
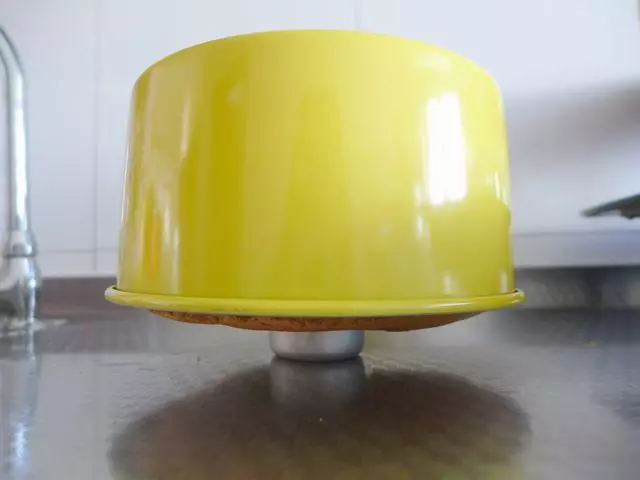
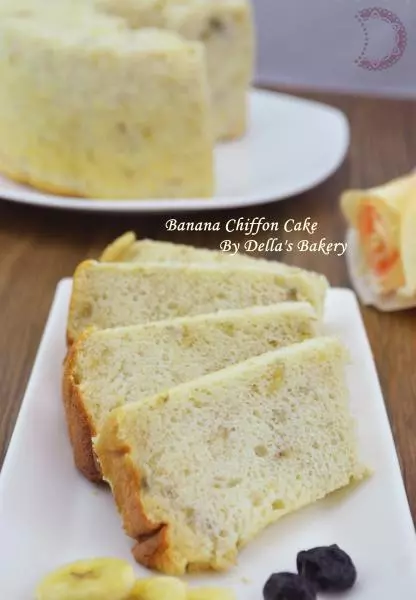
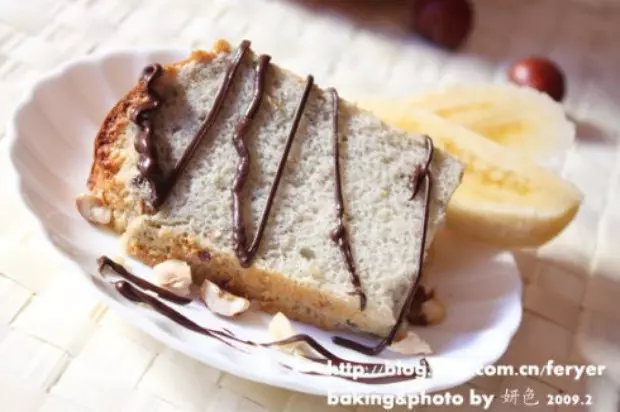
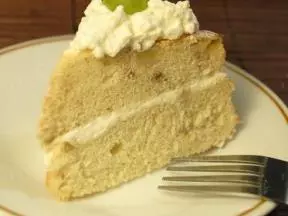
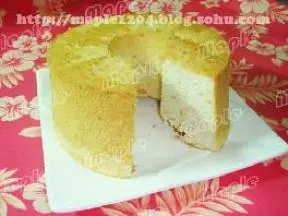
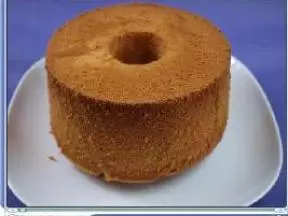
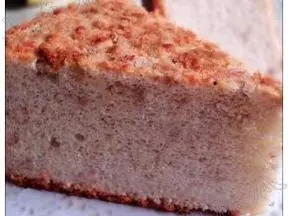
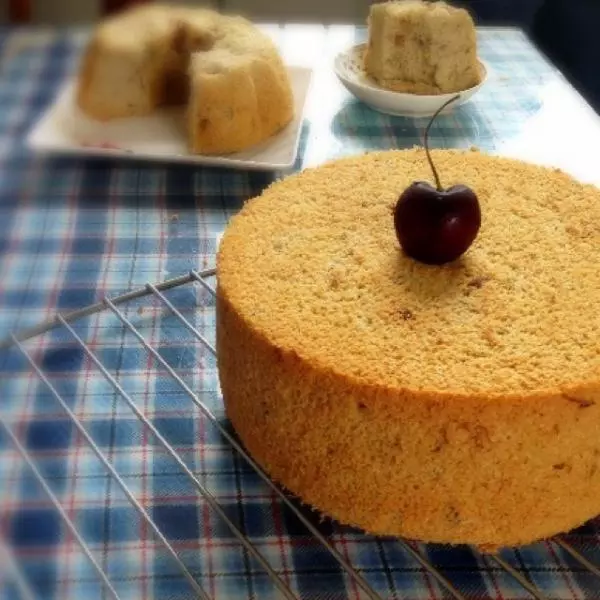
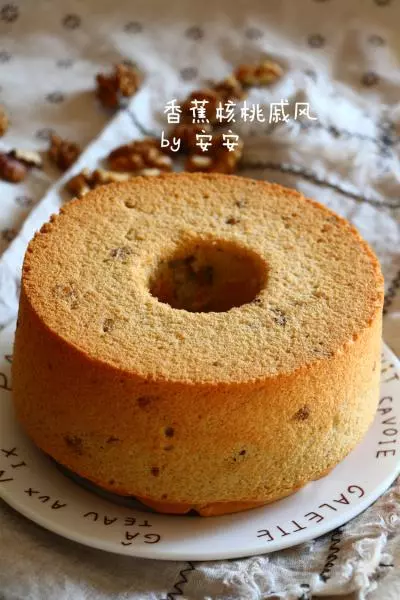
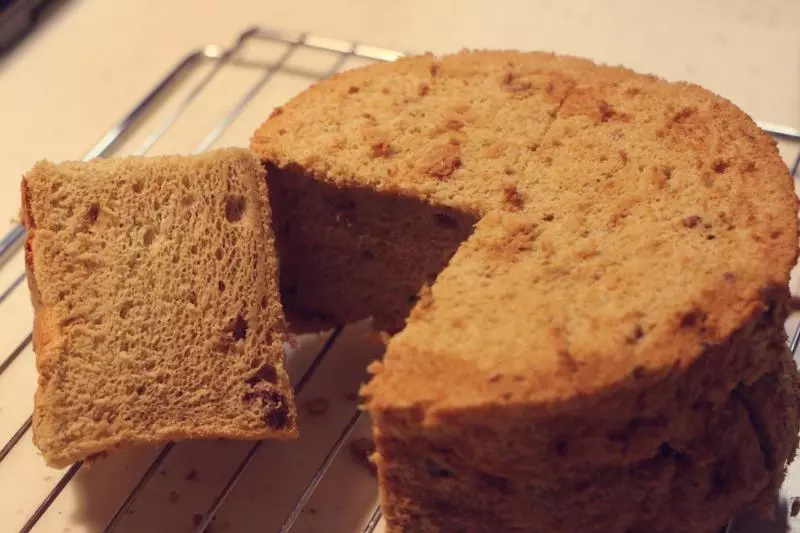
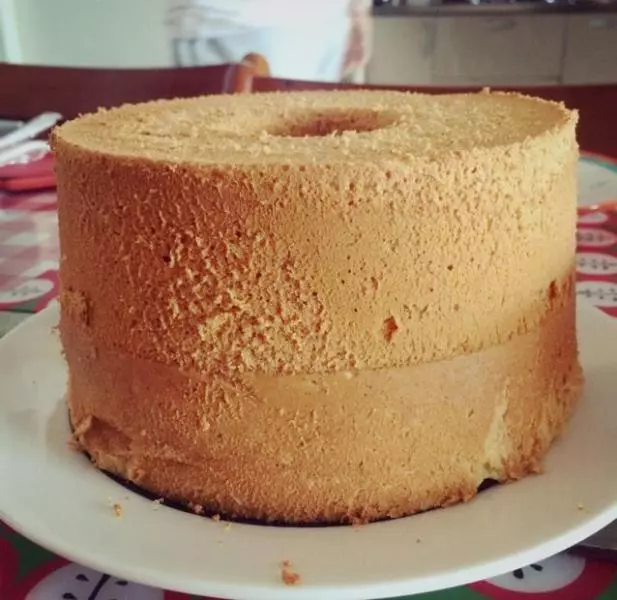
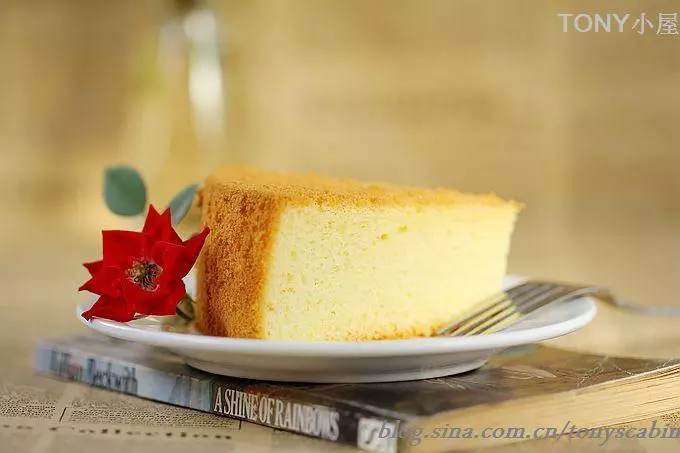
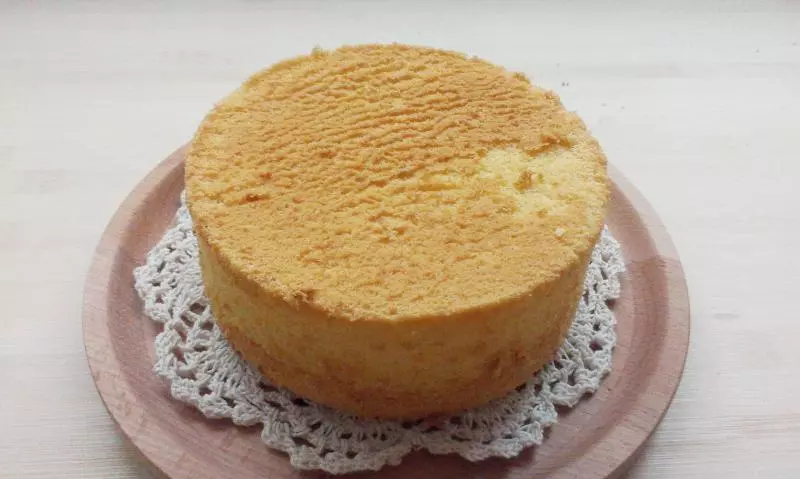
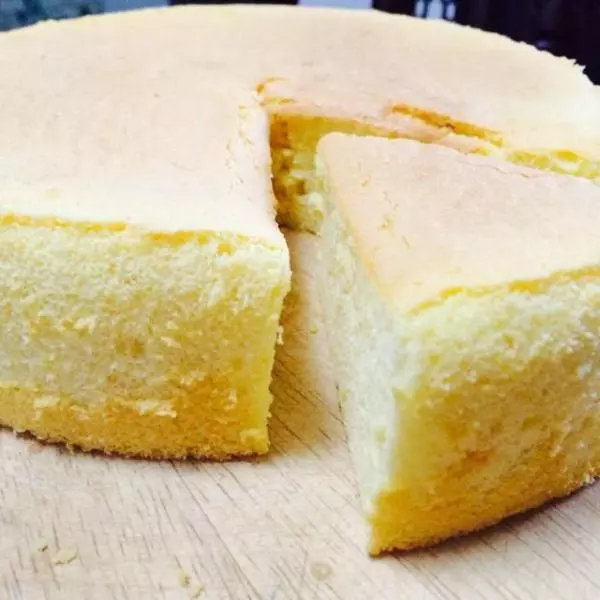
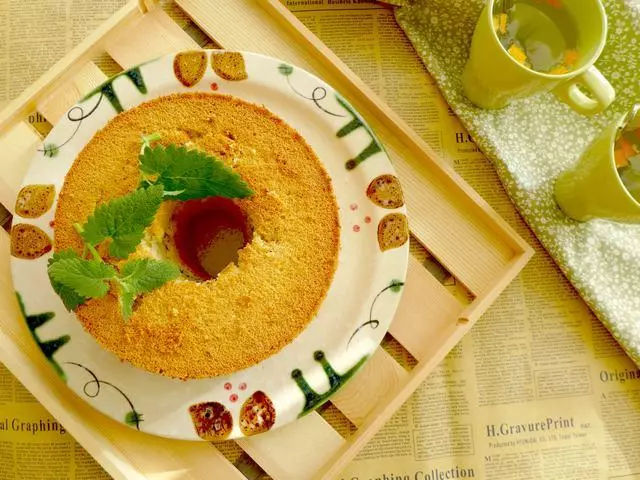
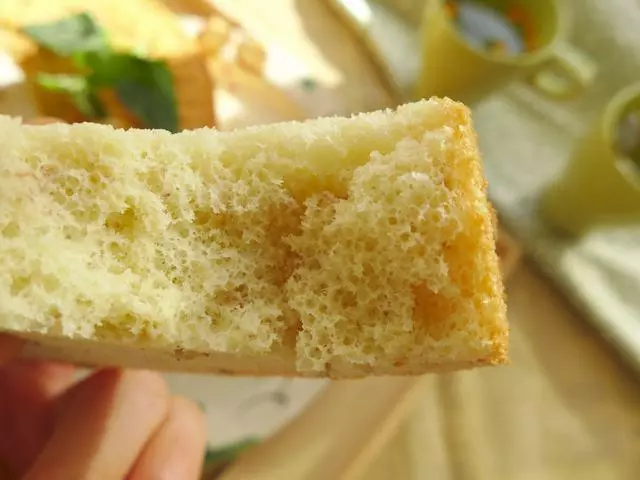
20放凉后脱模,即可食用。
小技巧
1、香蕉泥中含有一定的水分,因此这个方子中,牛奶用量不多; 2、整个蛋糕用砂糖35克,全部加在了蛋白打发过程中,香蕉比较甜,我觉得口感清新非常好。