原料
鸡蛋: 12, 细砂糖: 300克, 低粉: 330克, 食用油(色拉油): 180克, 奶酪霜:奶油奶酪: 300克, 奶酪霜:黄油: 80克, 奶酪霜:糖粉: 90克
步骤
1鸡蛋打入盆里,加细砂糖隔40度左右的温水打发。
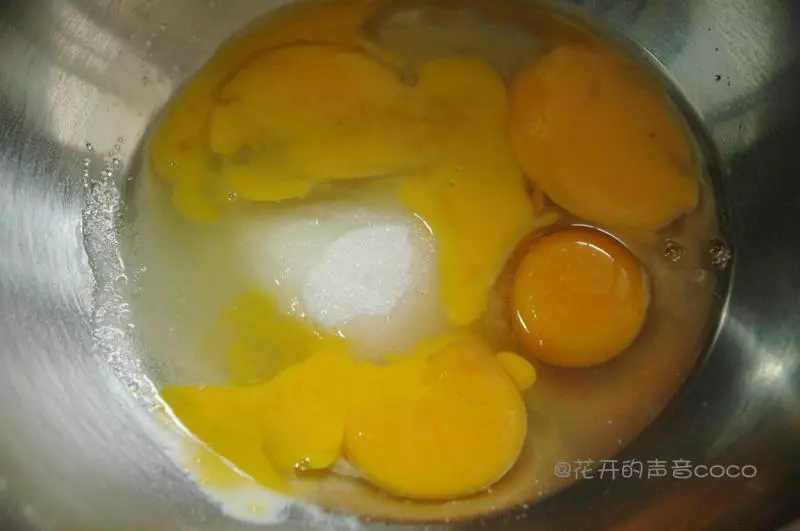
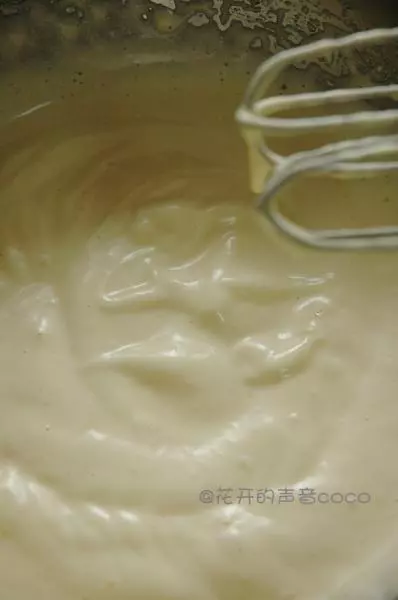
2将容器放入约40——50度的温水里(手摸上去感觉到温热就可以了,因为人体的温度大约是37度左右),用电动打蛋器用低速打散,继续用电动打蛋器中速打发,可以看见蛋液的颜色渐渐地变浅。继续用高速打发,这个时候的可以看见蛋液中的泡沫变细腻了。继续高速——低速——高速——低速打发,期间要把打蛋头提起来检查打发的状态,直到打蛋头提起来上面的蛋糊1分钟内不会滴落就可以了。蛋糊滴落在面糊里,也不会立即消失,这个样子就算是打发好了。
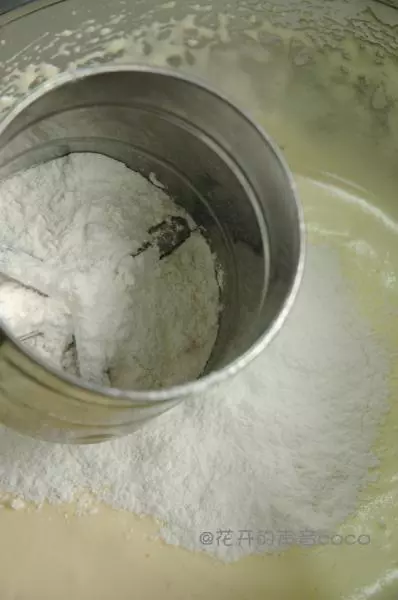
3一次性加入低粉,用橡皮刮刀以切拌和翻拌的手法拌匀,这个动作要快,尽量半分钟之内完全,防止消泡。
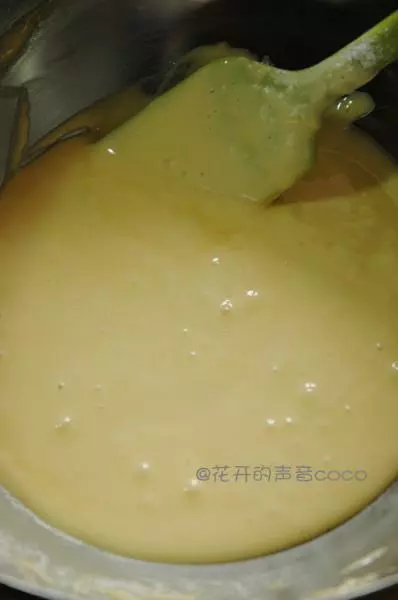
4取一部分面糊和色拉油和匀,然后再倒入面糊里拌匀,这样可以防止油水分离。
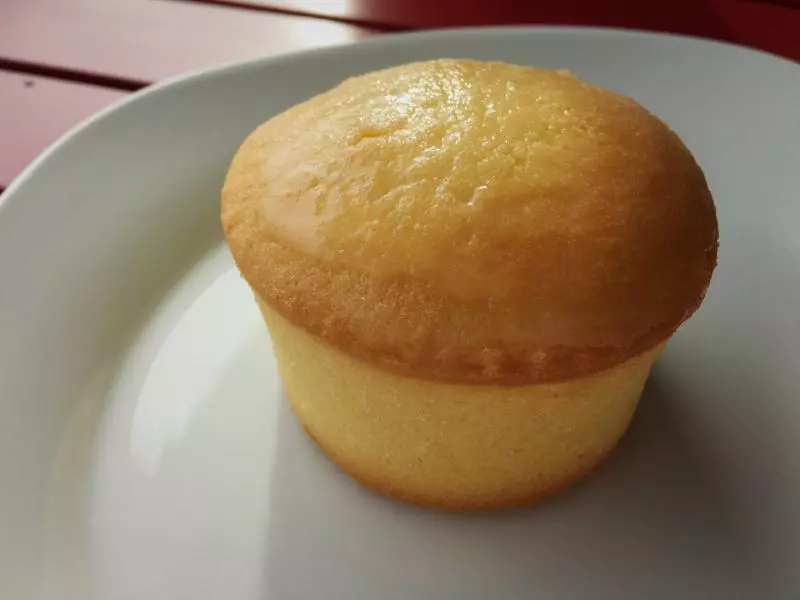
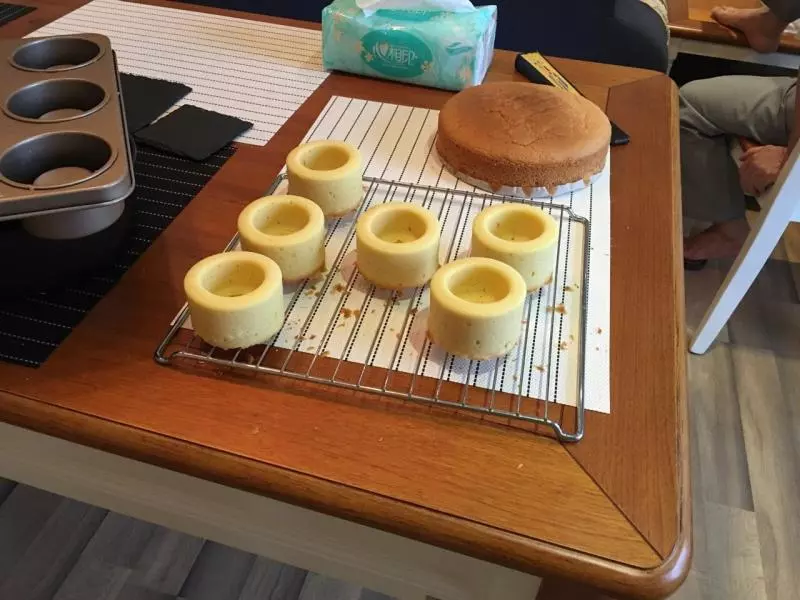
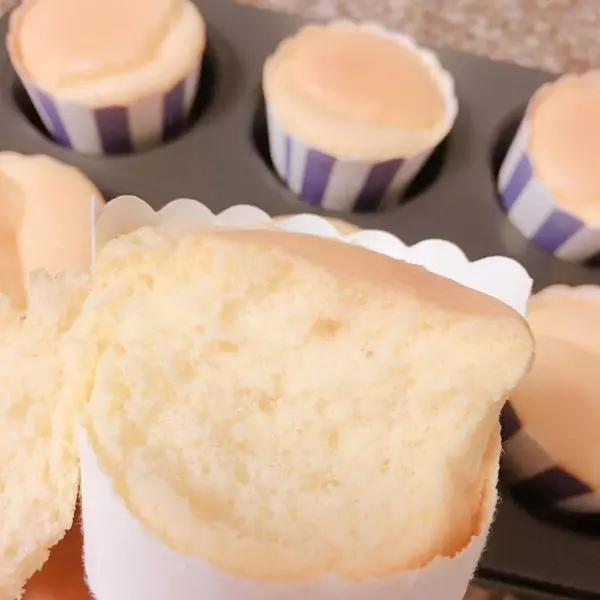
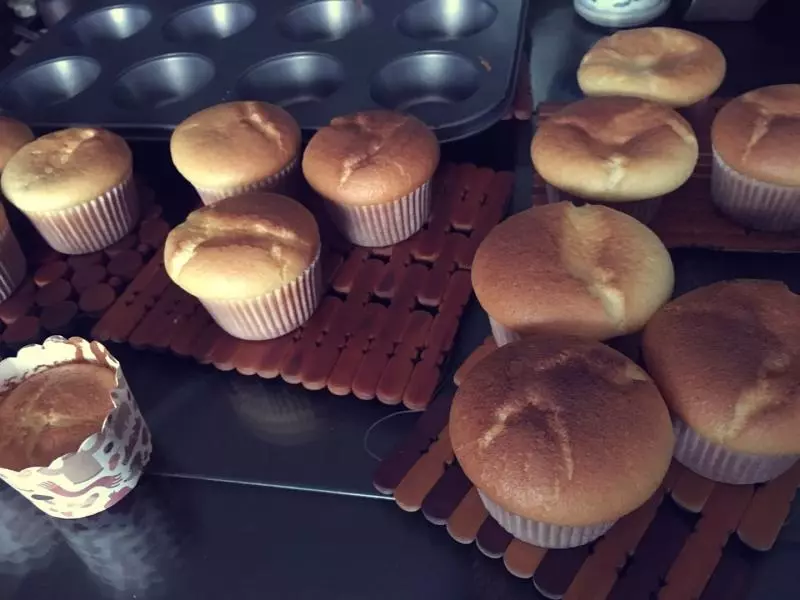
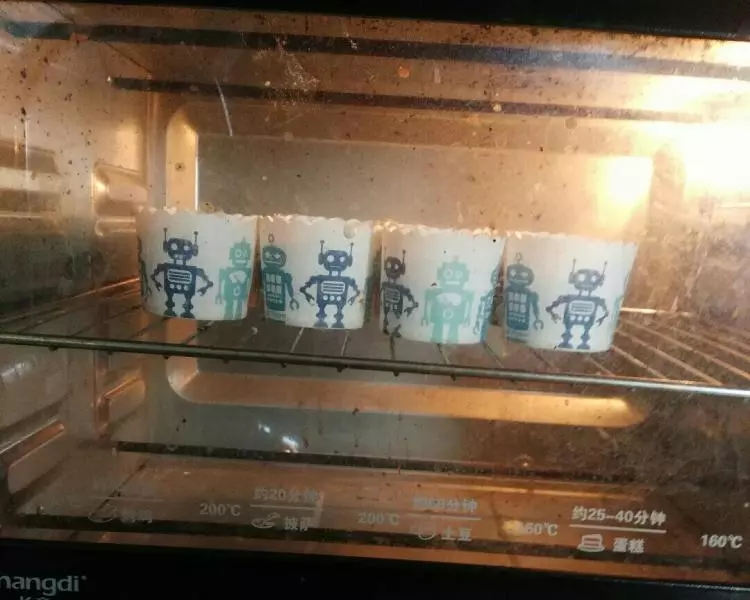
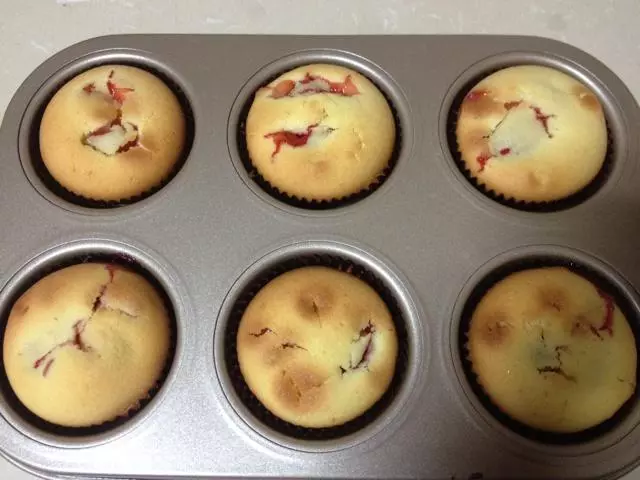
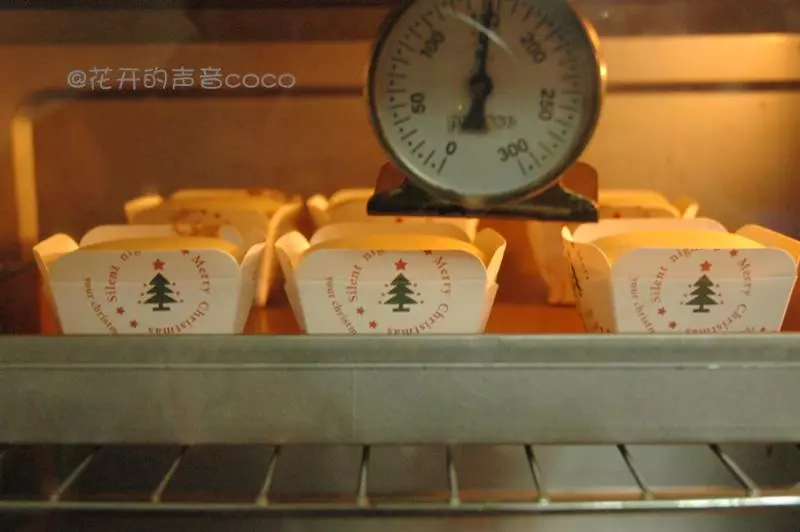
5烤箱预热150度,中层烤制30分钟左右,具体时间根据每个人烤箱的功率、纸杯蛋糕的大小来决定的。
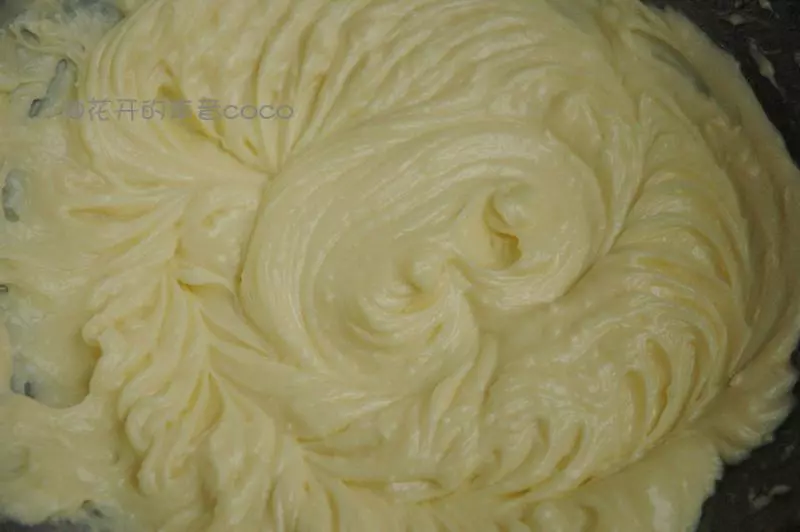
6烤制蛋糕的时间,我们可以来制作奶酪霜。提前把黄油和奶油奶酪放室温下软化黄油加入糖粉先打发至融合在一起就可以了,再加入软化的奶油奶酪用橡皮刮刀大概拌匀,用电动打蛋器继续打发。
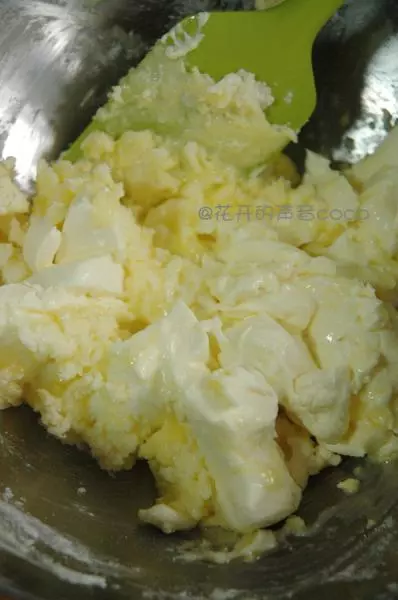
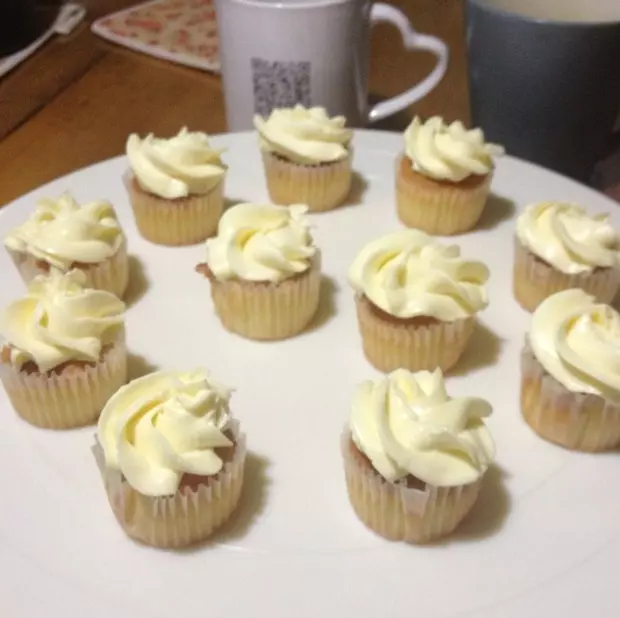
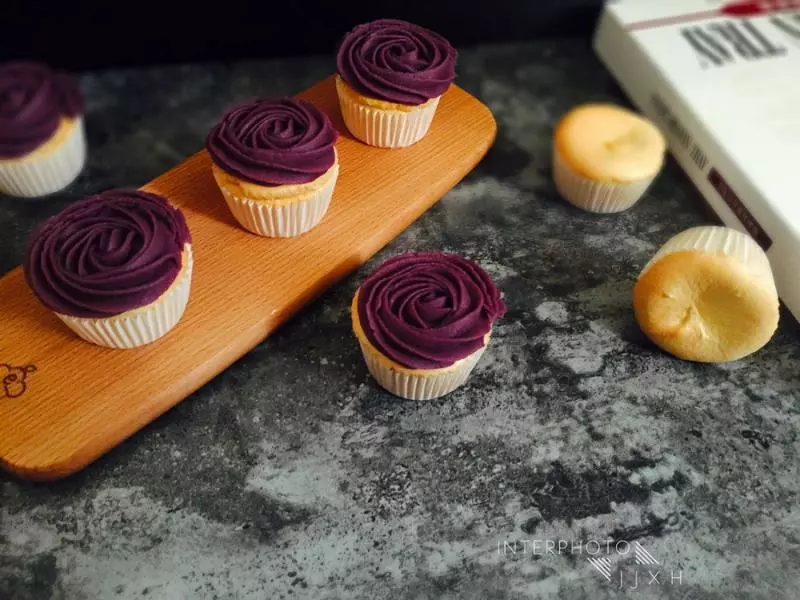
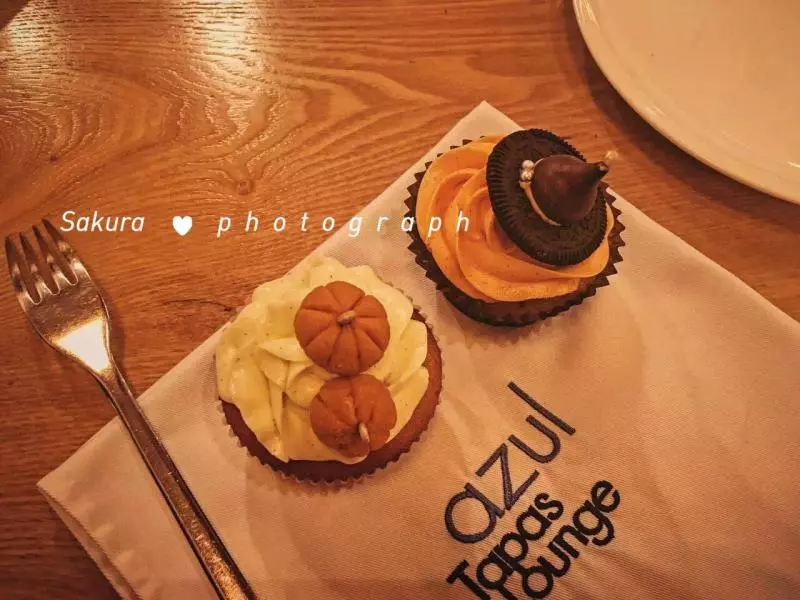
7只要打发成轻盈的霜状就可以了,等纸杯蛋糕烤好以后,拿出来冷却后就可以在上面裱花了。
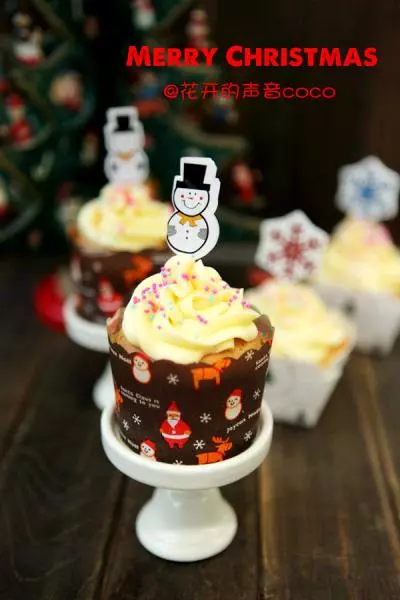
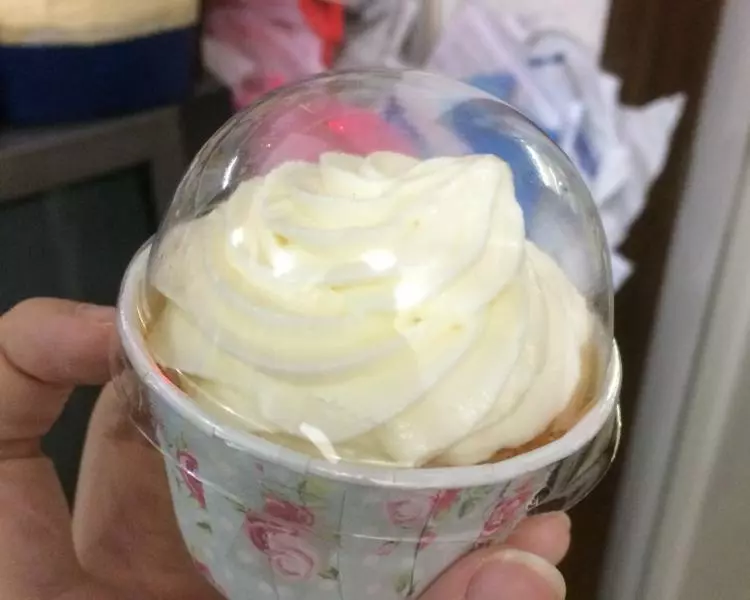
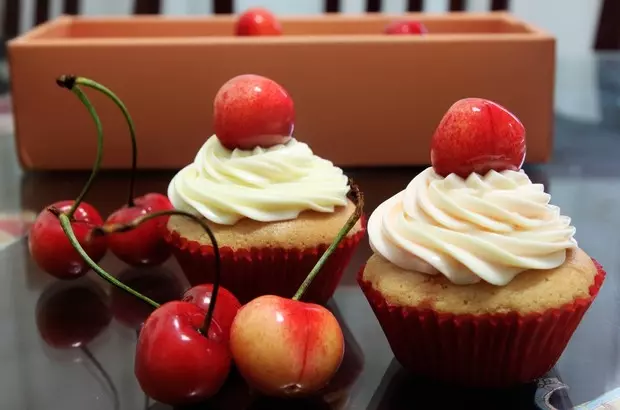
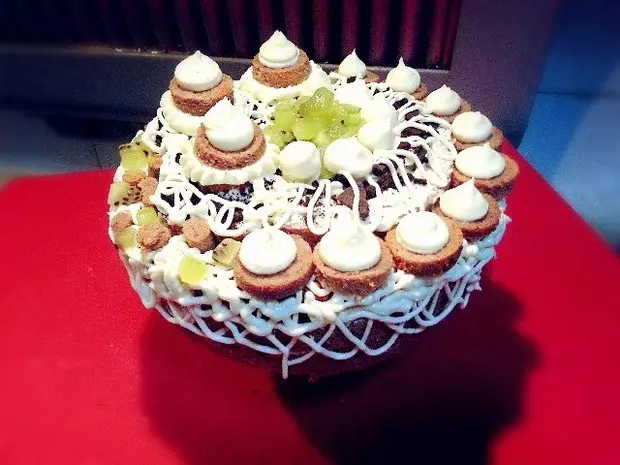
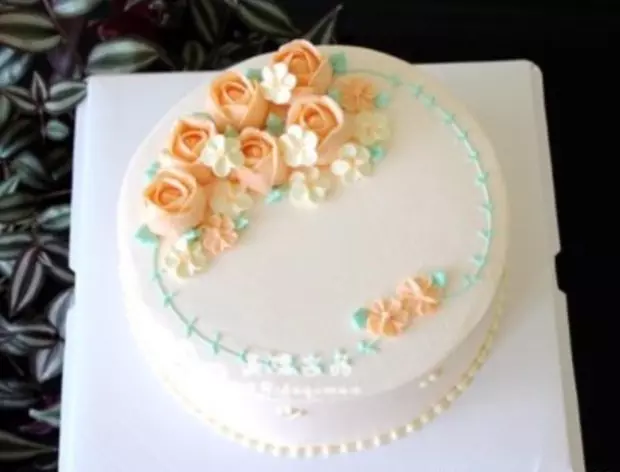
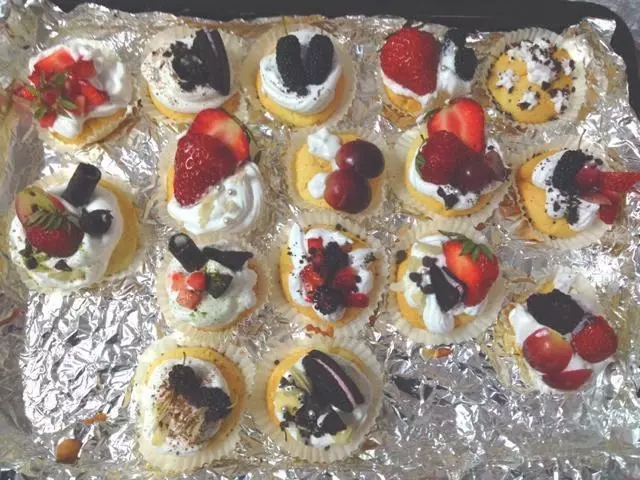
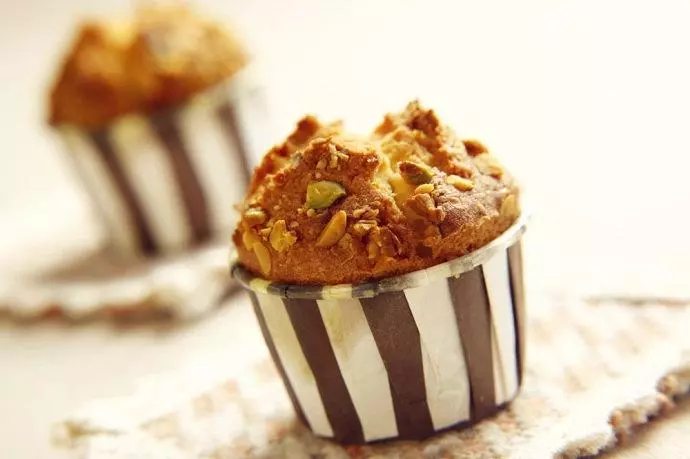
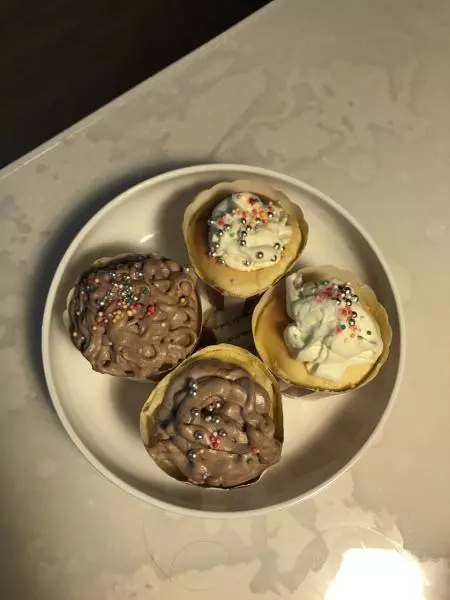
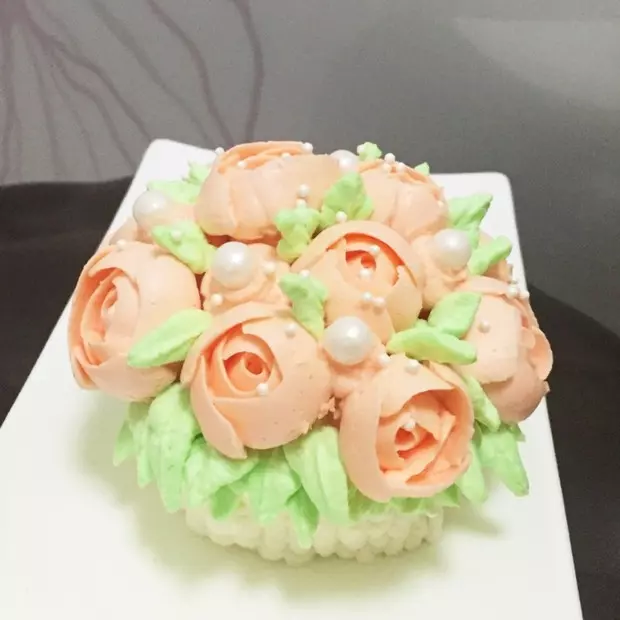
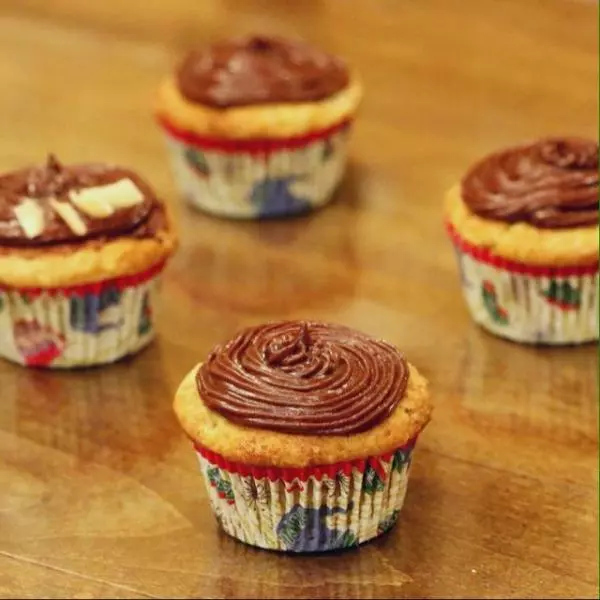
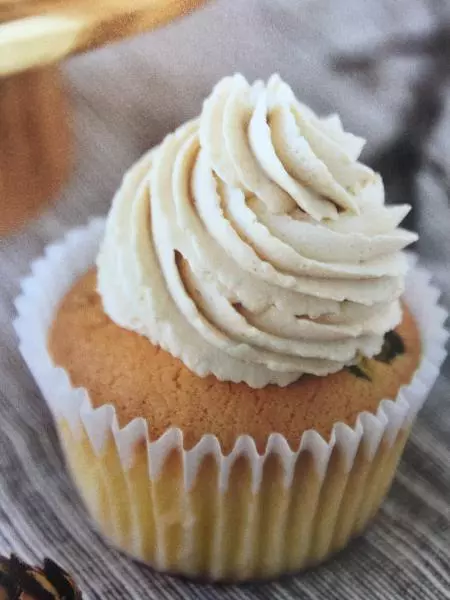
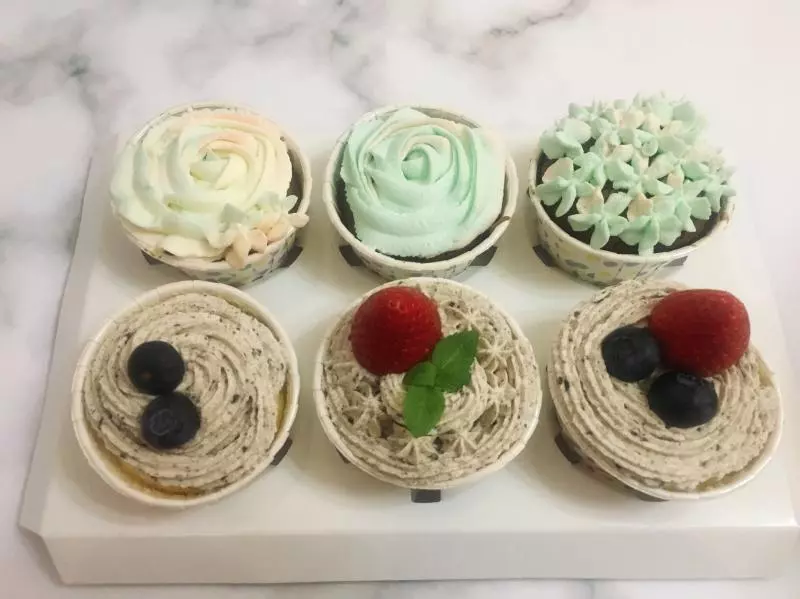
8成品图
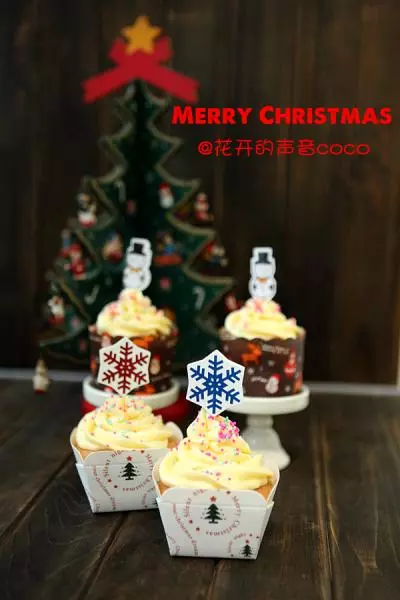
9成品图
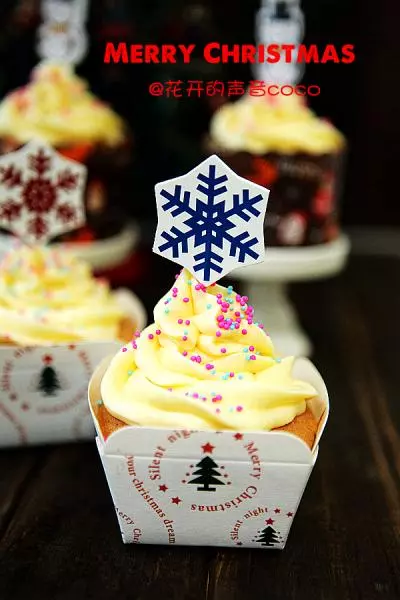
10成品图