原料
熬糖材料:: , 水: 90克, 细砂糖: 130克, 水饴: 580克, 盐: 4克, 蛋白材料:: , 蛋清: 2个, 细砂糖: 20克, 其他材料:: , 全脂奶粉: 190克, 花生仁,芝麻,蔓越莓: 共450克, 黄油: 70克
步骤
1做之前一定把所有材料准备齐全,放在手边。否则等到糖浆熬煮出来会手忙脚乱的。
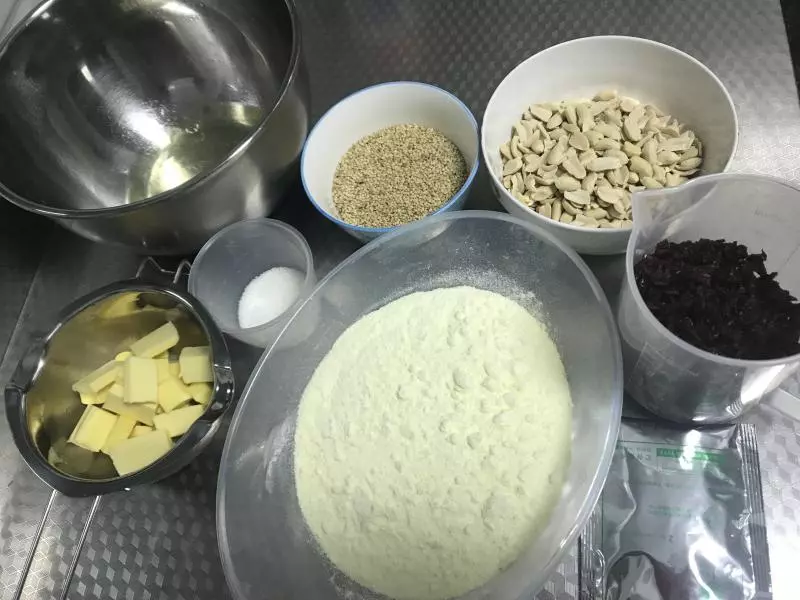
2黄油我用的安佳无盐黄油,水怡用的韩国水怡

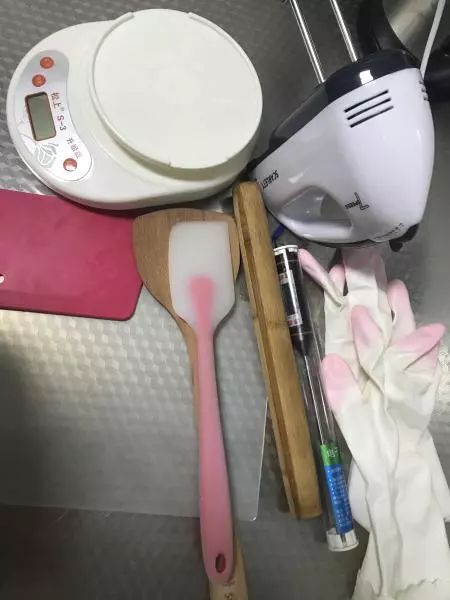
3工具准备好:电子秤,打蛋器,刮板,擀面杖,不粘硅胶手套一副,温度计,耐高温硅胶垫。硬木铲一个,硅胶铲一个。不粘金盘一个。
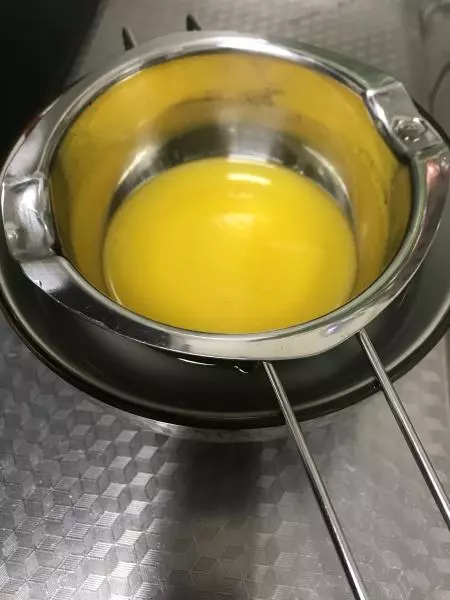
4黄油提前隔热水融化,全部融化成液体。
5干果坚果倒在不粘烤盘里,提前放烤箱80度保温着。

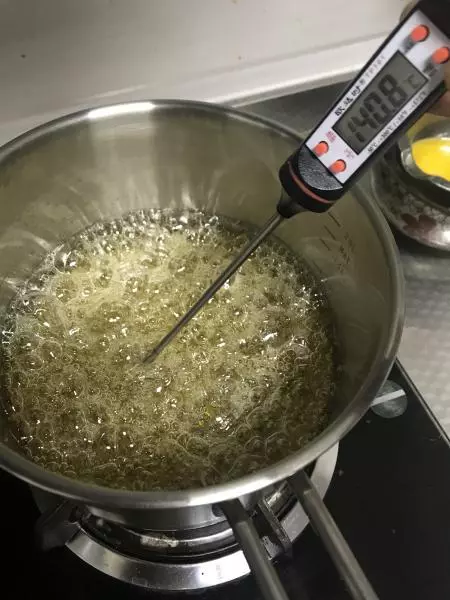
6把糖浆材料倒在一个厚底锅里,(水,细砂糖,水怡盐)大火烧到冒泡,然后转中小火熬糖,可以用不粘铲轻轻搅拌几下,不要让糖浆溅在锅四壁上。容易糊锅。
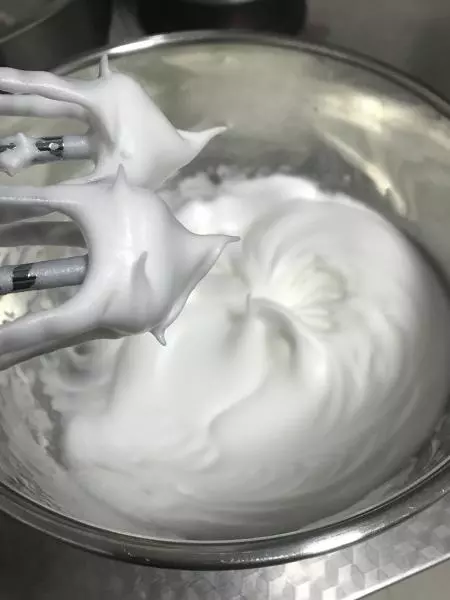
7糖浆熬煮的功夫,把白糖倒入蛋清里,打蛋盆一定要无水无油,用打蛋器高档打发蛋白。
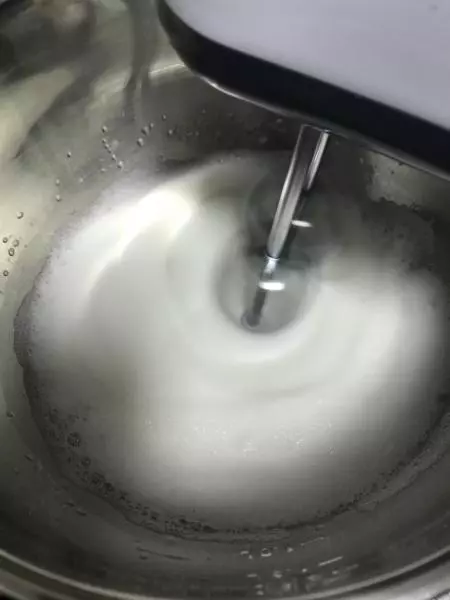
8打到打蛋勾有直立的小尖角,关闭打蛋器。把打蛋器放在一边,
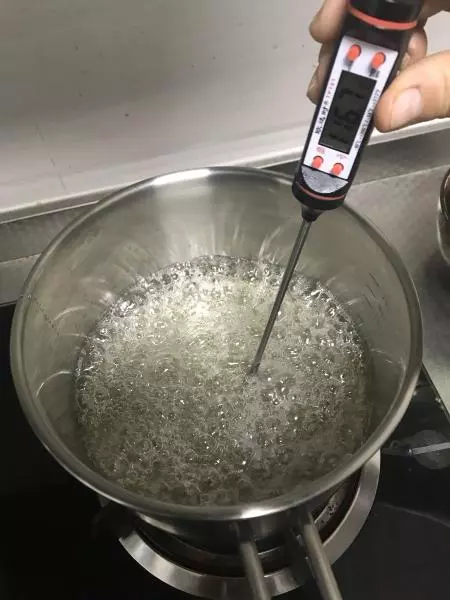
9随时用温度计测量糖浆的温度,看到整个糖浆表面都是大泡包裹小泡的状态,颜色微微发黄,用筷子粘一滴糖浆滴入冷水内,糖浆立刻凝结成珠变硬,表示糖浆熬好了,达到140度,就可以关火啦。
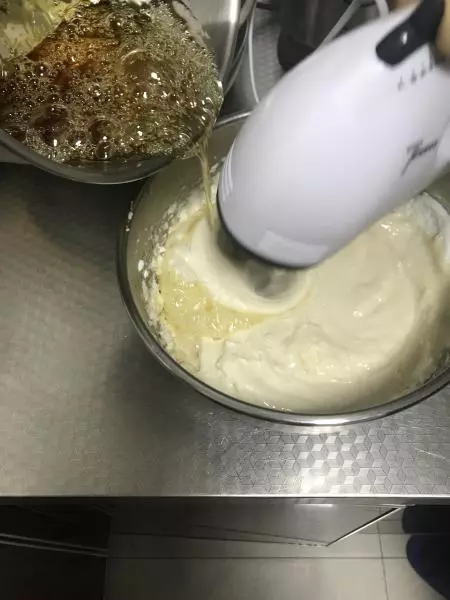
10一手端起糖浆,慢慢倒入刚打好的蛋白里,边倒糖浆打蛋器边搅打蛋白,使糖浆融入蛋白里去,一直等到糖浆全部倒入了并且和蛋白混合均匀。这样做才能使糖浆里的热气挥发出来,做出来的糖好吃不粘牙。
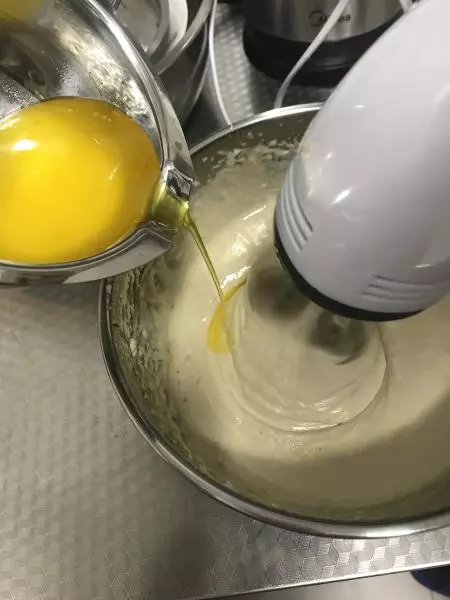
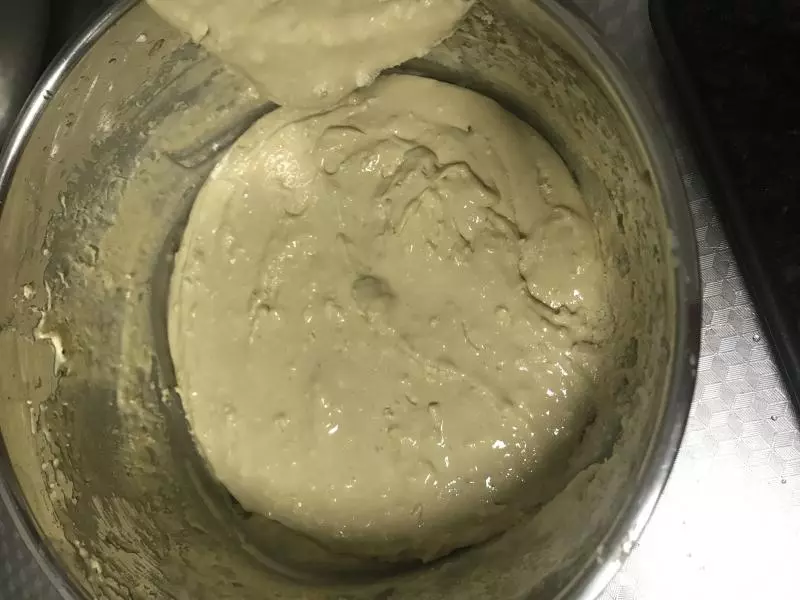
11这时候开始把黄油分三次倒入蛋白里,倒一次,接着用打蛋器搅打。融入以后,接着第二次第三次倒入黄油,整个过程是连贯的非常快,一定要快速打均匀。然后开高速提起打蛋头放在一边,这样打蛋头上面不会粘很多的蛋白。
12加完黄油后,把奶粉全部倒入蛋白里,搅拌,用木铲搅拌,不能用软的东西搅拌,因为加入奶粉以后糖的温度会降低会变硬,我们搅拌起来会非常吃力。
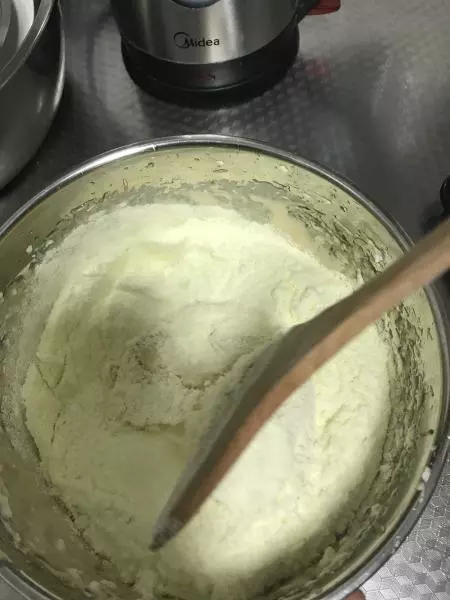
13搅拌到看不见干粉,奶粉全部进去到蛋白里了。
14迅速的从烤箱拿出温热的干果,倒入盆里。接着用木铲搅拌,这时候糖的温度有降低了点。感觉更加比刚才吃力。
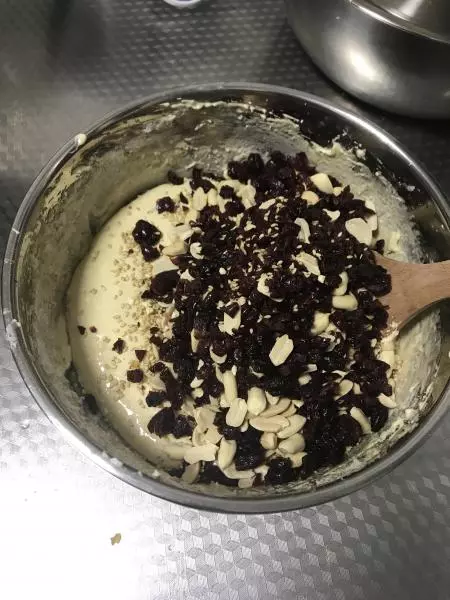
15搅拌几下如果实在搅拌不均匀了,把它们全部用木铲铲出来,倒在不粘金盘里。这样方便整形和揉糖
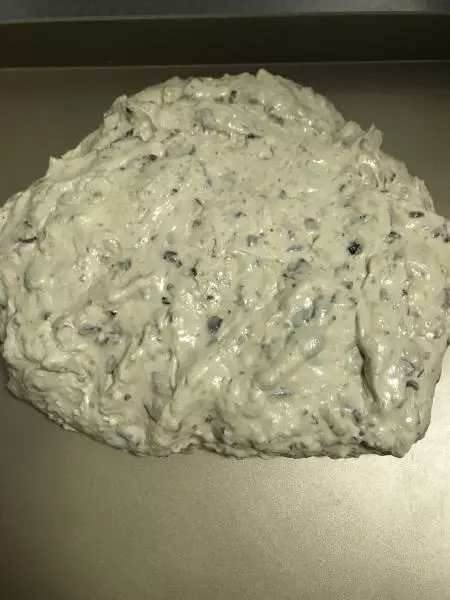
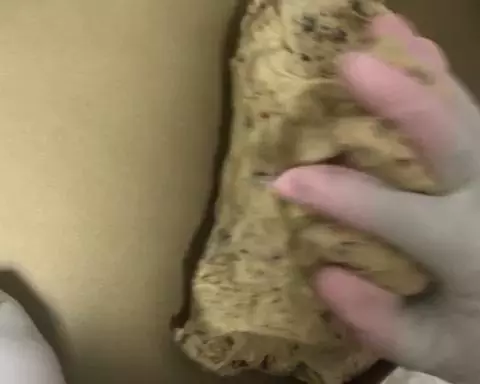
16戴上不粘手套。开始揉糖,这样糖和干果融合的更加均匀有嚼劲。
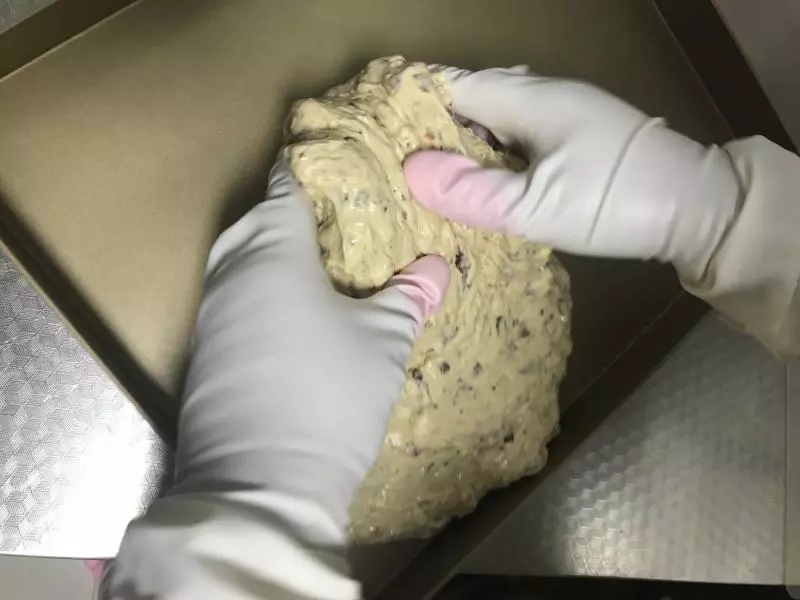
17越揉糖的表面越光滑,越顺手。开始是烫的,揉糖的过程中糖温也越来越低
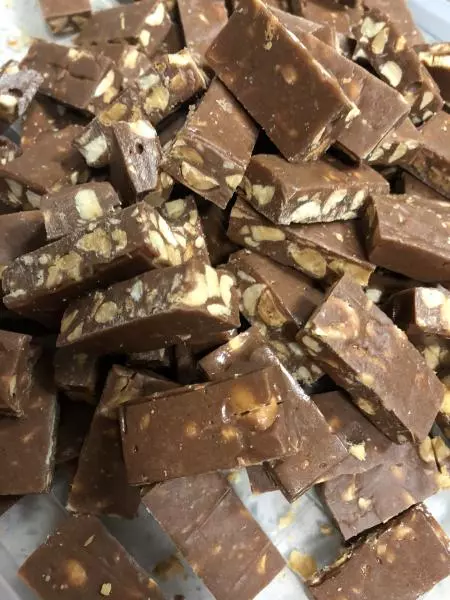
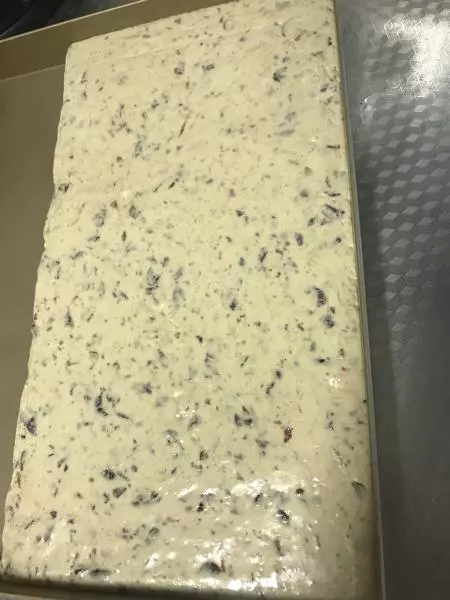
18把糖在金盘里整成长方形的块。用硅胶垫铺在上边防止糖粘,用擀面杖来回擀平。
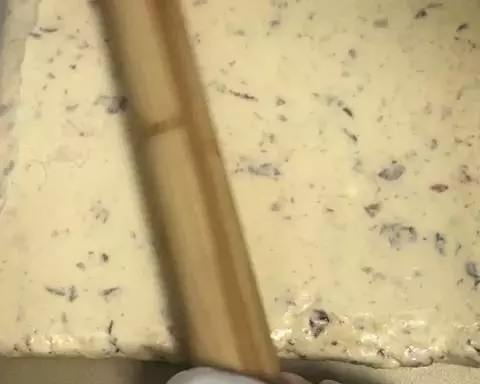
19借助刮板把四周弄整齐,
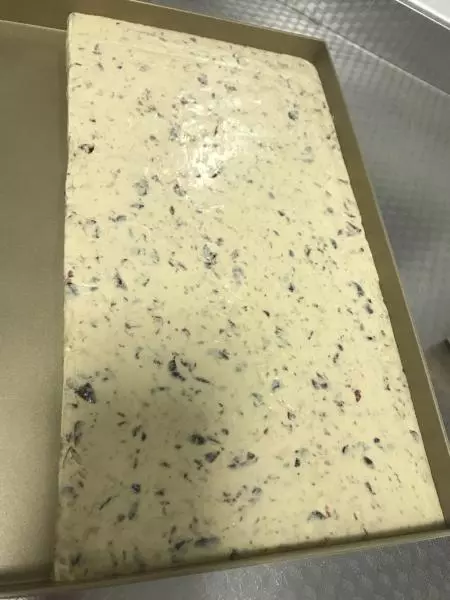
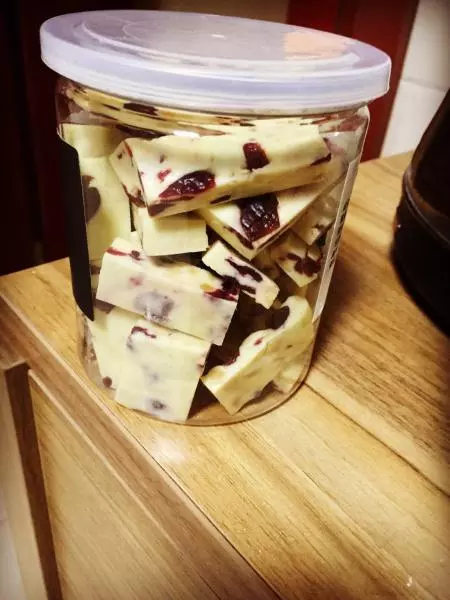
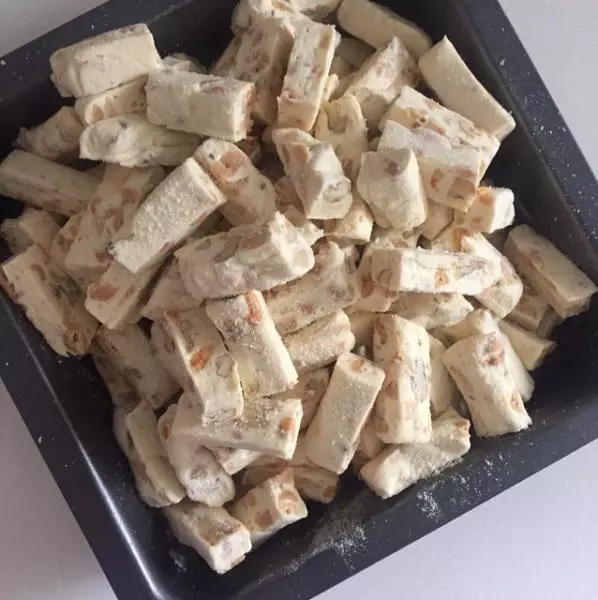
20等待变凉。冷却。
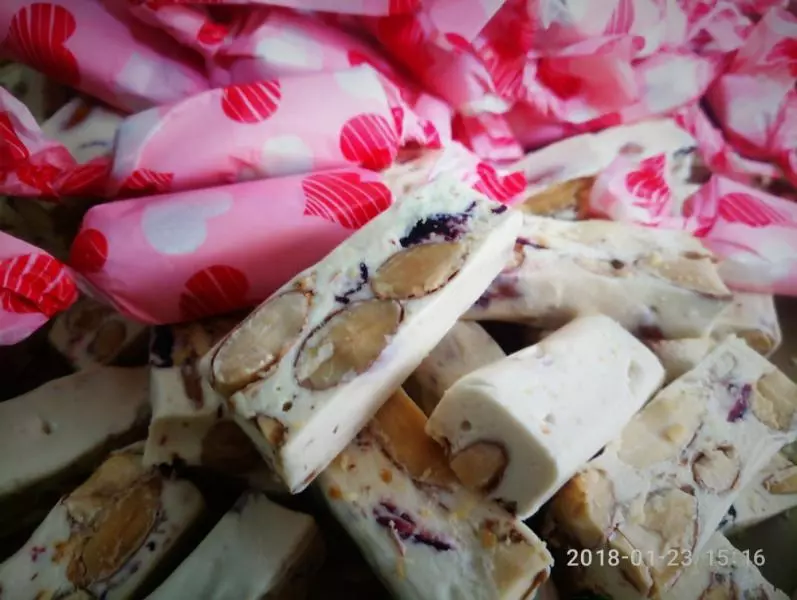
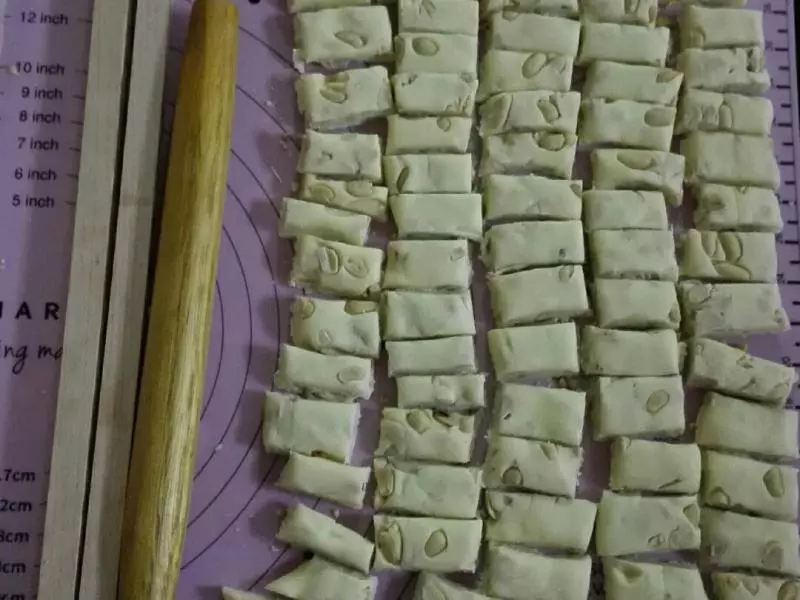
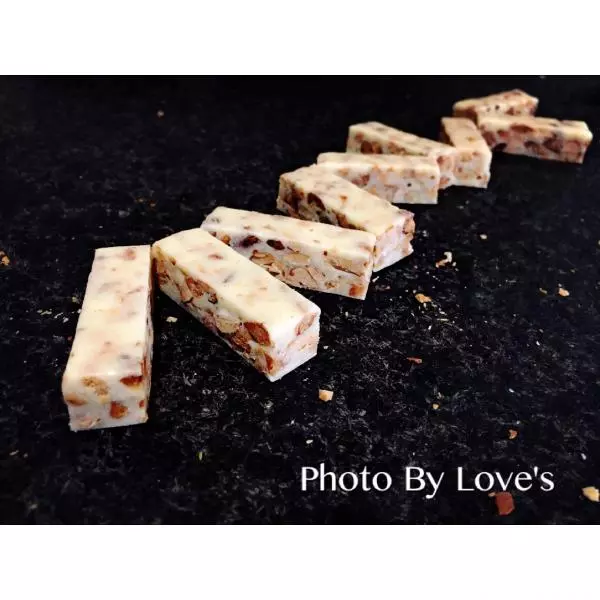
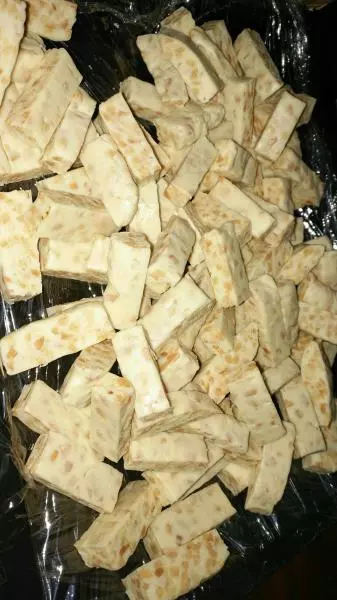
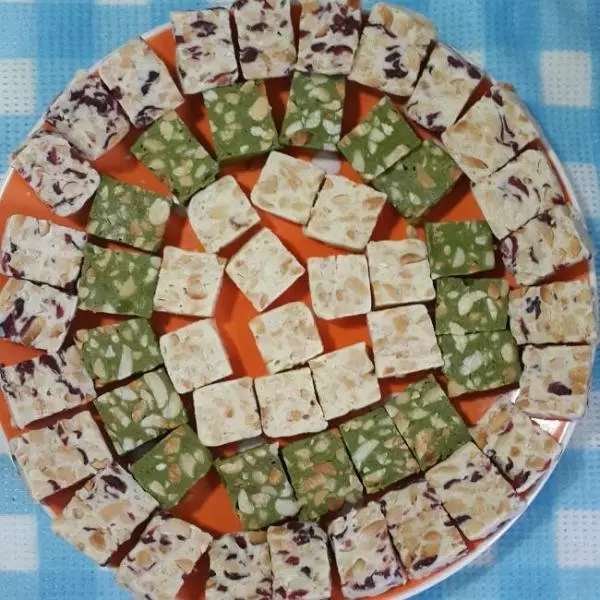
21彻底凉透了,放在案板上,用菜刀切成四厘米宽的长条,
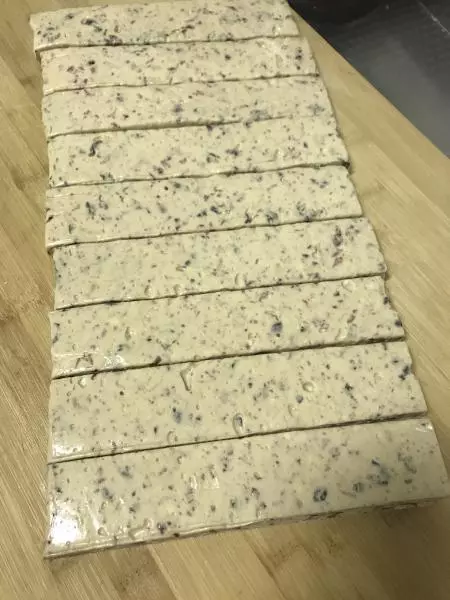
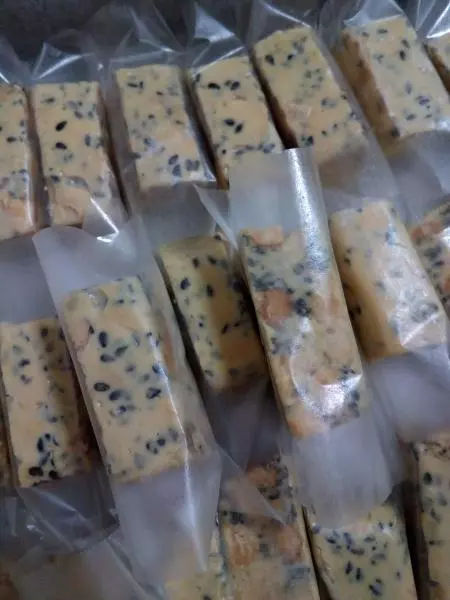
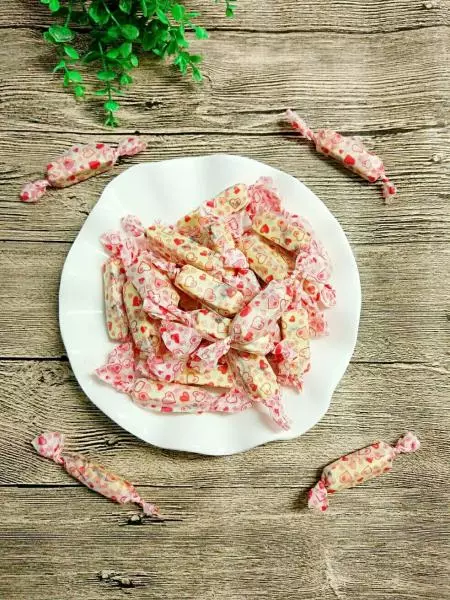
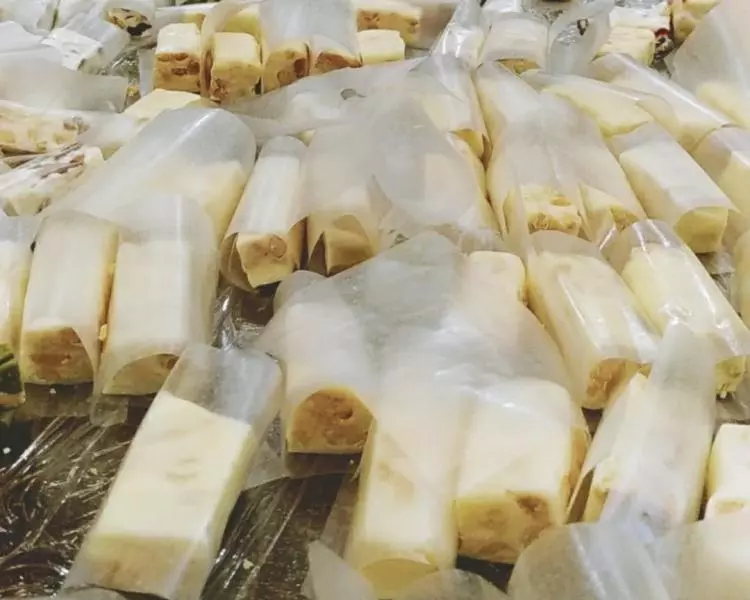
22每个长条在横着切成两厘米左右的糖块。

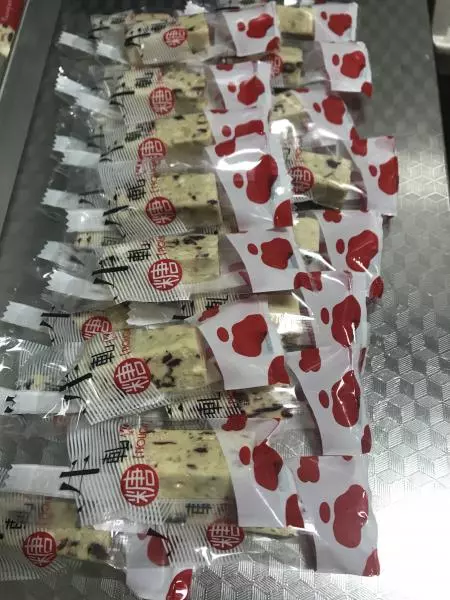
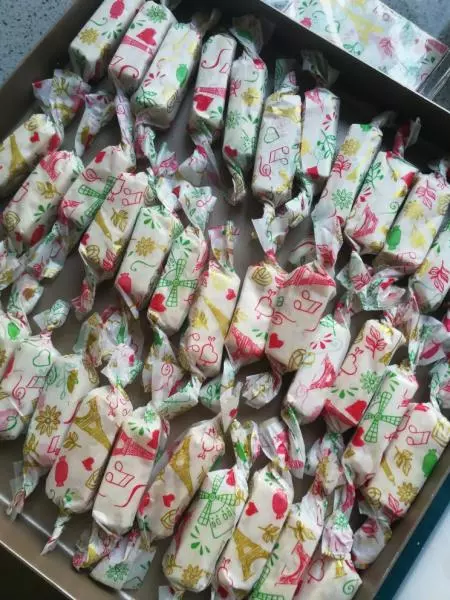
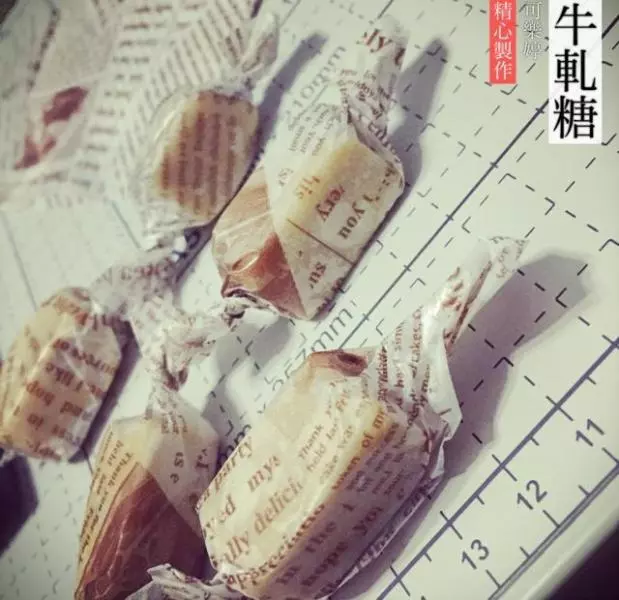
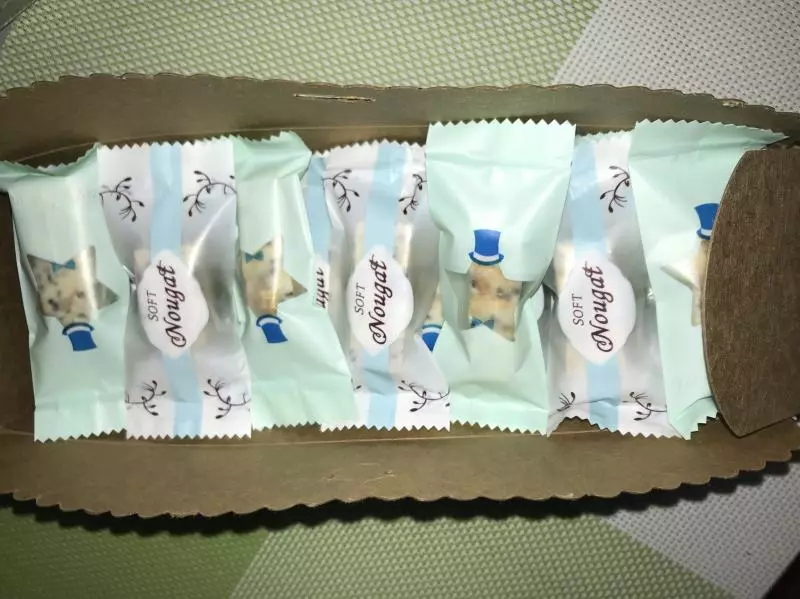
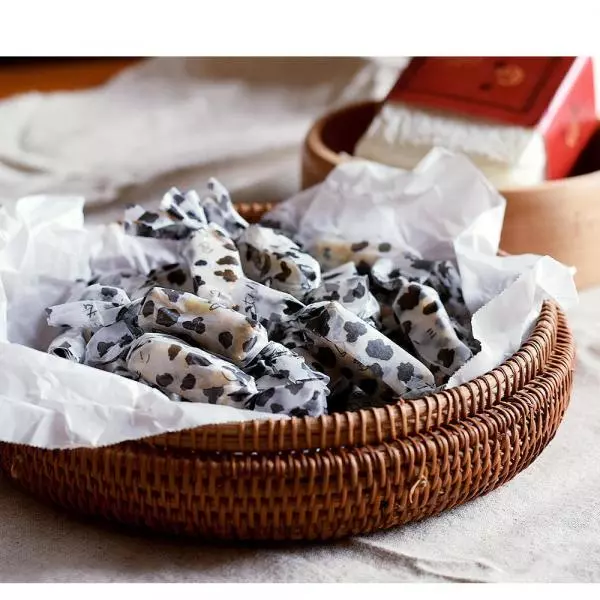
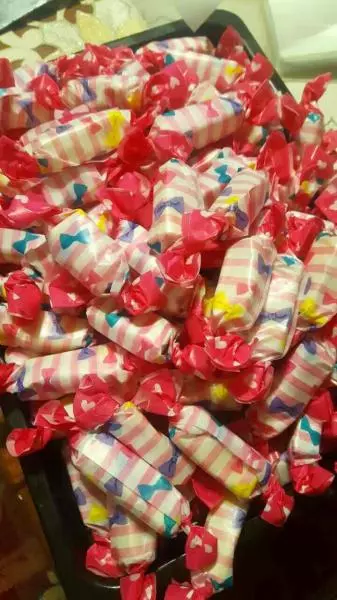
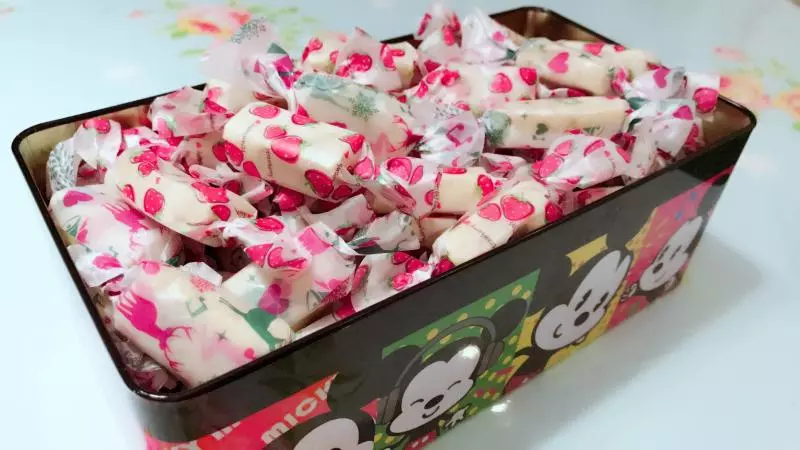
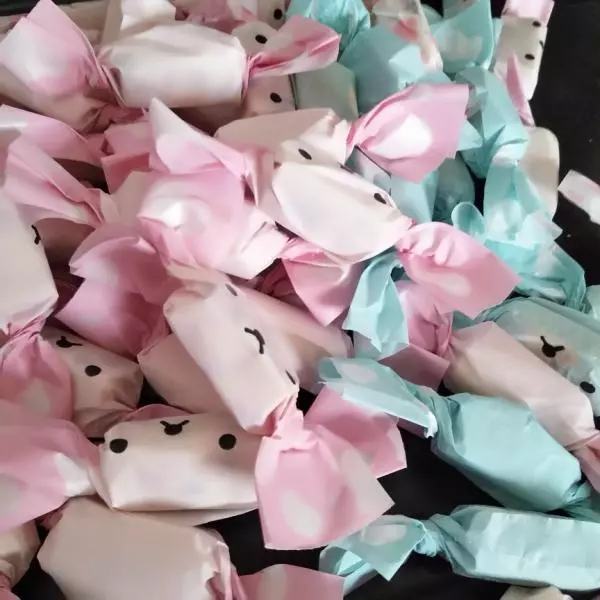
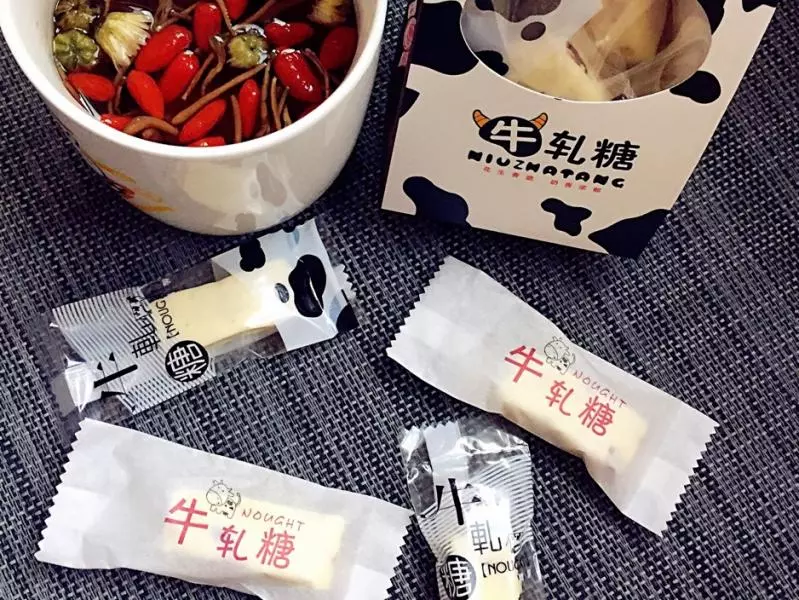
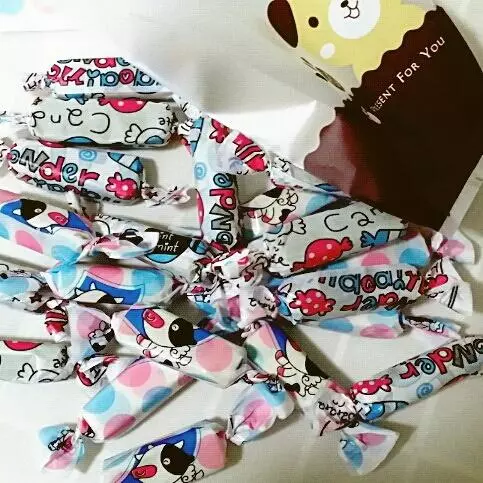
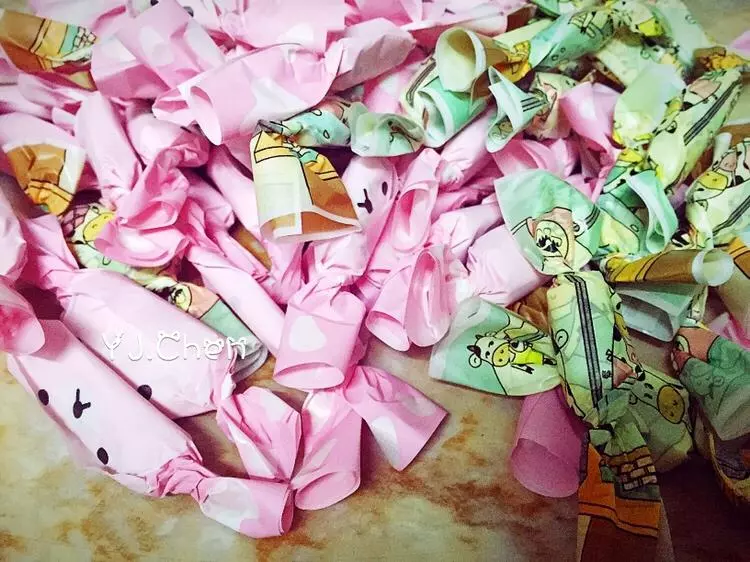
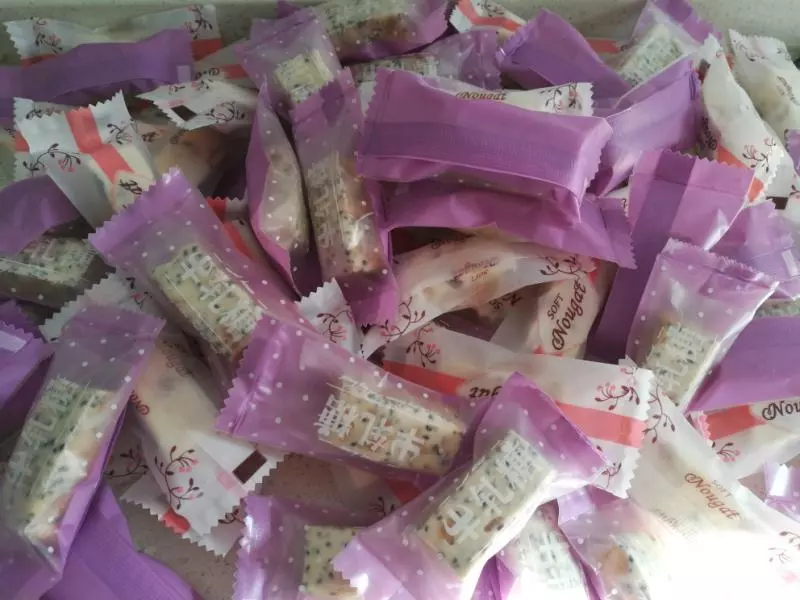
23装入塑封糖纸内。这次用了蔓越莓磨砂糖纸,很好看,
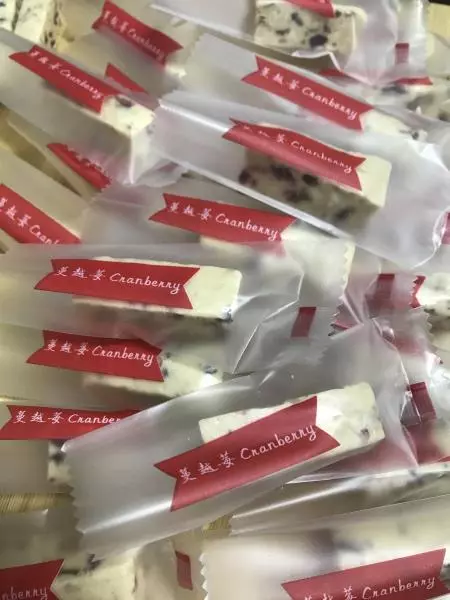
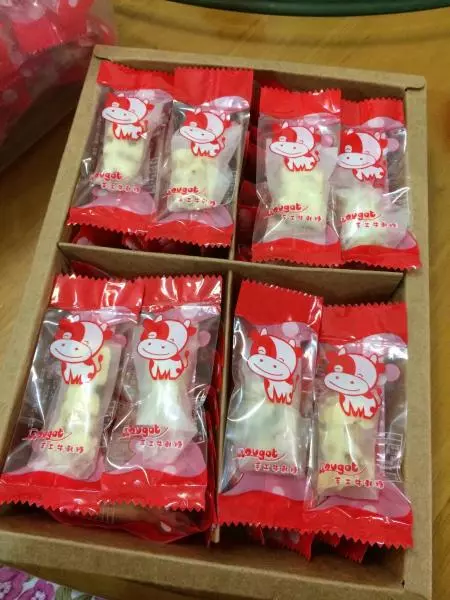
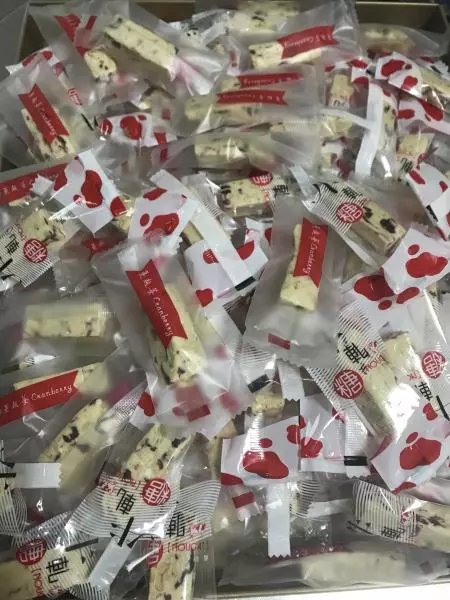
24一部分用了透明红色牛轧糖包装袋,用塑封机全部封口,非常漂亮呦。蔓越莓多酸酸甜甜,口感超级棒