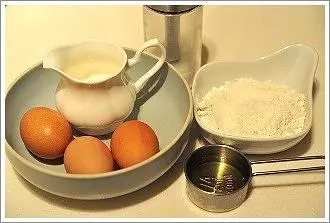
原料
鸡蛋: 150克, 低粉: 50克, 玉米油: 24克, 牛奶: 24克, 细砂糖(蛋白用): 36克, 细砂糖(蛋黄用): 18克, 淡奶油: 约400克, 白砂糖: 约50克, 大杏仁: 若干, 白兰地: 适量, 黑加仑: 适量
步骤
1鸡蛋用分蛋器分离蛋黄与蛋白
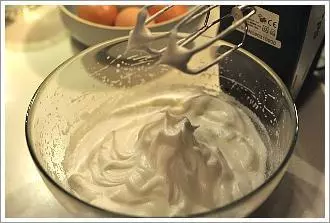
2蛋白放入无油无水的大碗中,分次加入白砂糖打至硬性发泡
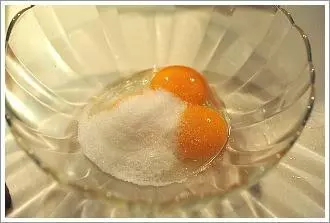
3蛋黄加入细砂糖,用蛋抽轻轻打散,不要打发
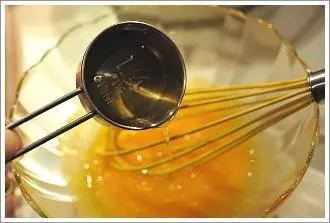
4把玉米油加入到蛋黄中搅拌均匀
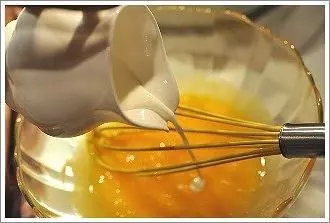
5加入牛奶搅拌均匀
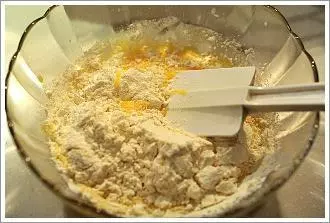
6筛入低粉,用刮刀翻版均匀
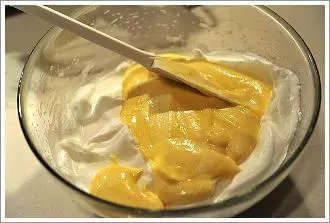
7盛1/3的打发蛋白放入蛋黄液中,用刮刀翻拌均匀

8再把搅拌好的混合物倒入余下的蛋白中,翻拌均匀
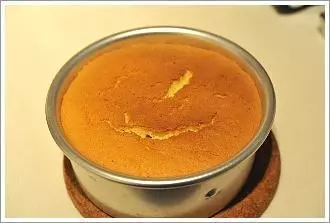
9把拌好的蛋糕糊倒入模具中,震荡出气泡

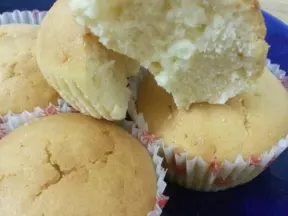
10烤箱预热180度,中层35分钟左右。出炉后立刻倒扣,冷却脱模
11如果不及时裱花,建议用保鲜膜包裹好戚风蛋糕,避免风干
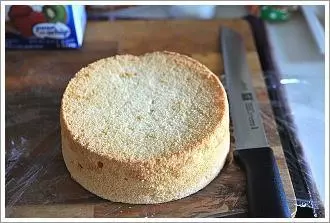
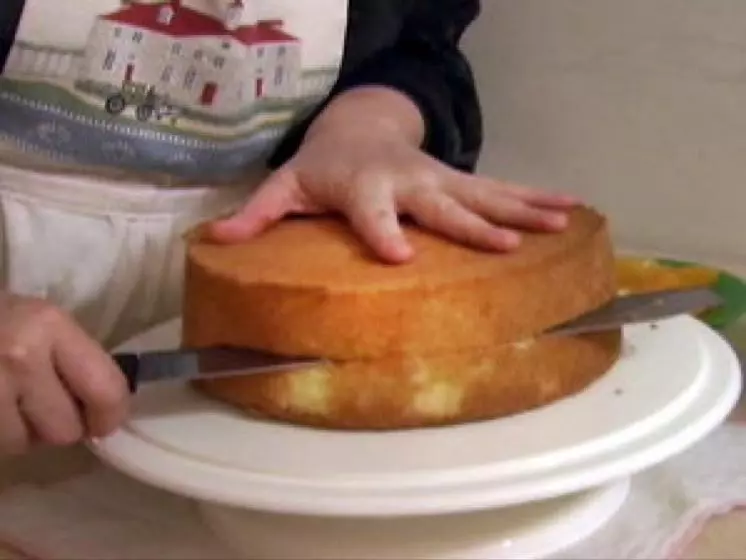
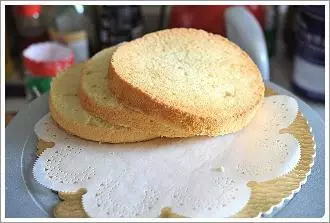
12用蛋糕刀片成三片
13杏仁片放入煎锅,小火焙至微微金黄

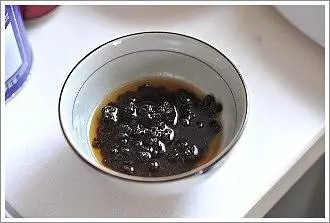
14黑加仑用白兰地浸泡10分钟左右
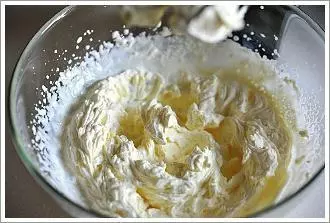
15淡奶油中分次加入白砂糖,打至裱花状态
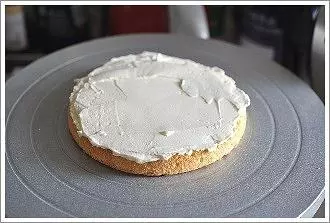
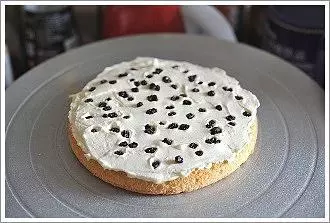
16在蛋糕胚上抹上打发的淡奶油。夹层的淡奶油,抹匀即可
17黑加仑用厨房用纸吸掉多余的水分,码在夹层中
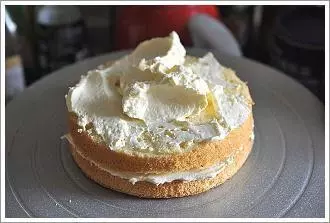
18盖上一片蛋糕片,再涂抹上打发的淡奶油
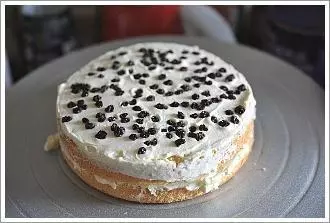
19再在夹层中码放上浸泡过的黑加仑,按进淡奶油中
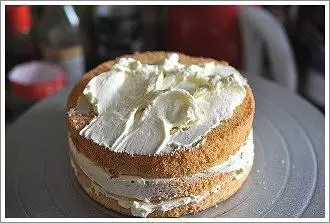
20放上最后一片蛋糕片,抹上打发的淡奶油
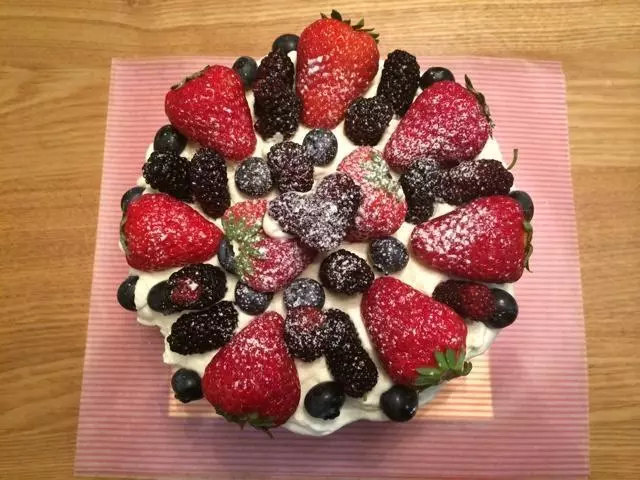
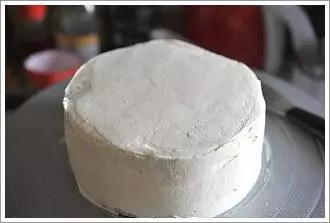
21先粗略的在表层抹上打发的淡奶油,再在周围也同样抹上
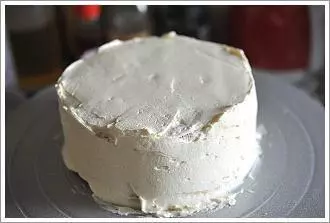
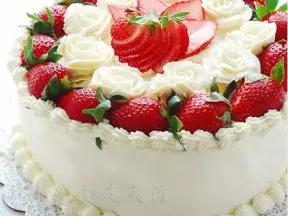
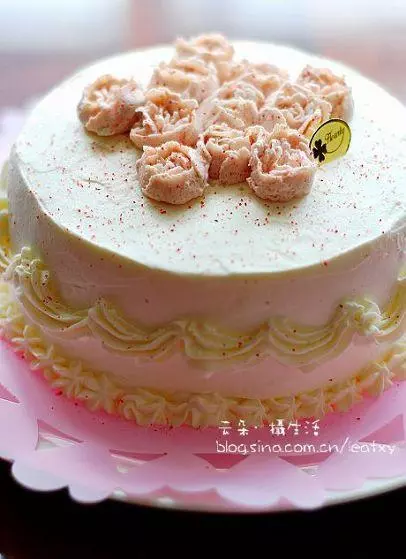
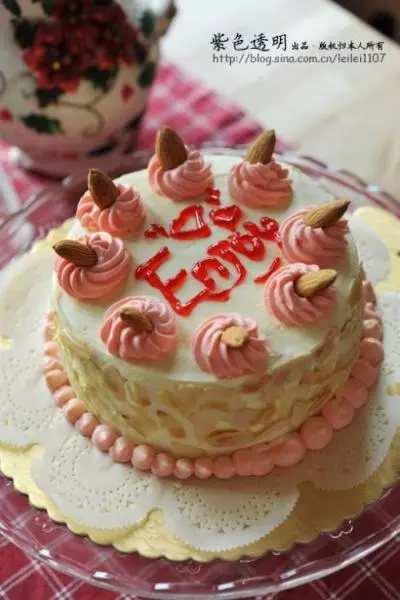
22最后用抹刀修饰表面,让蛋糕看上去更加标致
23裱花后在周围贴上杏仁片,装饰即可

小技巧
1、烤戚风的时候,出炉前可以用牙签扎进蛋糕,测试一下是否有粘连,如果牙签上光洁,可以取出。 2、烤好的戚风蛋糕如果不及时裱花,建议用保鲜膜包裹,避免风干。 3、裱花用的淡奶油建议打至较硬的状态,出现清晰的花纹纹路为佳。 4、如果家用烤箱只有三层,烤箱较小,可以放在中下层。避免蛋糕膨胀的时候离加热管太近,而烤糊。