原料
蛋挞皮: 12个, 牛奶: 100克, 淡奶油: 200克, 鸡蛋(全蛋): 2个, 炼乳: 20克, 细砂糖: 25克, 低筋面粉: 5克, 蔓越莓: 适量
步骤
1准备好所有材料。

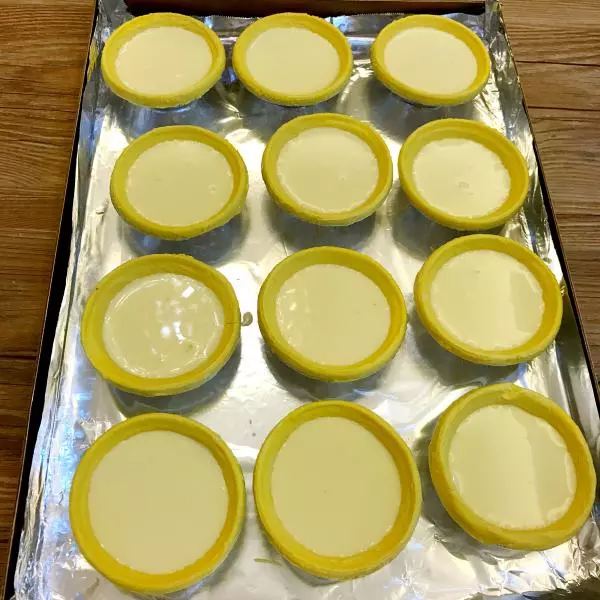
2蛋挞皮放烤盘摆好,准备挞水的时间正好解冻好了。 预热烤箱210度。

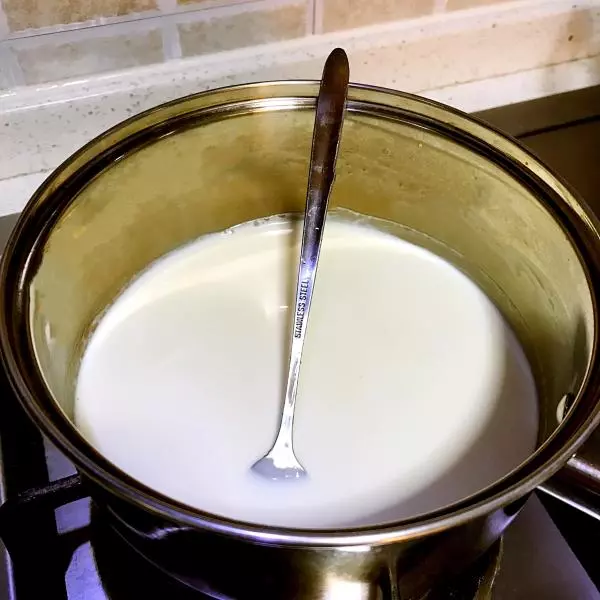
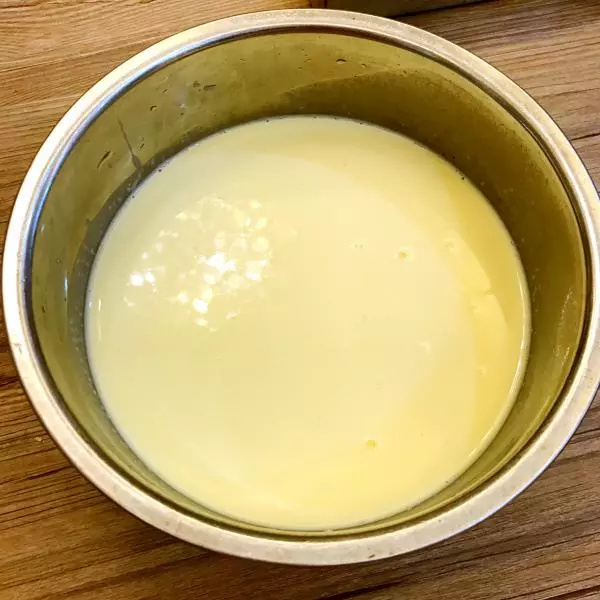
3将牛奶、淡奶油、炼乳、细砂糖放入奶锅中,小火边加热边搅拌至糖融化,关火稍放凉。
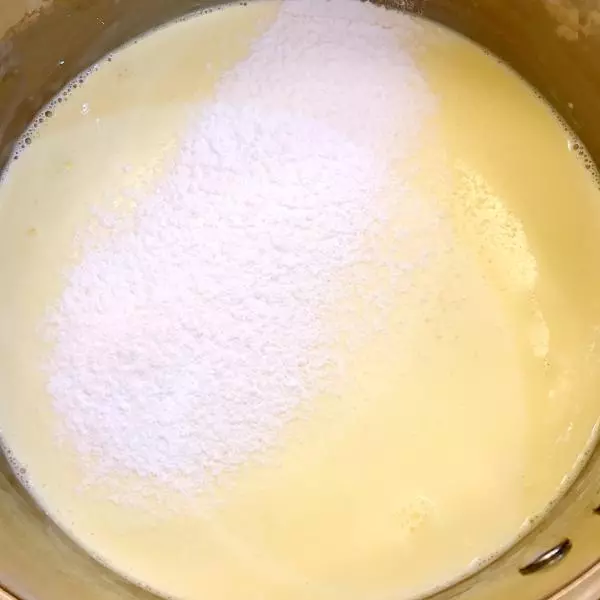
4将打散的鸡蛋加入放凉的奶液中,搅拌均匀,筛入低粉搅拌均匀。
5将蛋挞液过筛两到三遍。
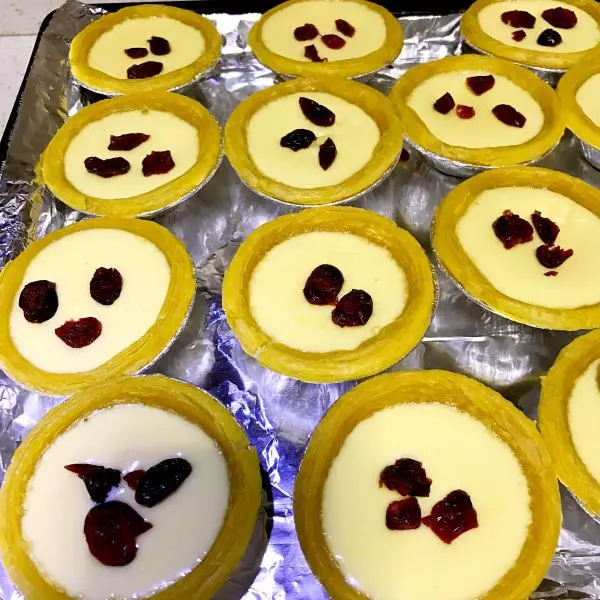
6将过筛后的蛋挞液加入到蛋挞皮中,至8~9分满。
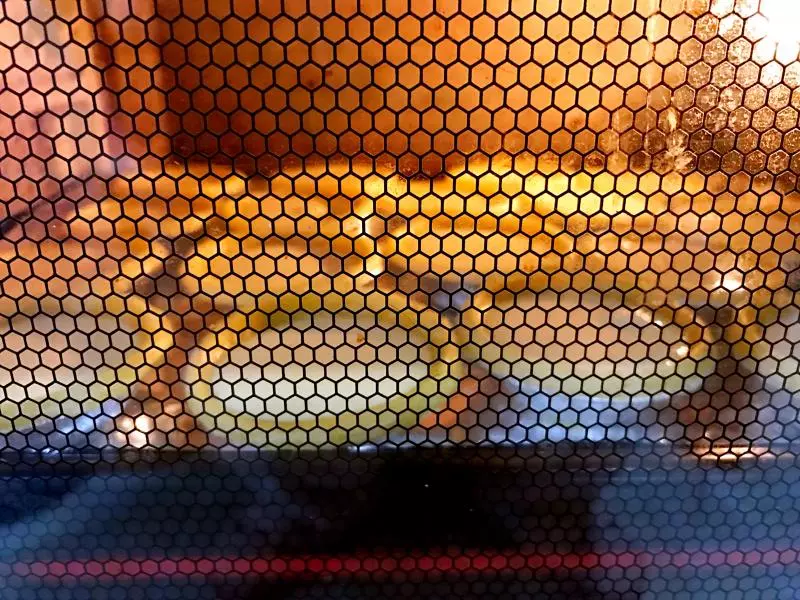
7放入预热好的烤箱中,中层上、下火。
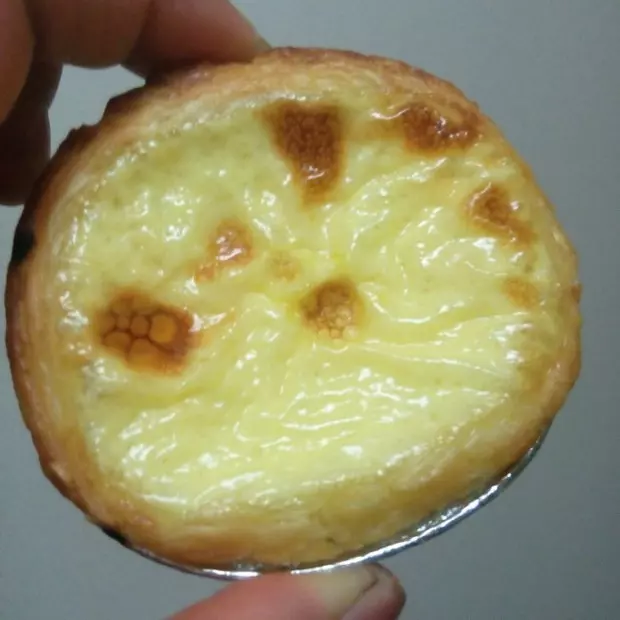
8烤12分钟左右,蛋挞液稍微凝固,取出放上蔓越莓干。
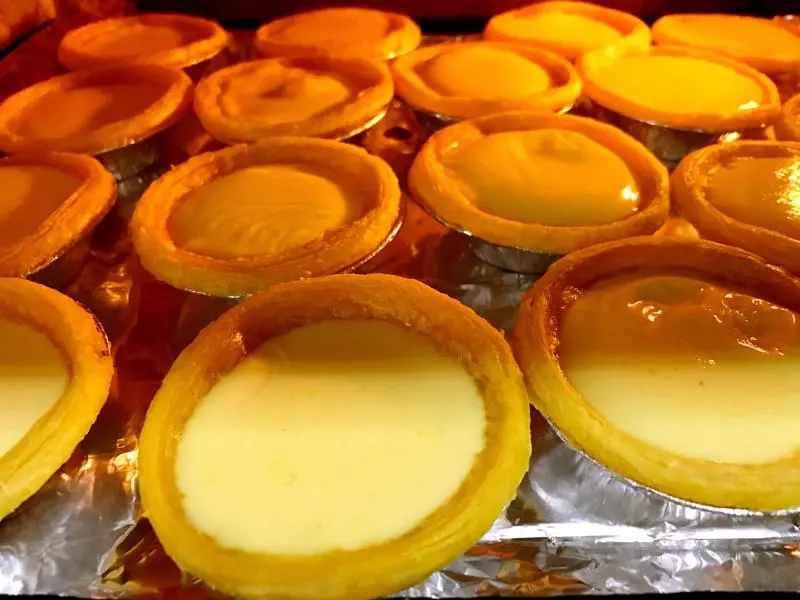
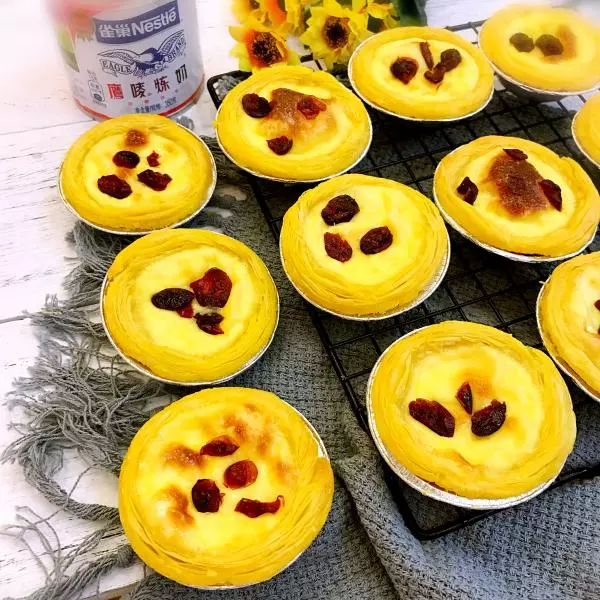
9继续烤到挞皮酥脆、蛋挞夜凝固为止,全程我大约烤了30分钟,具体按自家烤箱脾气掌握时间。
10Ok出炉,趁热开吃!
小技巧
蔓越莓也可换成葡萄干等其他干果或者水果粒都行。 全蛋也可以换成3~4个蛋黄哈。