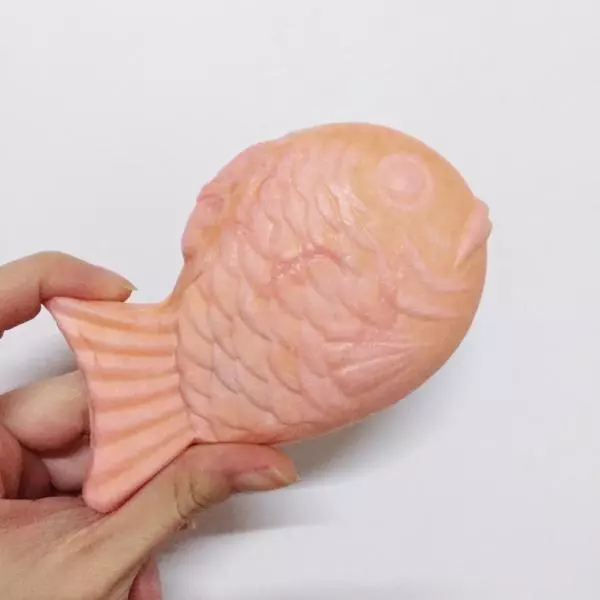
原料
松饼粉: 150g, 鸡蛋: 1只, 牛奶: 85ml, 马苏里拉奶酪丝: 50g, 味噌: 30g, 美乃滋: 40g, 豆瓣酱: 1/2小匙, 细切头菜丝: 适量
步骤
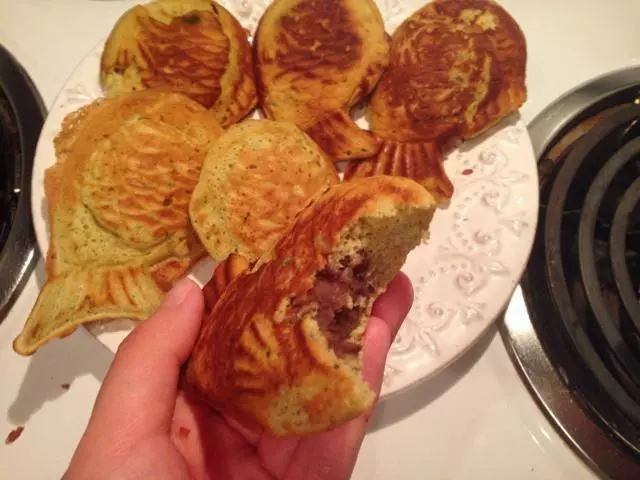
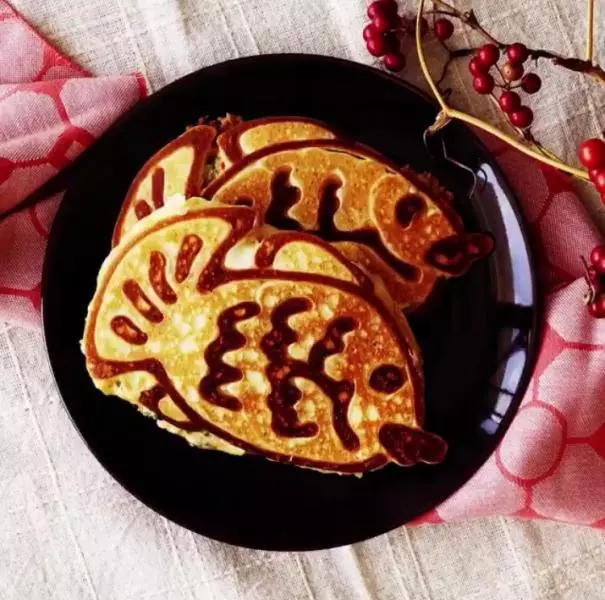
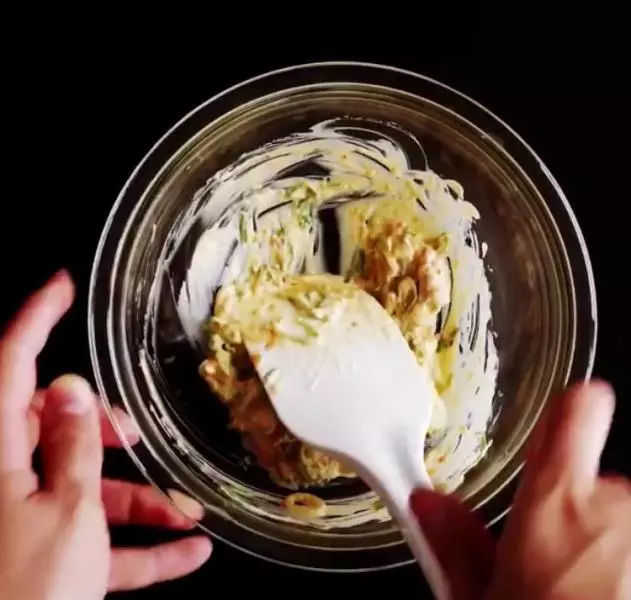
1将味噌,美乃滋,豆瓣酱,细切头菜丝混合成鲷鱼烧的酱料。
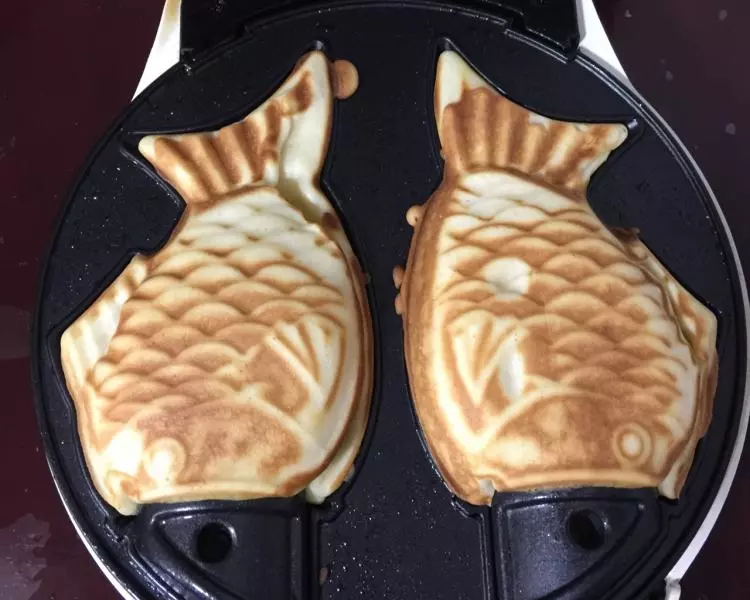
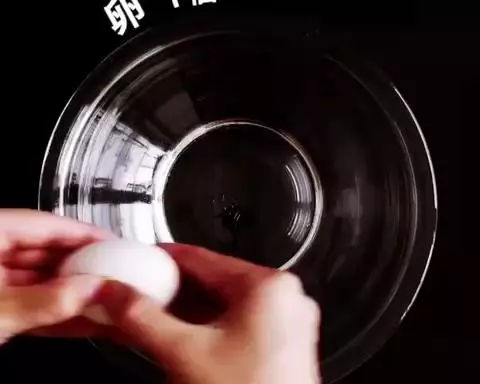
2将鸡蛋,牛奶,松饼粉混合成糊状。接着将面糊装进酱料瓶(如上图小视频里的那种)。热不粘锅锅,无需放油,直接画出鱼的轮廓,待轮廓稍微凝固出现泡泡时,用面糊填满镂空的部分。
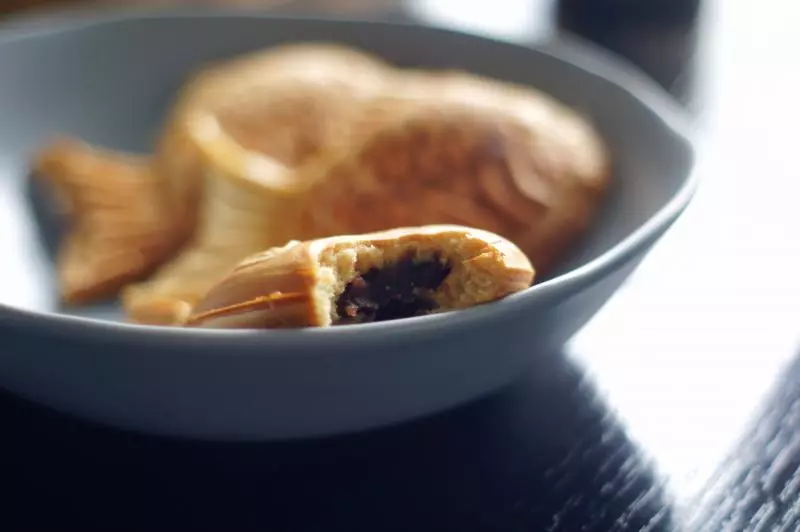
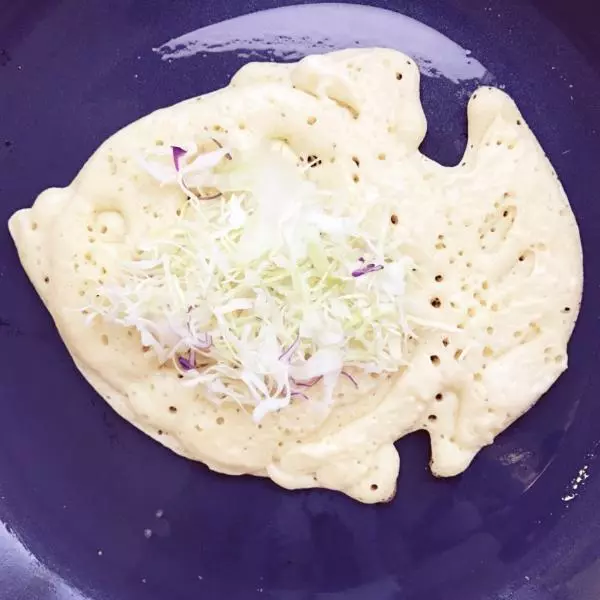
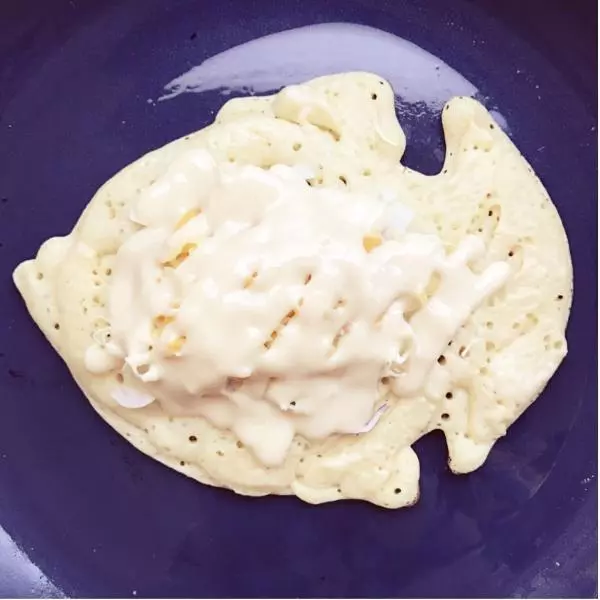
3当面糊开始起泡时,在面饼中间的部分抹一些调好的酱料,接着放入蔬菜丝,再放上一层奶酪丝。
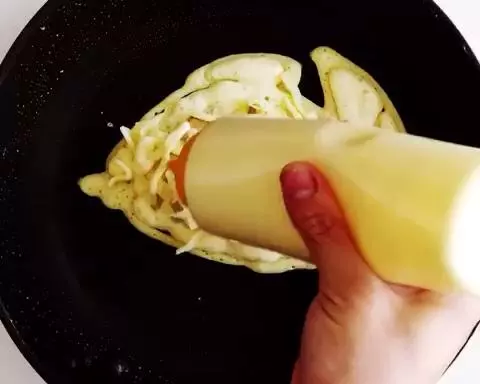
4接下来挤一些面糊将馅料封住,然后利用锅铲把面饼翻过来。
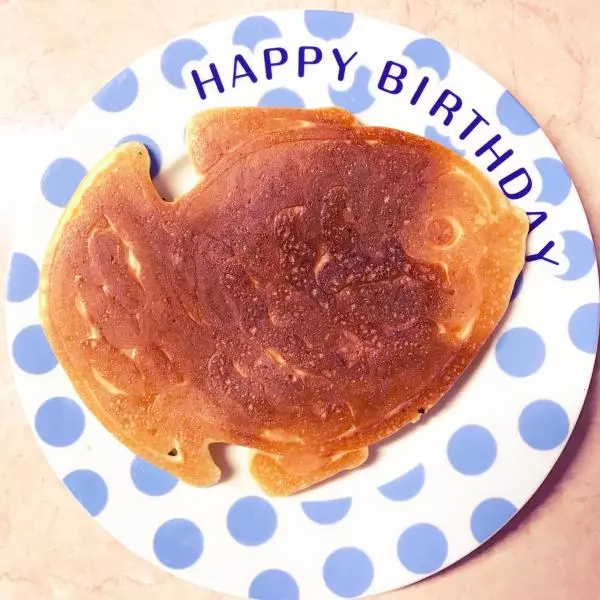
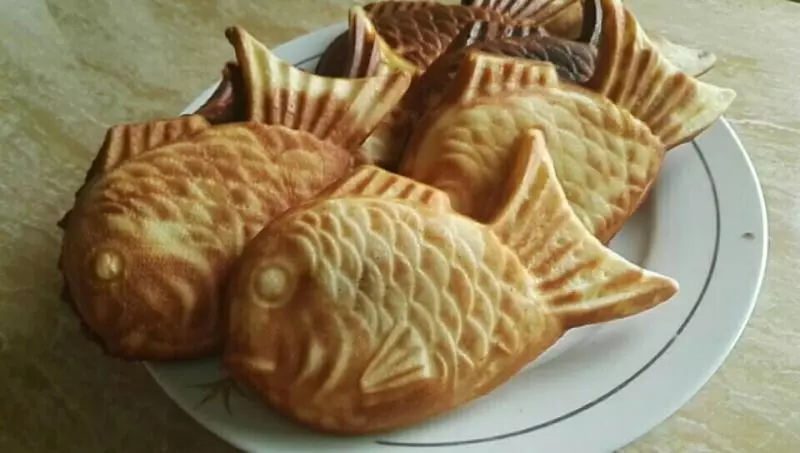
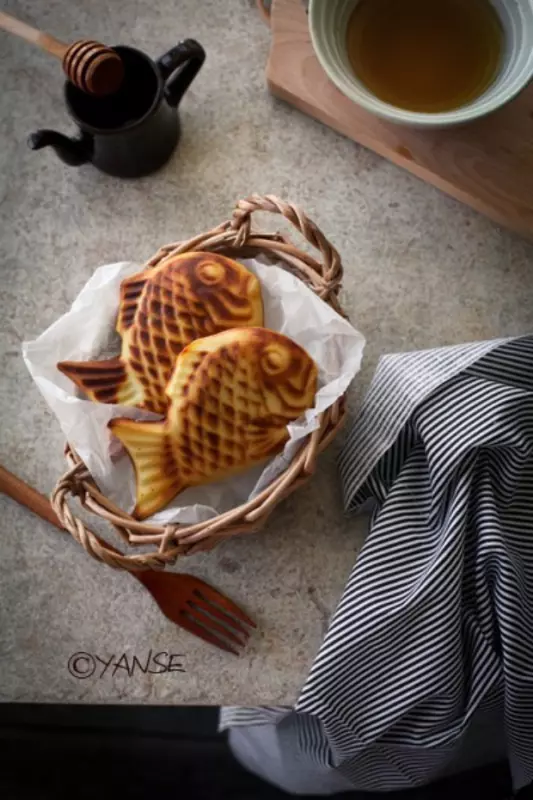
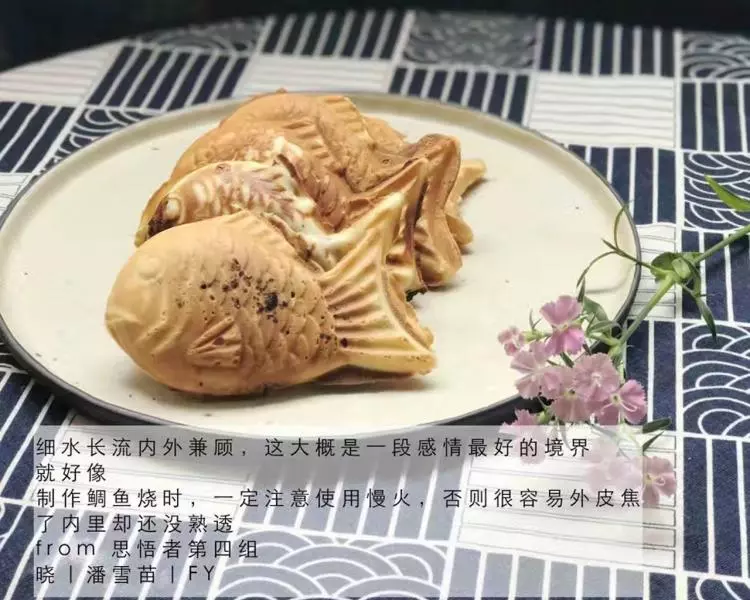
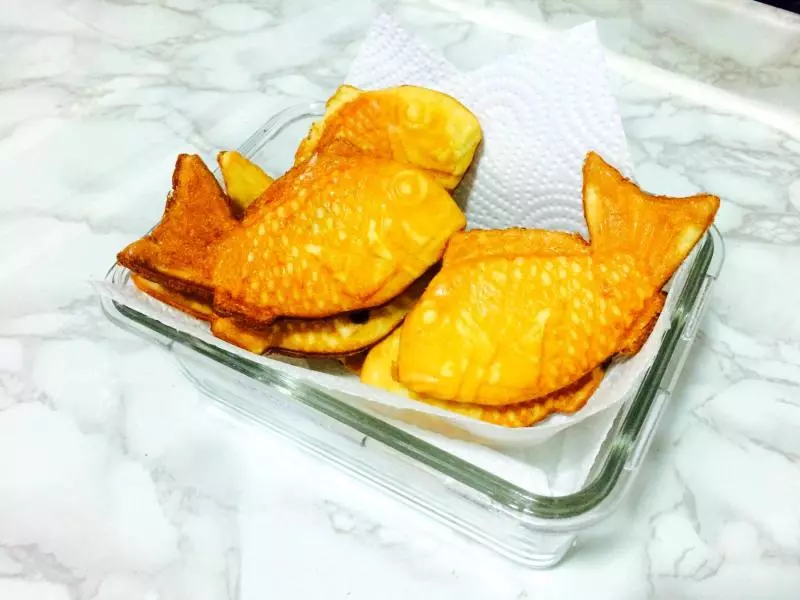
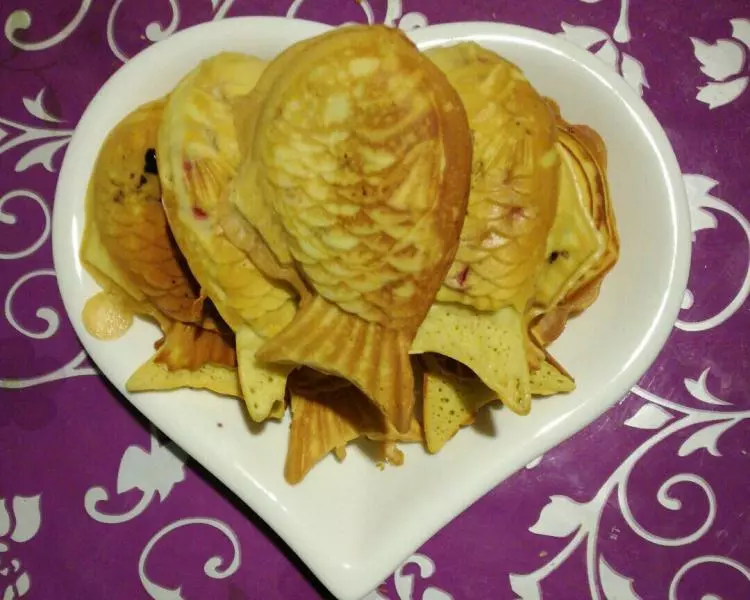
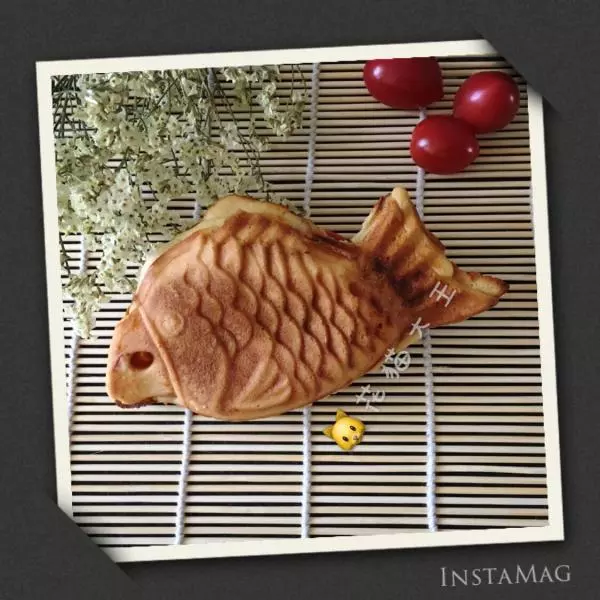
5稍微煎到底面的面糊凝固变黄,就可以盛出来了,趁热吃会拉丝哦~
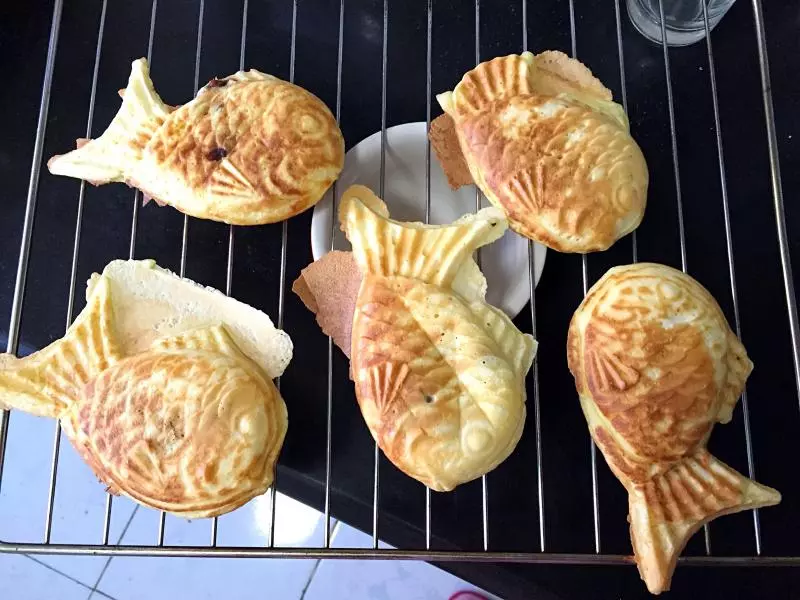
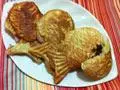
6画鱼钩边时,我的经验是锅子要热,手要快,画好之后稍等个4-5秒,让轮廓充分上色,再填面糊。不然,急着填面糊的最终结果就是上图出现的“糊鱼”。