原料
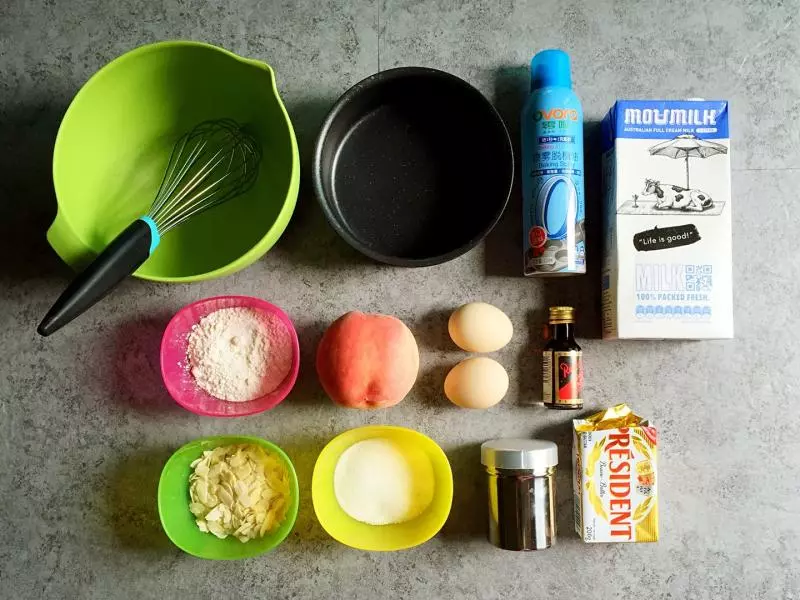
蜜桃: 1个(约250克), 鸡蛋: 2个, 牛奶: 200毫升, 无盐黄油: 30克, 低筋面粉: 60克, 白砂糖: 65克, 香草精(可选): 几滴, 杏仁片: 30克, 糖霜: 适量, 6寸不粘固底圆模: 1个, 锡纸: 一小张
步骤
1材料如图。因为在市集买了脱模喷油,所以……虽然有不粘模具,还是想消耗一下?
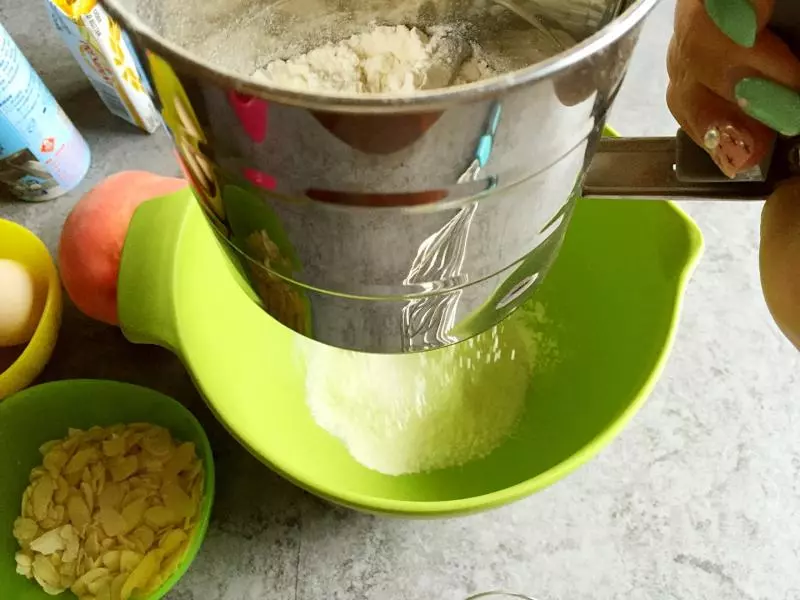
2低粉过筛,加入白糖。
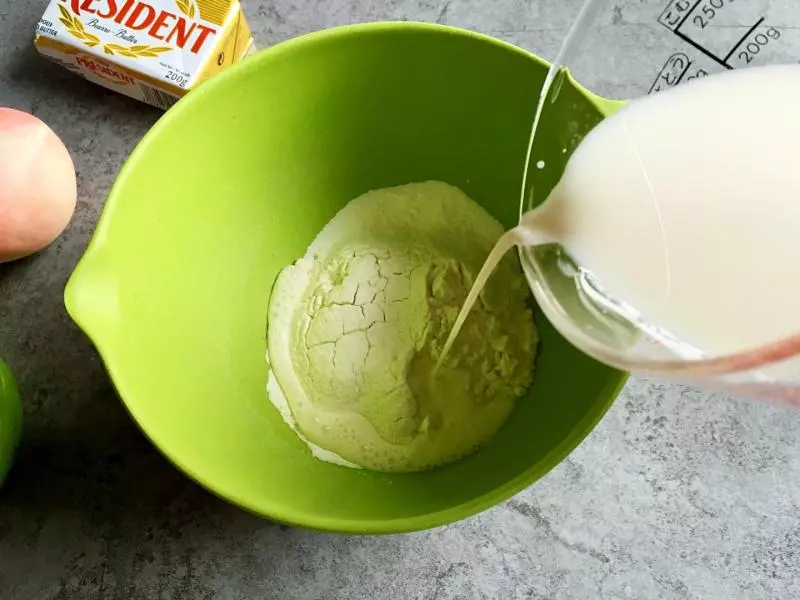
3倒入牛奶。
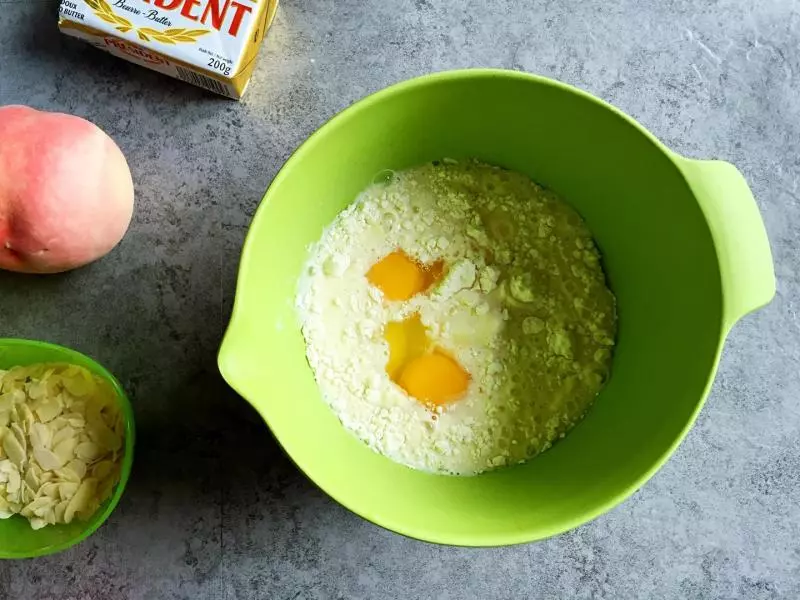
4打进两个鸡蛋。
5用打蛋器搅拌搅拌,至无粉粒。
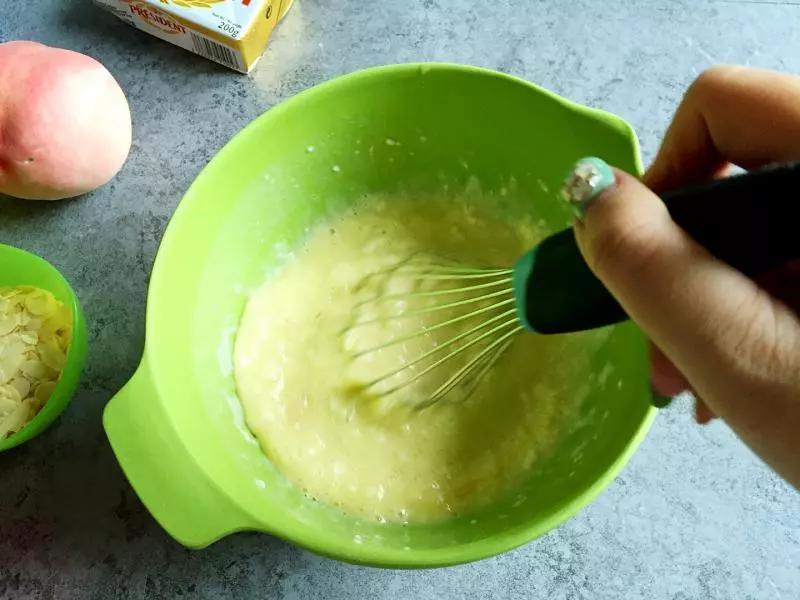
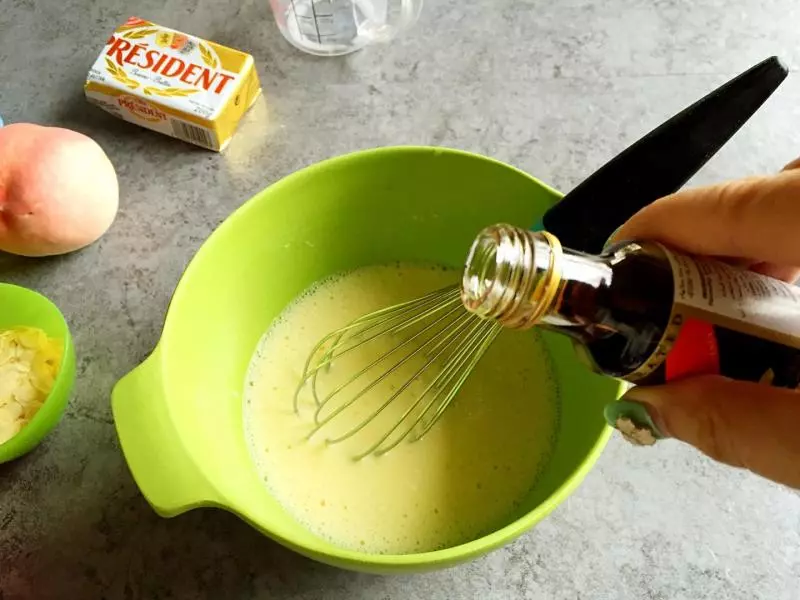
6滴入几滴香草精。
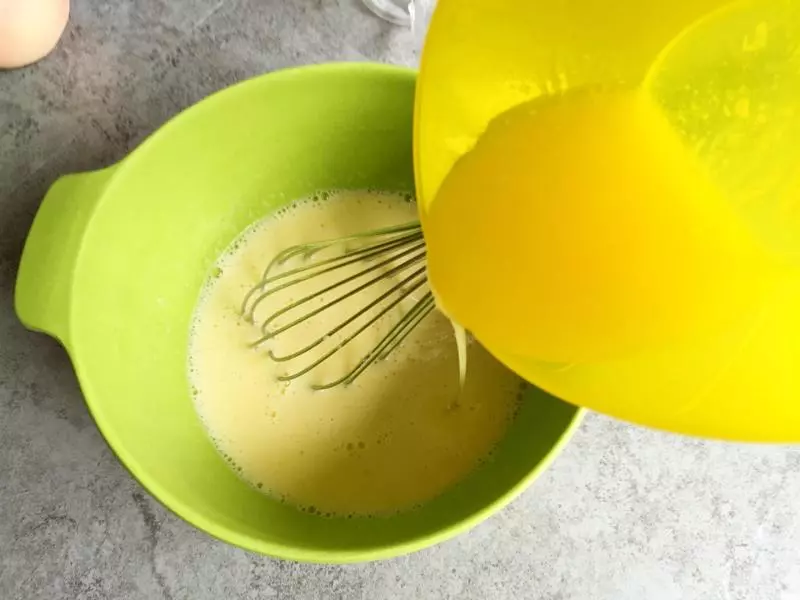
7微波加热黄油至完全融化。倒入完全液化的黄油。
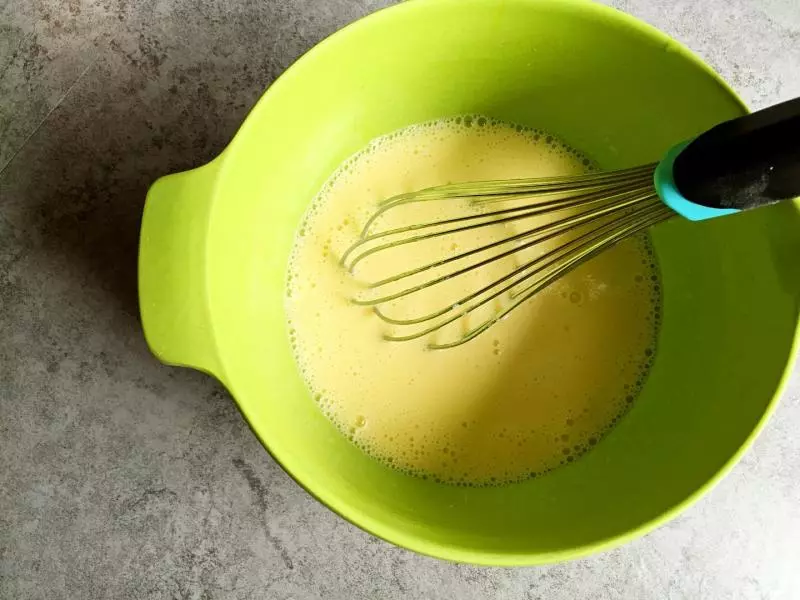
8搅拌均匀。
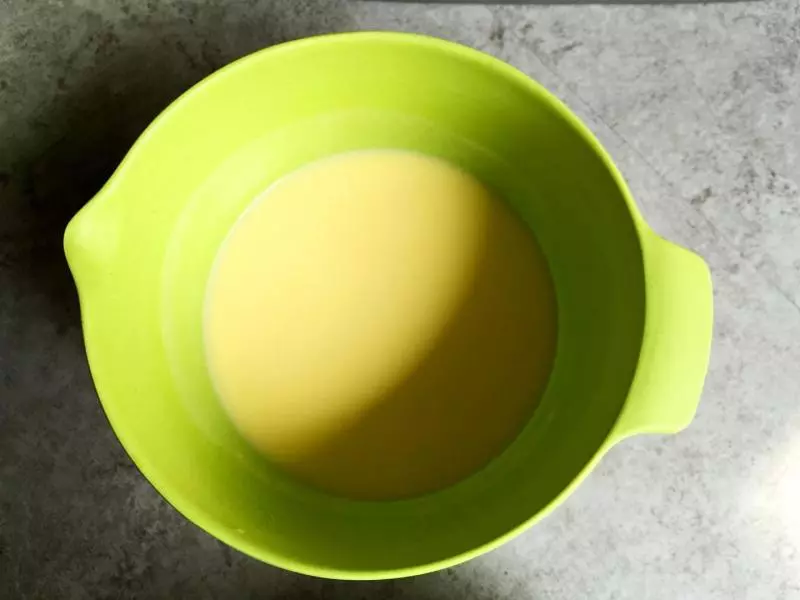
9蛋奶面糊完成。
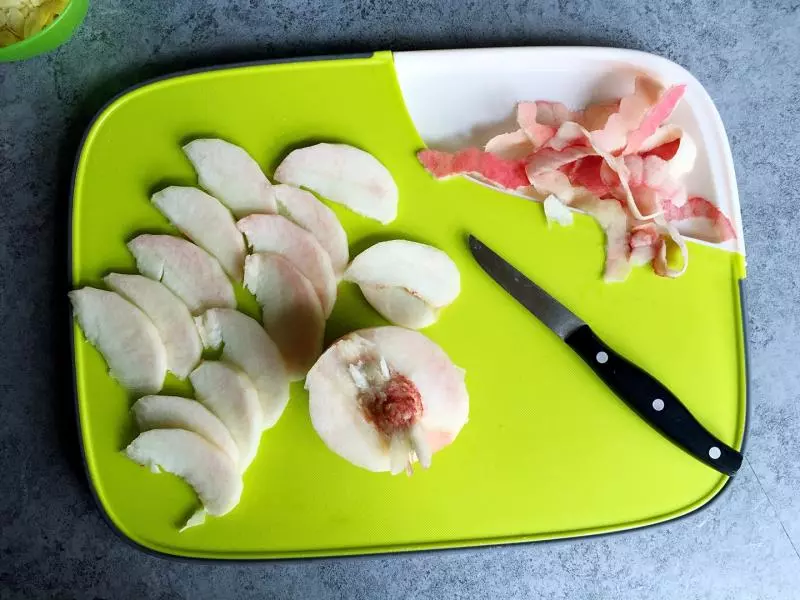
10蜜桃削皮去核,切成薄片。
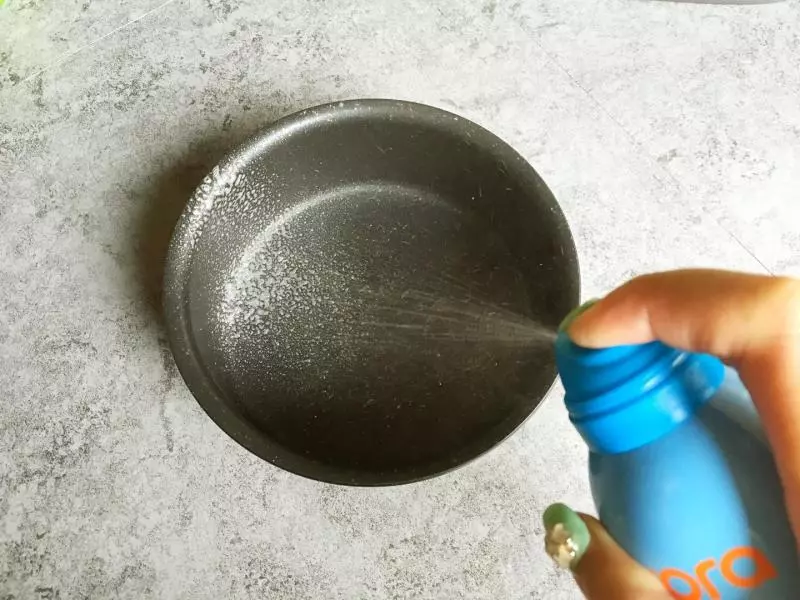
11圆模里喷脱模油。没有的话,用液化黄油抹一下就行。我用的是不粘圆模,其实真的不会粘,纯为消耗脱模喷油。
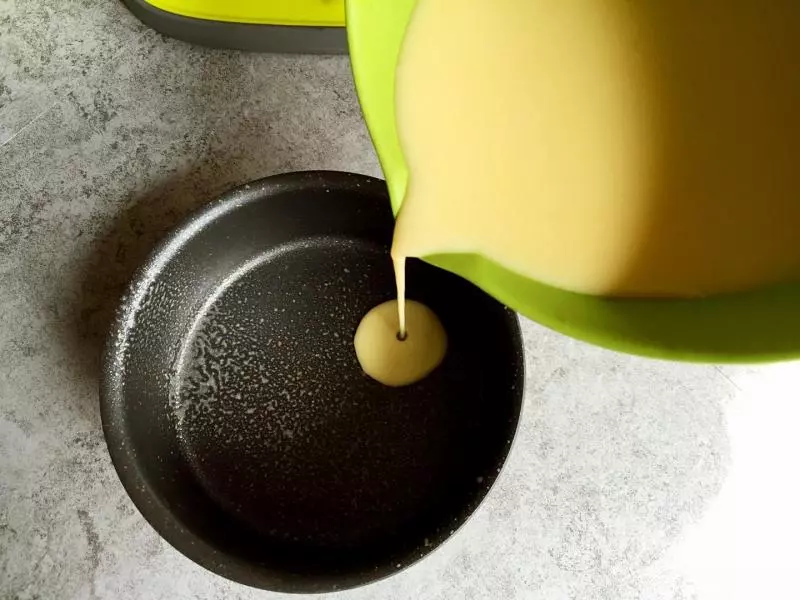
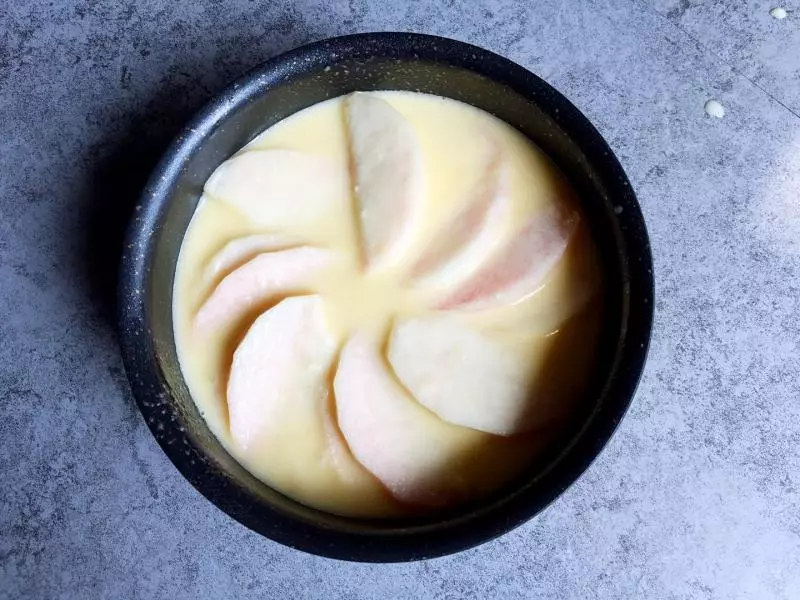
12先倒入一点蛋奶面糊铺满底部。
13铺一层蜜桃片。
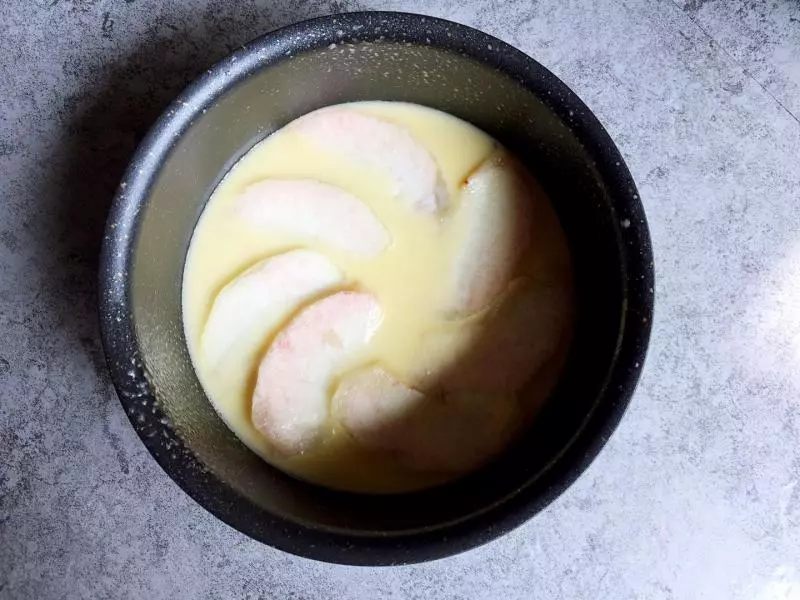
14然后面糊和蜜桃片交替放入,直至放完。
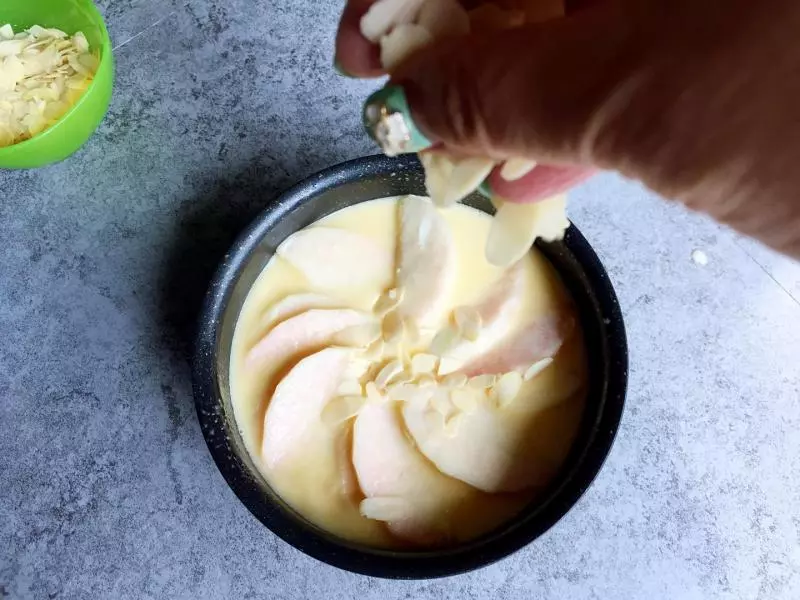
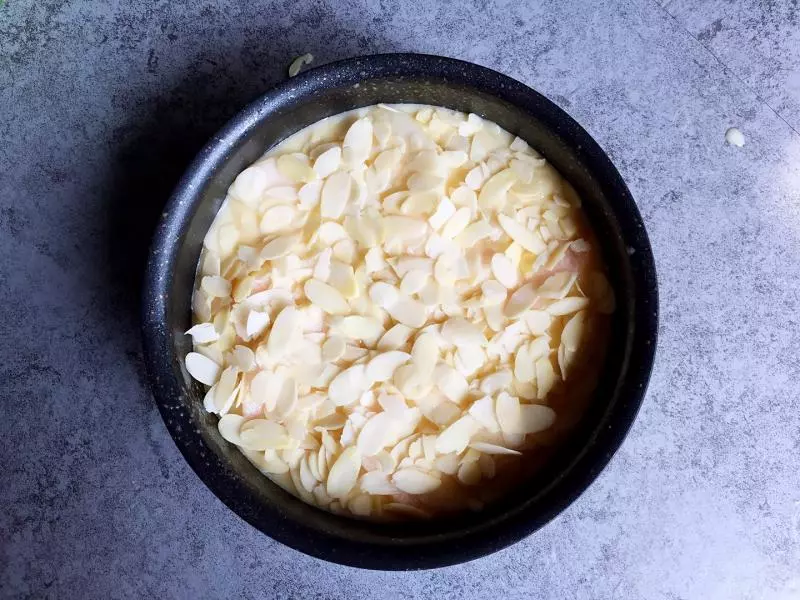
15洒上一层杏仁片。
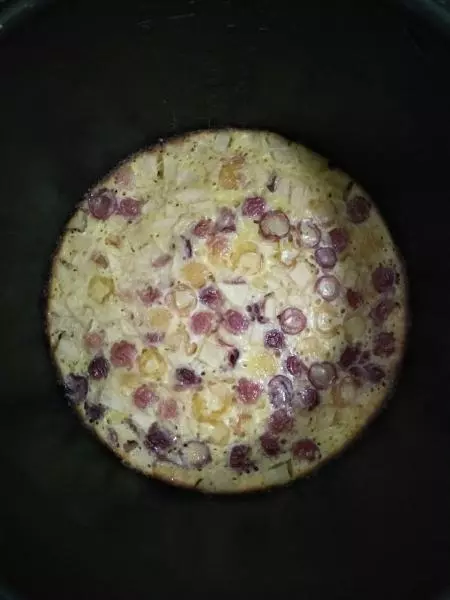
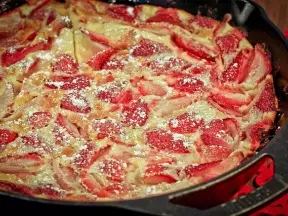
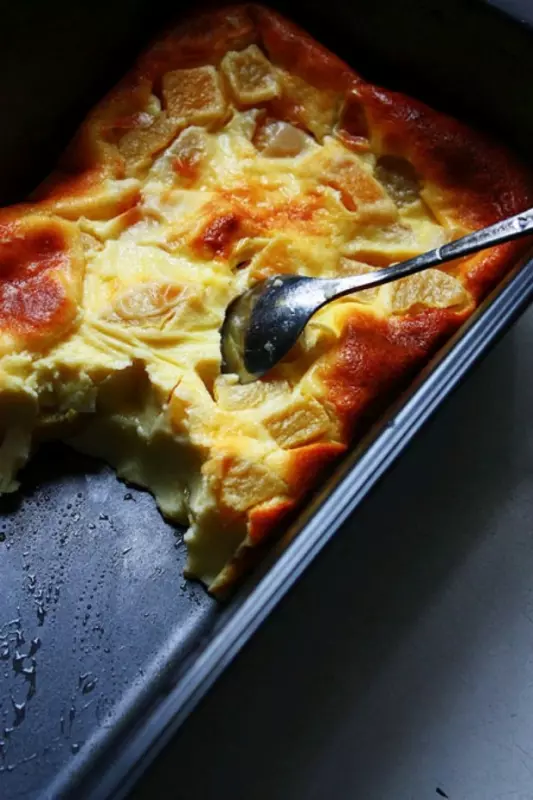
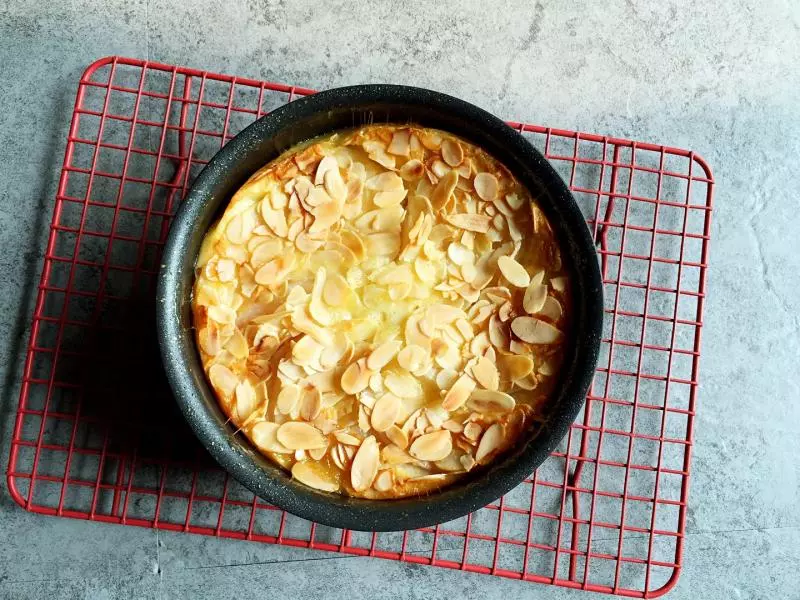
16入炉前是这样子滴。烤箱预热180度,放入倒数第二层,盖锡纸烤40分钟。
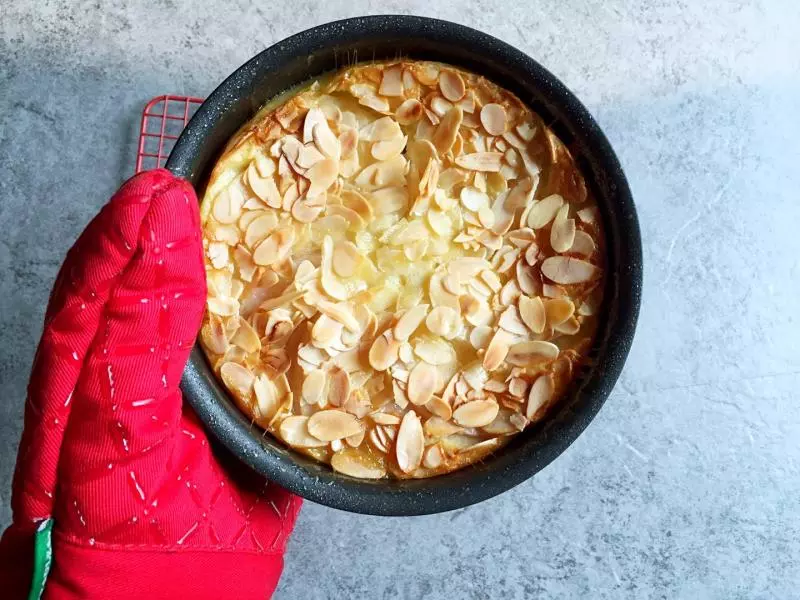
17揭开锡纸,再烤15-20分钟,至表层呈金黄色。各家烤箱火力不同,多留意烤色,不要烤焦黑噢!

18取出晾凉。
19冷却后高度下降,少许收缩下陷,正常现象。
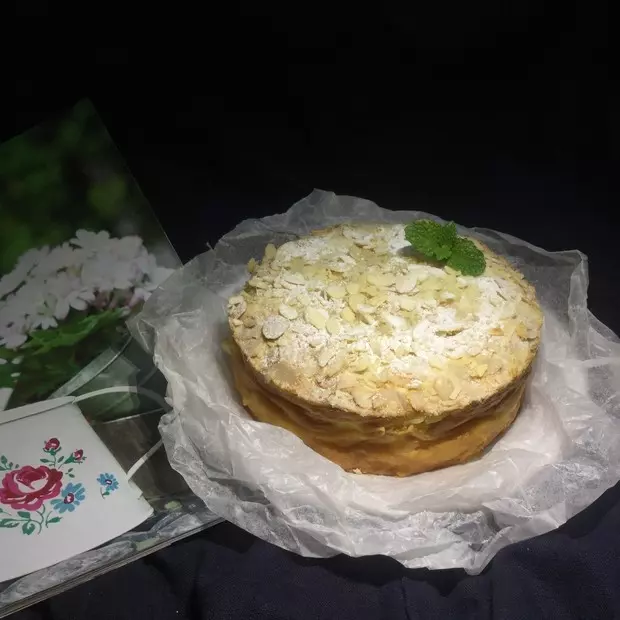
20完全冷却后,用脱模刀轻轻划一圈,倒扣在盘子里,再用另一个盘子盖上,翻过来。一定要等完全冷却,否则热的话,未凝固的布丁会散掉。

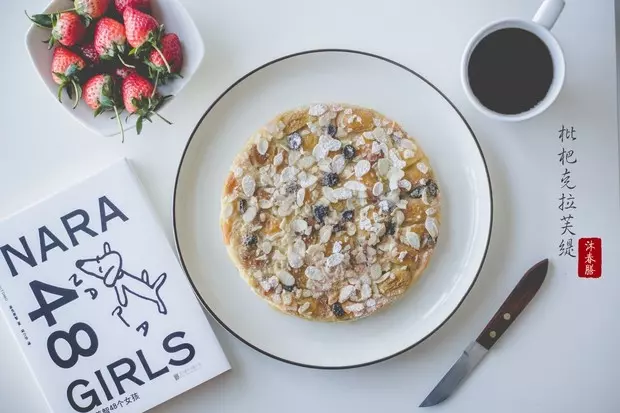
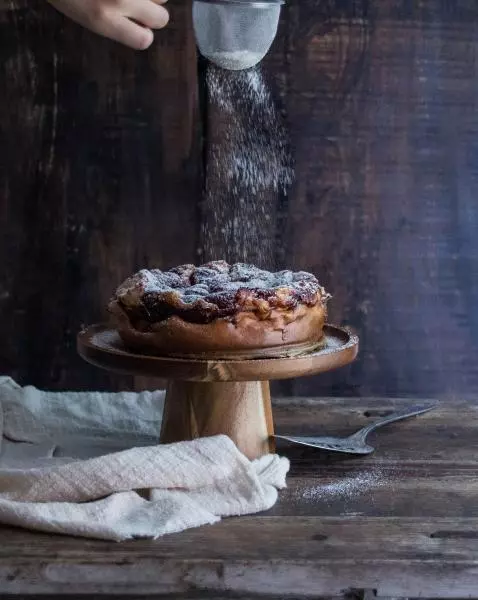
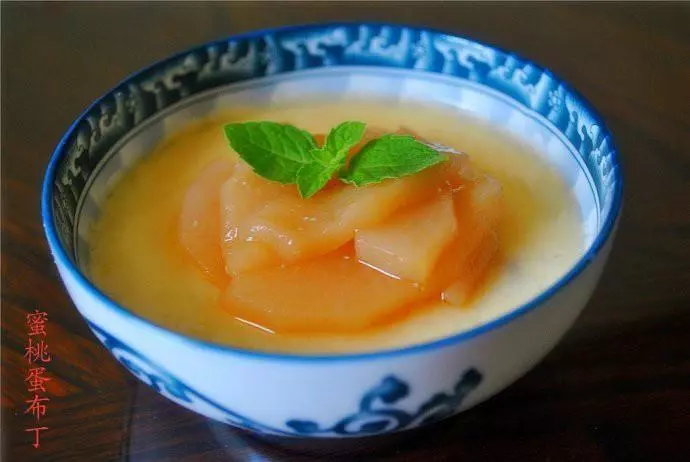
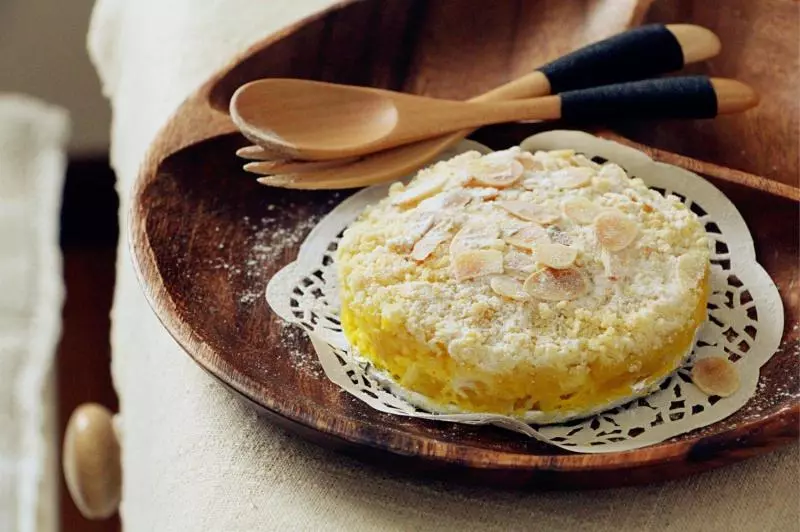
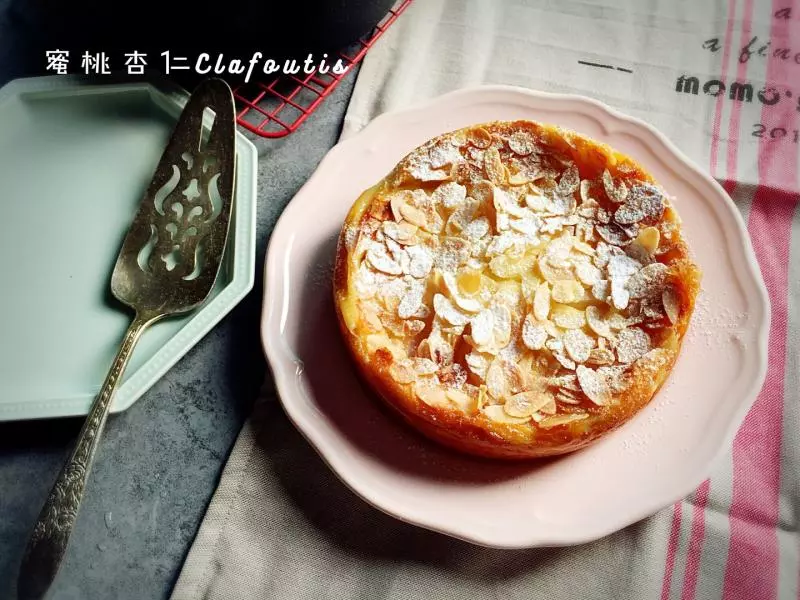
21洒上糖霜。
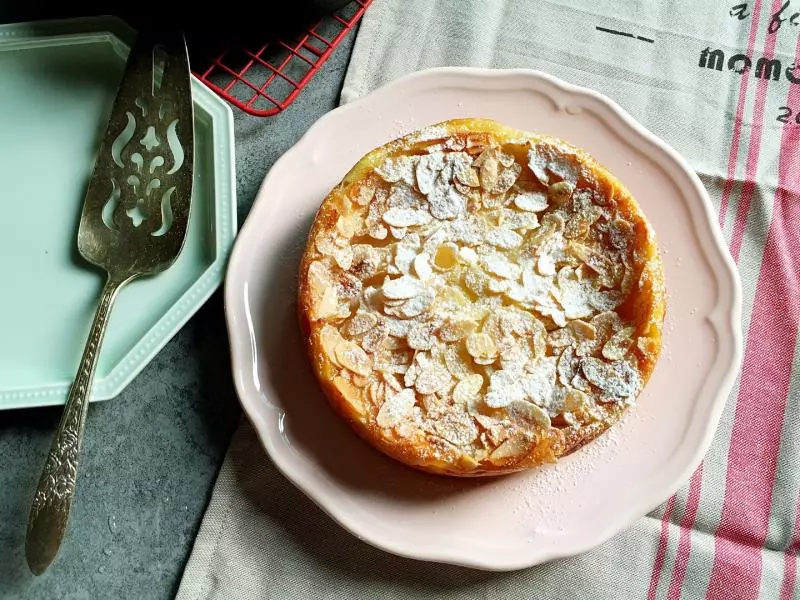
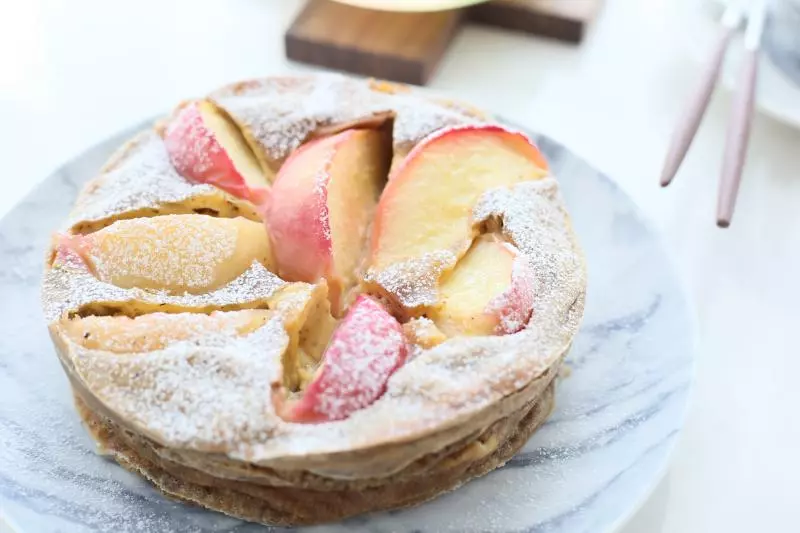
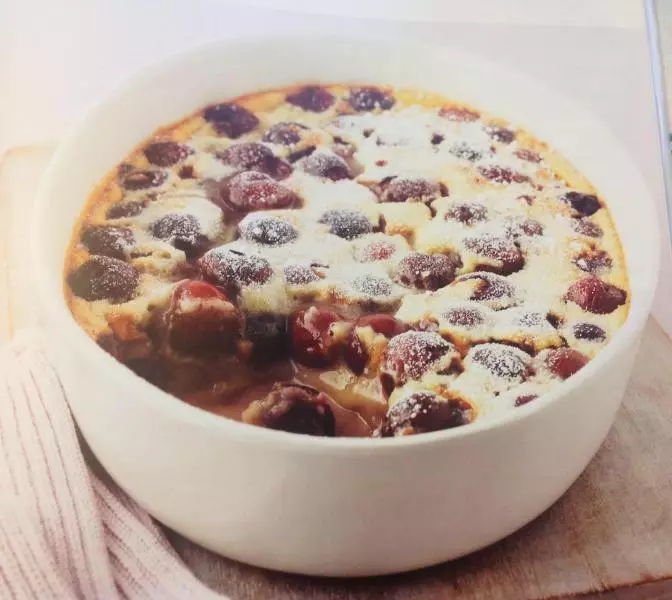
22开吃!
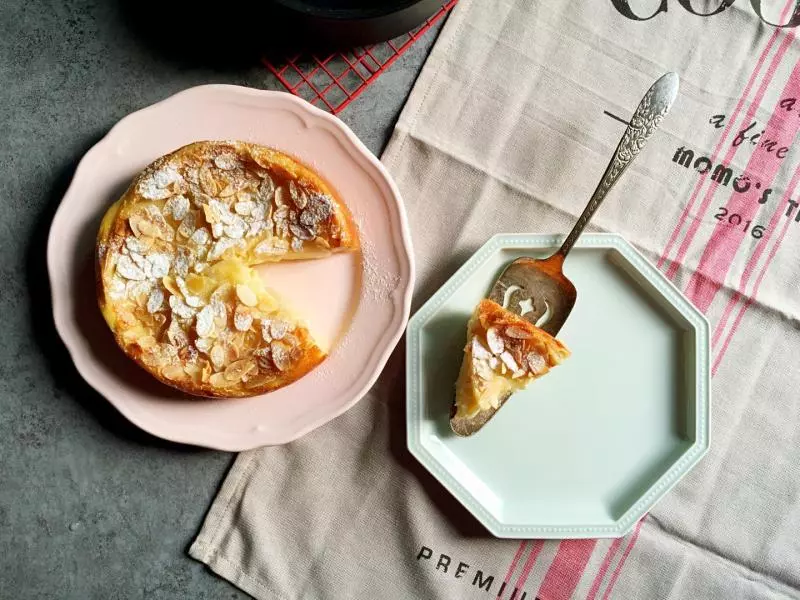
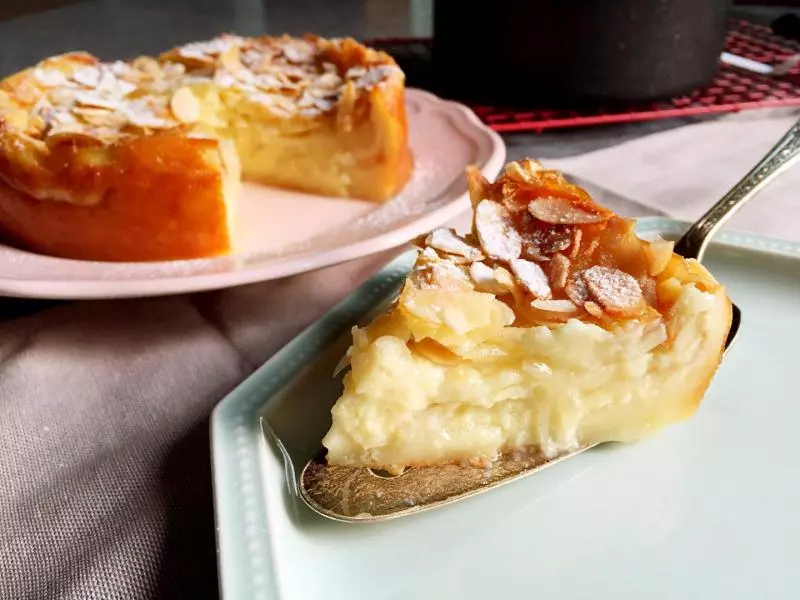
23由于蜜桃是多汁水果,切开后会有少量水分析出。嫩嫩滑滑的蜜桃烤蛋奶布丁,尝尝吧!
小技巧
我用的是兔子家的6寸多功能大理石不粘固底圆模(15cm)。脱模刀也是兔子家的,很好用。