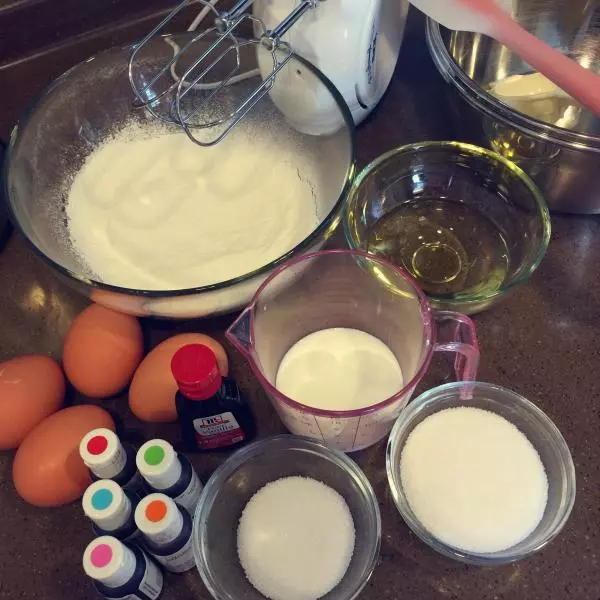
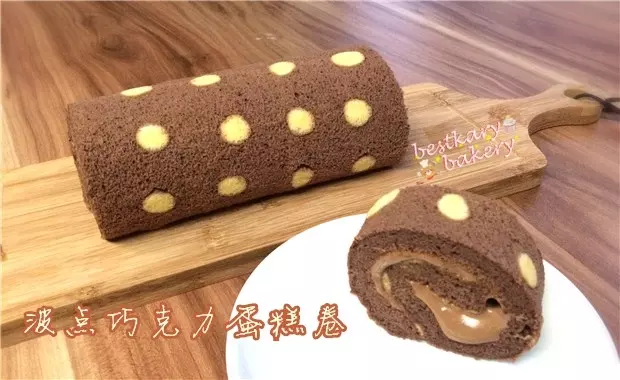
原料
低筋面粉: 80克, 牛奶: 60克, 细砂糖: 20克(蛋黄用), 细砂糖: 60克(蛋白用), 玉米油: 50克, 鸡蛋: 4个, 柠檬汁: 几滴, 香草精: 几滴, 食用色素: 少许, 奶油或果酱: 适量, 三能烤盘: 1个, 彩绘垫: 1个
步骤
1准备……将鸡蛋,蛋黄蛋白分离。将低筋面粉,过筛备用。将烤盘,铺好油纸和彩绘垫备用。
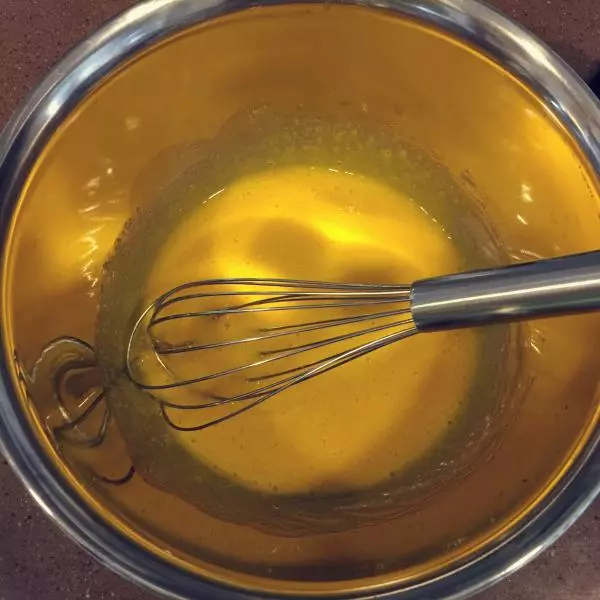
2蛋黄加入20克细砂糖,用手动打蛋器,轻轻打散。
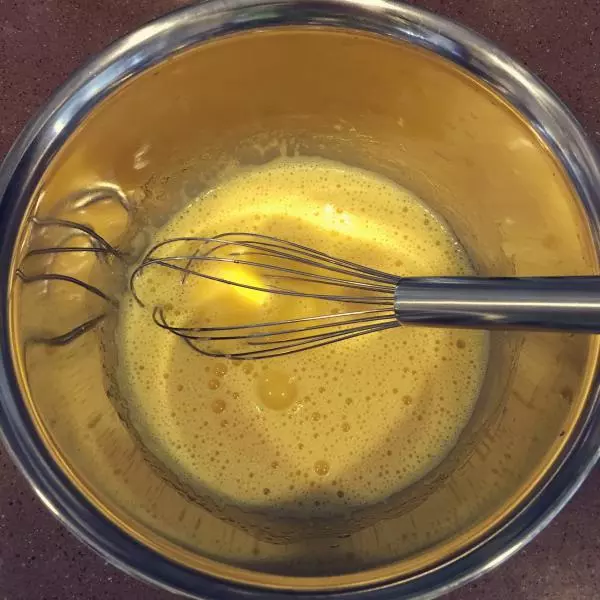
3加入玉米油,搅拌均匀。加入牛奶,搅拌均匀。香草精几滴,搅拌均匀。
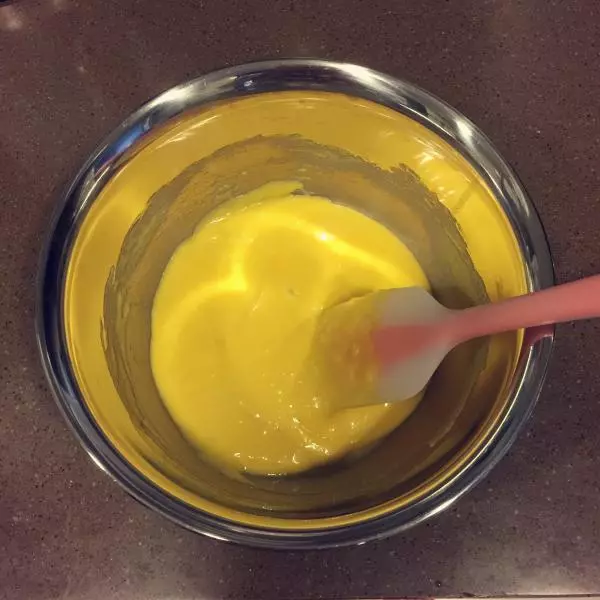
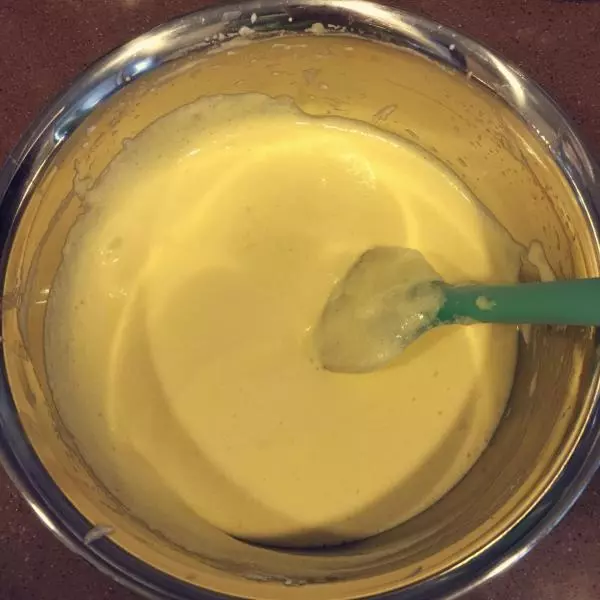
4一次性加入过筛好的面粉,用刮刀翻拌均匀至无颗粒。
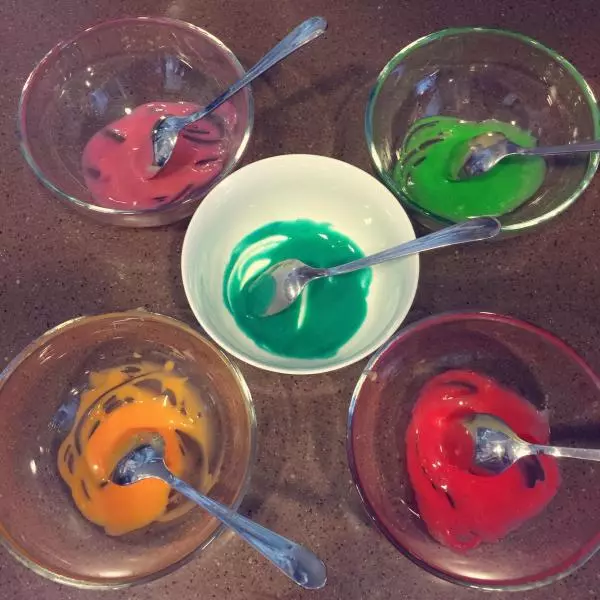
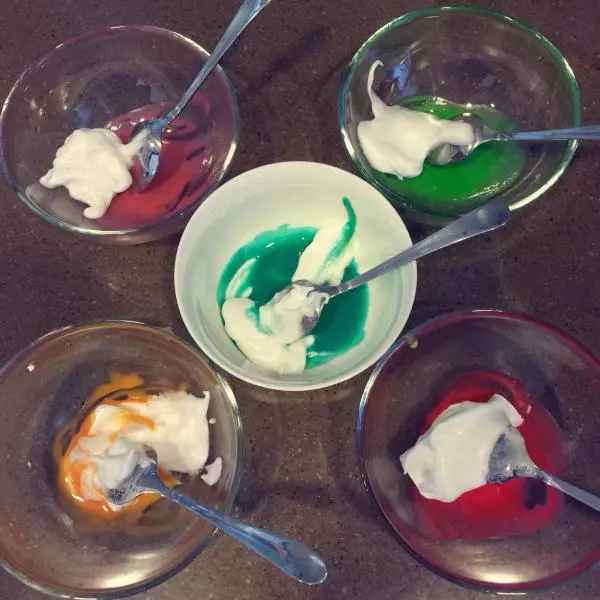
5另取5个干净的小碗,分别加入1小勺面糊,食用色素,搅拌均匀。
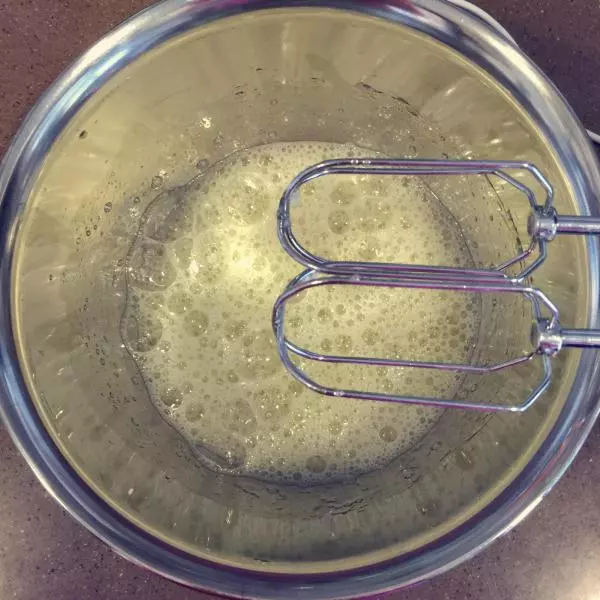
6蛋白加入柠檬汁几滴,用打蛋器打至起泡。
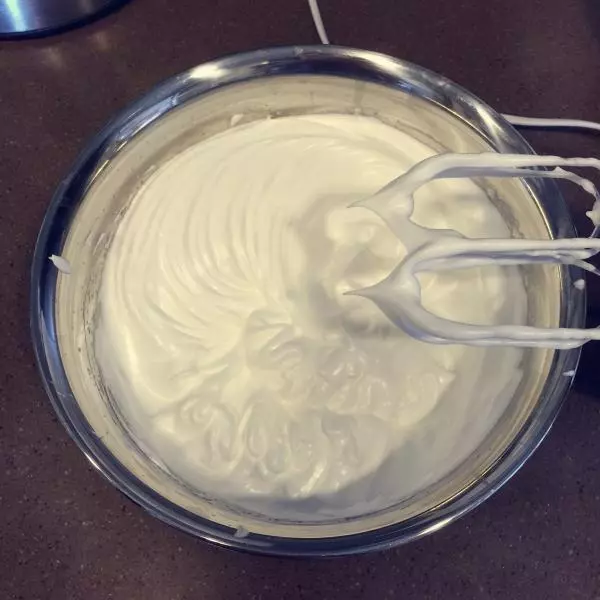
7将60克细砂糖分3次加入蛋白中,打发至提起打蛋器露出尖尖角。
8分别在5小碗彩色面糊中,加入2小勺打发好的蛋白,翻拌均匀装入裱花袋。
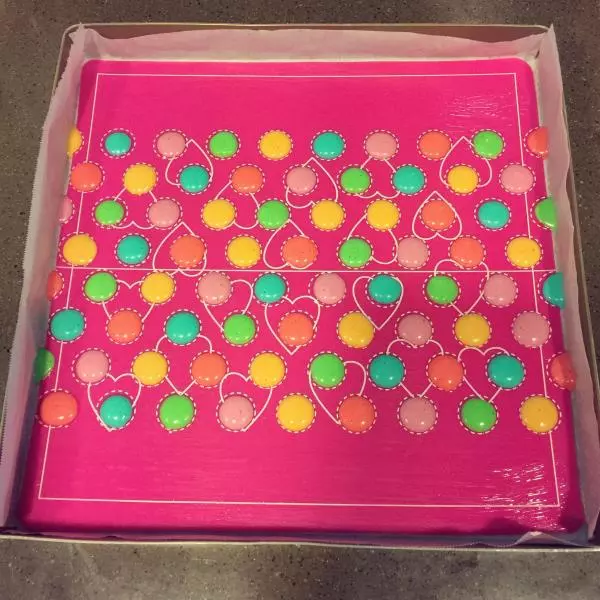
9在彩绘垫上涂一层油,挤出彩色波点的图案,放入烤箱中层,180度1分钟取出。
10取1/3打发好的蛋白,加入蛋黄糊中,用刮刀翻拌均匀。
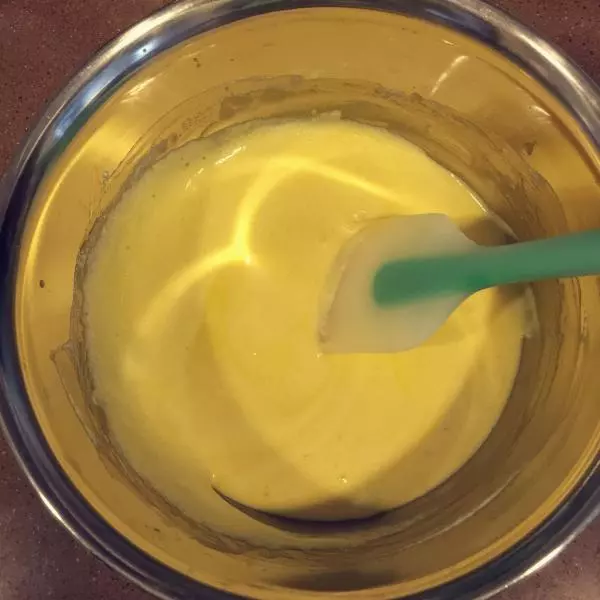
11再将翻拌均匀的面糊,倒入剩下打发好的蛋白中,用刮刀翻拌均匀。
12将翻拌均匀的面糊,倒入模具中震几下,震没大气泡。

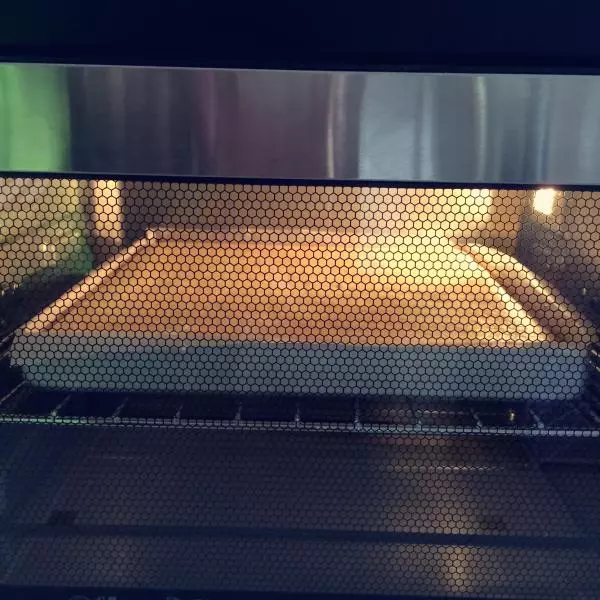
13放入烤箱中层,150度18分钟。
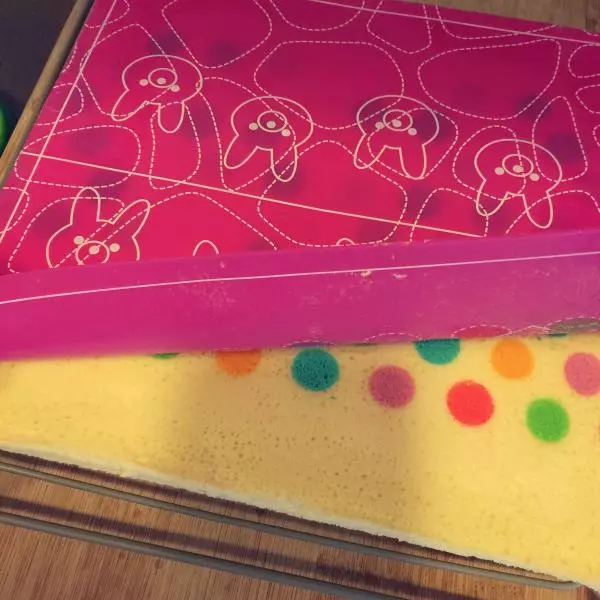
14烤好后,将蛋糕片倒扣在冷却架上。撕去油纸揭开彩绘垫,再将彩绘垫盖回在蛋糕片上,以免水分蒸发卷的时候开裂。
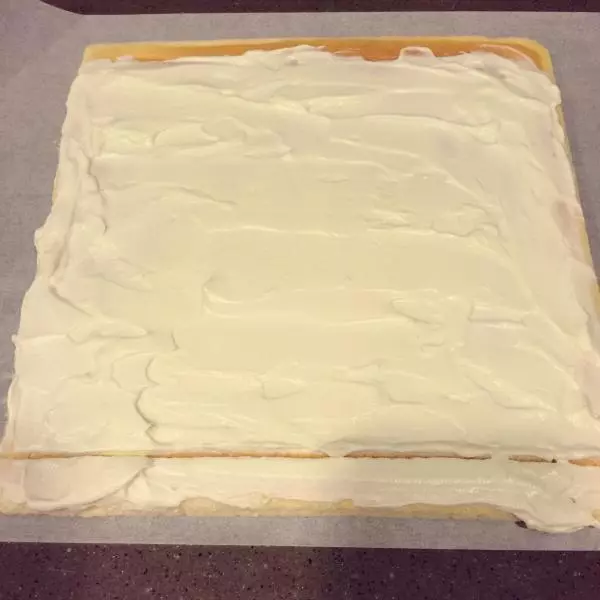
15待冷却后,将蛋糕片倒扣在一张新的油纸上,涂抹奶油或果酱。
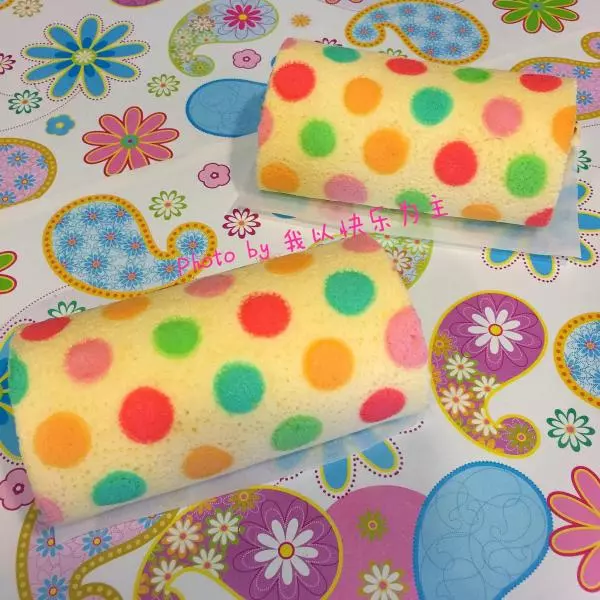
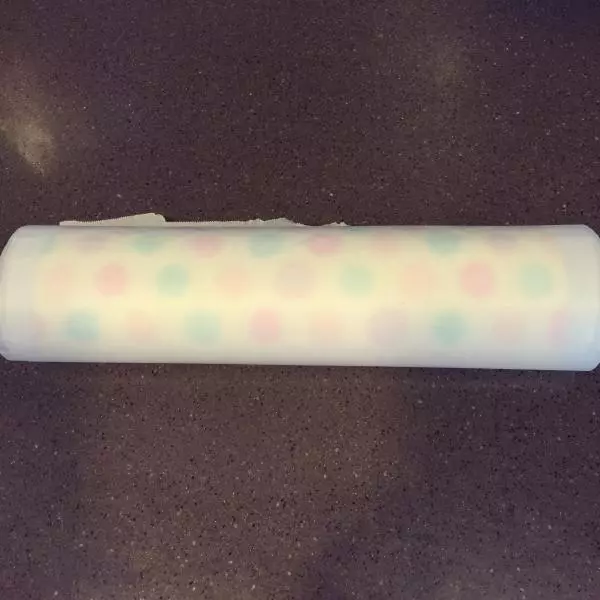
16卷成蛋糕卷,放入冰箱,冷藏30分钟定型。

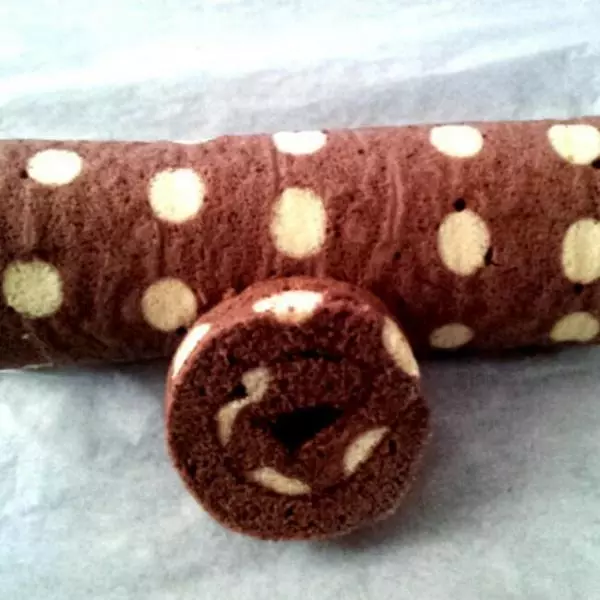


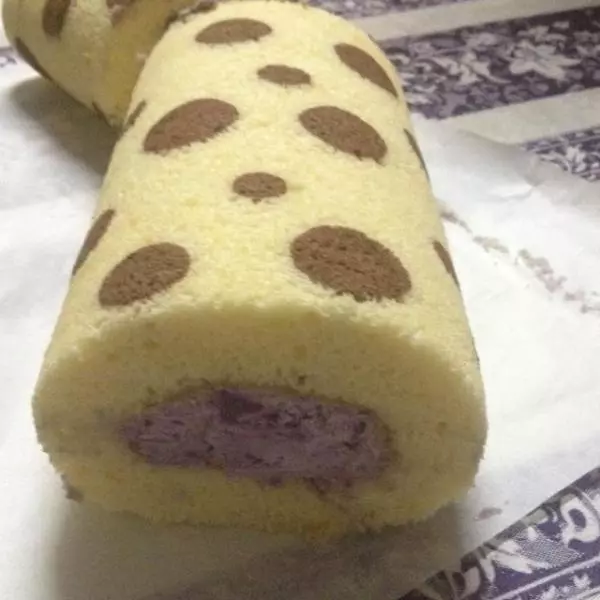
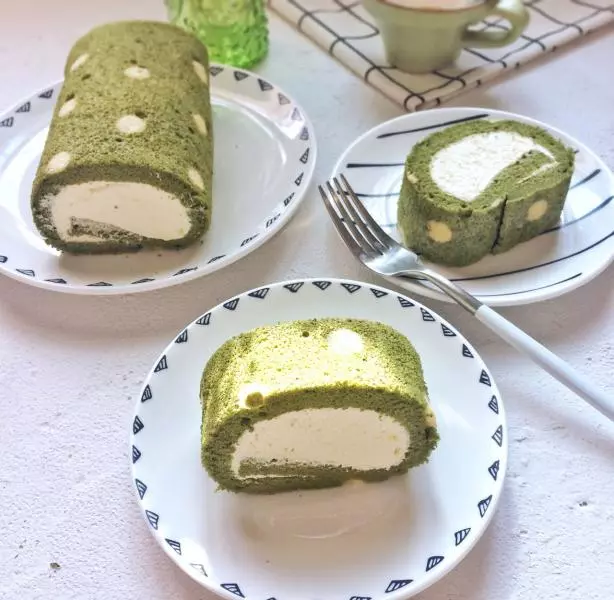
![波点蛋包饭[快厨房]](/images/node/29/290038.webp?1638107456)