原料
1.蛋黄糊: , 蛋黄 4个: , 白砂糖 10g: , 水 40g: , 玉米油 30g: , 低筋面粉 50g: , 2.蛋白霜: , 蛋白 4个: , 白砂糖 40g:
步骤
1准备所有用料,使用矿泉水瓶分离蛋黄和蛋清,比分蛋器好用。

2在蛋黄中加入白砂糖,搅拌均匀。

3在蛋黄中加入水,搅拌均匀。

4在蛋黄中分三次加入玉米油,搅拌均匀,是其乳化。

5在蛋黄中分三次加入过筛的面粉,换着使用顺时针、逆时针、Z字的方式搅拌均匀。

6完成蛋黄糊的制作。

7用电动打蛋器打发蛋清,打出鱼眼泡时加入三分之一的白砂糖。

8打出细泡沫时第二次加入三分之一的白砂糖。

9加入最后三分之一的白砂糖。

10打发的蛋白霜出现勾角,且不随着重力作用向下弯时,蛋白霜打发到位。

11此时先预热烤箱(上下管180℃、5min),后将三分之一的蛋白霜加入蛋黄糊中,右手握搅拌刀从2点钟方向往7点钟方向、由底部往上翻拌;左手同时逆时针转动蛋黄糊碗。

12将蛋黄糊倒入剩下的蛋白霜中,用同样的方式迅速搅拌均匀。

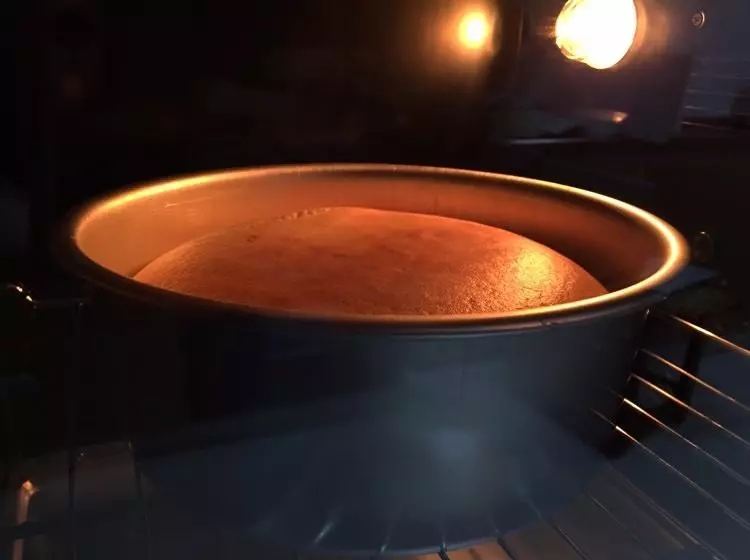
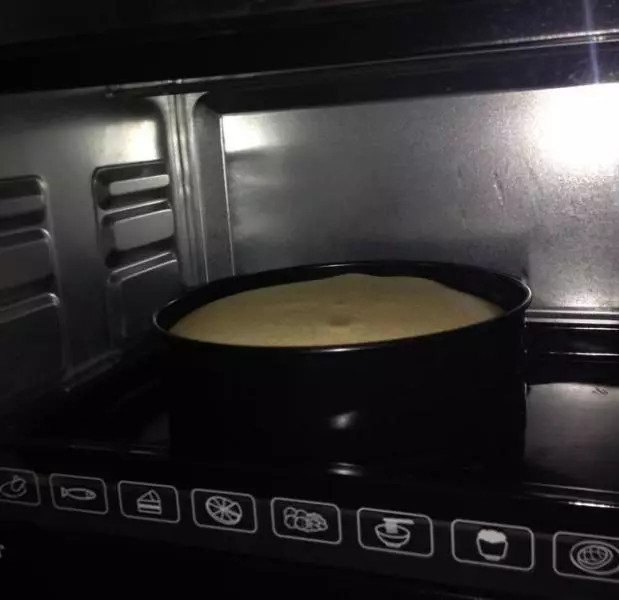
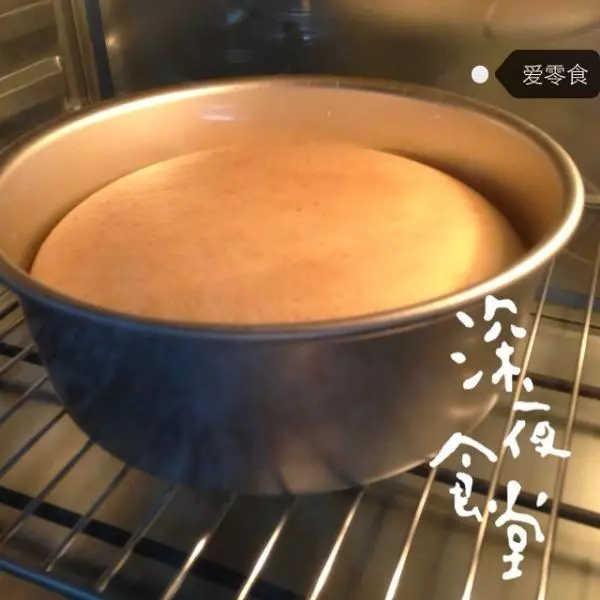
13将混合好的蛋黄糊和蛋白霜倒入圆模中,从10cm高处自由落体,轻震出气泡;放入预热好的烤箱中,调整上下管温度到150℃,烘烤50min。

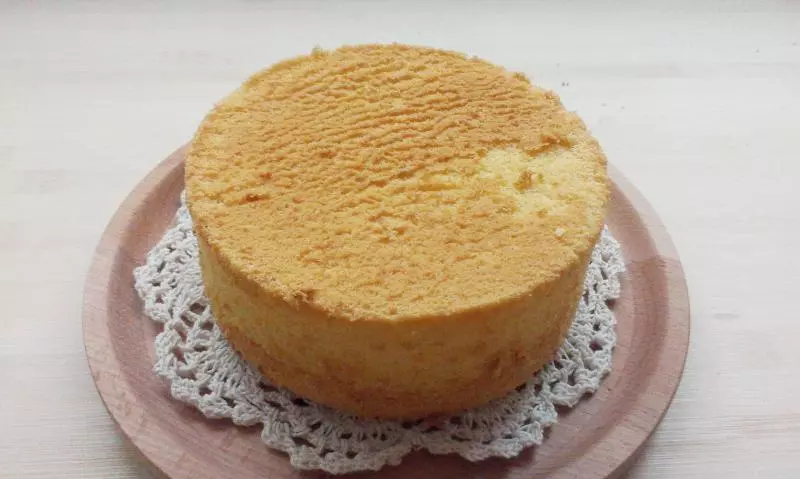
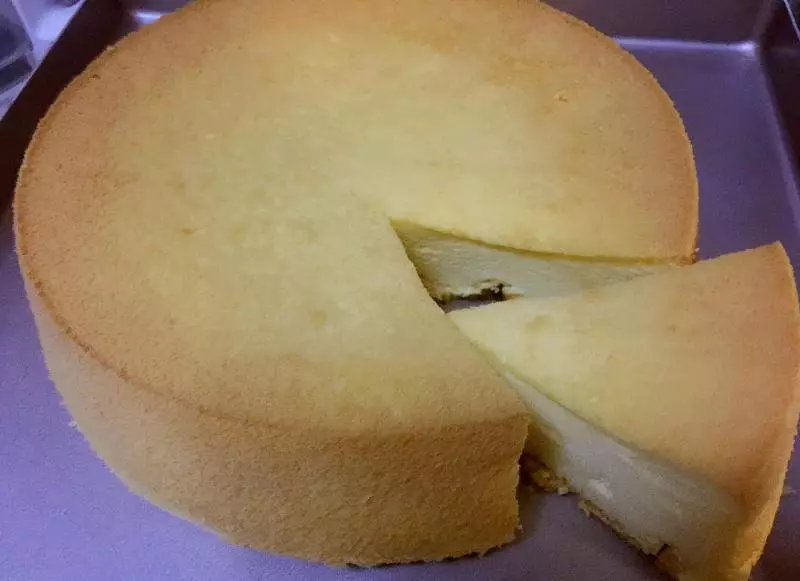
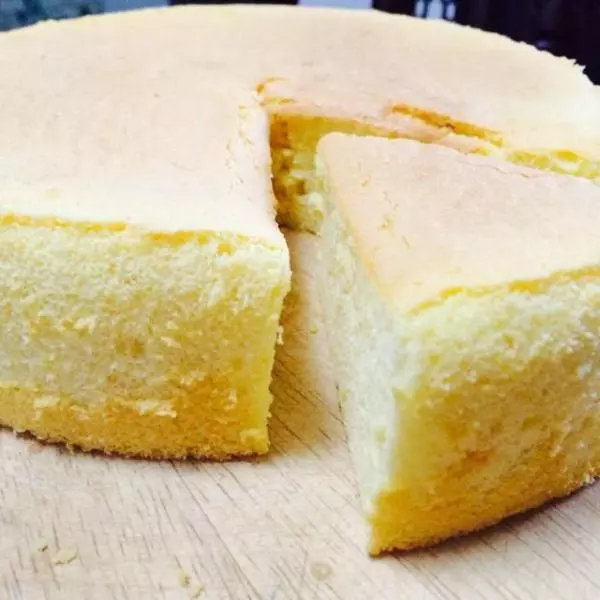
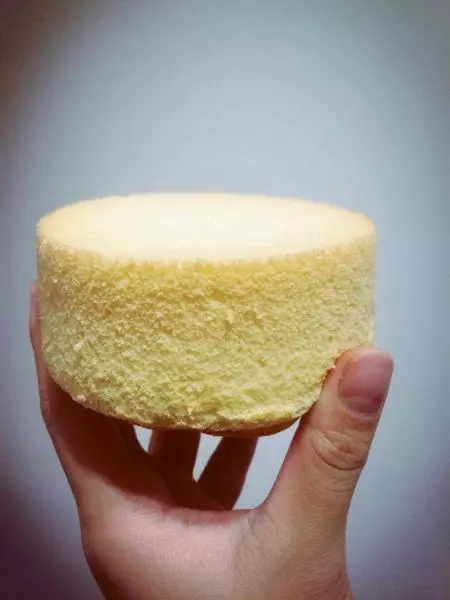
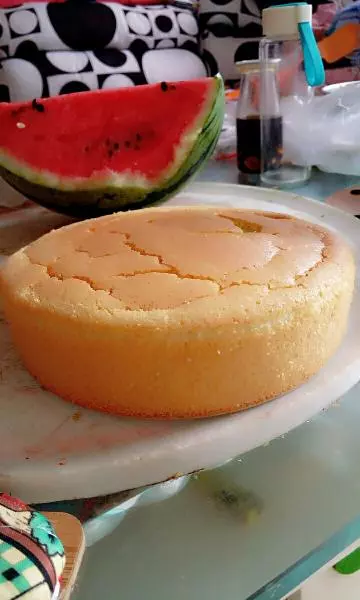
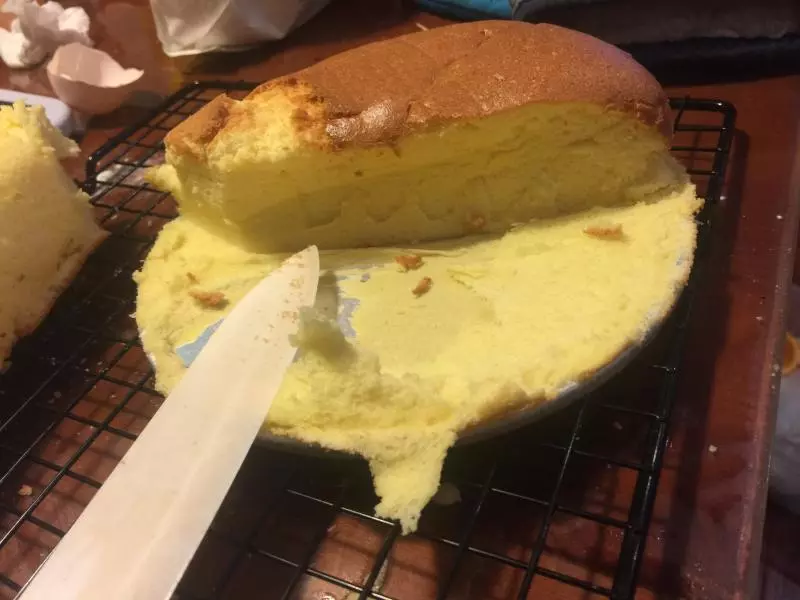
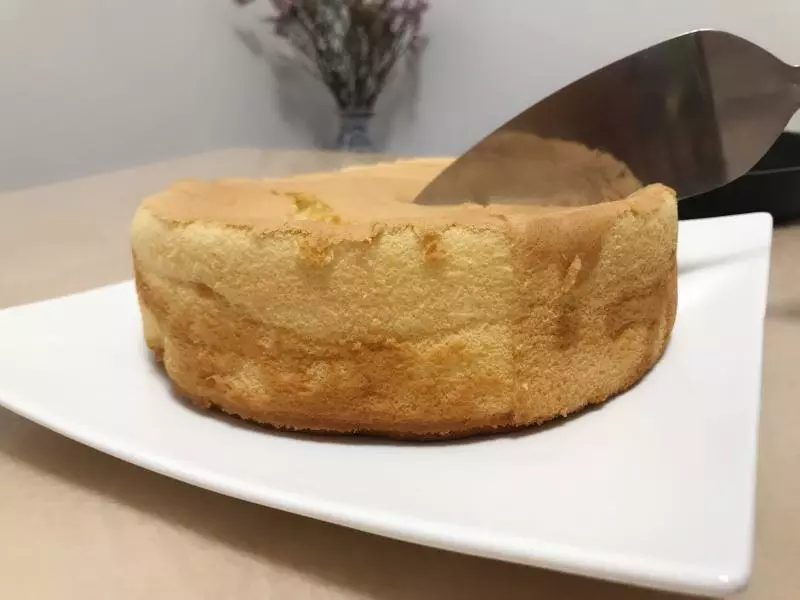
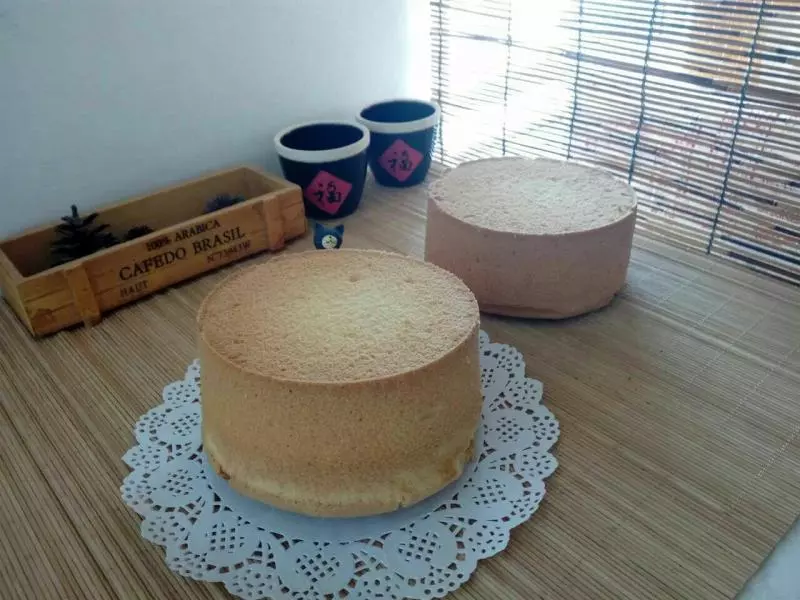
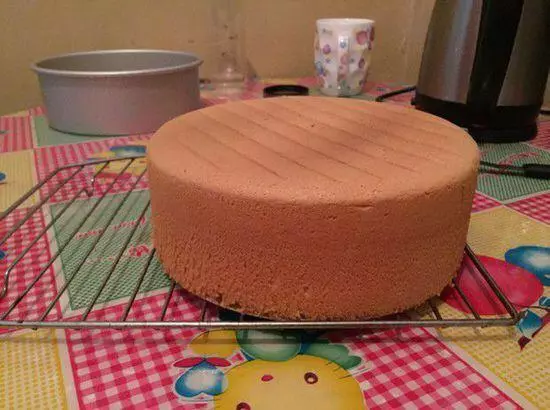
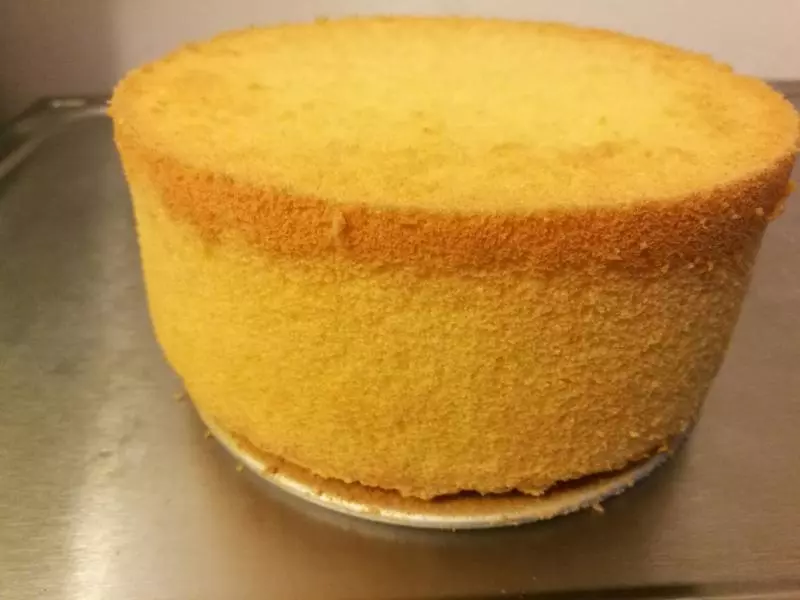
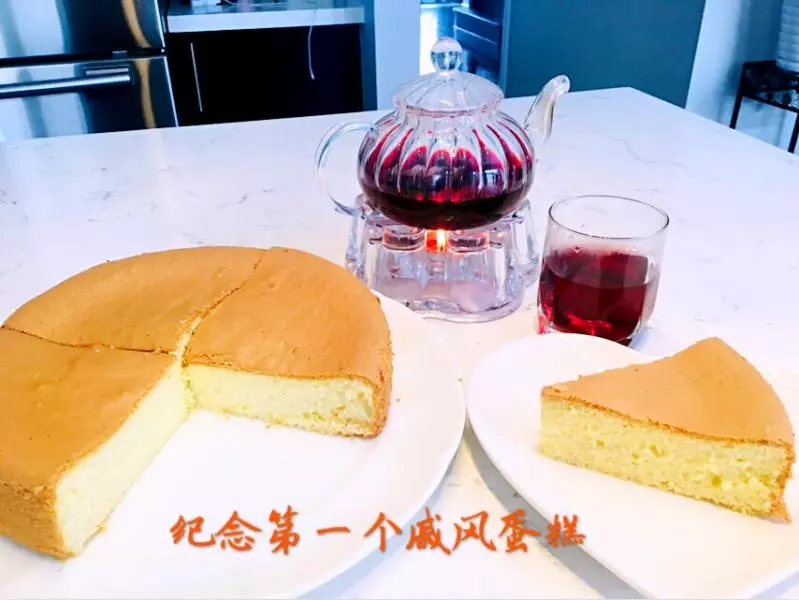
14拿出烤箱后再从10cm 高处自由落体,轻震出蛋糕内部热量,避免塌陷,接着倒扣在烤盘中,待冷却后脱模。

小技巧
1.烘烤过程不可为了缩短烘烤时间而提高烘烤温度,容易烤糊表面而内部未熟透。 2.鸡蛋越新鲜越好。