原料
蛋白: 168克, 砂糖A: 65克, 柠檬汁: 5克, 蛋黄: 92克, 砂糖B: 22克, 低粉: 35克, 可可粉: 12克, 黄油: 40克, 淡奶油: 200克, 可可粉: 15克, 砂糖: 20克, 淡奶油: 120克, 市售酸奶: 45克, 砂糖: 10克, 速溶咖啡与热水1:1溶液: 3克
步骤
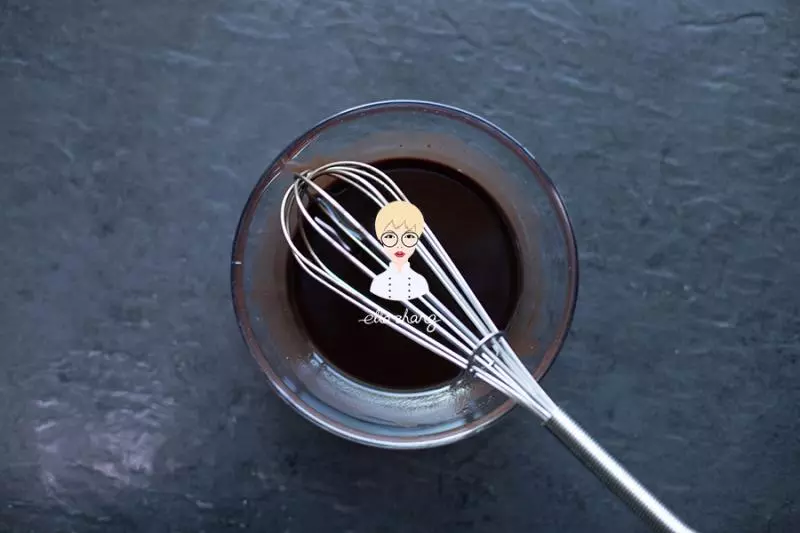
1将可可粉和融化的黄油混合均匀,做成可可油。
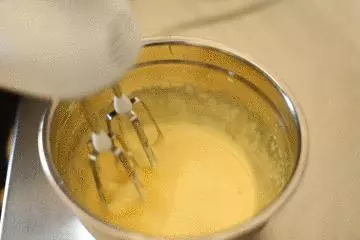
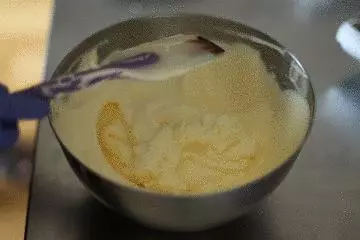
2制作蛋糕体:蛋黄加砂糖B打发到体积明显变大,颜色变白。
3制作蛋白霜,柠檬汁和蛋白一起称在搅拌盆中,高速打发到粗泡时,加1/4砂糖A。
4打到细泡时,第二次加入1/4砂糖A。
5打至有纹路后,加入剩余1/2的砂糖A。
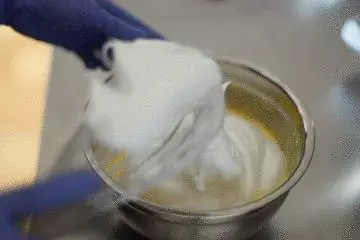
6继续高速打发迅速提起打蛋器时有大弯勾的状态,用手抽整理搅拌会有明显阻力,轻拍蛋白霜有明显弹性。
7将1/3左右的蛋白霜加入蛋黄糊,大致搅拌均匀。
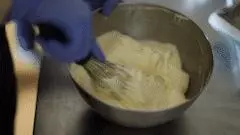
8倒回蛋白盆中,混合均匀。
9筛入面粉,搅拌至没有明显颗粒。
10用刮刀辅助加入事先混合好的可可油。
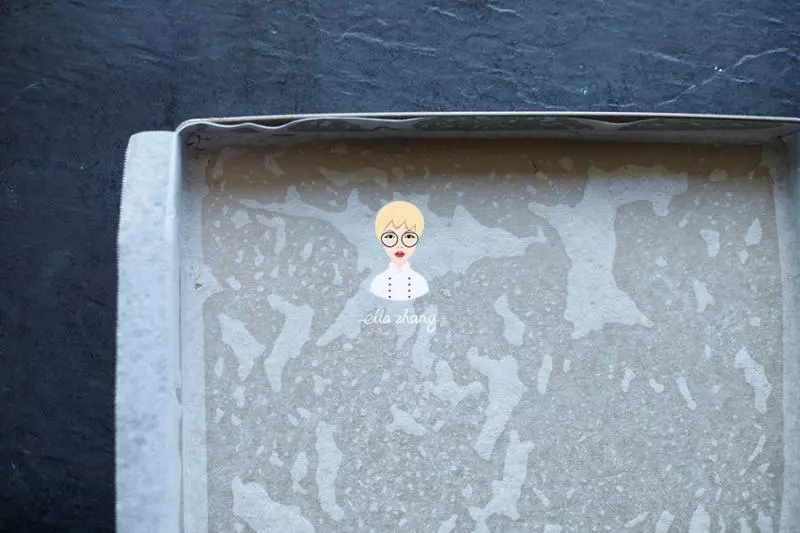
11翻拌均匀,倒入铺好油纸的烤盘,抹平(均匀即可)。
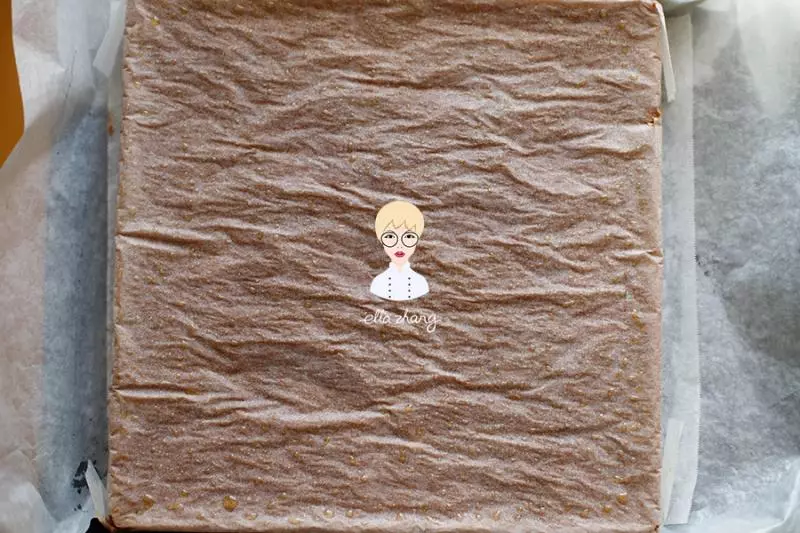
12上火170,下火130,家用烤箱160-170,烤12分钟调盘,再加6-8分钟,出炉后倒扣晾凉。
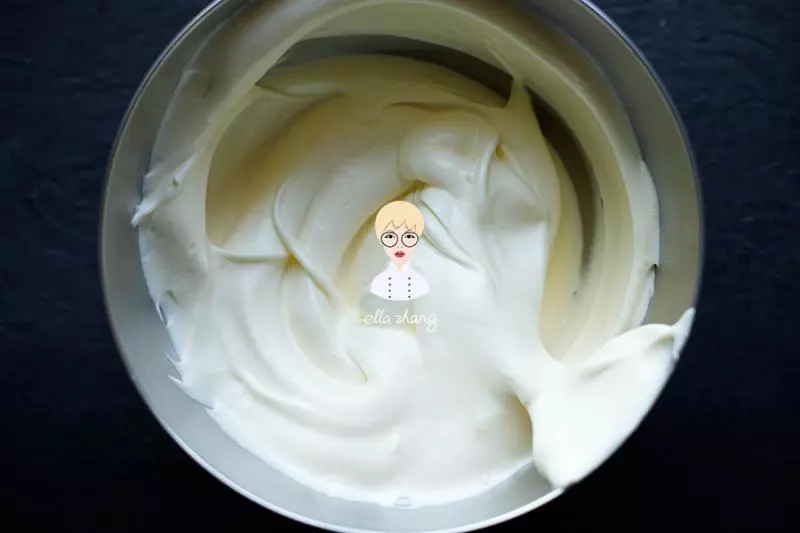
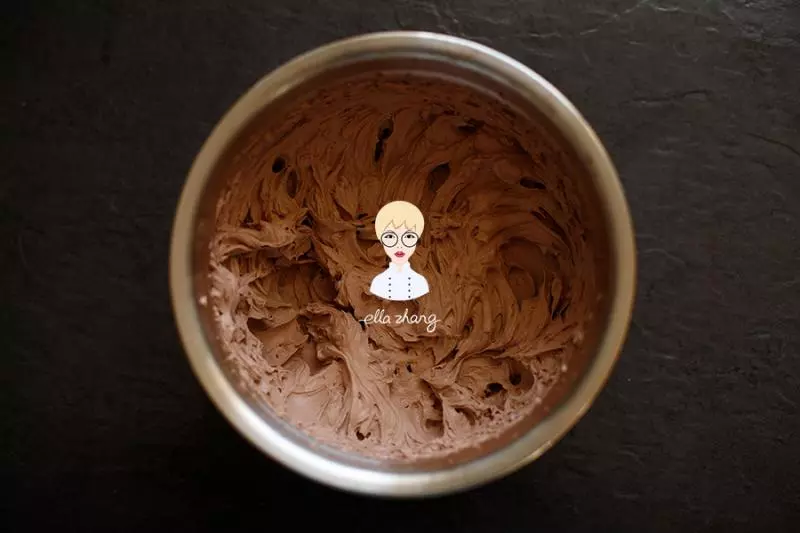
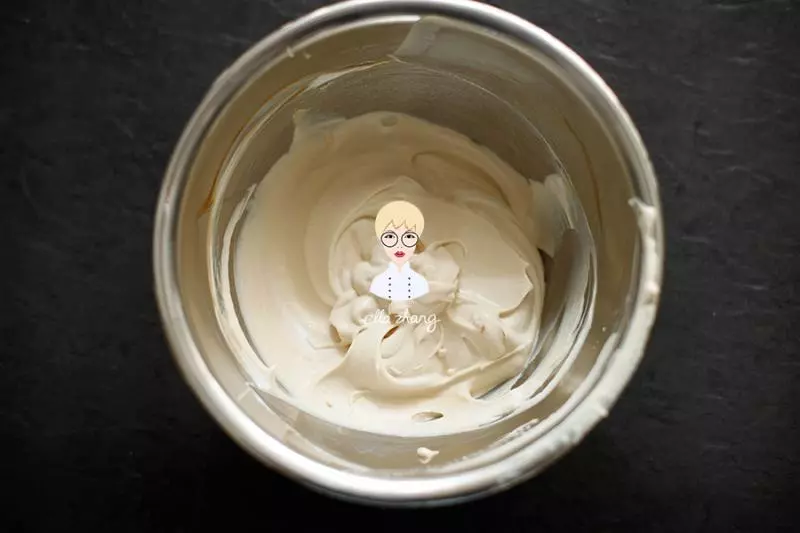
13制作可可奶油夹馅:混合抹可可粉与砂糖,淡奶油加可可砂糖打打至8分发。
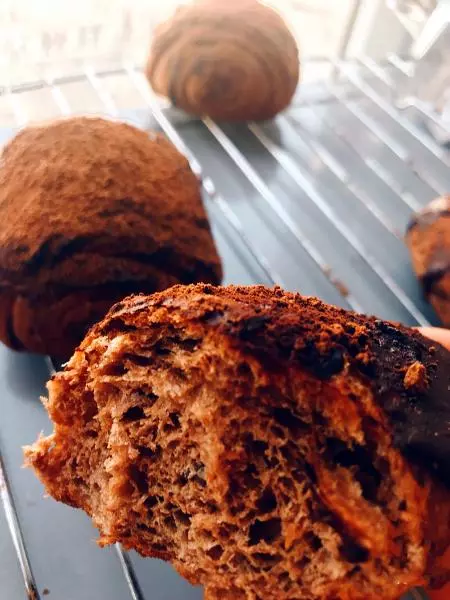
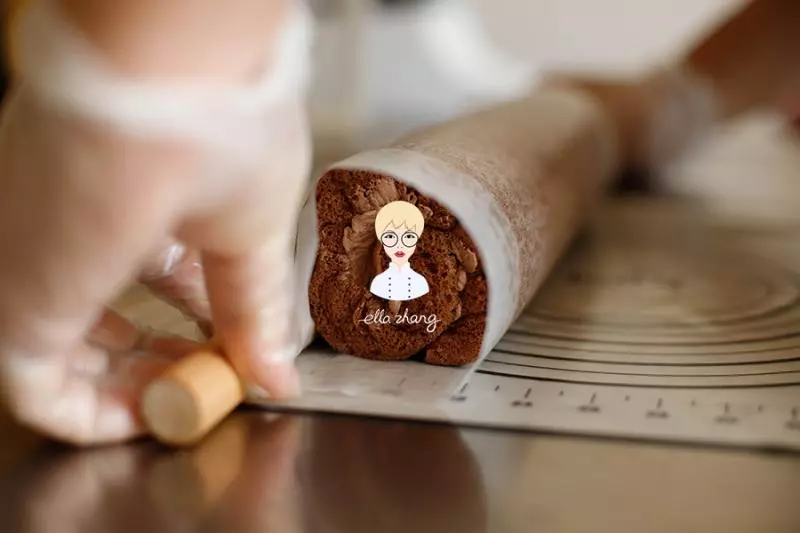
14将蛋糕体向外斜切修边。
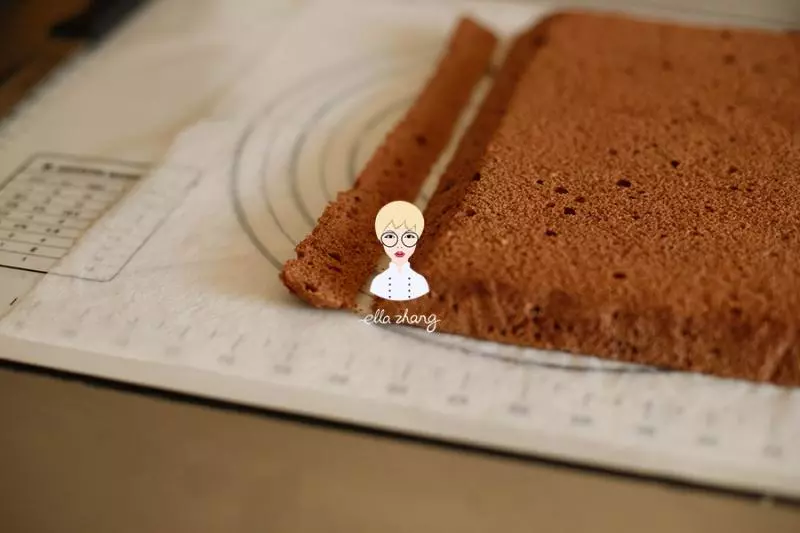
15将可可奶油奶油均匀涂抹。

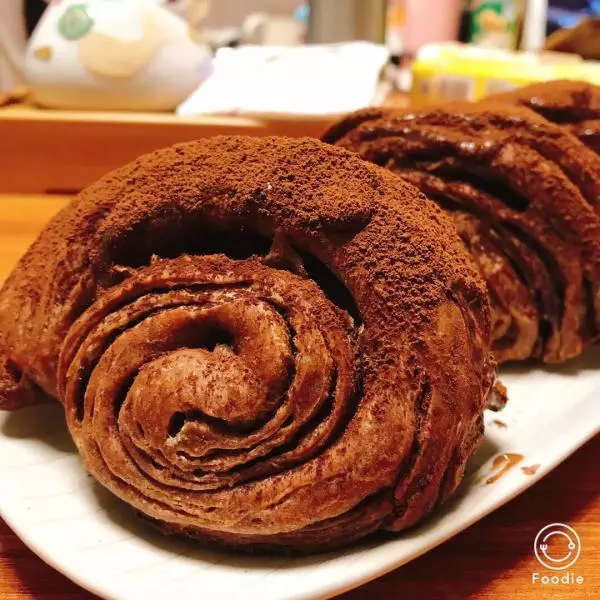
16卷起,冷冻20~40分钟定型。
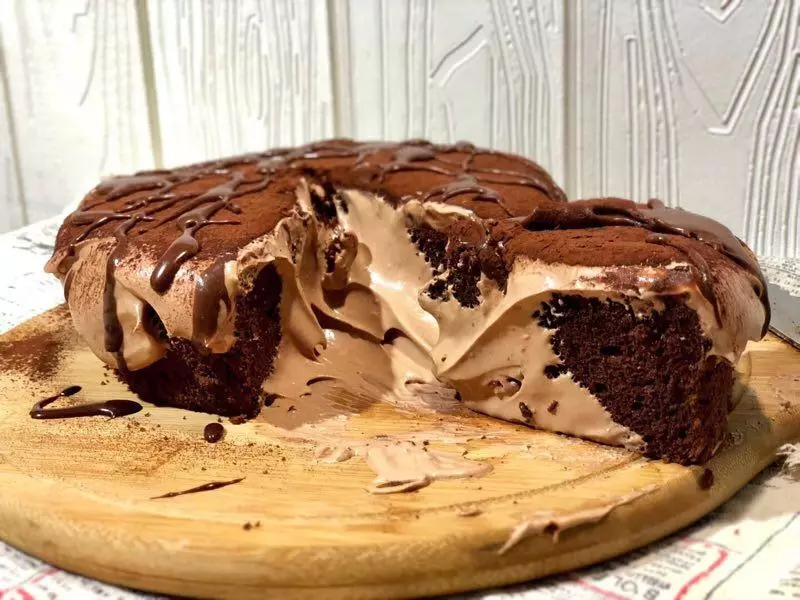
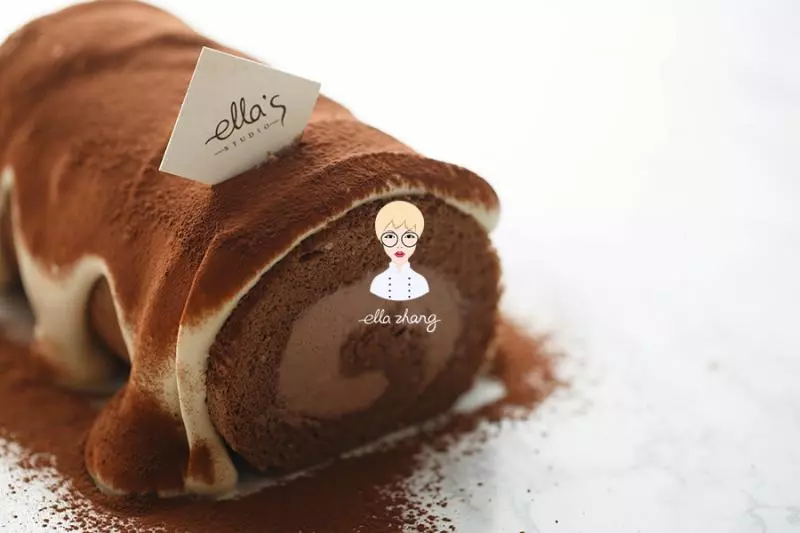
17制作咖啡酸奶淋面:酸奶与咖啡液混合均匀,淡奶油加砂糖打至6分发,混合酸奶与打发奶油,冷藏备用。
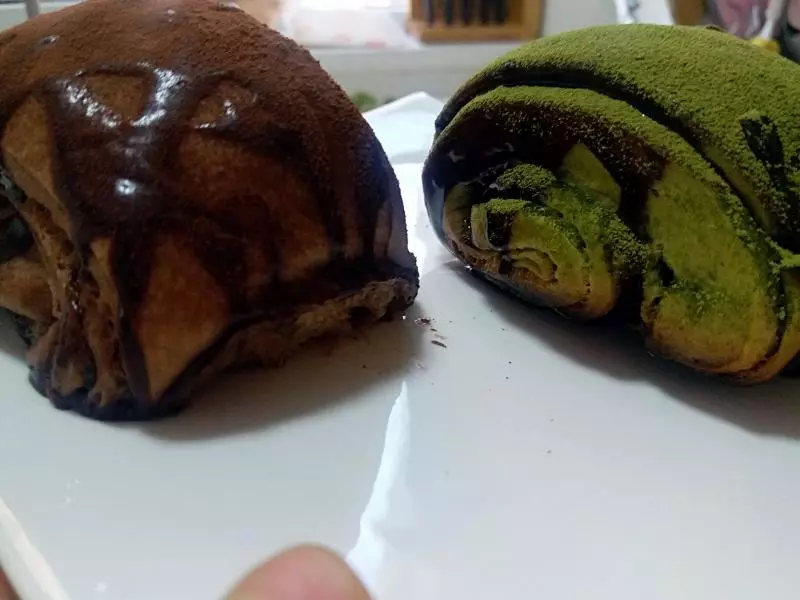
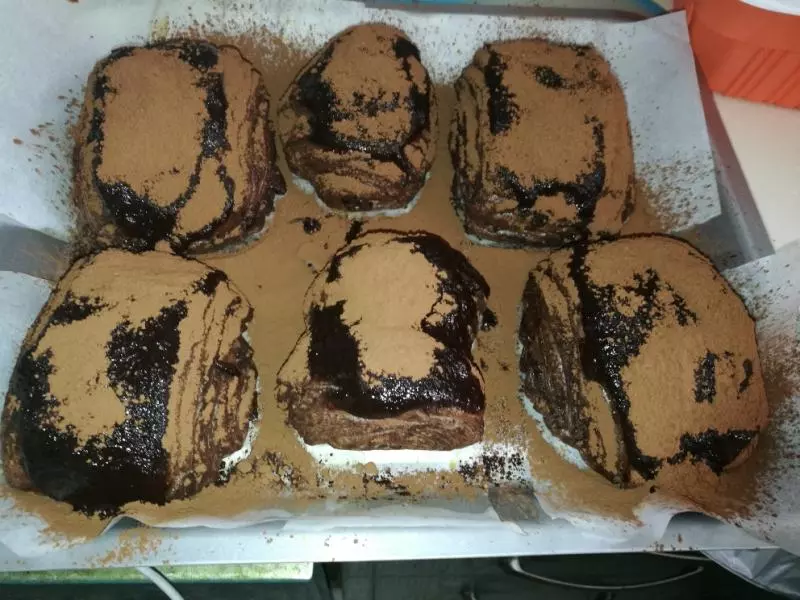
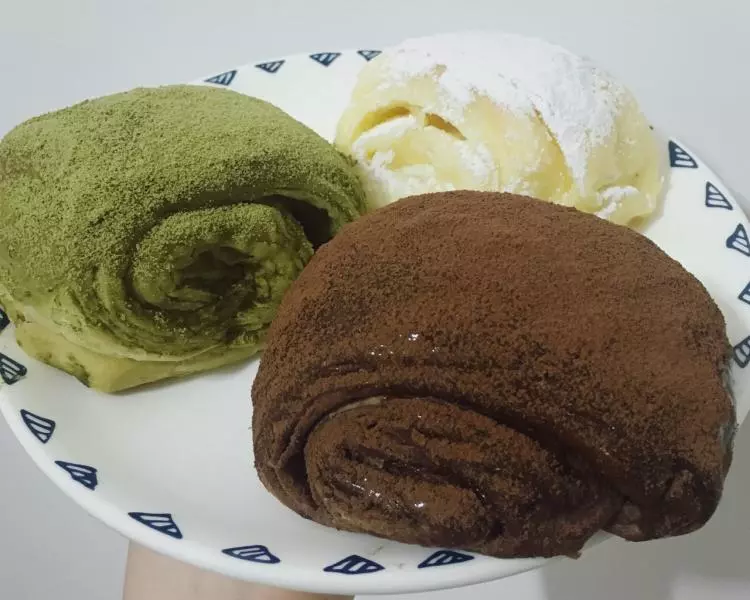
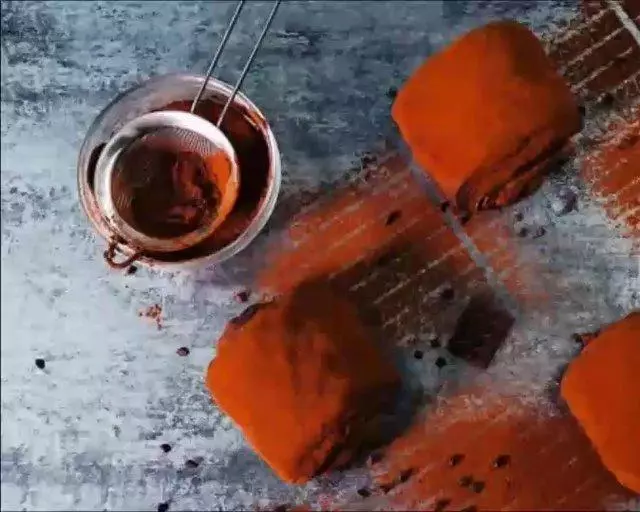
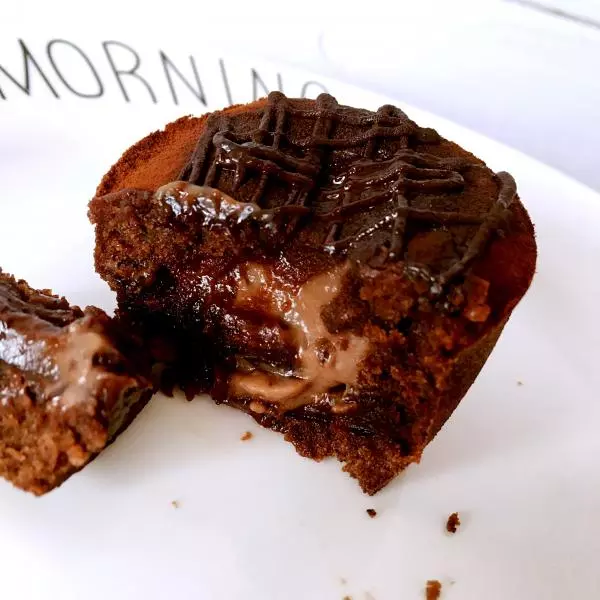
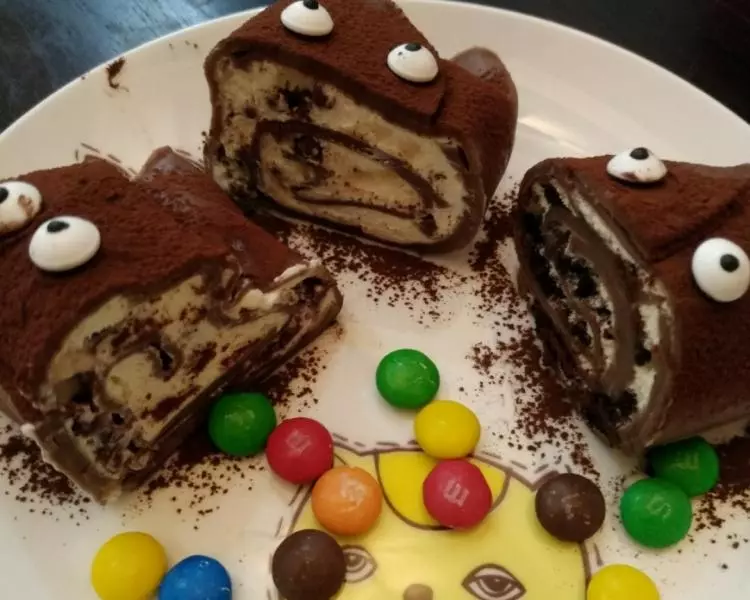
18蛋糕卷定型后取出,切掉两端,按照口味对应,先薄薄涂抹一层淋面奶油。

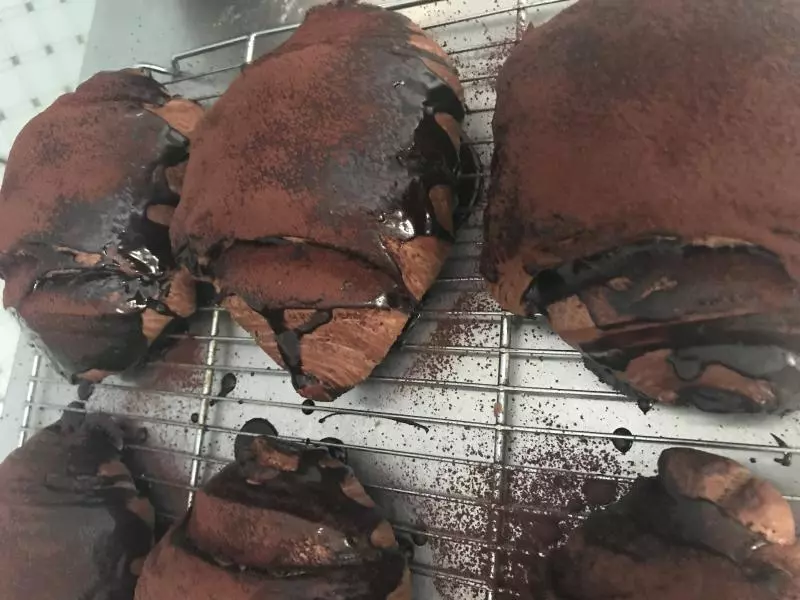
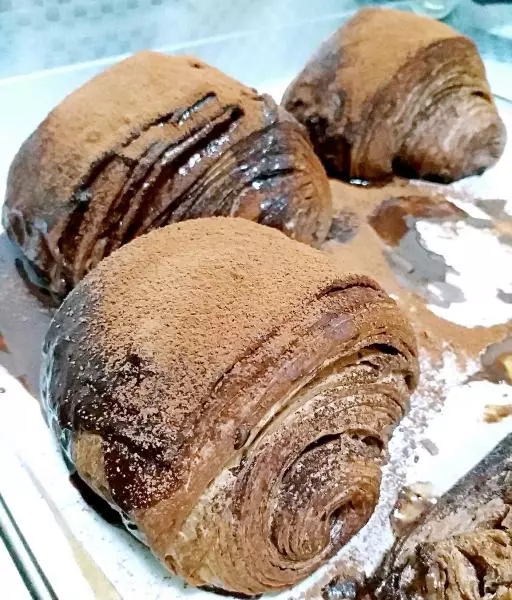
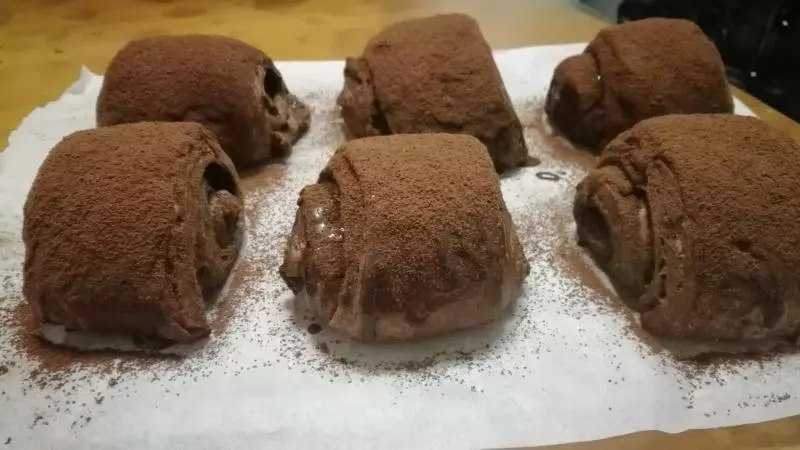
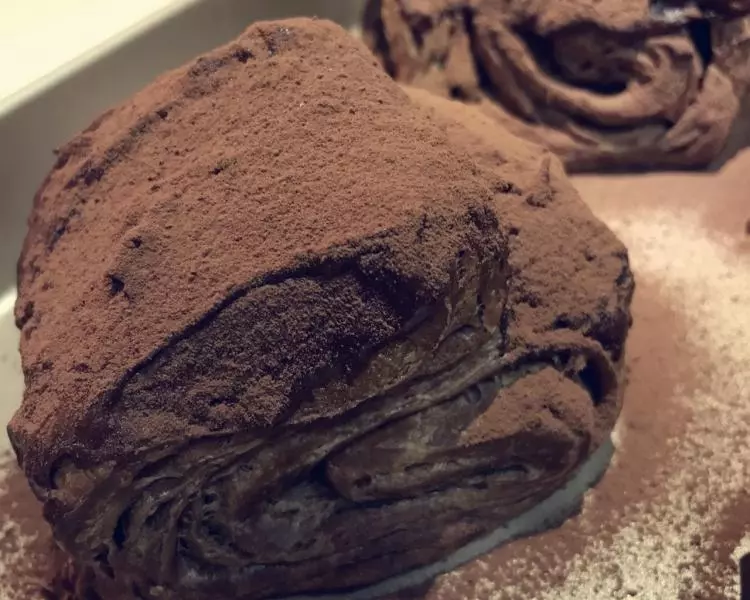
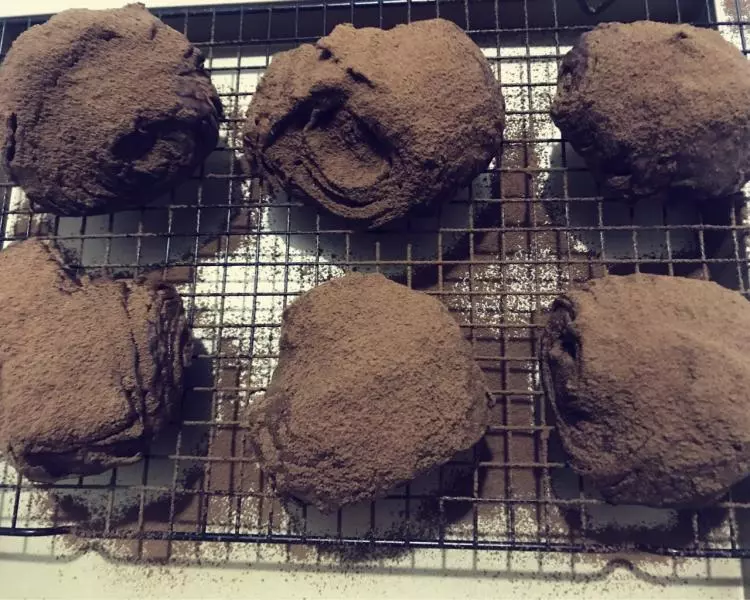
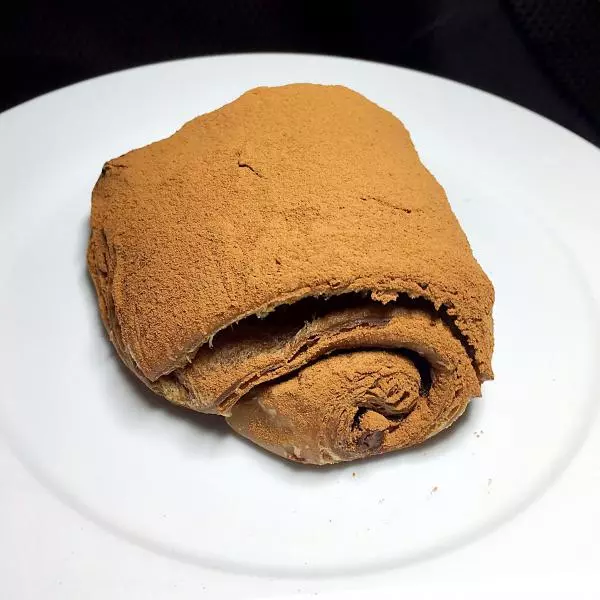
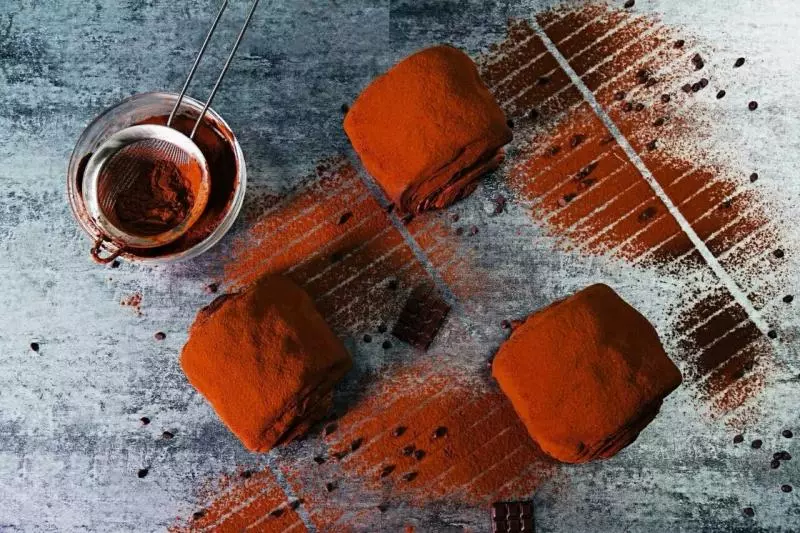
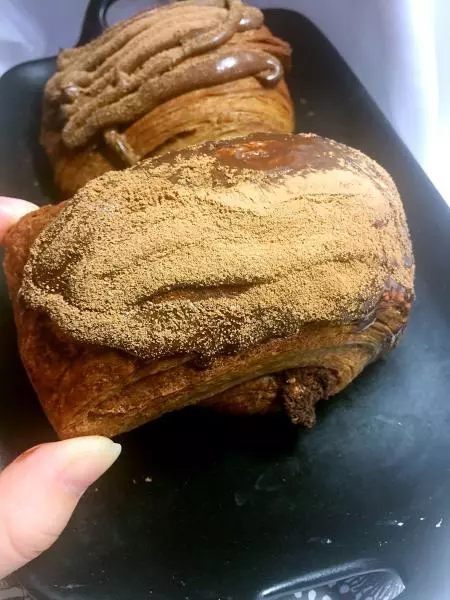
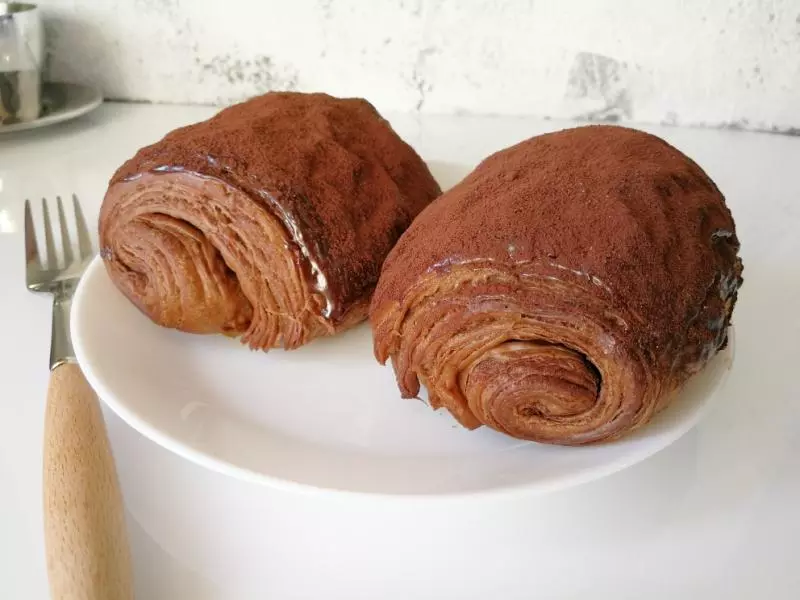
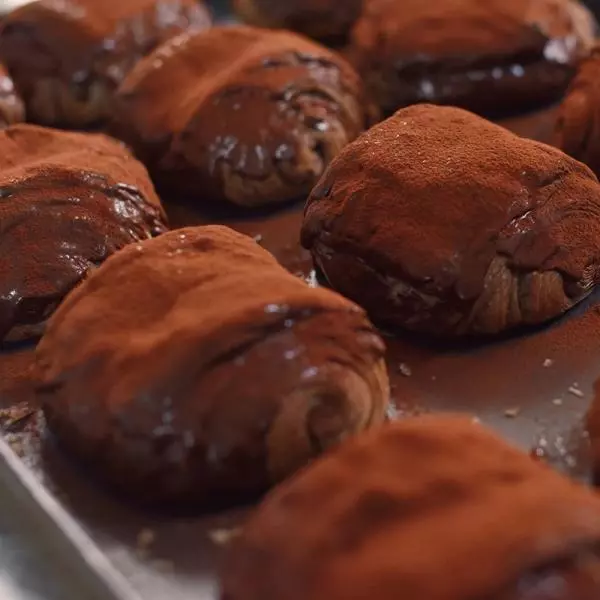
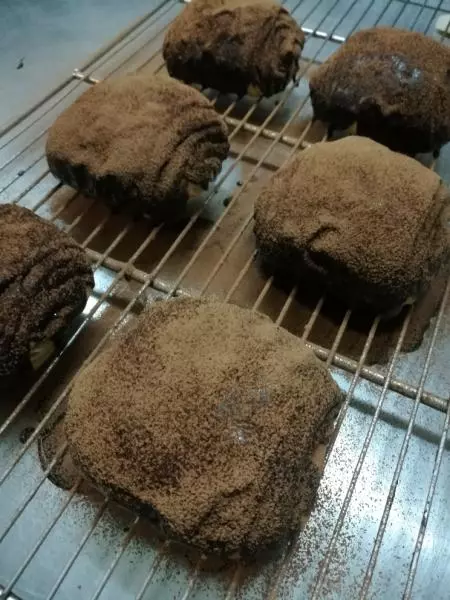
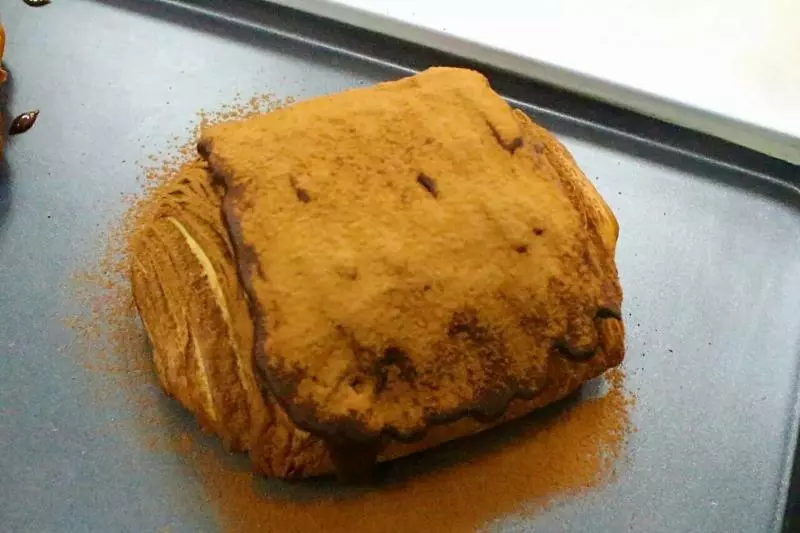
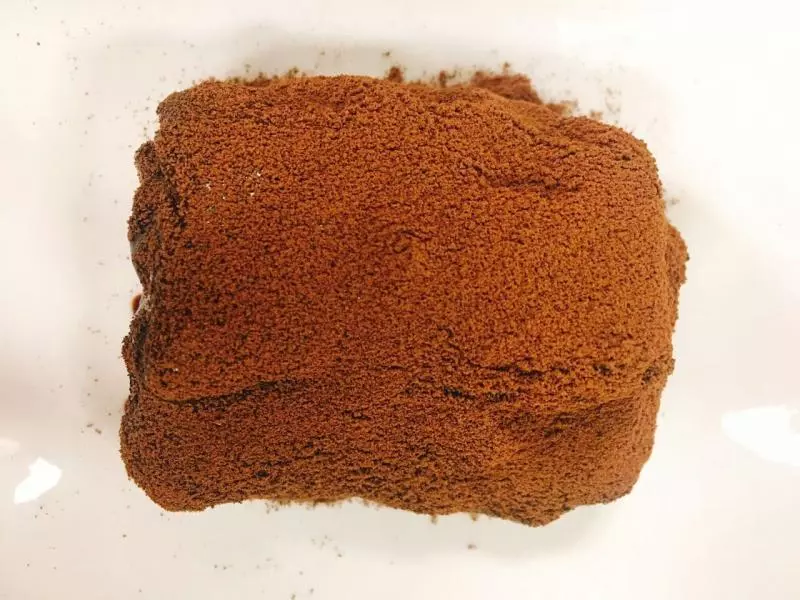
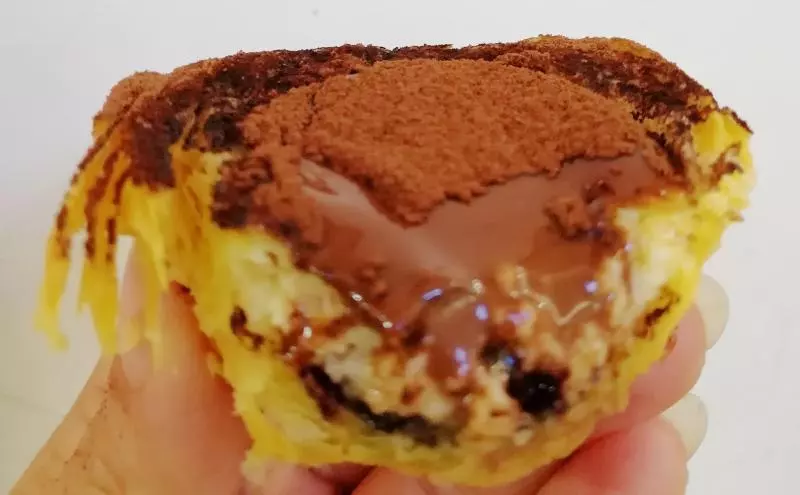
19再淋上剩余的咖啡酸奶淋面,筛上可可粉即可。
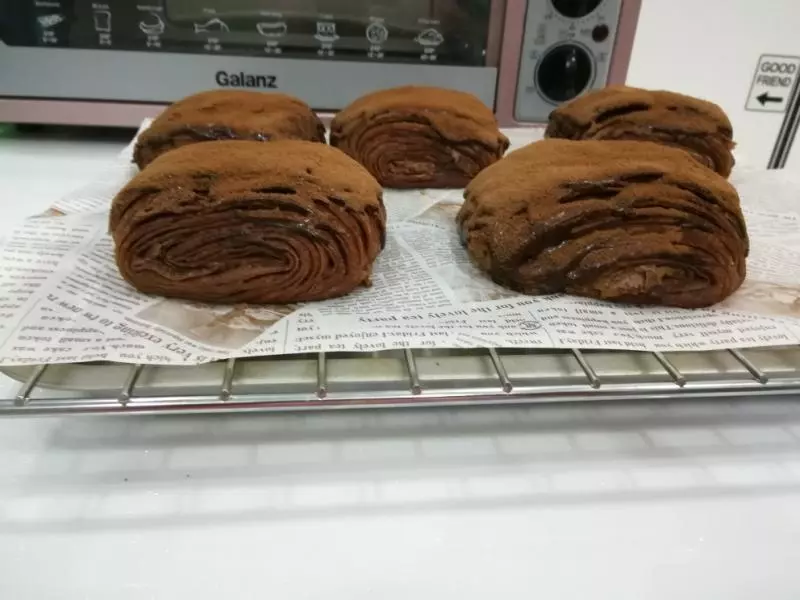
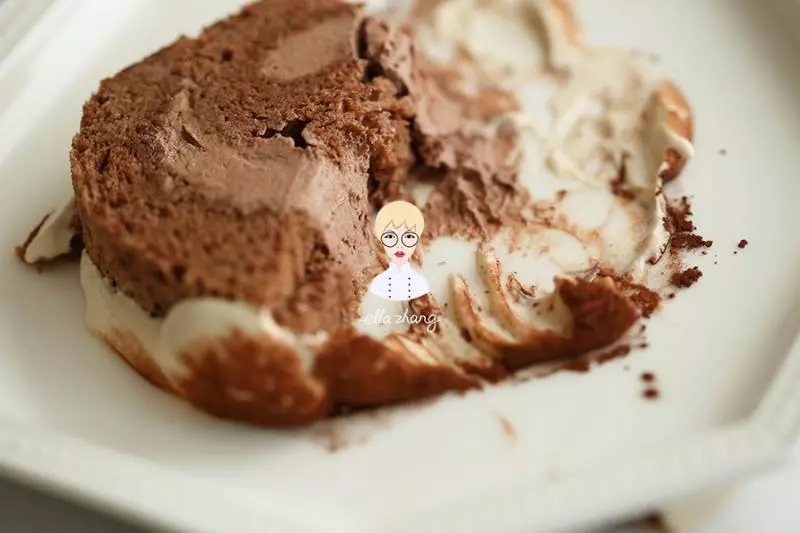
20啊,脏脏包已经这么红了。我们脏脏卷作为它的大表哥,为什么不能红呢?求转发求点赞啊,让我们一起见证网红的诞生! (姜先生:我看你是想红想疯了~ 我:才没有)
小技巧
1、蛋黄的打发程度如果不好判断的话,可以多打一会儿,因为它几乎不会出现搅打过度的情况。 2、可可粉一定要与液体状态的黄油混合,不要与粉类同称。 3、酸奶淋面中的酸奶,千万别用老酸奶,容易有颗粒,使用浓稠一点的普通酸奶就可以。 4、咖啡+热水可以一次多做一点,按照一次用量做总量太少不方便。