原料
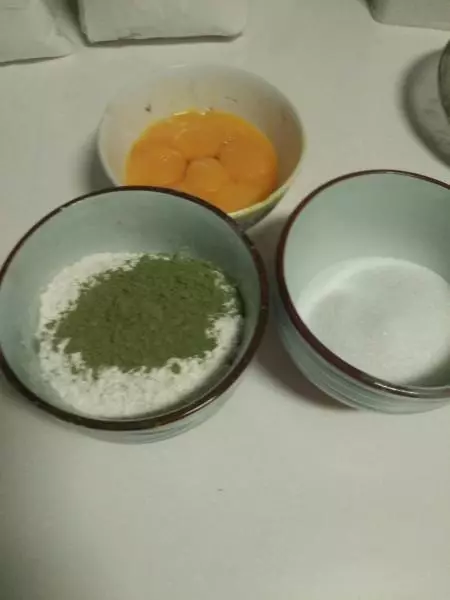
低筋面粉: 90克, 抹茶粉: 10克, 鸡蛋: 5个, 植物油: 70适量, 水: 100克, 盐: 1克, 淡奶油: 150克, 白砂糖: 70克
步骤
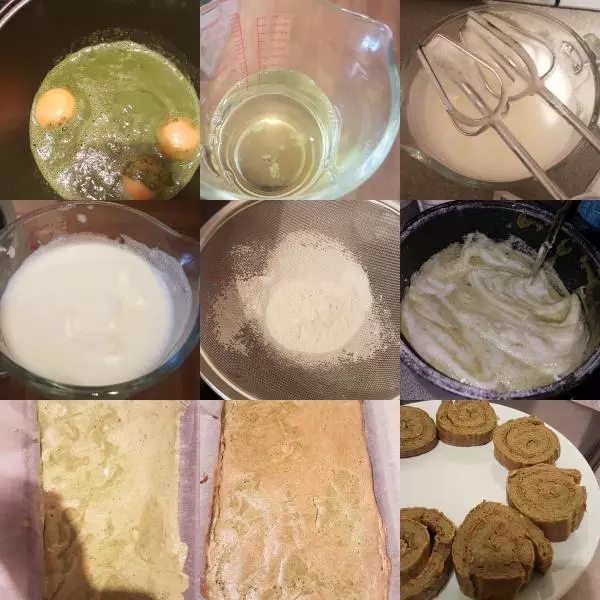
1称量好所有材料,在烤盘铺好烘焙纸,蛋清蛋黄分开。
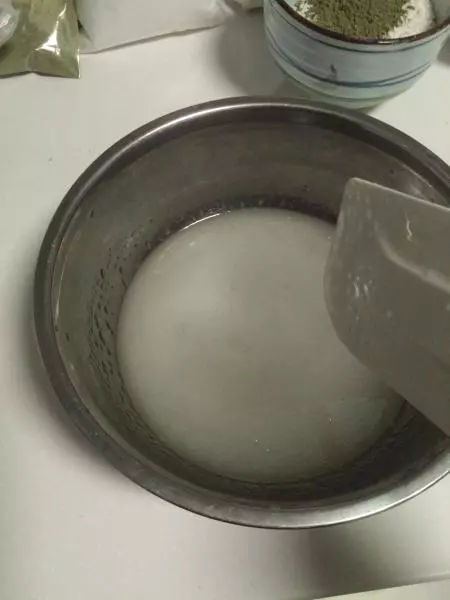
2水和植物油混合搅拌均匀,打印需要一分钟,像稀米汤一样。
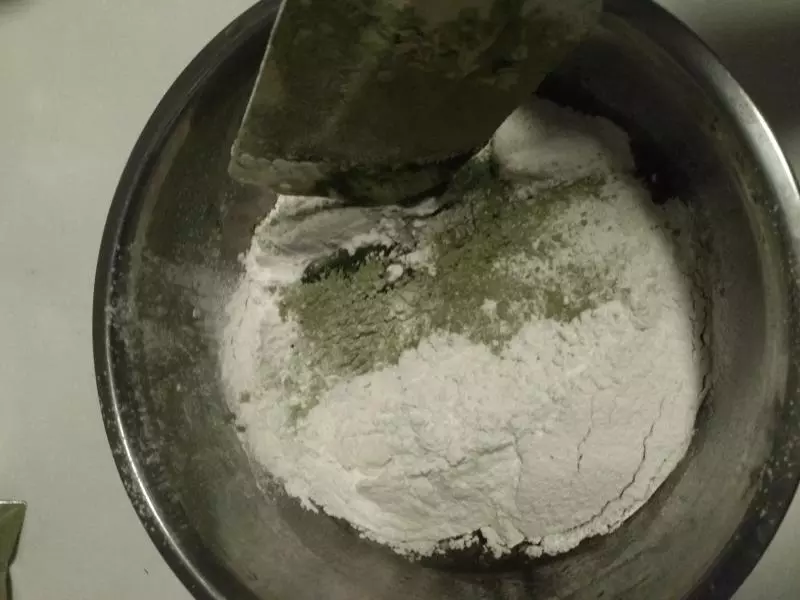
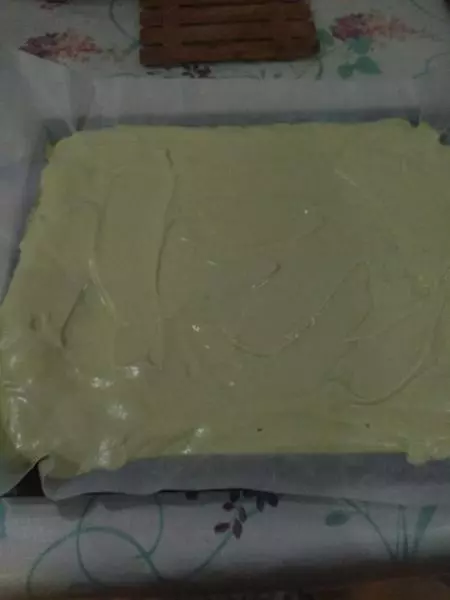
3筛入低筋粉和抹茶粉,翻拌均匀。
4加入蛋黄,翻拌均匀。
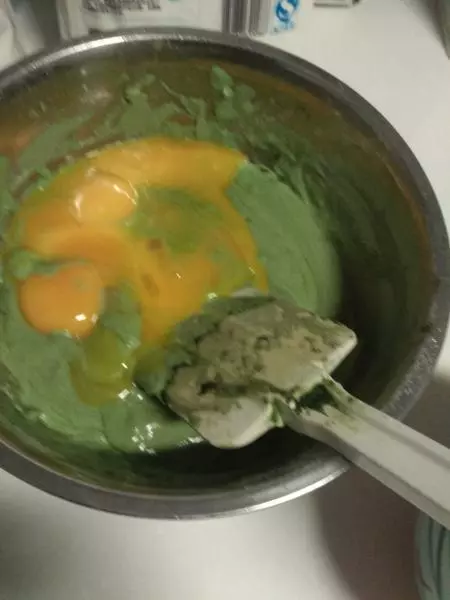
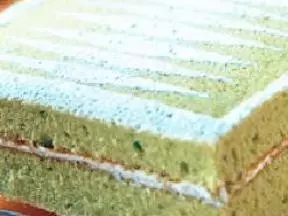
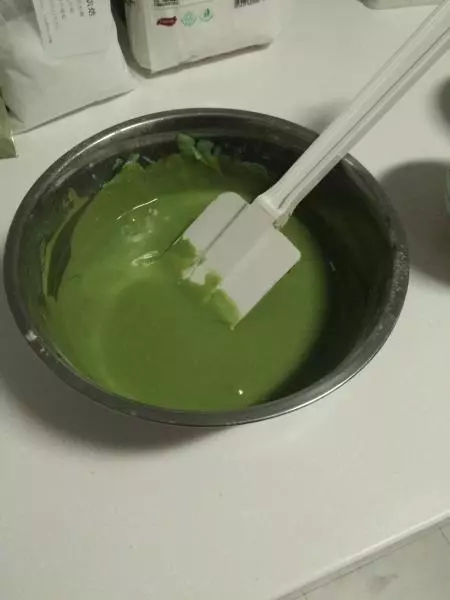
5翻拌均匀的蛋黄糊没有颗粒,非常顺滑。这时预热烤箱170度。
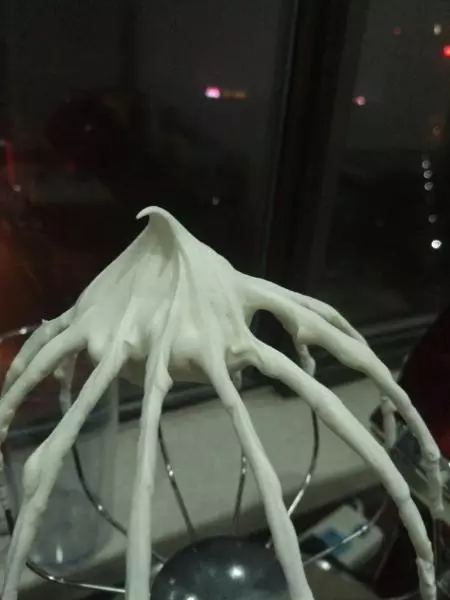
6蛋清低速搅打到粗泡,加入白糖和盐,转快速继续搅打。
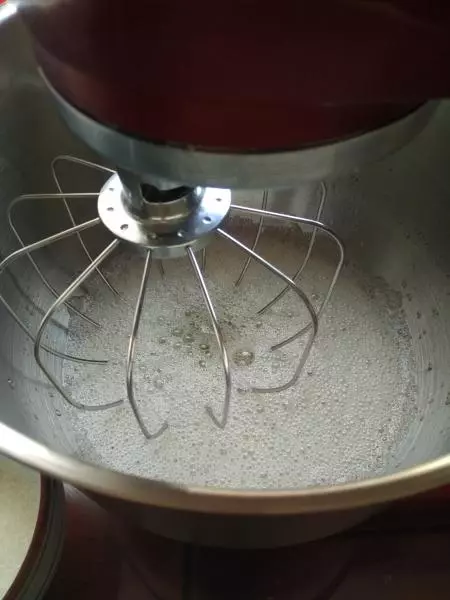
7快速搅打大约3-4分钟,提起打蛋头,成短尖就行了(我用的厨师机高速搅打)。
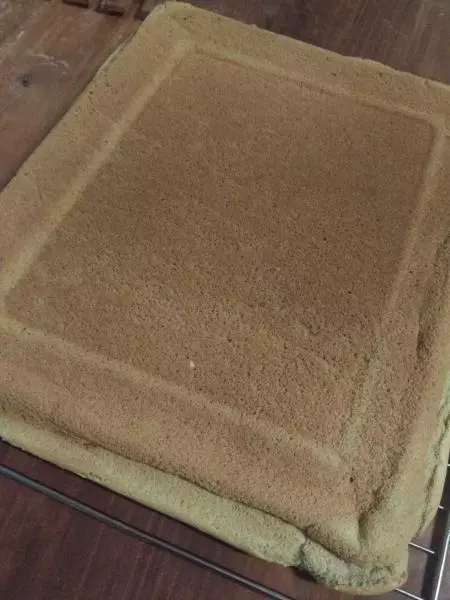
8捞出三分之一蛋白到蛋黄糊,翻拌均匀,再将拌好的蛋黄糊倒回蛋白桶,继续翻拌均匀,倒入烤盘抹平,放入预热好的烤箱,170度30分钟。
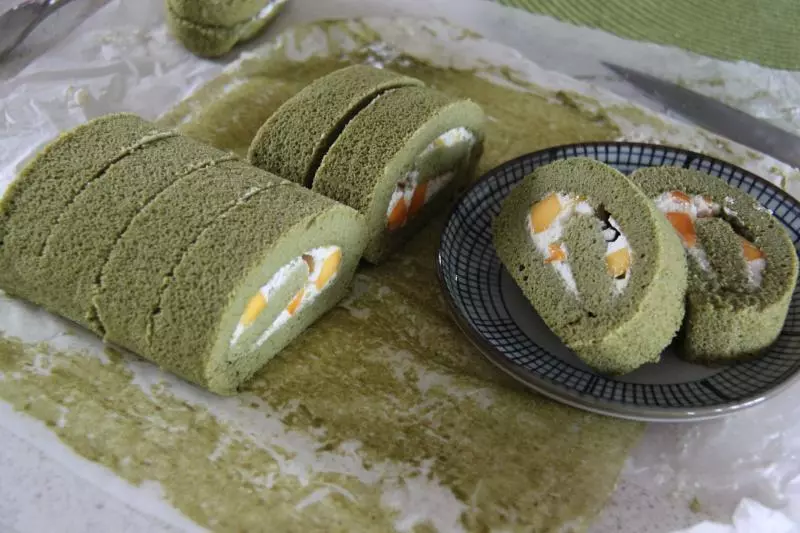
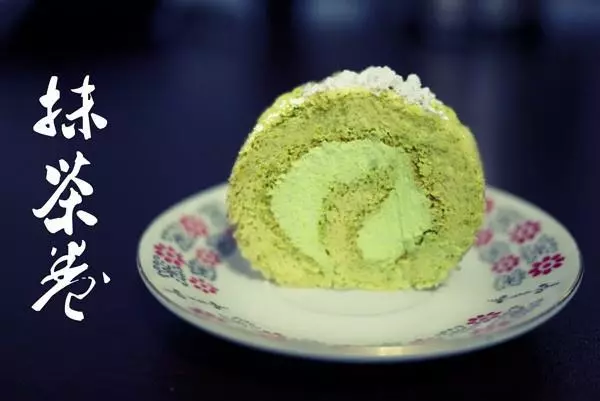
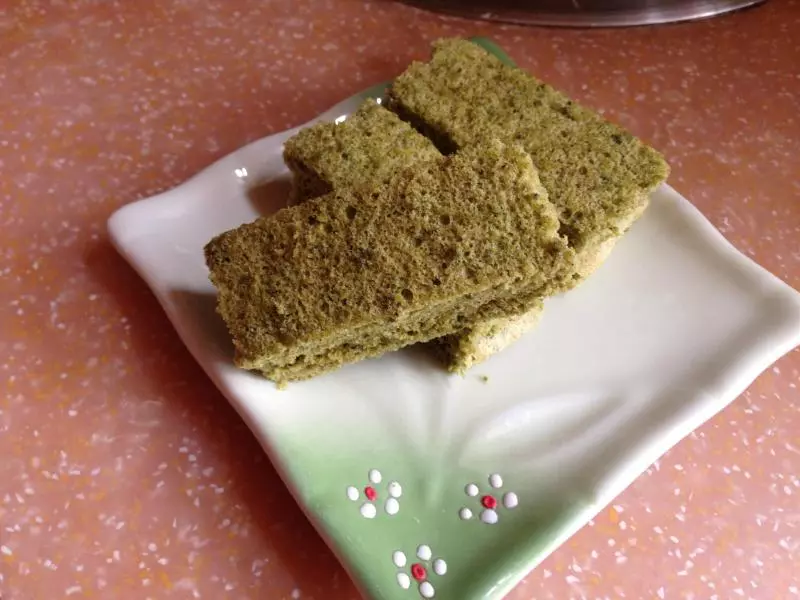
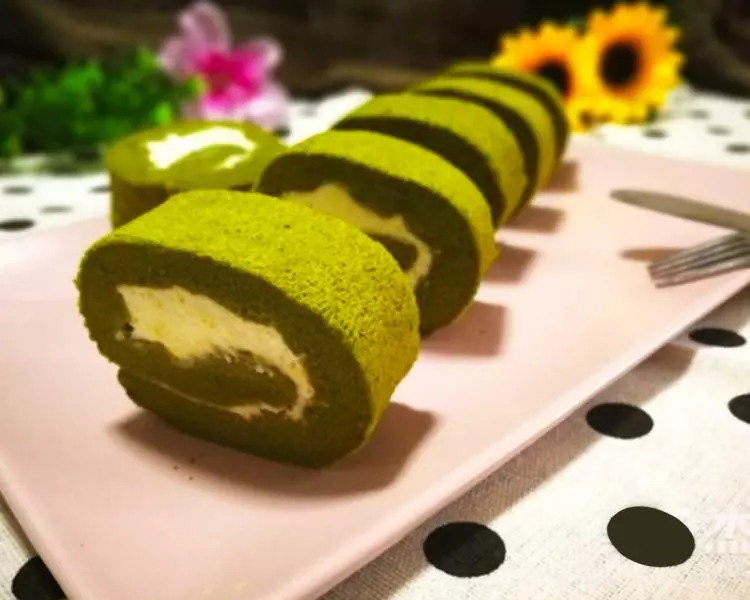
9取出倒扣,揭下烘焙纸晾凉。
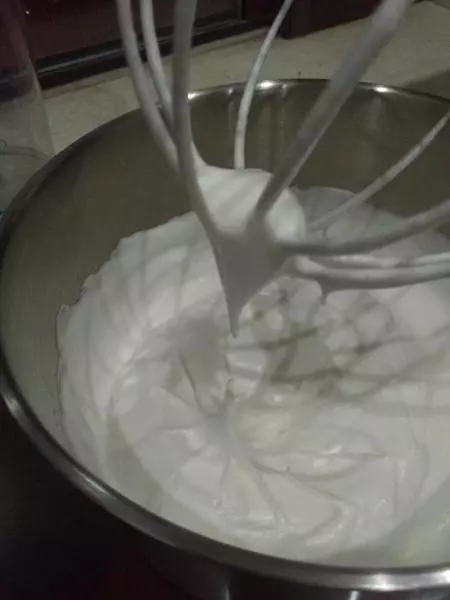
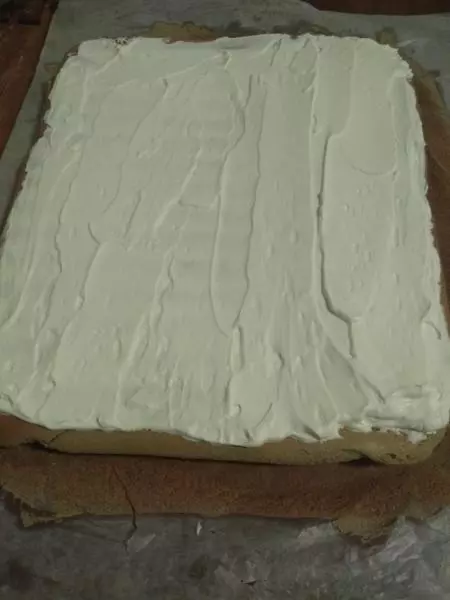
10淡奶油加少许白糖打发。
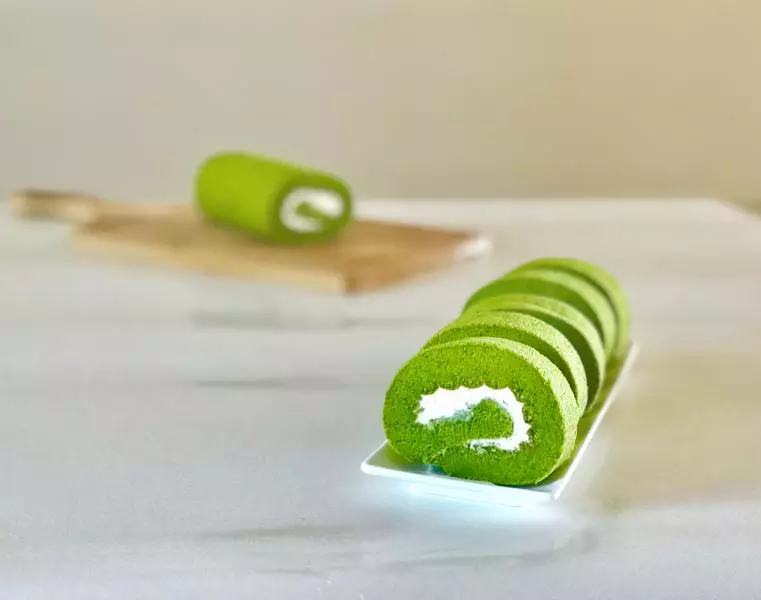
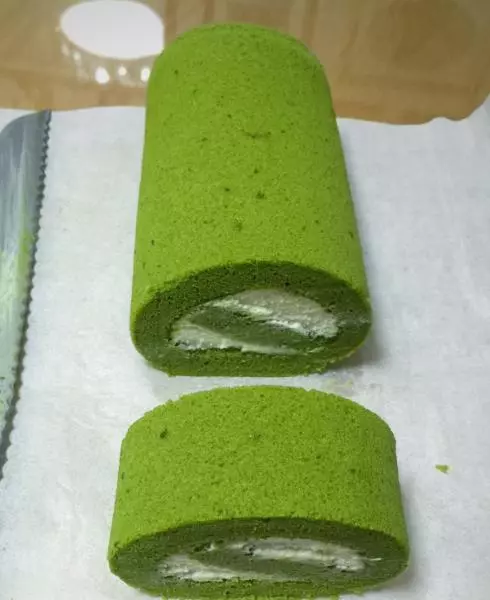
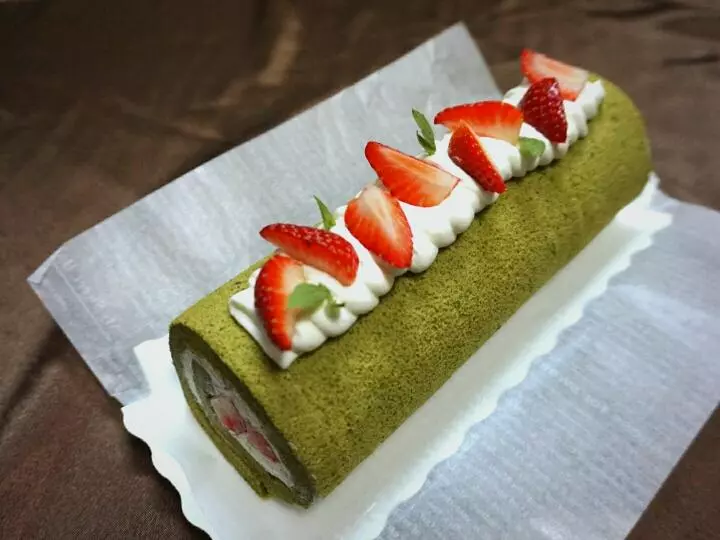
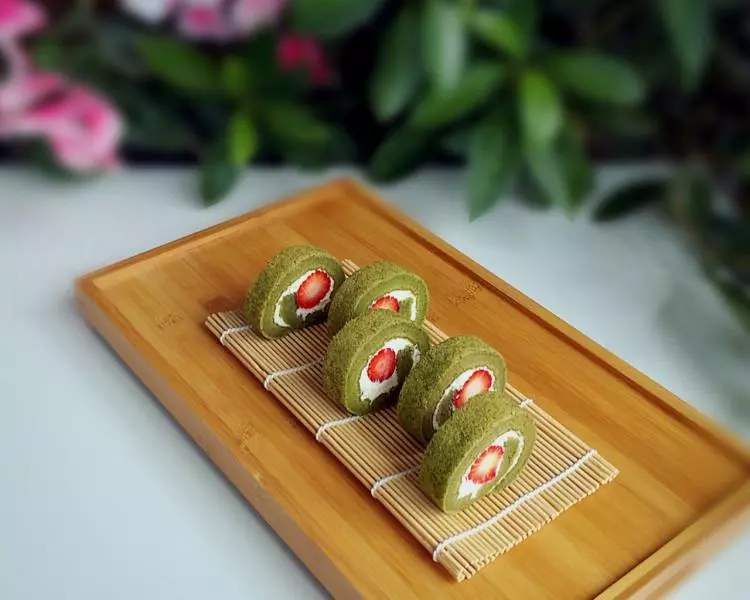
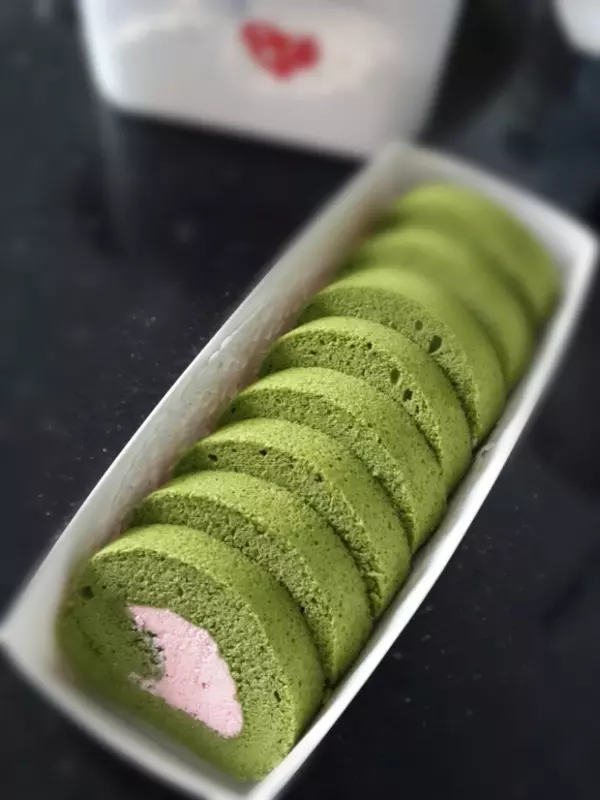
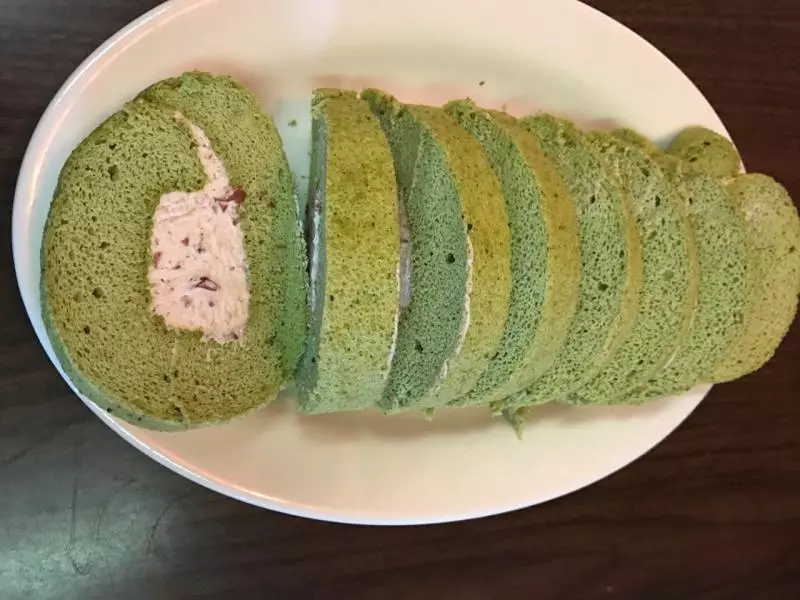
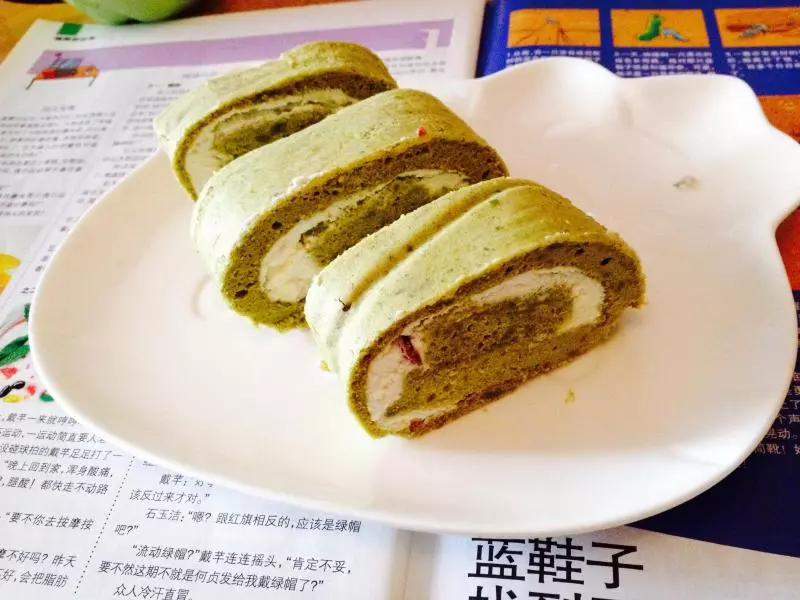
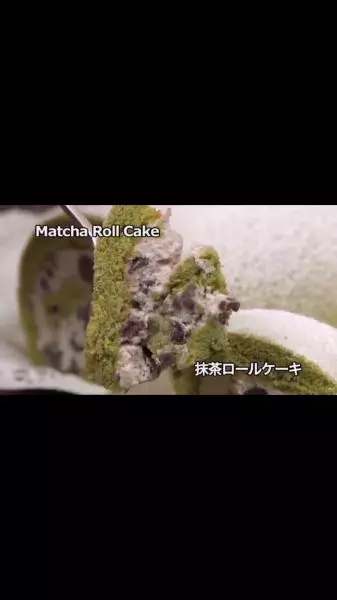
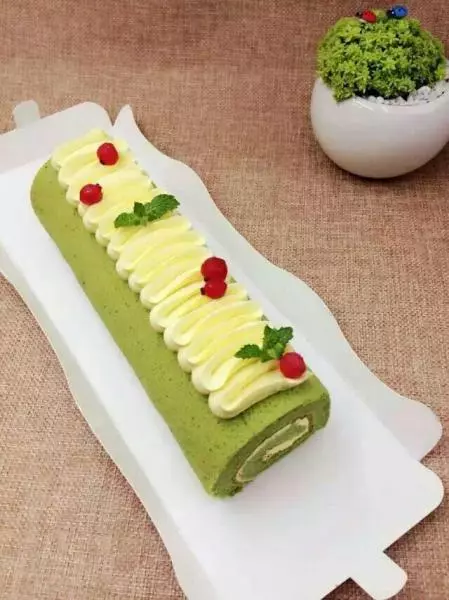
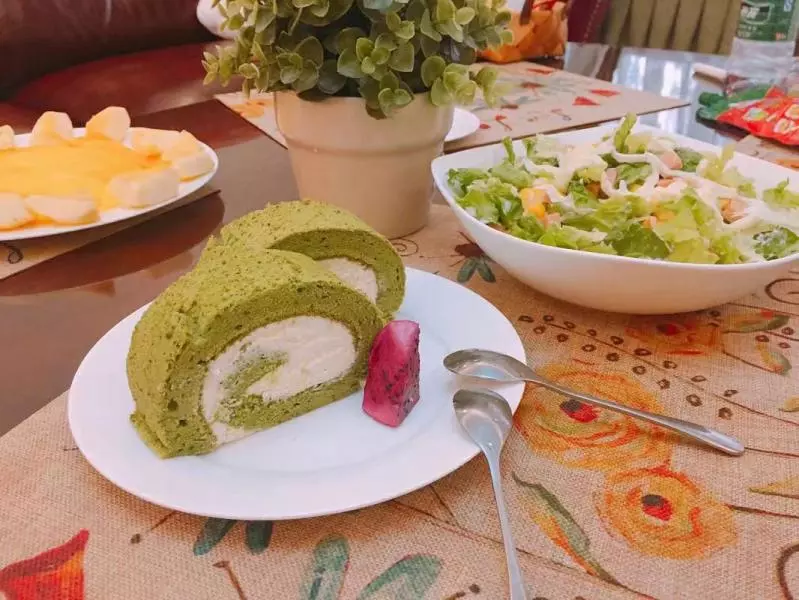
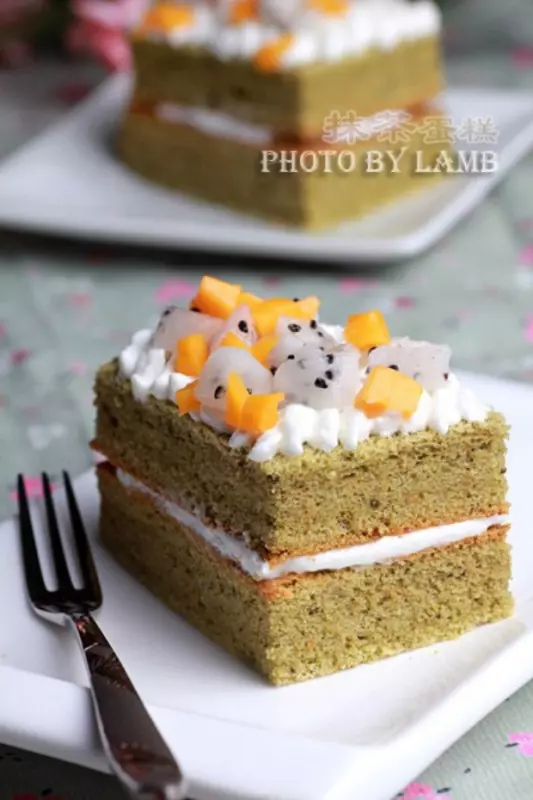
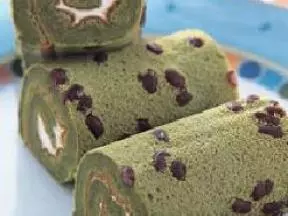
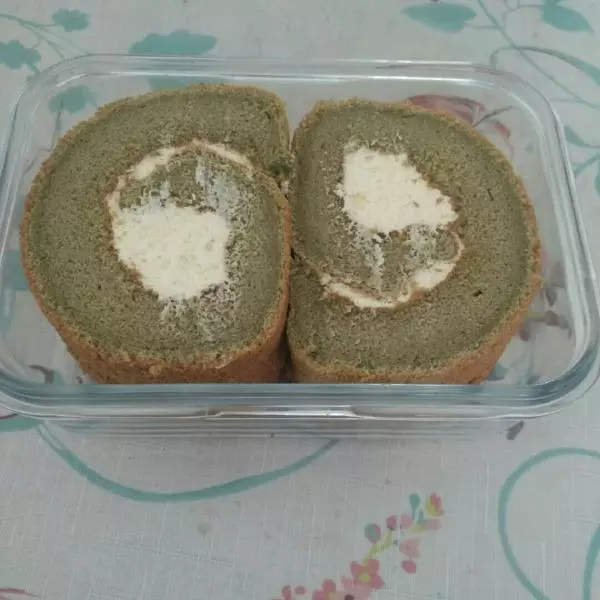
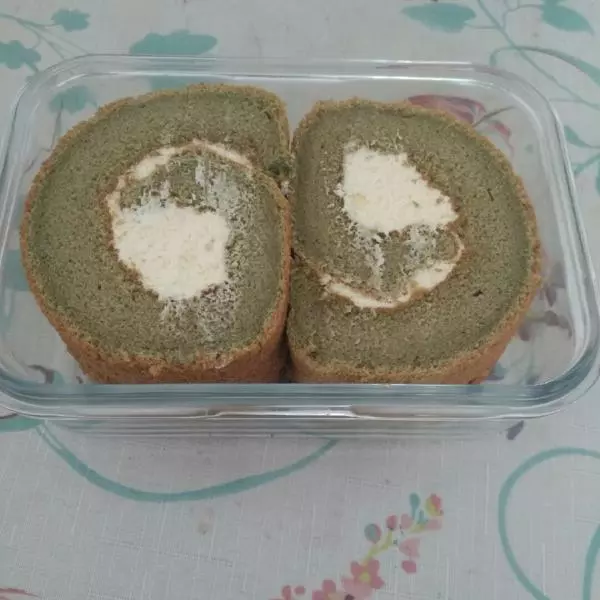
11将打发好的淡奶油涂抹到晾凉的蛋糕上,卷好定型。我一般都是晚上烤好用烘焙纸包上放冰箱,第二天切片。
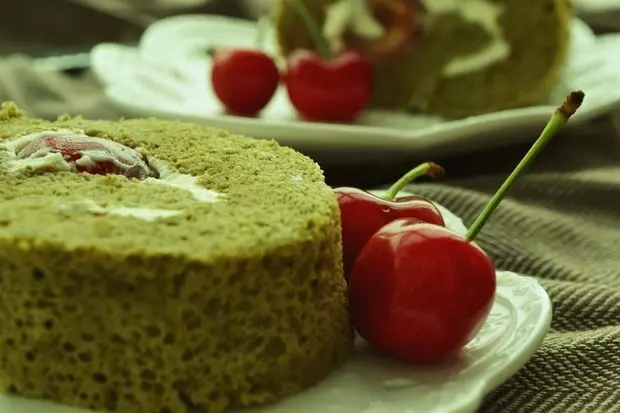
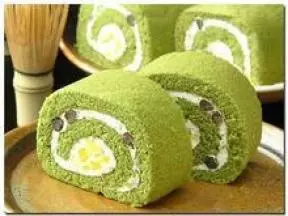
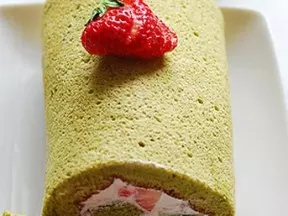
12切片,开吃。
小技巧
每切一片都擦干净刀,不然就是我这样,奶油沾到蛋糕上了,哈哈!不过不影响口味,就是影响卖相。