原料
蛋清: 165克, 蛋黄: 75克, 细砂糖: 60克, 低筋面粉: 52克, 牛奶: 50克, 玉米油: 50克, 热水: 20克, 可可粉: 10克, 柠檬汁: 3滴, 奶油奶酪: 220克, 黄油: 55克, 糖粉: 55克, 巧克力榛子酱: 1小勺, 巧克力榛子酱: 适量, 奶油乳酪糖霜: 适量, 榛子: 适量, 草莓干: 适量, 可食用绿色香草: 适量, 糖粉: 适量
步骤
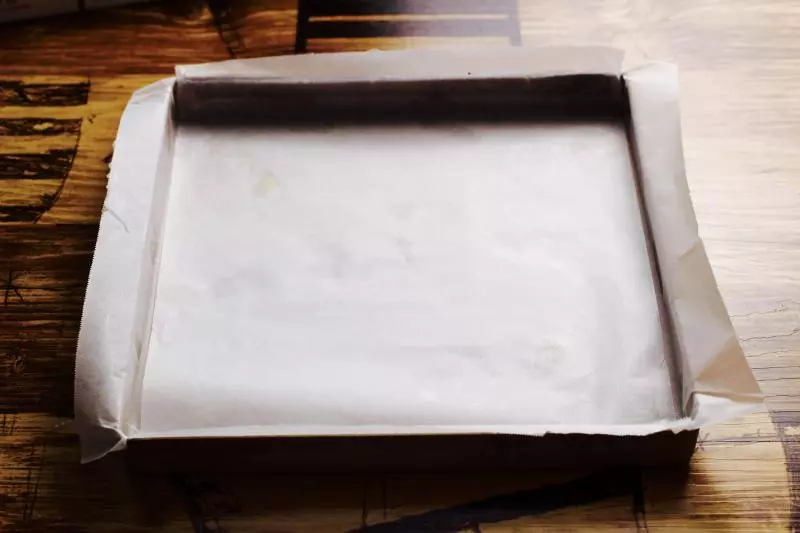
1首先先烤蛋糕: 边长28厘米的烤盘垫烘焙纸
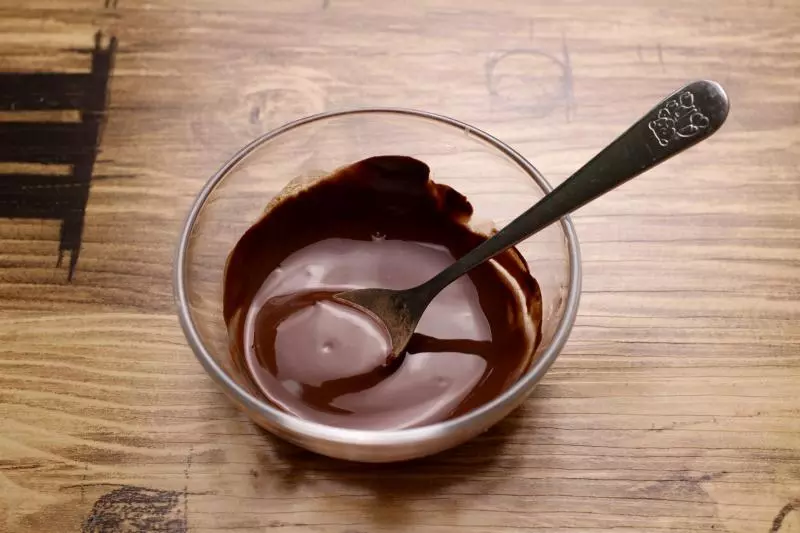
2可可粉和热水混合拌匀
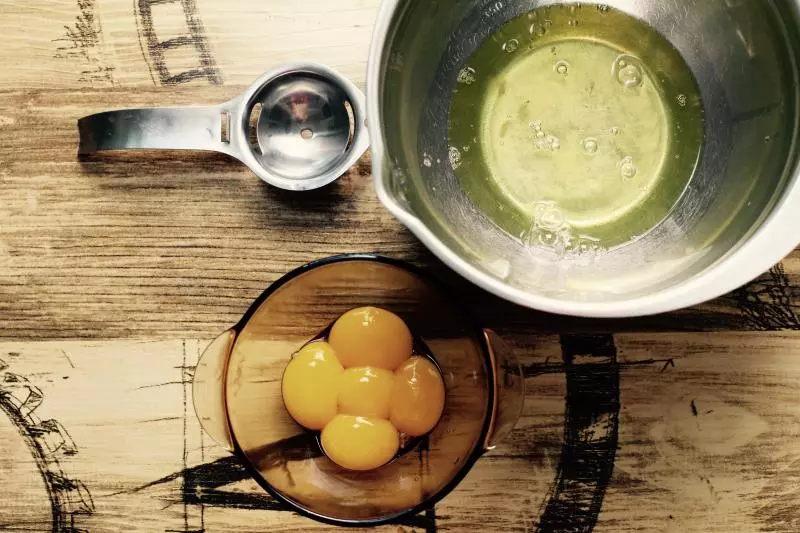
3蛋白和蛋清分开,中等大小的鸡蛋大概用五个
4玉米和牛奶用蛋抽拌匀
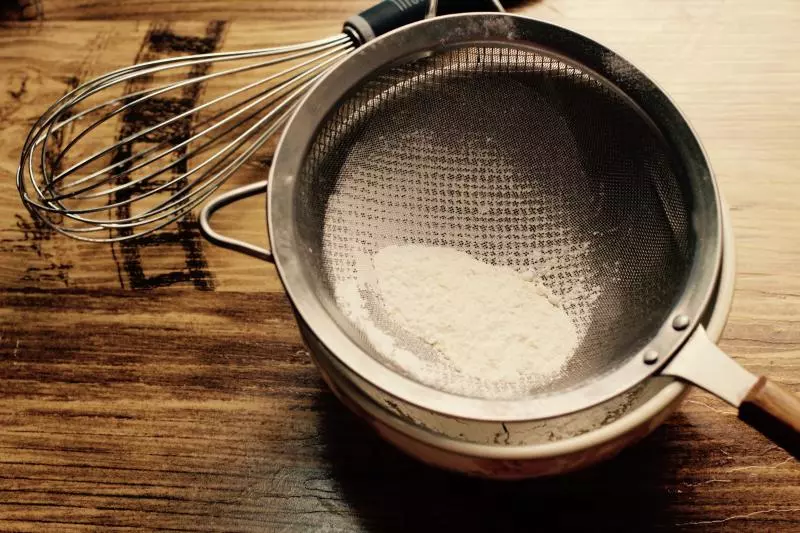
5面粉筛入牛奶玉米油混合液中
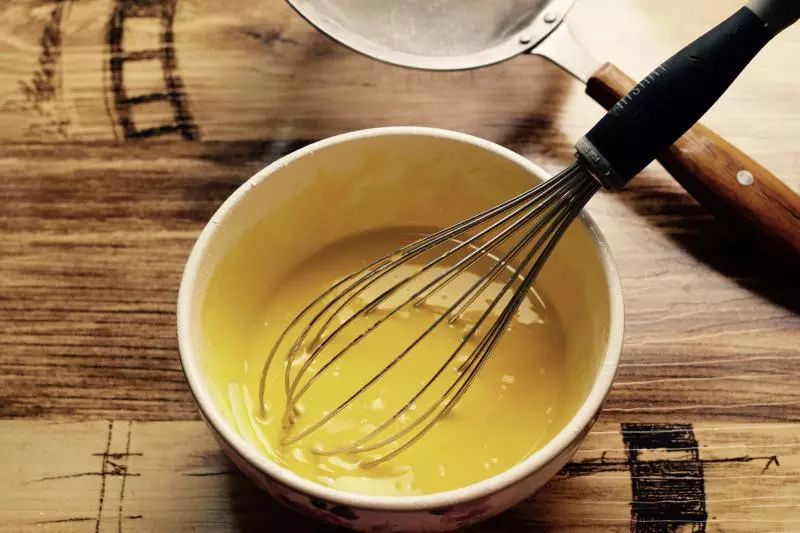
6用蛋抽拌均匀
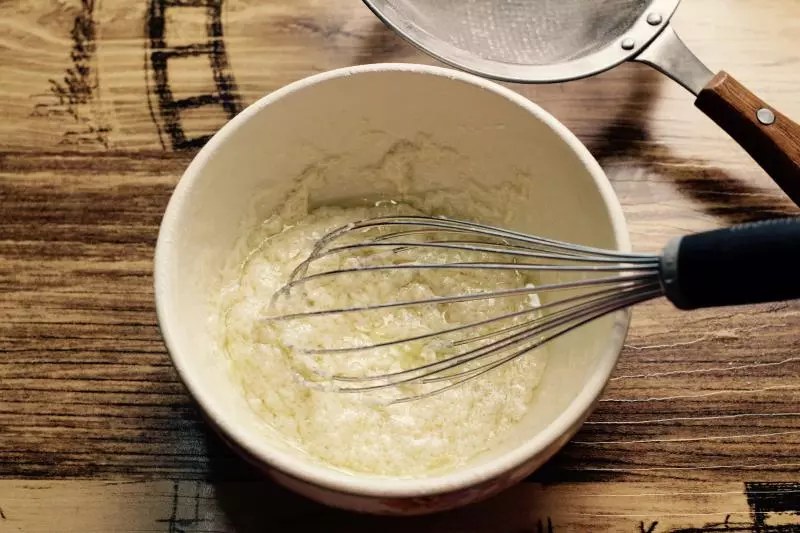
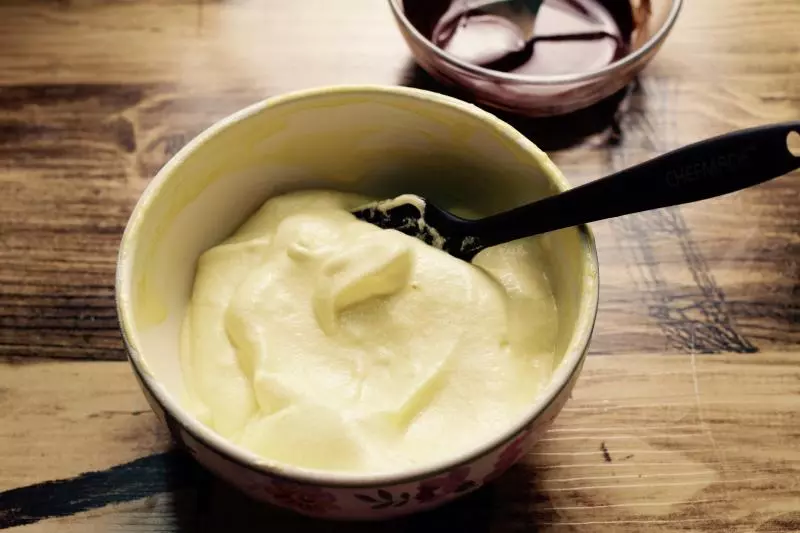
7加入蛋黄,继续搅拌均匀
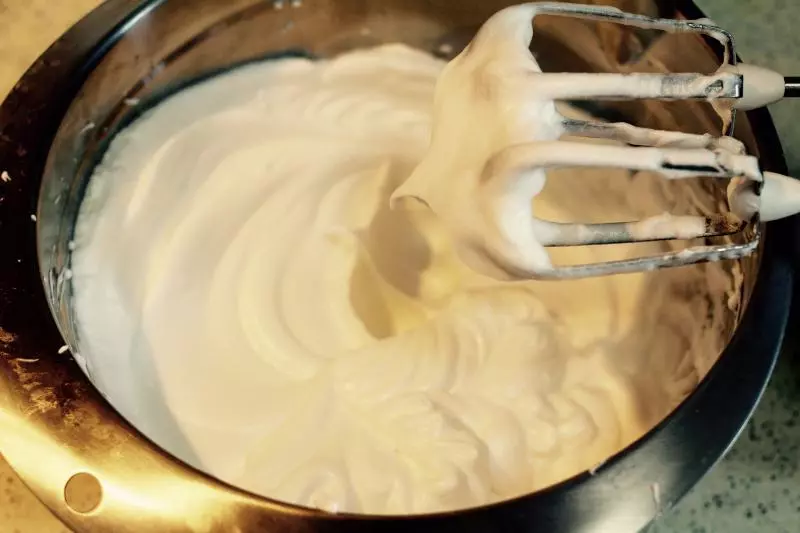
8蛋白加入几滴柠檬汁,用电动打蛋器高速搅拌至湿性发泡的蛋白霜,判断的依据就是提起打蛋头,打蛋头上的蛋白霜是一个小弯勾,期间分3次加入细砂糖
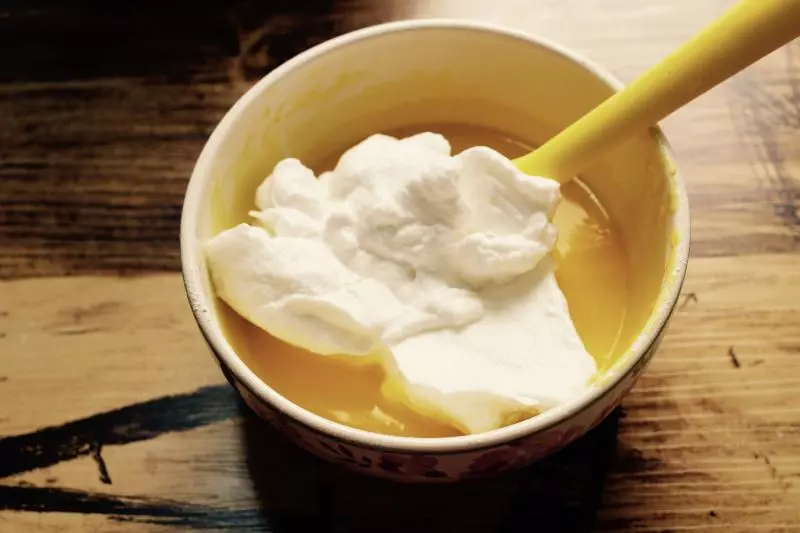
9取大概1/3的蛋白霜倒入蛋黄糊中,用刮刀切拌均匀
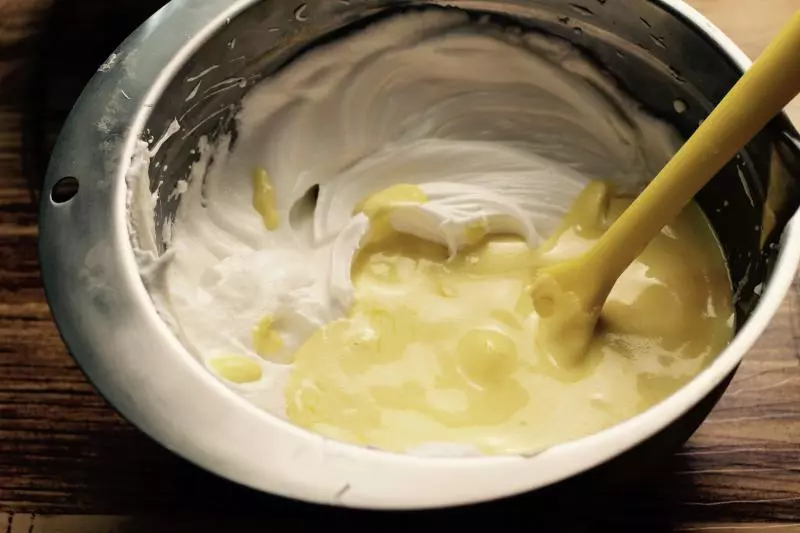
10把拌匀的蛋白霜和蛋黄糊倒进剩余的蛋白霜中
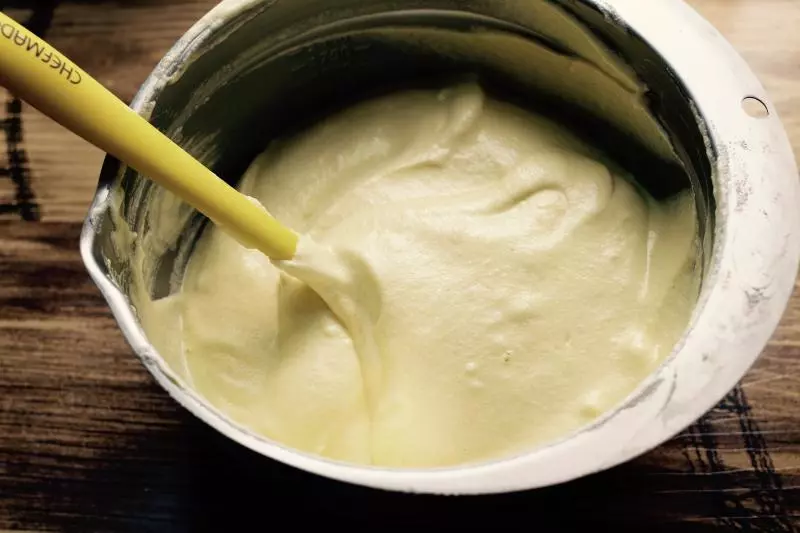
11继续切半均匀成为原文蛋糕糊
12称取150克原味蛋糕糊用于做可可蛋糕糊
13从这150克原味蛋糕糊中取约1/3的分量与可可液切拌均匀

14拌好后倒回单独称取出来的原味蛋糕糊
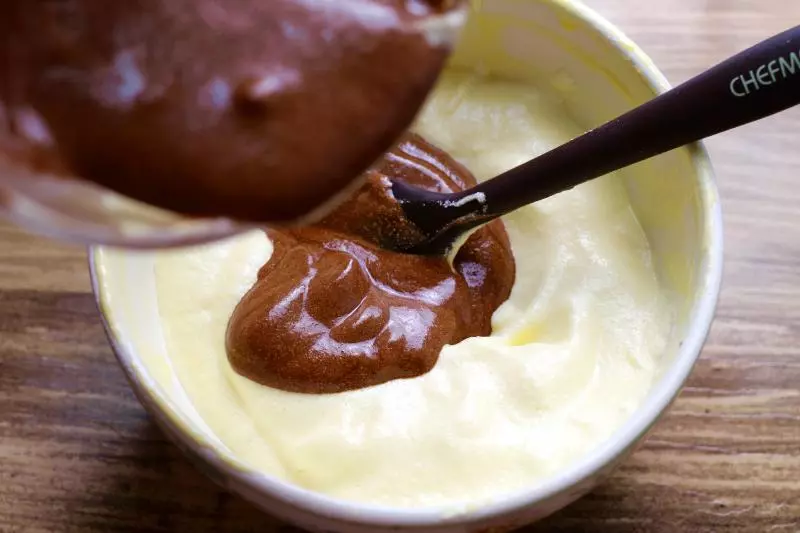
15搅拌均匀成可可蛋糕糊后倒入裱花袋中备用
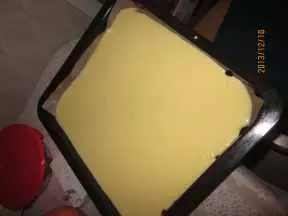
16原味蛋糕糊倒入铺了烘焙纸的烤盘中,用刮板抹平表面
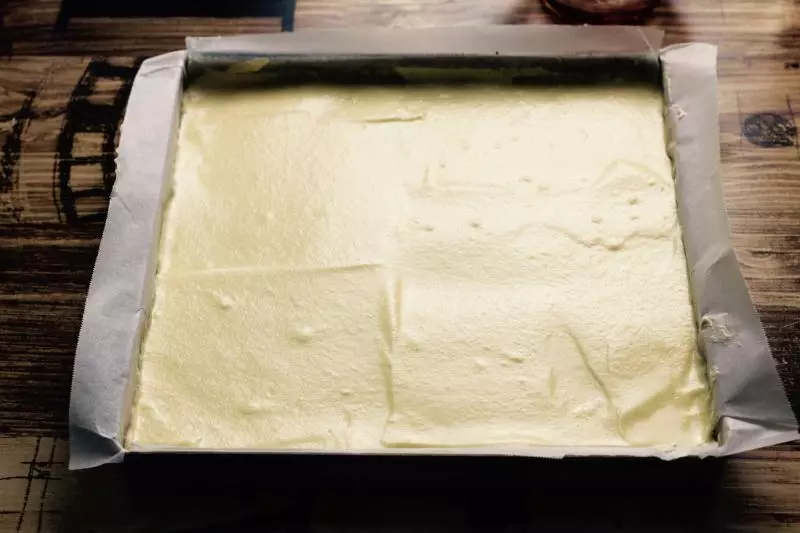
17装可可蛋糕糊的裱花袋顶端剪一个小口,将可可蛋糕糊均匀挤到原味蛋糕糊上方铺满烤盘
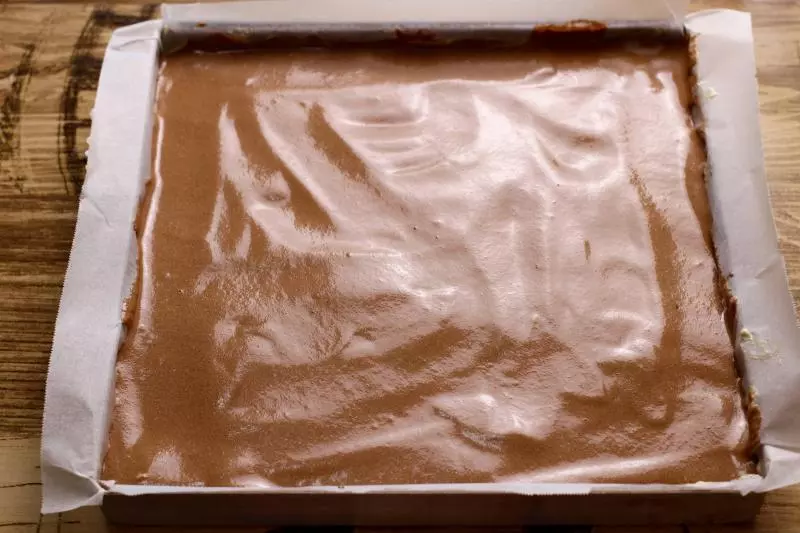
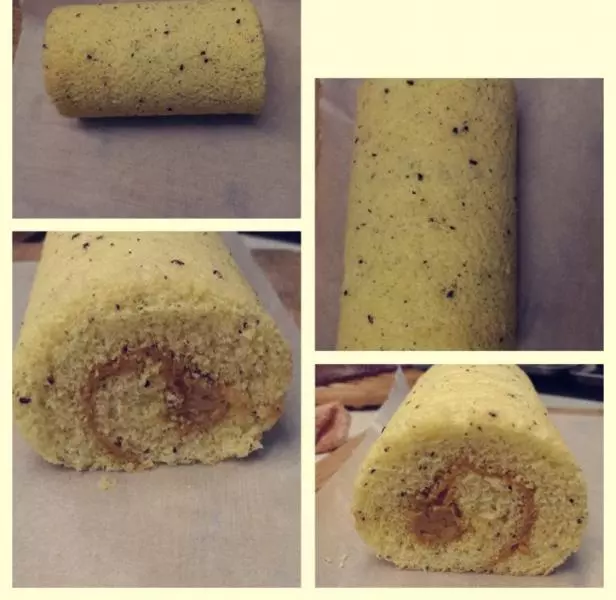
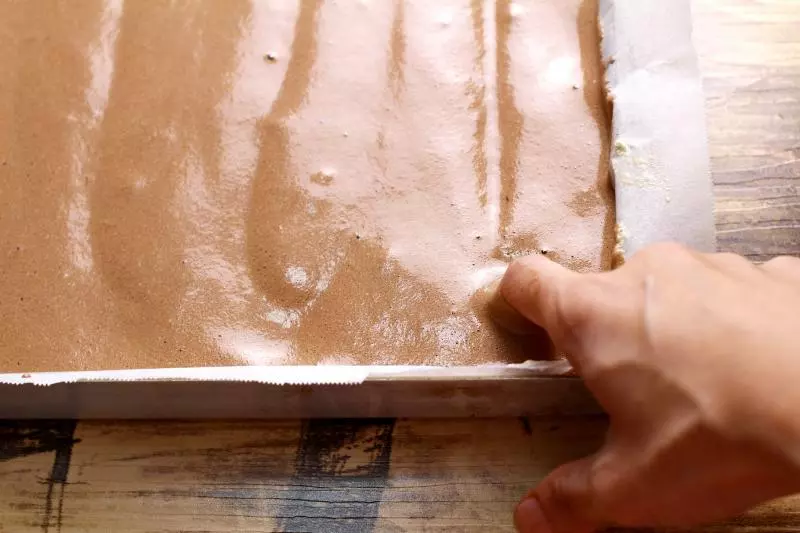
18用手指在蛋糕糊上划出直线,9条竖线和9条横线,划线的时候手指要插入蛋糕糊底部接触到烤盘底且速度要慢,这样可以使可可蛋糕糊和原味蛋糕糊发稍微互换产生花纹
19放入已经预热到160°C的烤箱中层烤25分钟差不多就烤好了
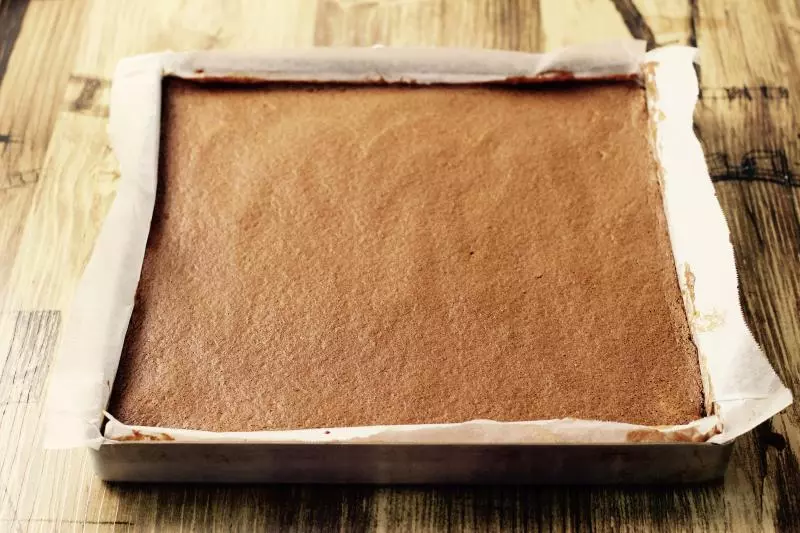
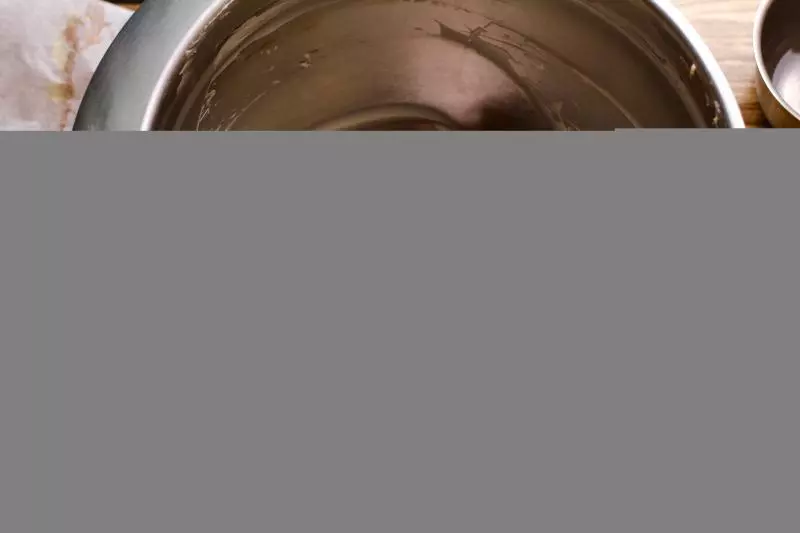
20烤好的蛋糕表面放上一个晾架,把烤盘扣过来,让蛋糕脱模到晾架上,然后取掉烤盘,撕掉烘焙纸
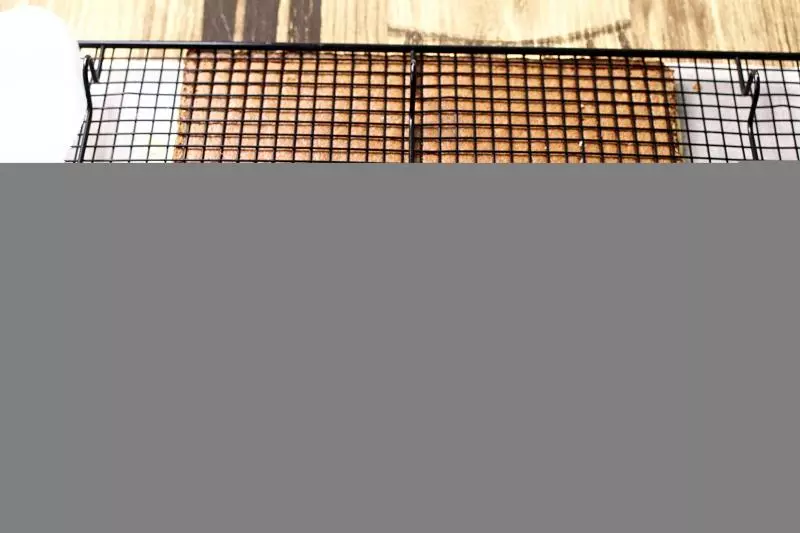
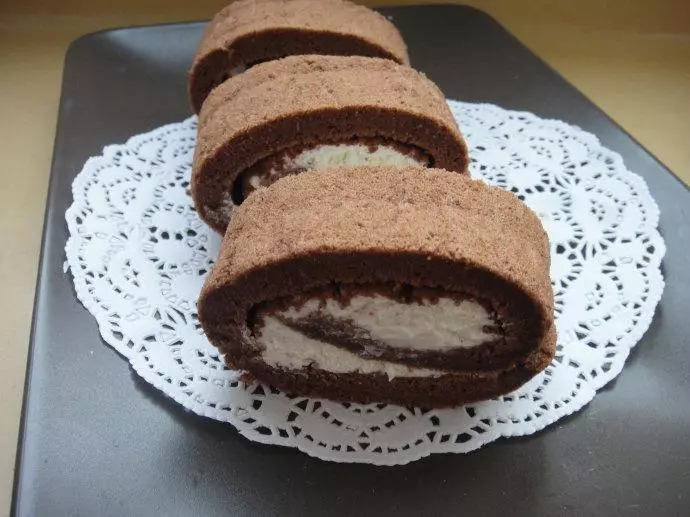
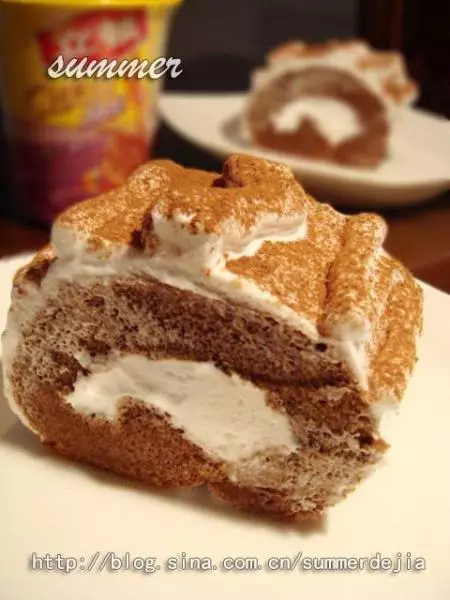
21在晾架上的蛋糕片上覆盖一层烘焙纸,扣到台面上,使蛋糕片底部垫着一层新烘焙纸,稍微冷却一下

22冷却的时候制作夹馅用的奶油乳酪糖霜:把所有材料用电动打蛋器高速搅拌均匀即可
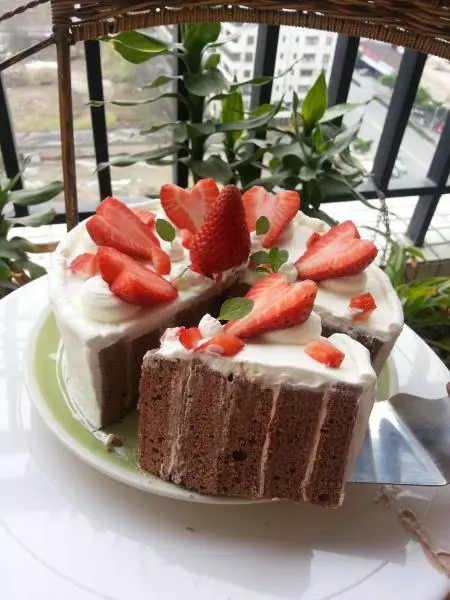
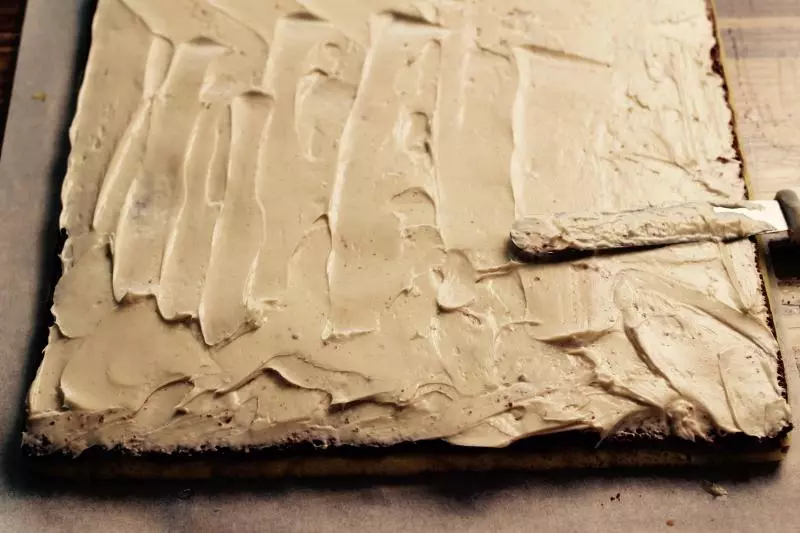
23蛋糕表面很快就晾凉了,用长锯齿刀在蛋糕片靠近自己的这边端头横着切2-3刀不要切断,把奶油乳酪糖霜涂抹在蛋糕片上,奶油乳酪糖霜不要全部用完,要留一点之后装饰用
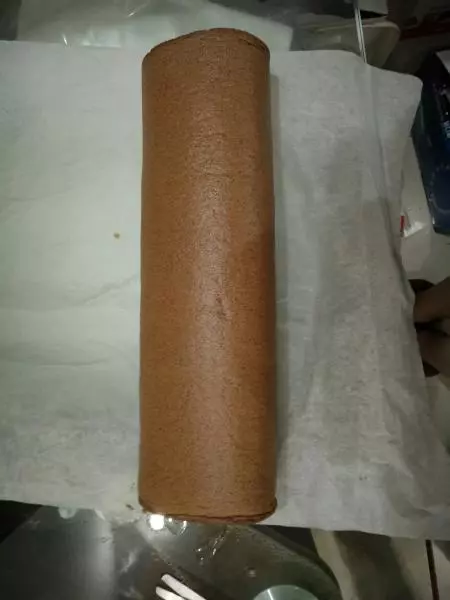
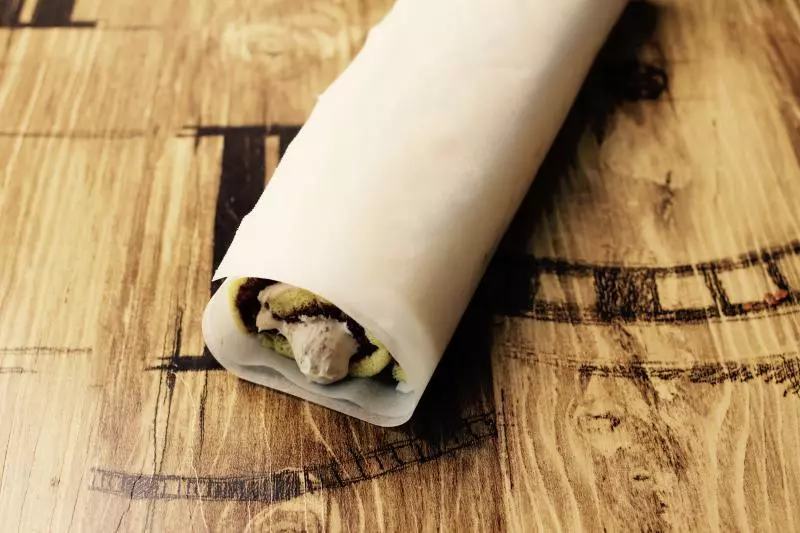
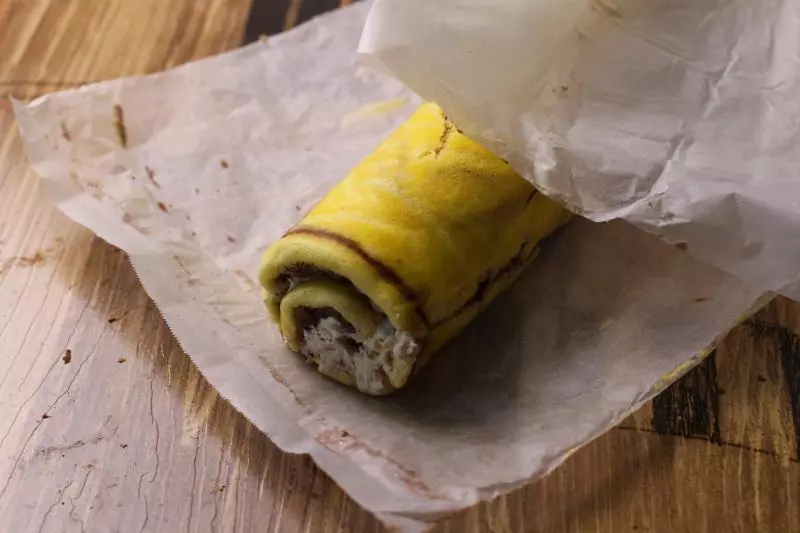
24卷成卷,大胆卷,不容易裂,裂了也不怕,反正外面是要装饰的,卷好后注意把收口压在底部,冷藏30分钟定型,天气太冷了我就直接放在屋外了
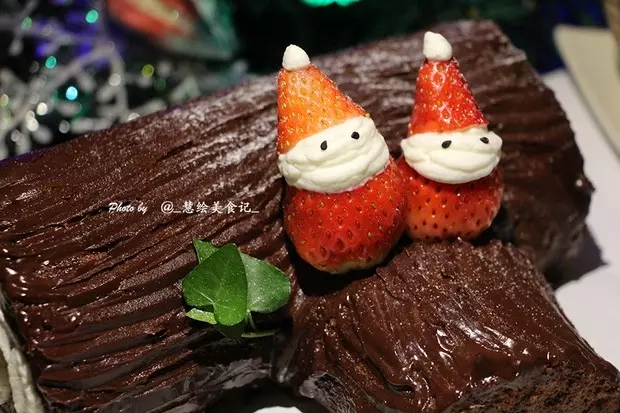
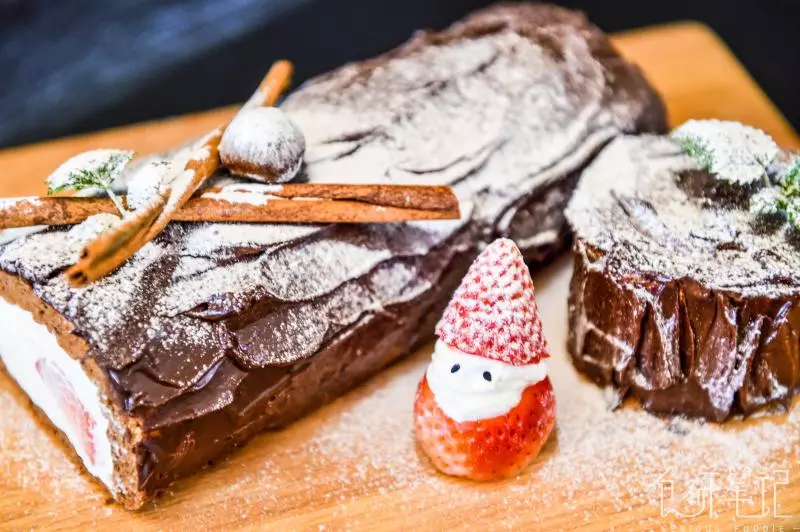
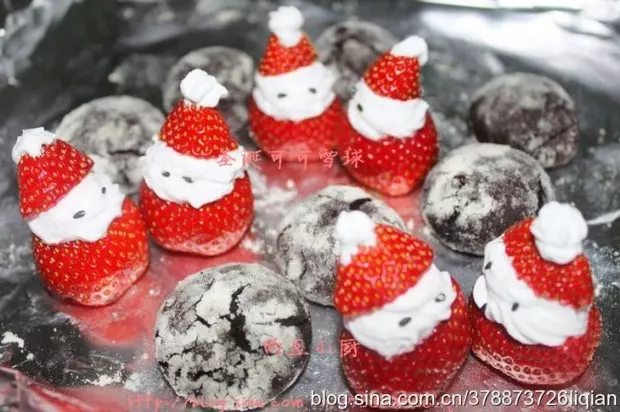
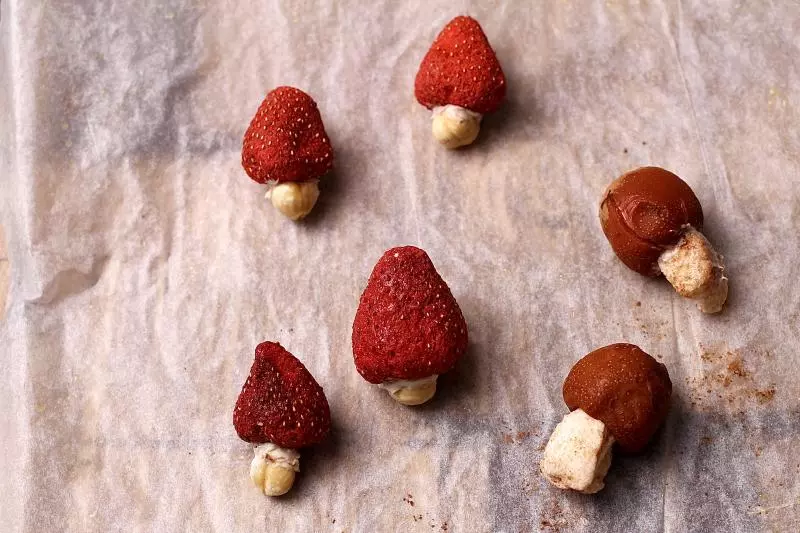
25冷却蛋糕的时候可以做几个装饰哈。我用奶油乳酪糖霜把草莓干和榛子仁粘在一起做了小蘑菇,也试了用山楂和小棉花糖,都可以,发挥你的想象力!
26蛋糕卷定型以后揭开烘焙纸
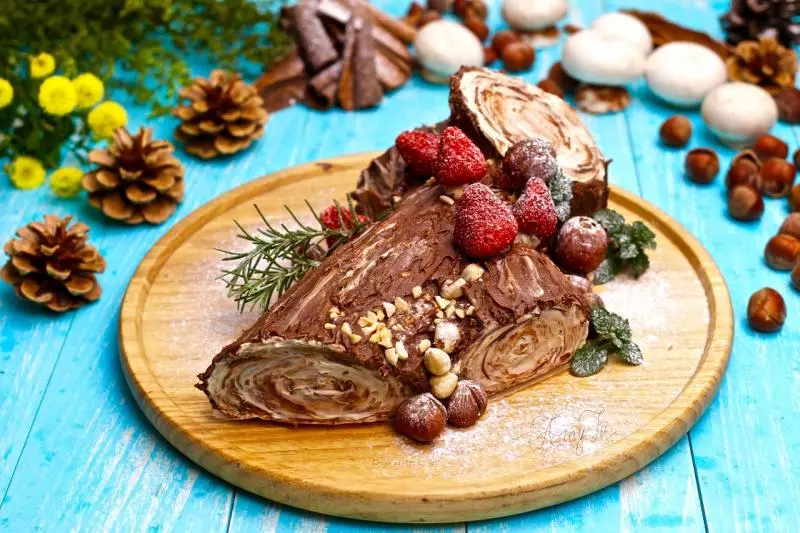
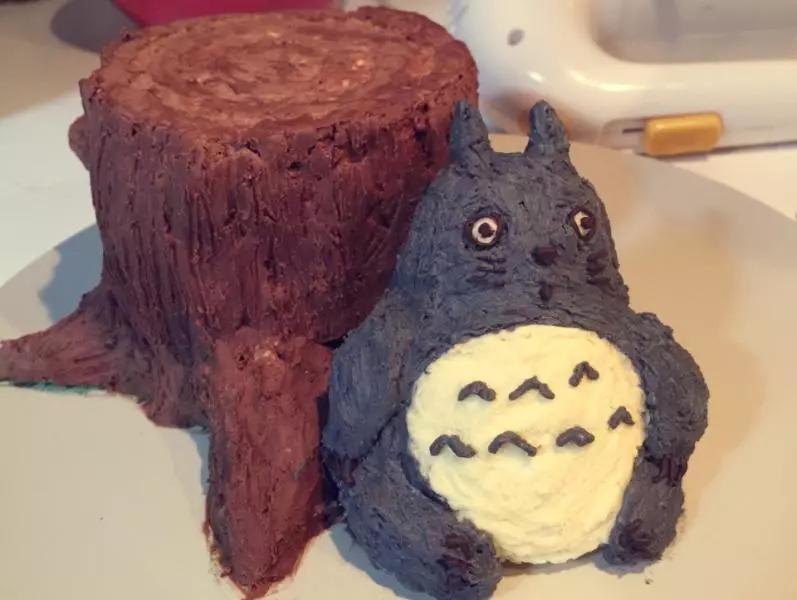
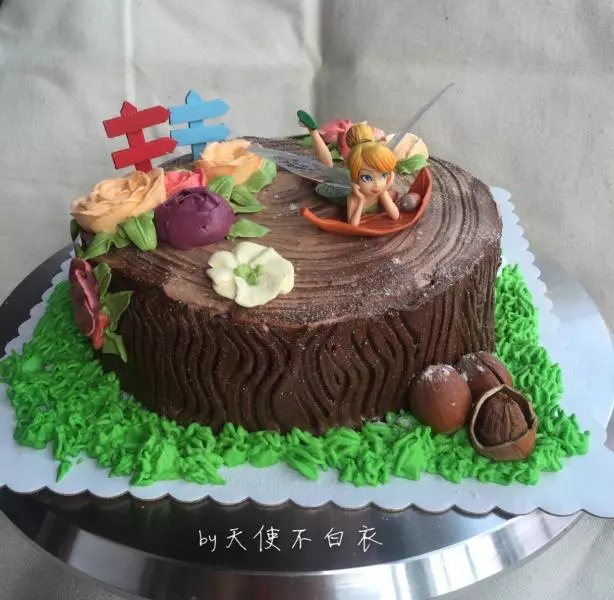
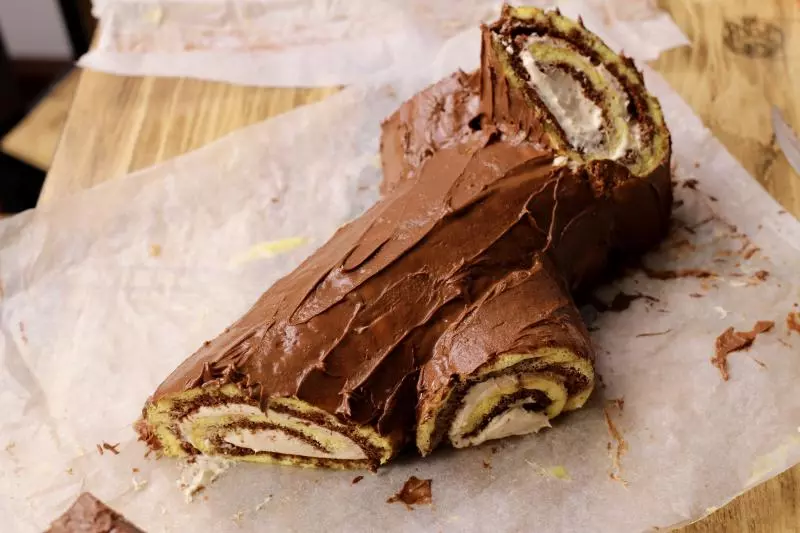
27用锋利的刀子切开,我先切了两刀斜刀,像这样左端的一个斜刀切出最小一段,右端斜刀切的段稍长一点
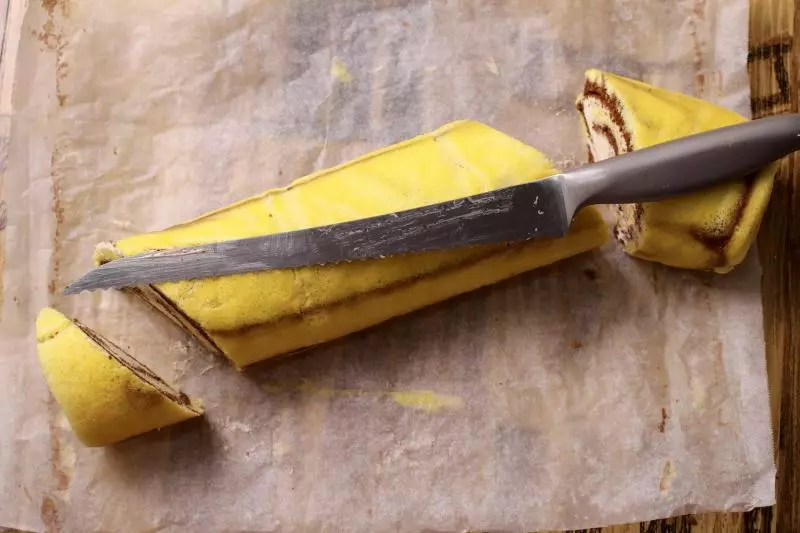
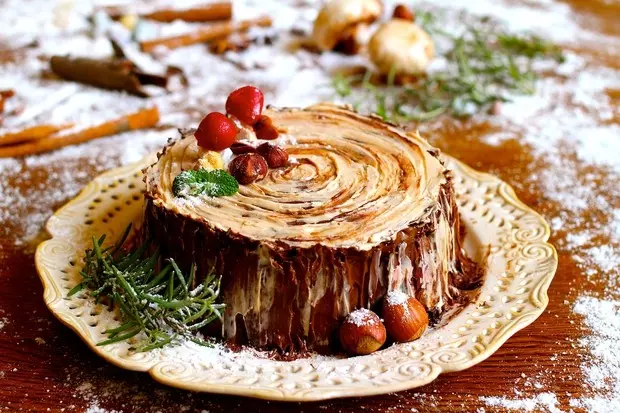
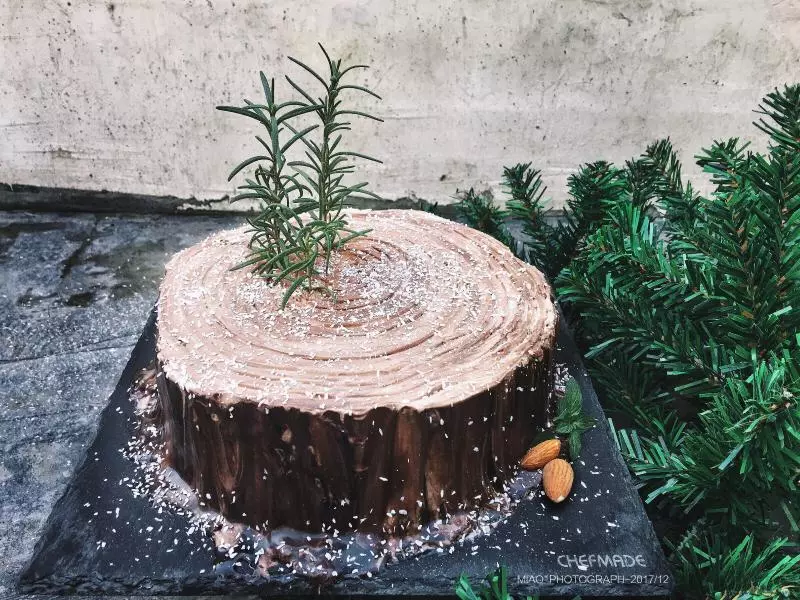
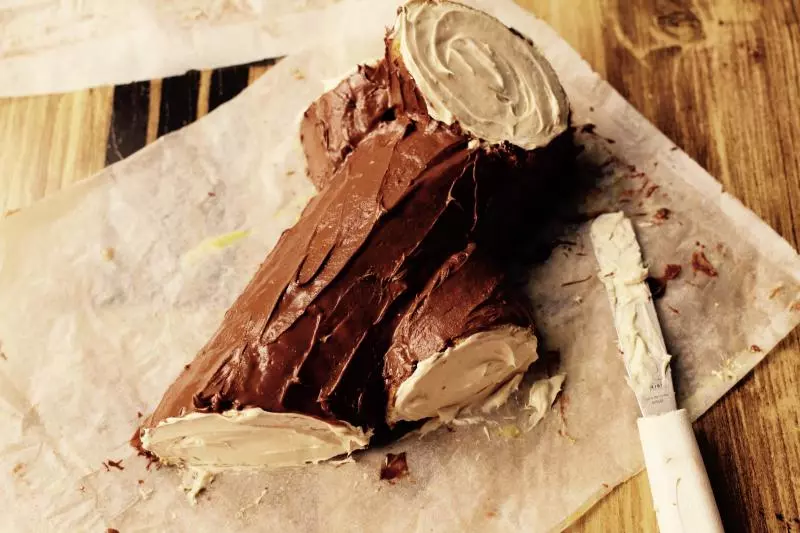
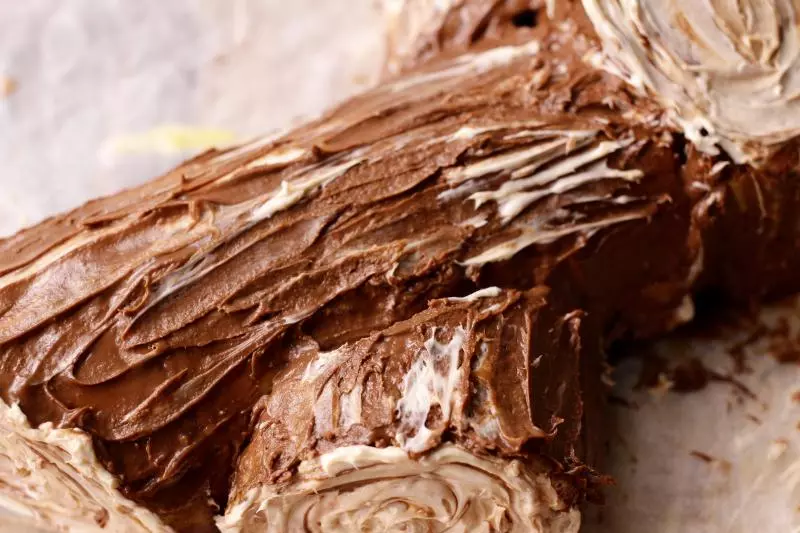
28然后觉得似乎不够,所以又在右端补了一直刀,切出的小段和一开始左边的小段是一样的
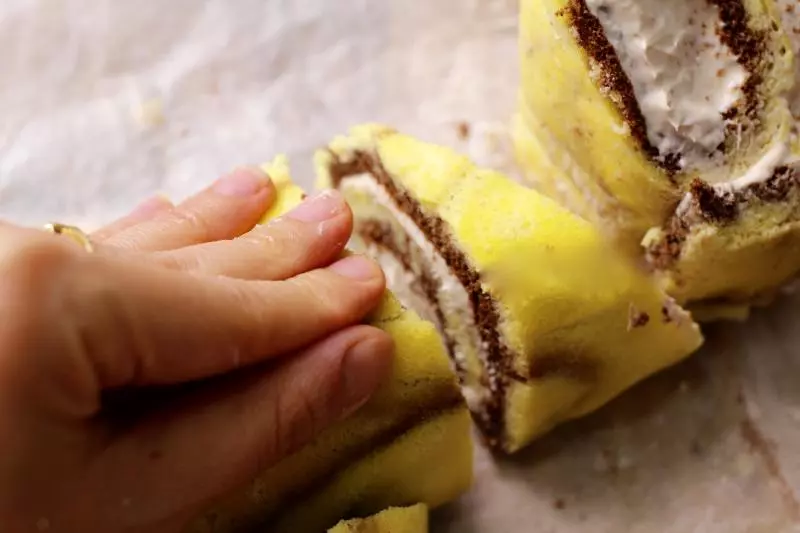
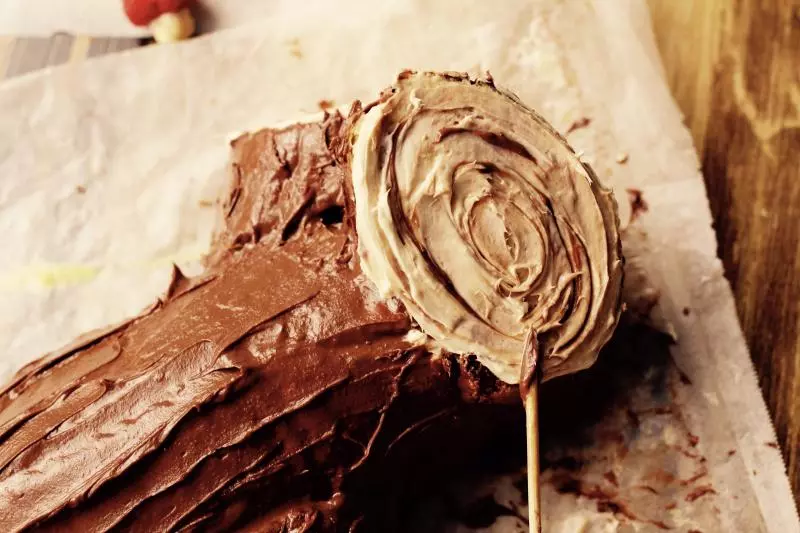
29摆摆试着把蛋糕段们拼在一起看怎么拼好看,中间最长的一段不动做树桩的主体,主体的斜截面作为头部,两个最短的小段分别放在主体两侧,还有一小段稍长的横截面直立起来,贴在主体尾端,摆得觉得不错的话,就用奶油乳酪糖霜把蛋糕段们粘起来固定好成为树桩蛋糕
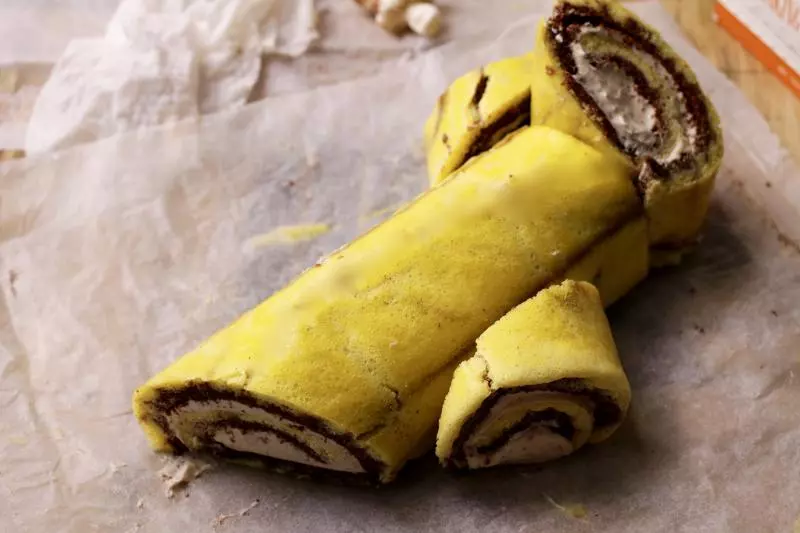
30固定好的树桩蛋糕表面涂抹可可榛子酱伪装树皮,注意涂抹的方向要与树干的走向一致
31奶油乳酪糖霜抹在露出的截面上,最好画圈抹
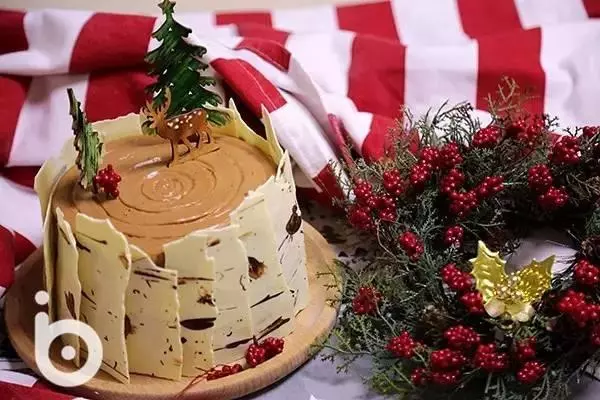
32用签子挑一点巧克力榛子酱在截面上花圈画出年轮
33在树干上随意抹一些奶油乳酪糖霜做出粗糙的树皮效果
34在树桩上放上做的小蘑菇,稍微撒点榛子碎和榛子仁
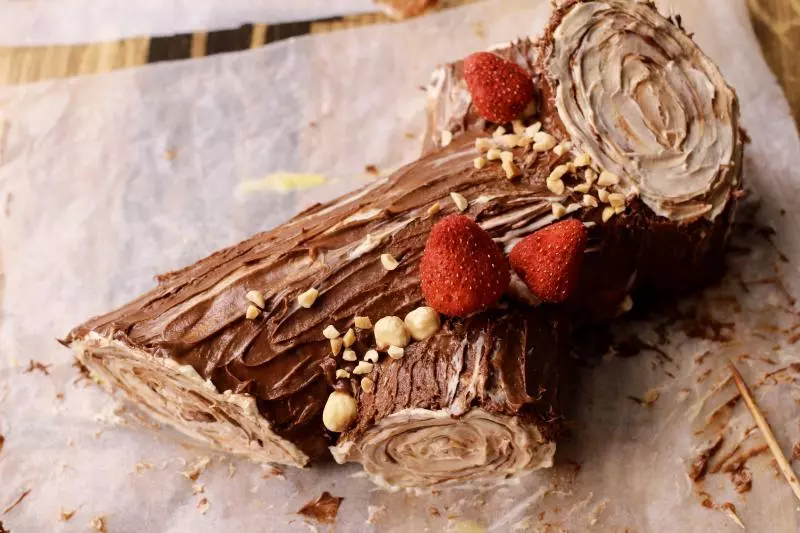
35最后装饰绿色香草,筛点糖粉,大功告成!