原料
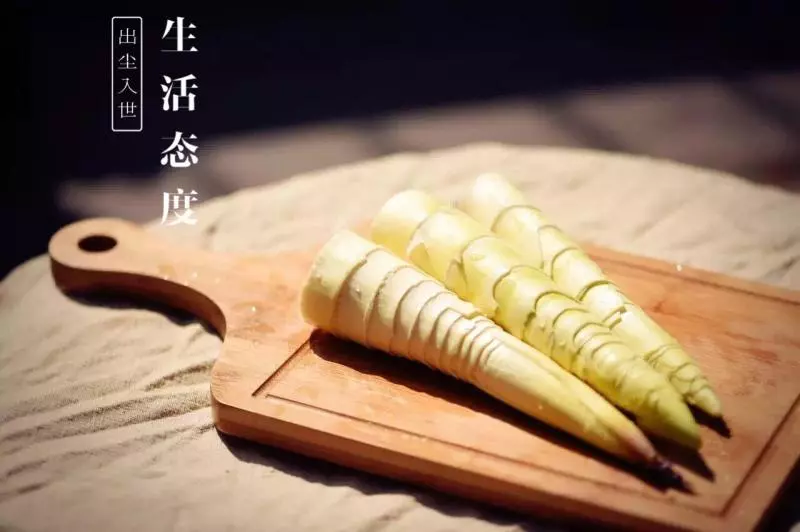
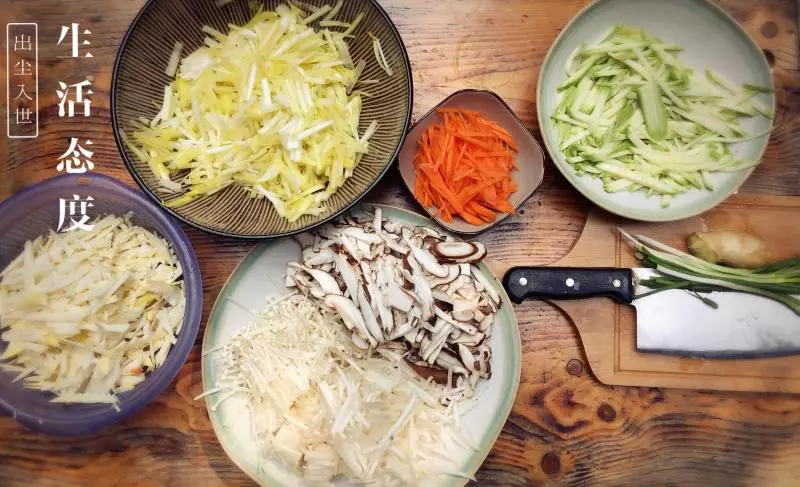
韭黄: 四两, 西葫芦: 1个, 竹笋: 2个, 金针菇: 一把, 香菇: 8朵, 胡萝卜: 1个, 小葱: 数根
步骤
1春笋上市 忍不住的要变着花样的吃
2春天 生发时节 多吃些芽菜类的
3将配料表里的食材洗净、切丝备用。
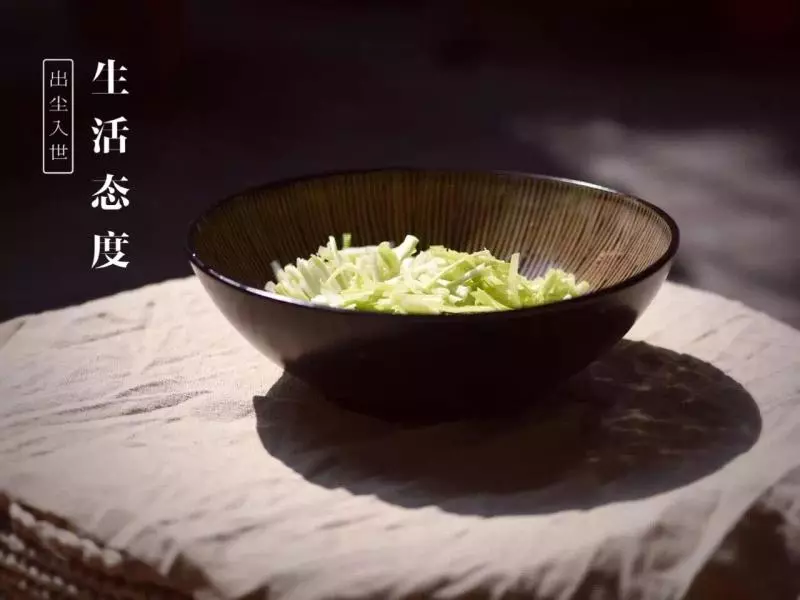
4将韭黄放少许盐,静置。目的是为了让它出水,最后包的过程中不会湿答答。
5起油锅,除韭黄外,下油锅煸炒。就跟平时炒菜一样,调味(偏咸一些口味会比较好)。最后把韭黄冲一下拧干拌入。这样馅料就准备好了。
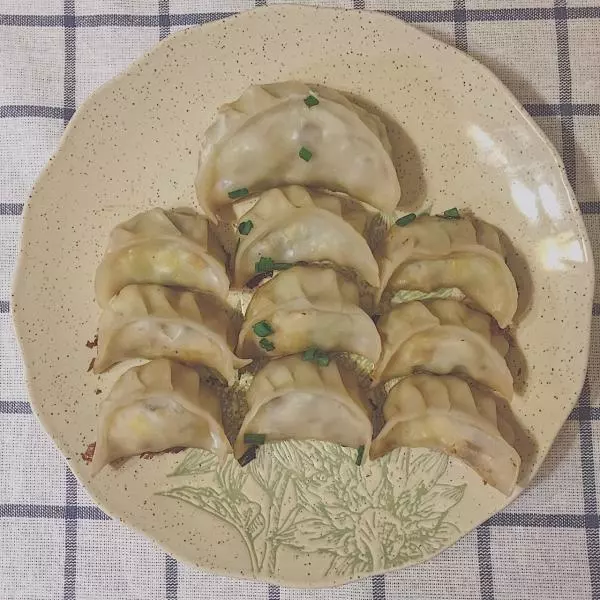
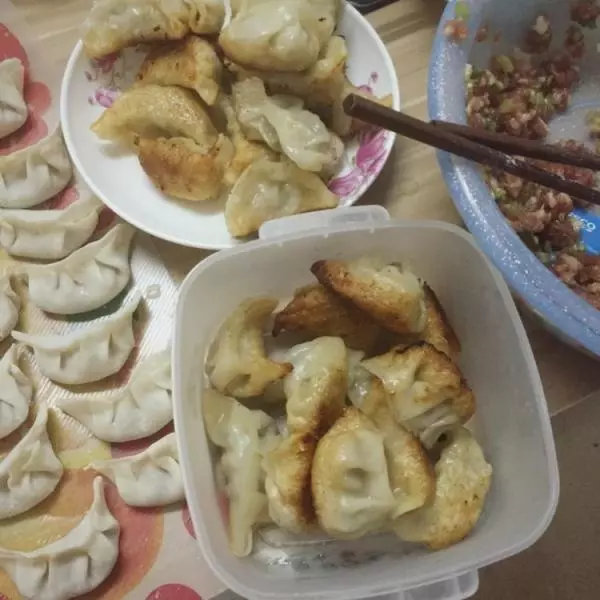
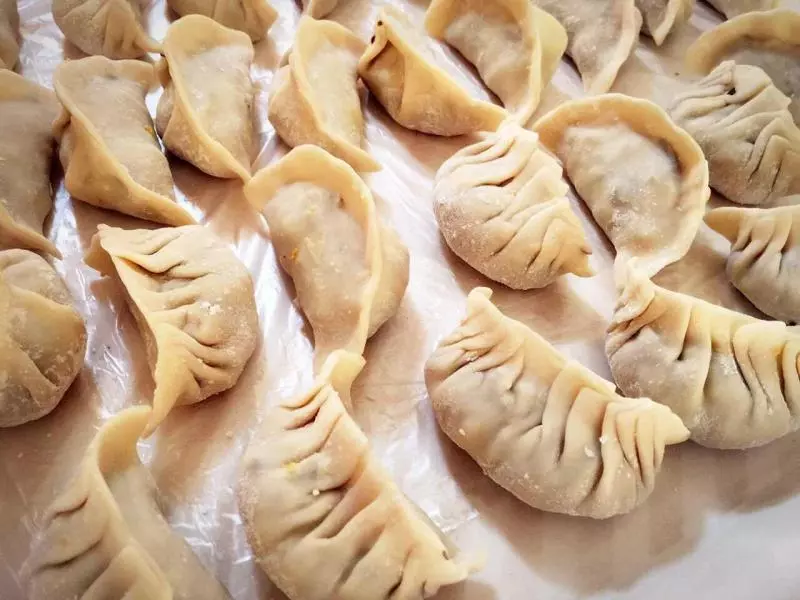
6开始包煎饺。我比较喜欢很多褶子的饺子,因为煎出来会很漂亮。
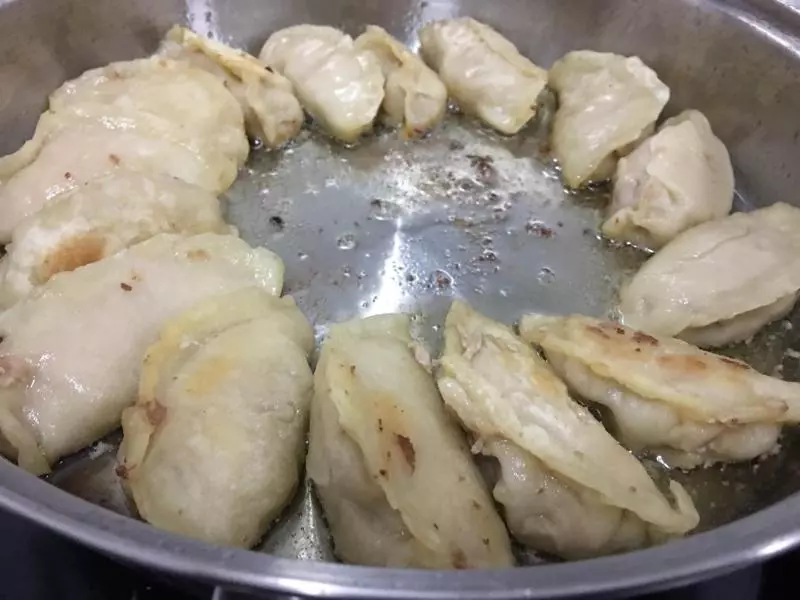
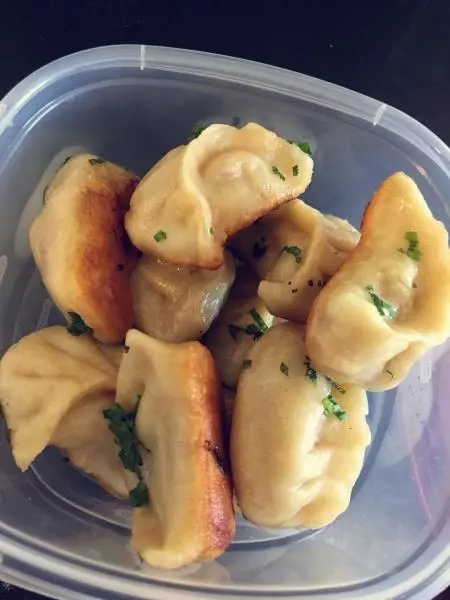
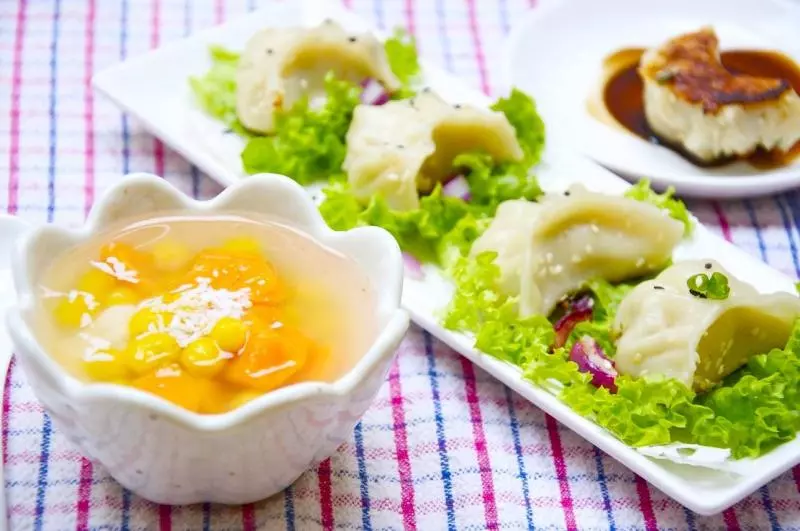
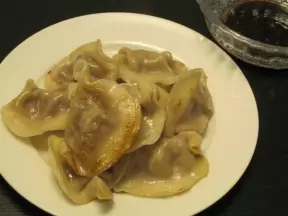
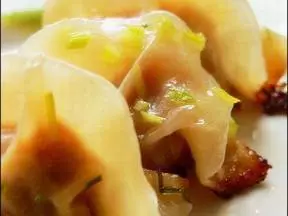
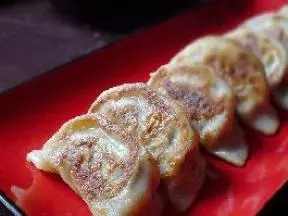
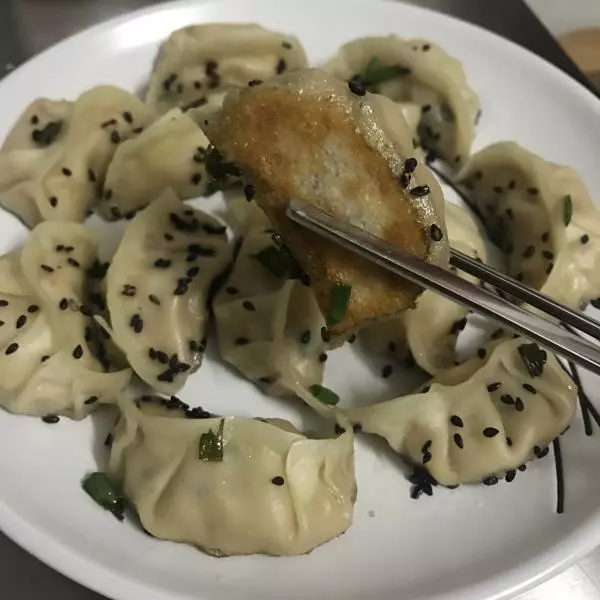
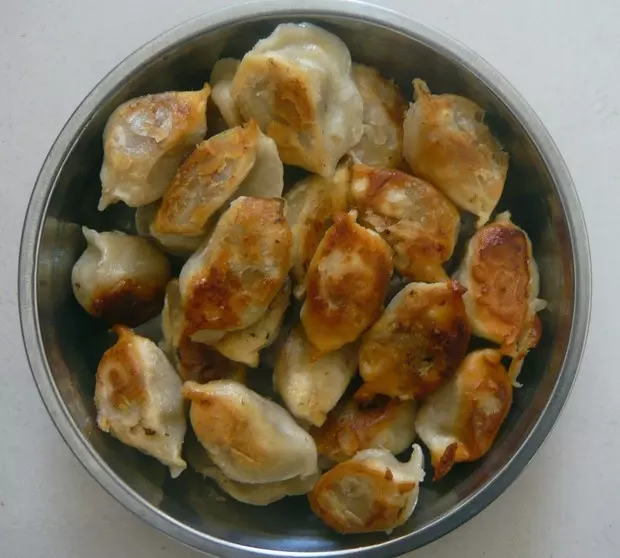
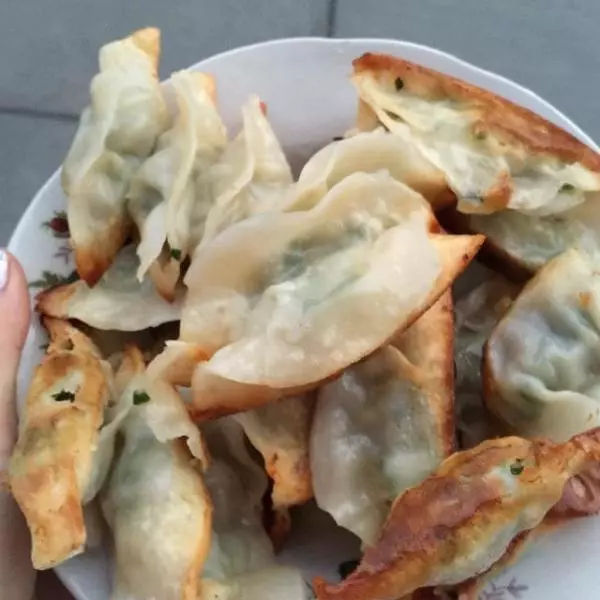
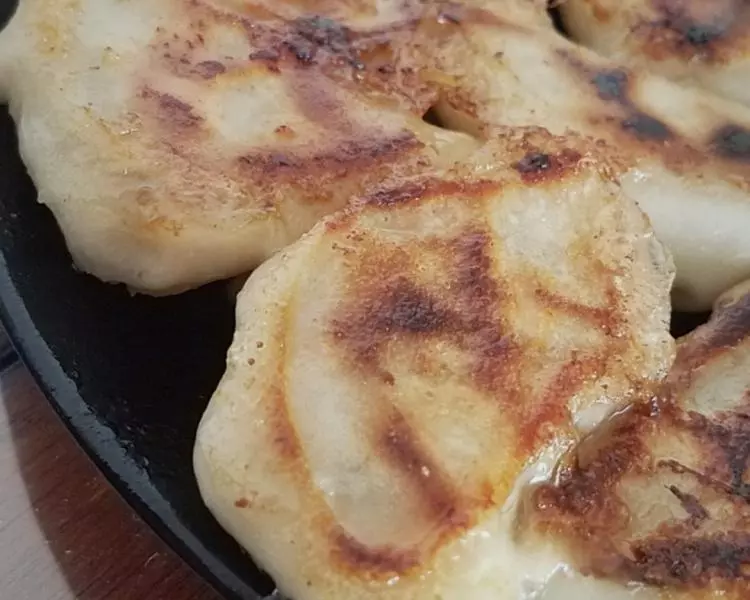
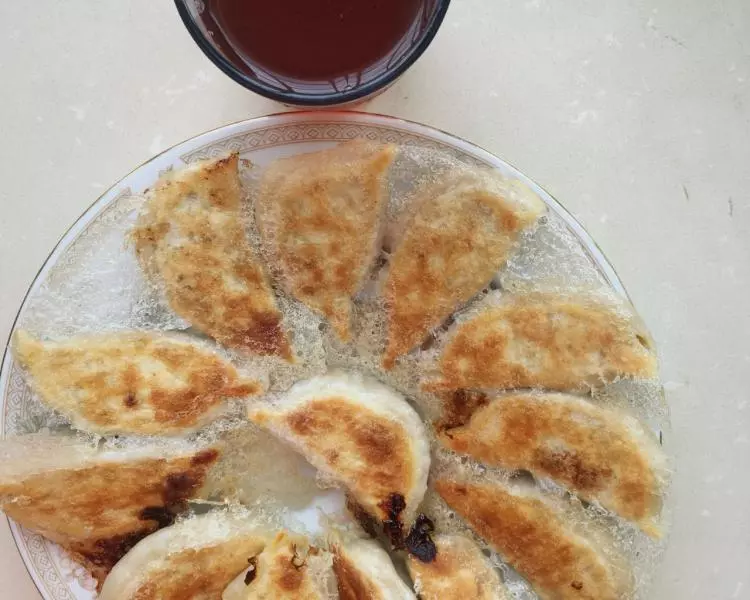
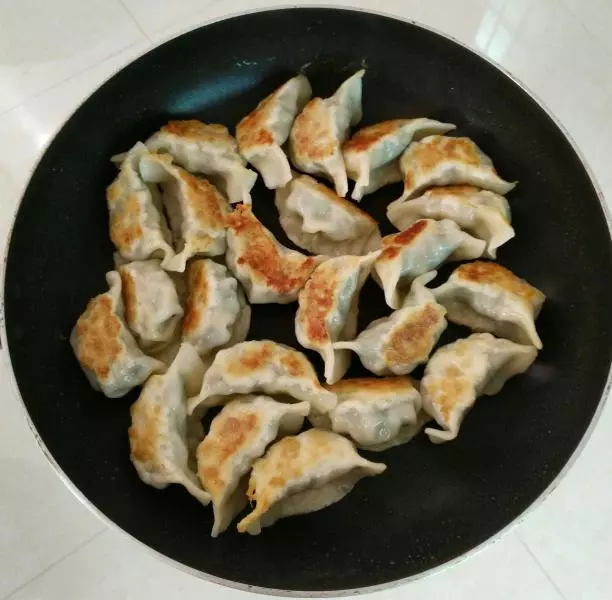
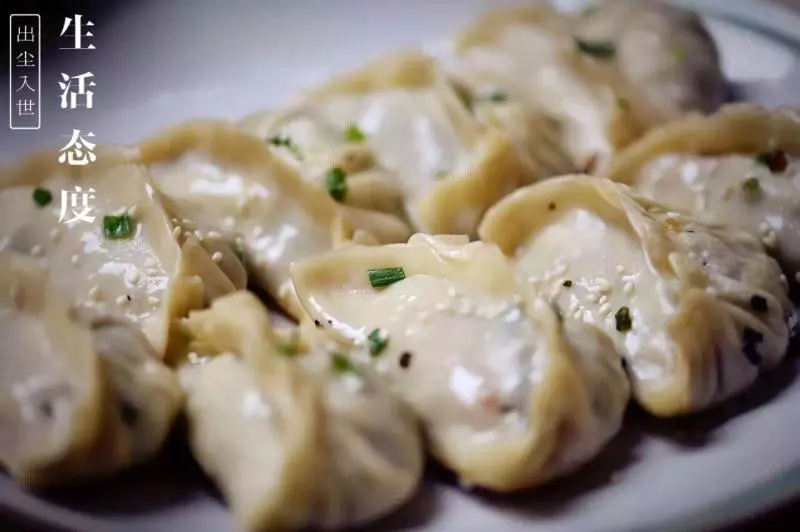
7平底锅,倒入适量油,中火,放入煎饺,煎到底部上色。倒入小半碗水,开大火,盖上锅盖,到水收干为止。最后撒上芝麻和葱花起锅。
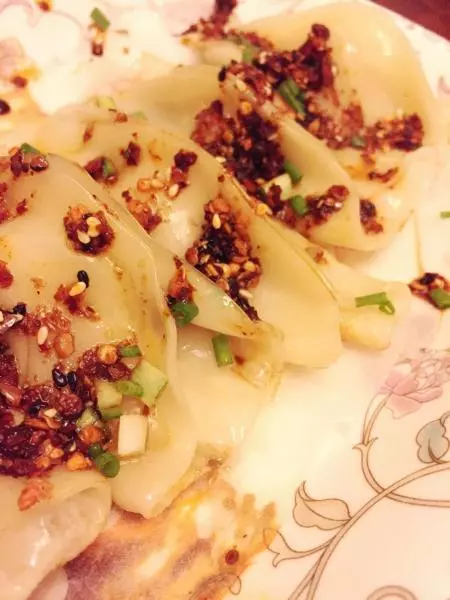
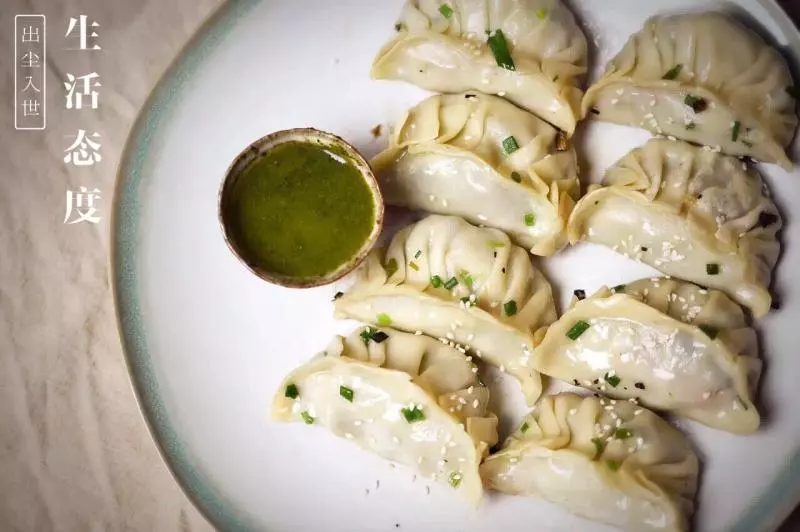
8成品图1
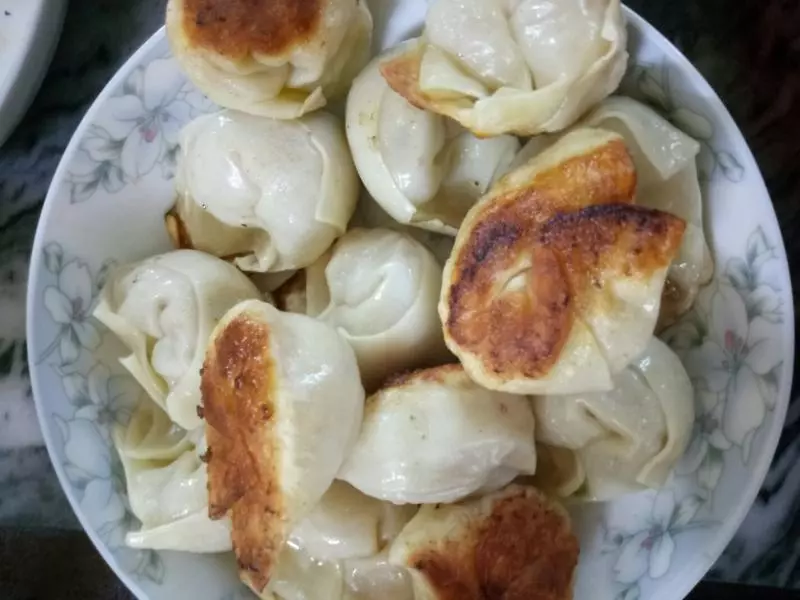
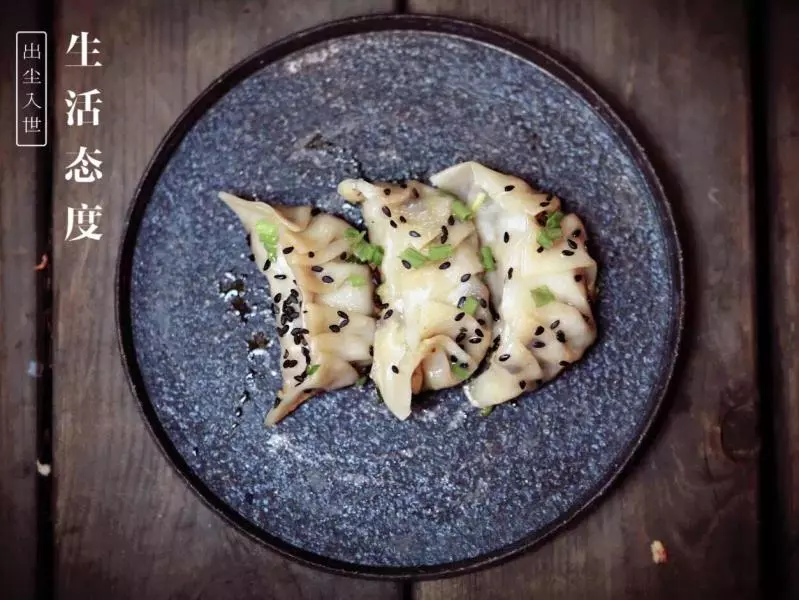
9成品图2
小技巧
煎饺一定不用怕焦,面食焦焦的不仅香,还易于消化。所以可以煎久一点。