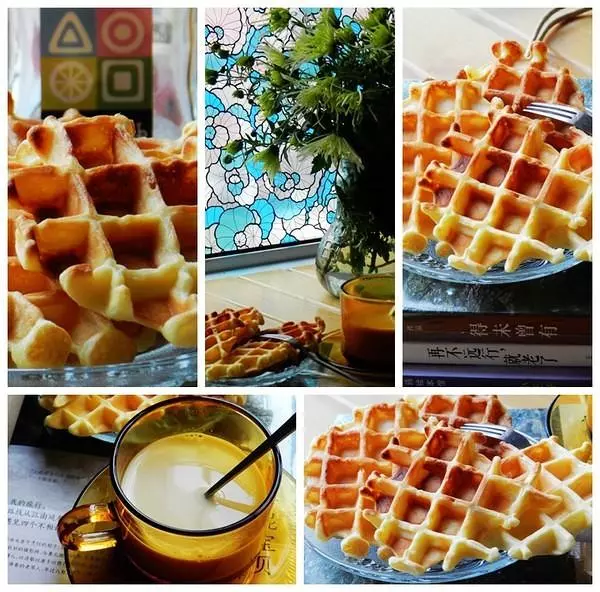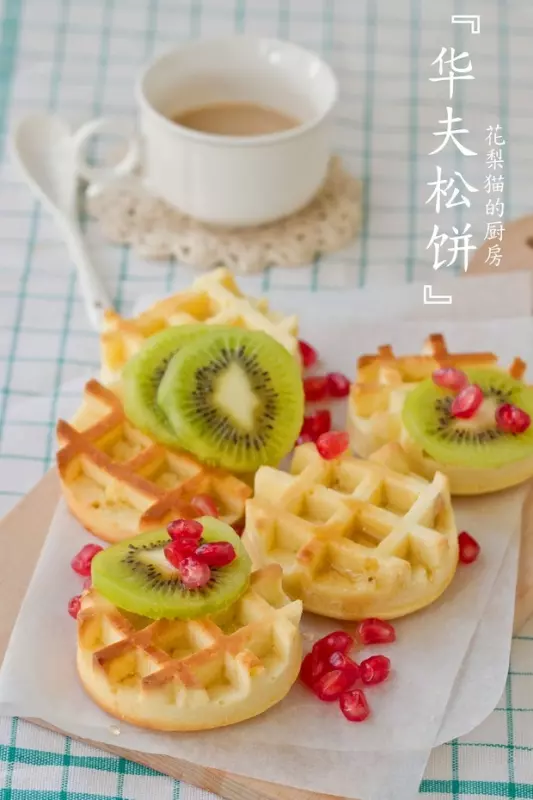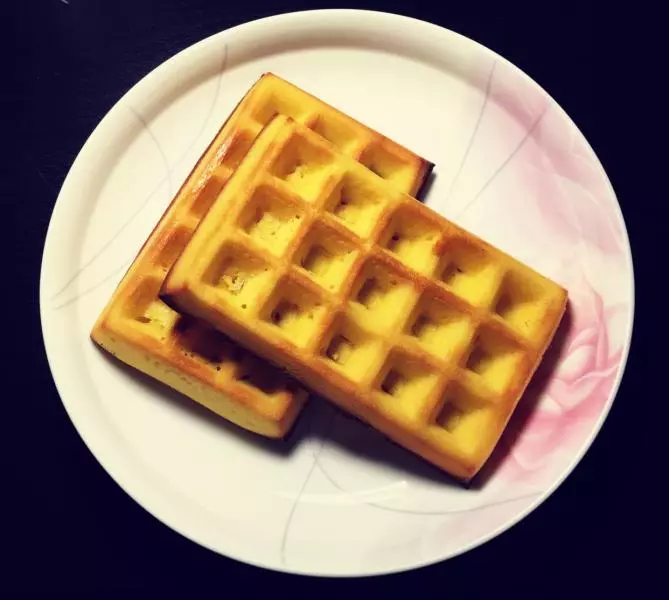
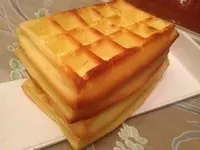
簡介
矽膠模具輕便,易保存。雖說現在的泡打粉都說無鋁,可是不添加更安心,口感也更好。
原料
雞蛋 2隻, 黃油 50克, 牛奶 90克, 低粉 70克, 細砂糖 25克, 朗姆酒 少許
步驟
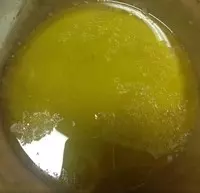
1黃油隔水化成液體
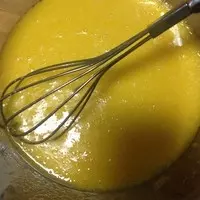
2倒入牛奶,加朗姆酒混合均勻

3加入蛋黃,攪拌均勻
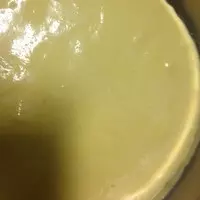
4篩入低粉,攪拌均勻
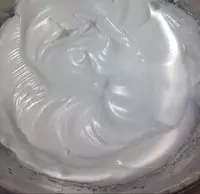
5蛋白分三次加入白砂糖,打至硬性發泡
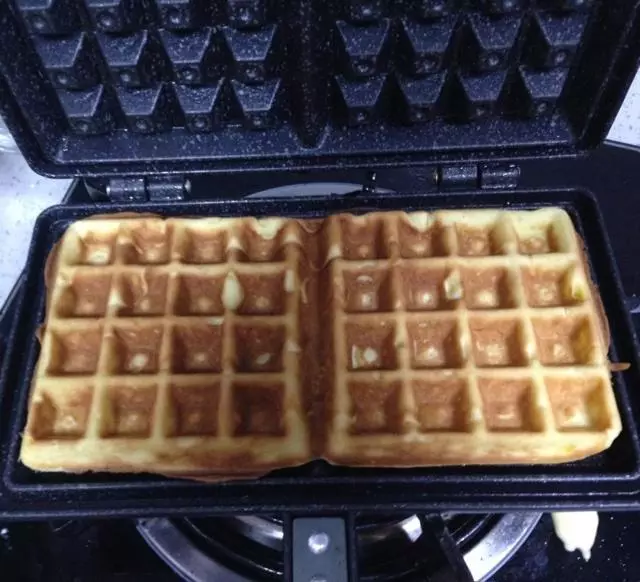
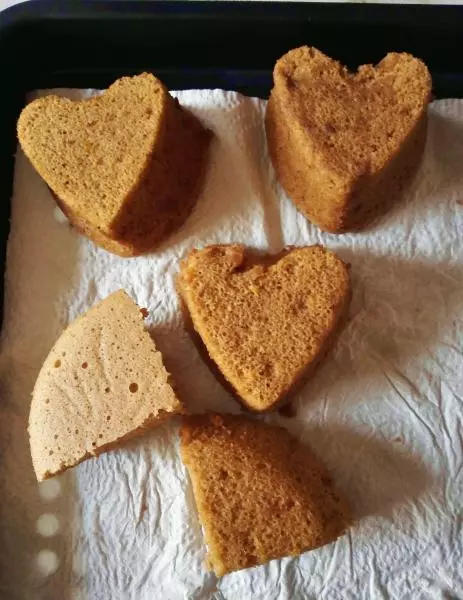
6打發好的蛋白霜和蛋黃混合物分三次攪拌均勻後倒入矽膠模具
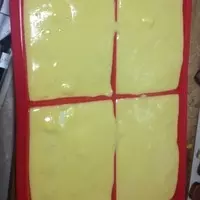
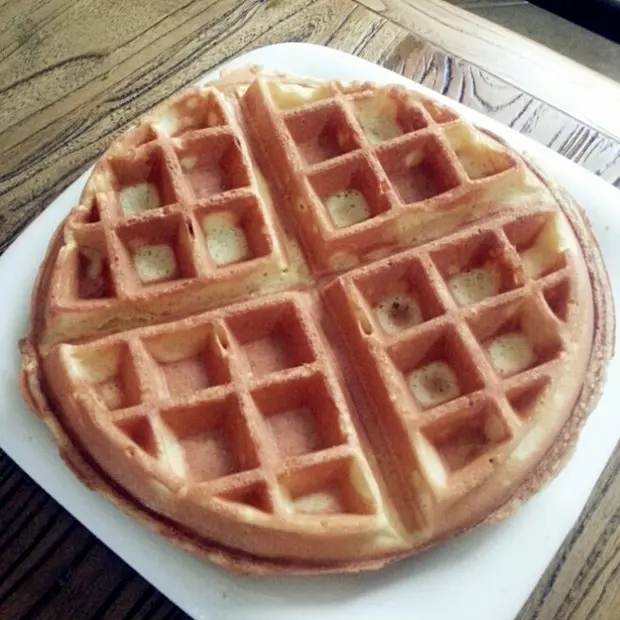
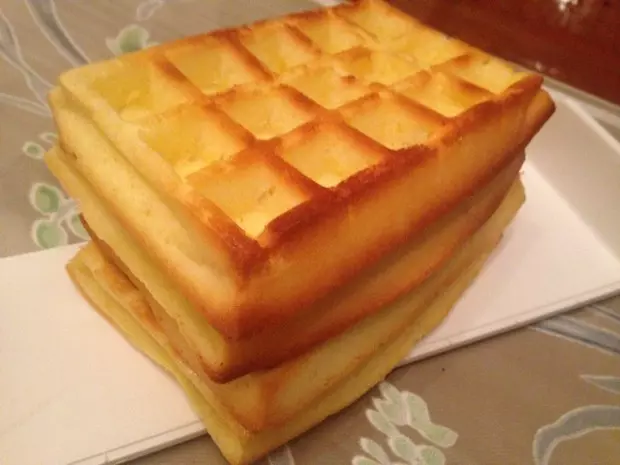
7烤箱預熱190度,中層25分鐘,放涼後脫模
小技巧
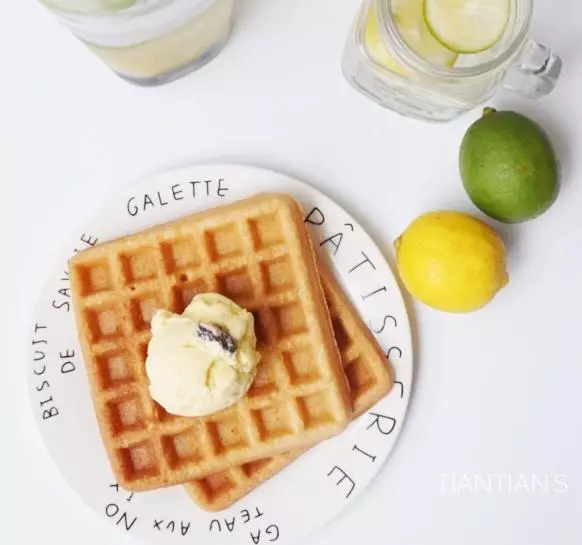
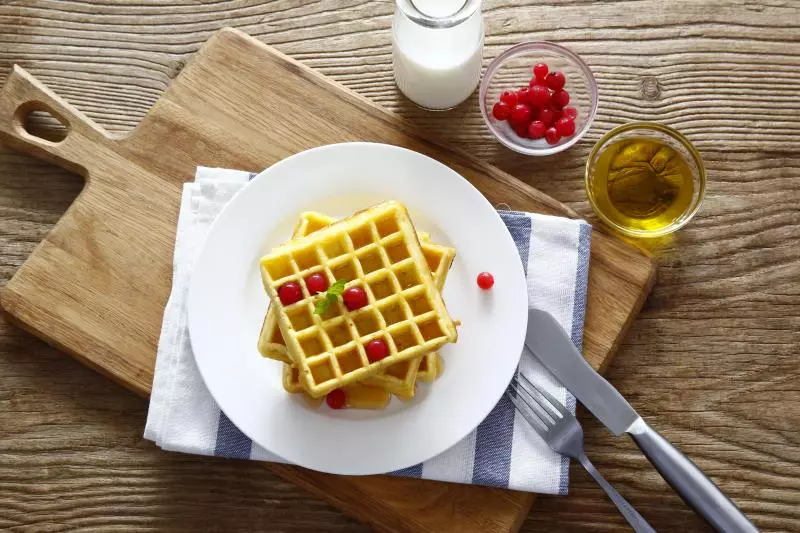
蛋白霜與蛋黃混合物攪拌時採用翻拌手法! 根據自家烤箱脾氣調整溫度!必要時加蓋錫紙! 配果醬更好吃!