原料
全蛋: 一個(大約50g左右), 蛋黃: 3個, 蛋白: 3個雞蛋量, 無水黃奶油: 36g, 煉乳: 50g, 細砂糖: 65g, 低筋粉: 45g, 檸檬水: 適量
步驟
1無水黃奶油切成小塊,進行加熱,小火加熱,煮至沸騰。
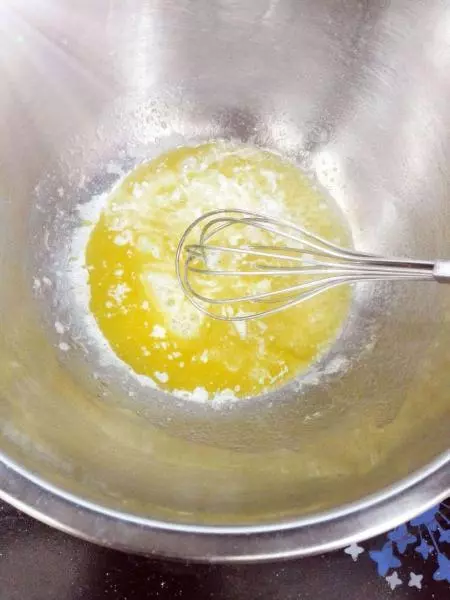
2黃奶油煮沸後馬上加入過篩的低筋粉,(小心燙手,一定要帶書套哦。)
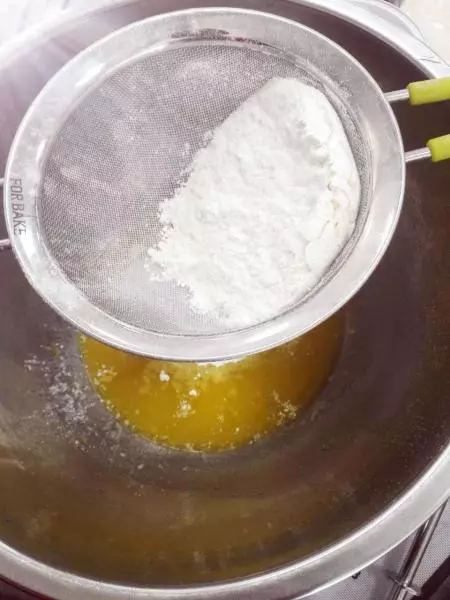
3用手動攪拌器進行攪拌,並且攪拌均勻沒有乾粉為止。

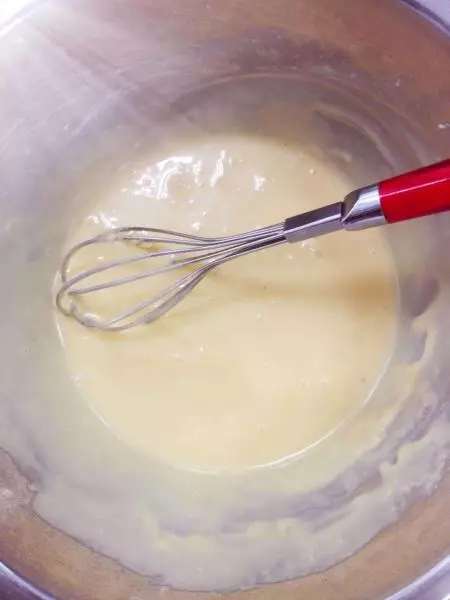
4倒入煉乳,這裡的煉乳你可以慢慢的加入,為了能夠使麵糊更容易吸收,攪拌均勻。
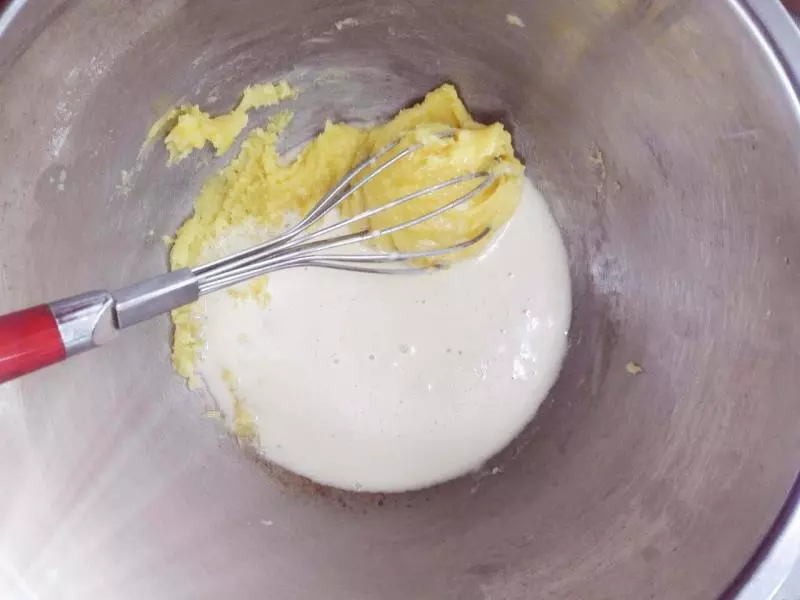
5加入一個全蛋和三個蛋黃,慢慢攪拌,讓麵糊完全吸收,攪拌均勻,你也可以把蛋打散,分3-5次慢慢的加入進行攪拌。

6麵糊一定要攪拌均勻細膩。
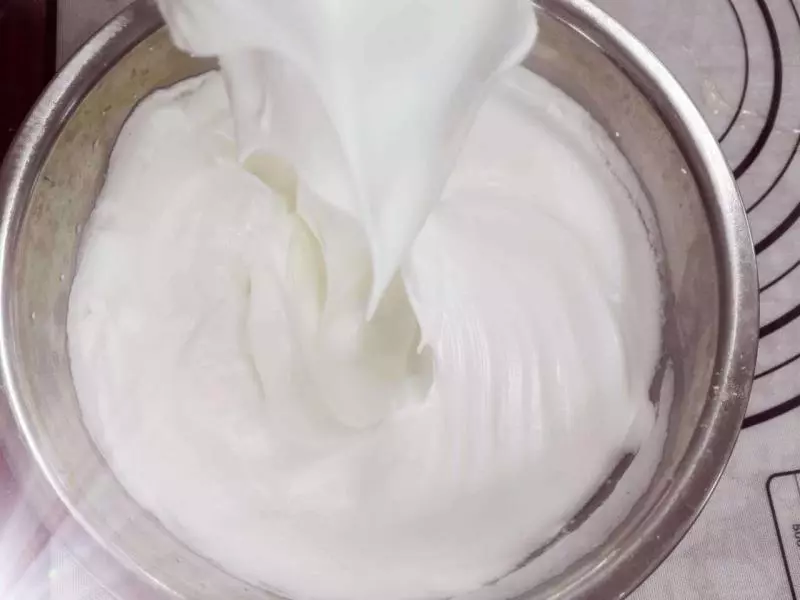
7在蛋清中滴入幾滴檸檬汁。
8用電動打蛋器進行中速攪拌。蛋白打散後,分三次加入細砂糖,為了使打出的蛋白更穩定。
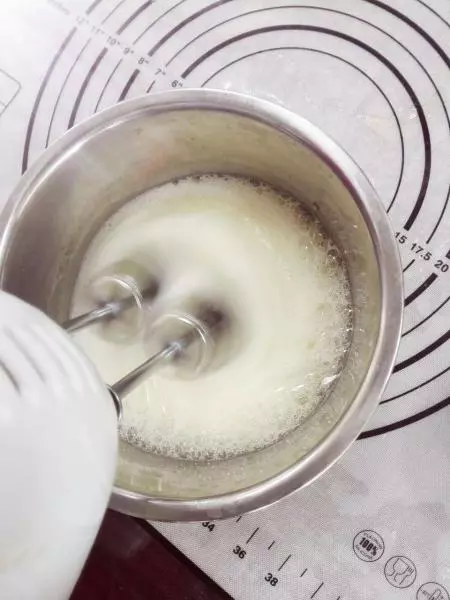
9蛋白打至發泡後,白砂糖要加完,不然白砂糖不能夠完全融化,烤出的蛋糕表面有斑點。
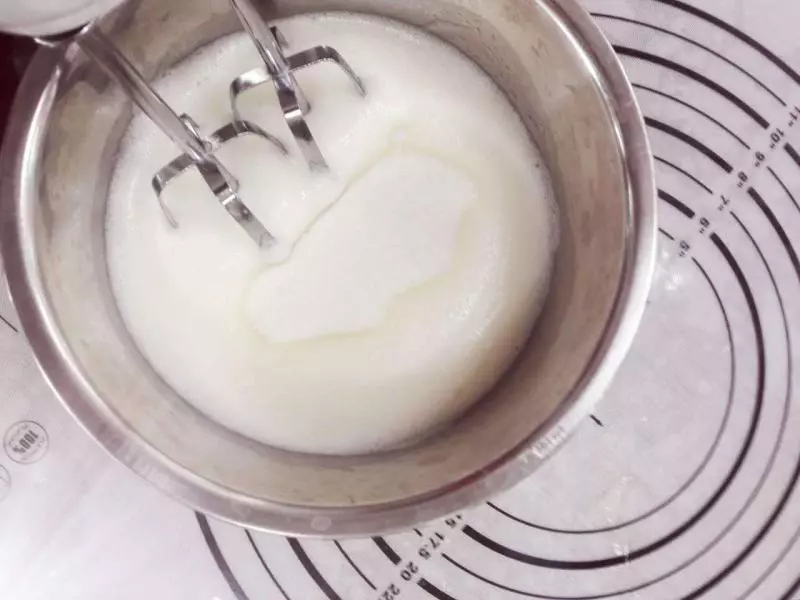
10蛋白要打到濕性發泡,挑起的蛋白霜尾部成稍微帶點彎鉤形。
11取三分之一的蛋白霜加入麵糊中,進行攪拌。
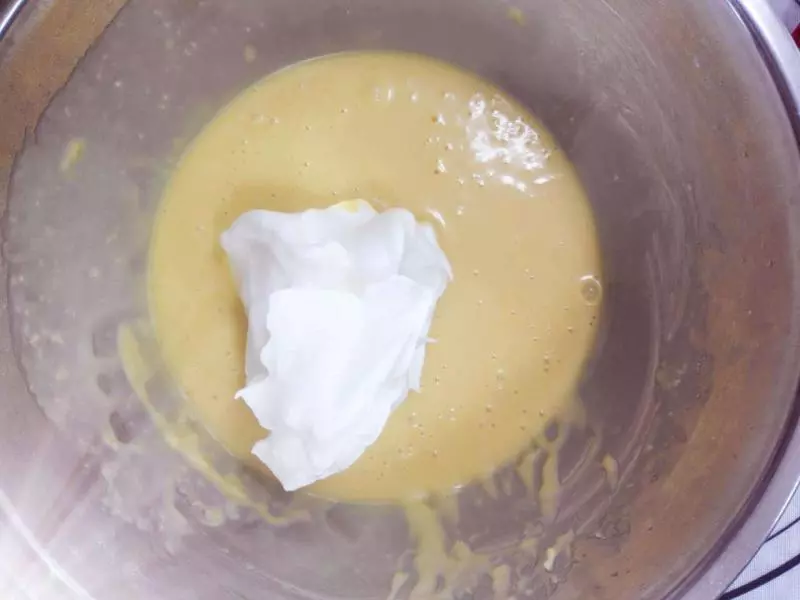
12把剩餘的蛋白霜也一起攪拌,要從底部進行翻拌,要快,不然你把氣泡都破壞了,蛋糕的口感就會

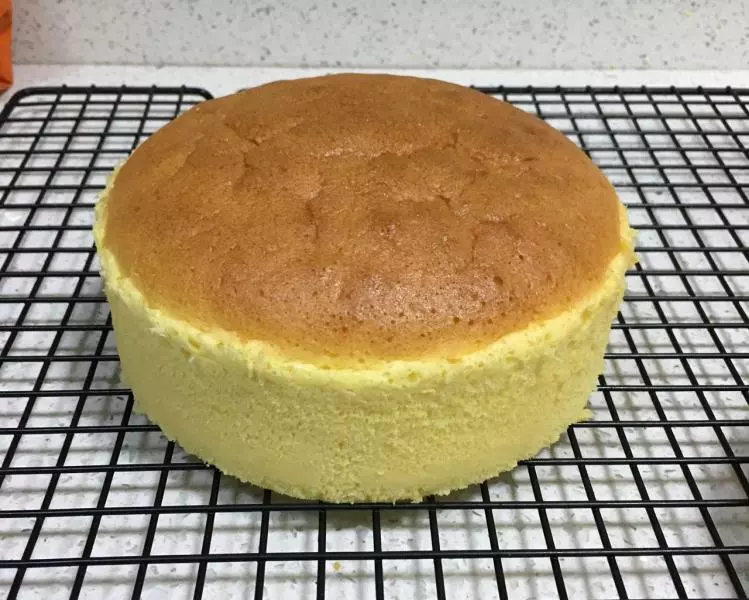
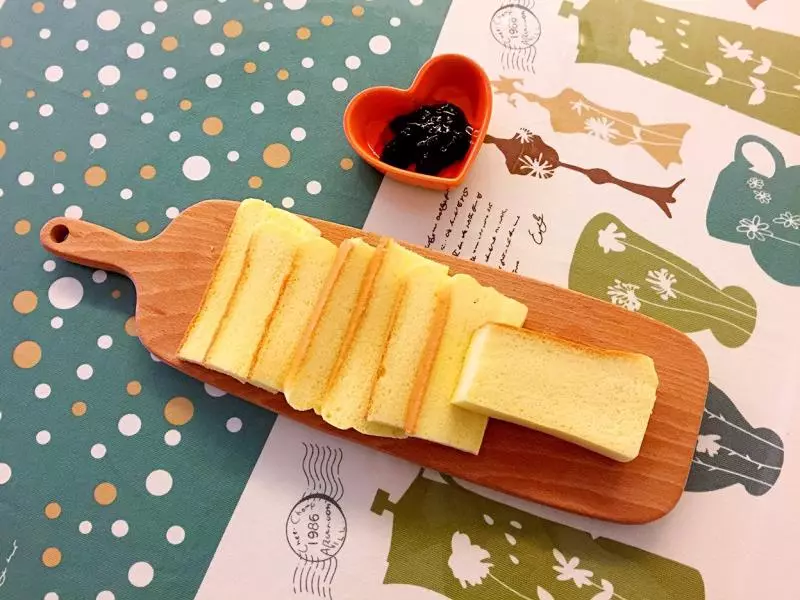
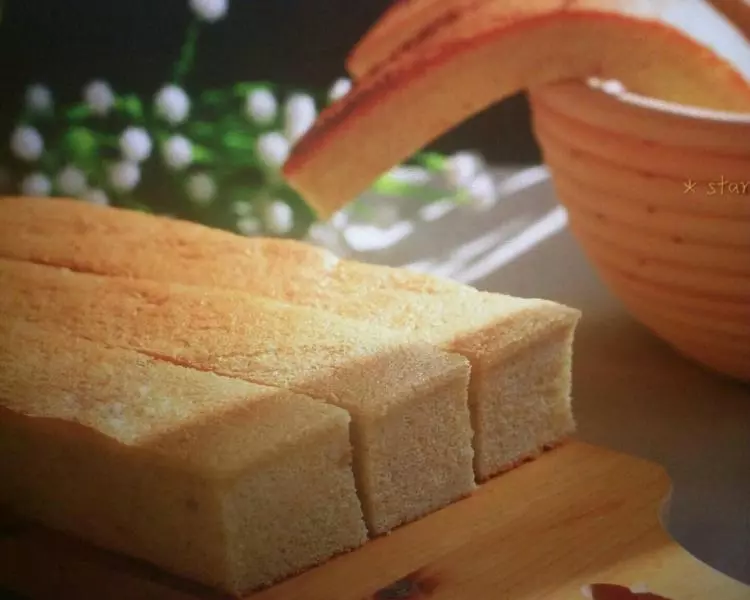
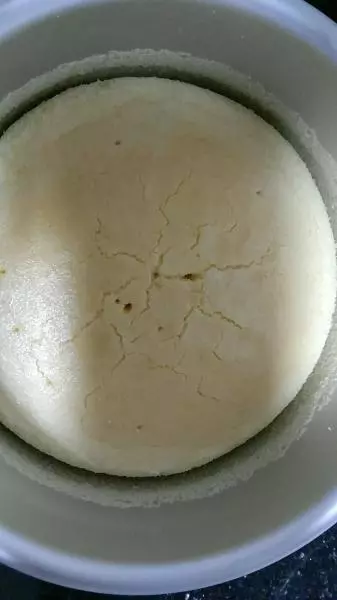
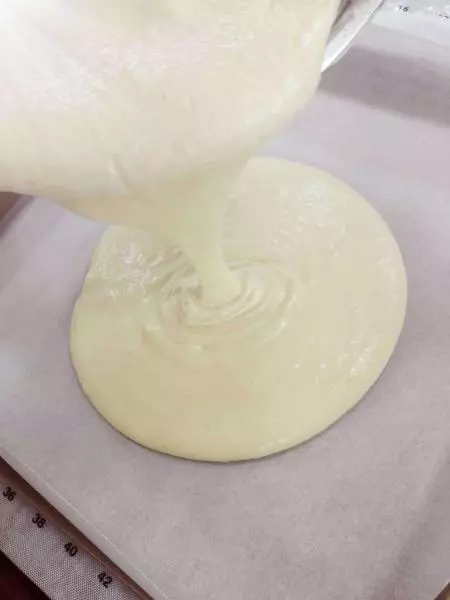
13麵糊攪拌均勻細膩後,倒入8寸方盤模具中。
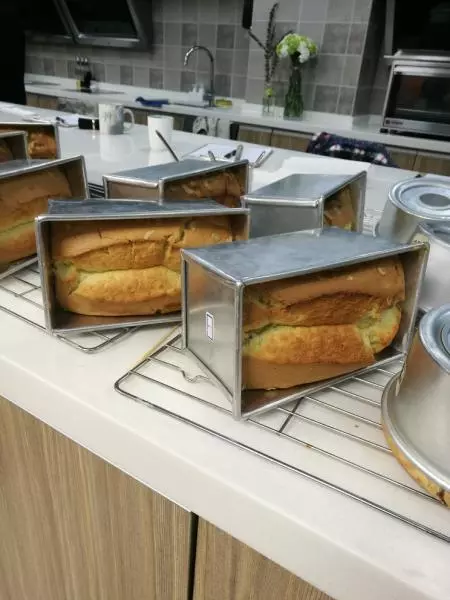
14進入烤箱,進行烘烤,上下火190度,20分鐘。(不同的烤箱溫度不同,要根據自己的實際溫度來掌控。)
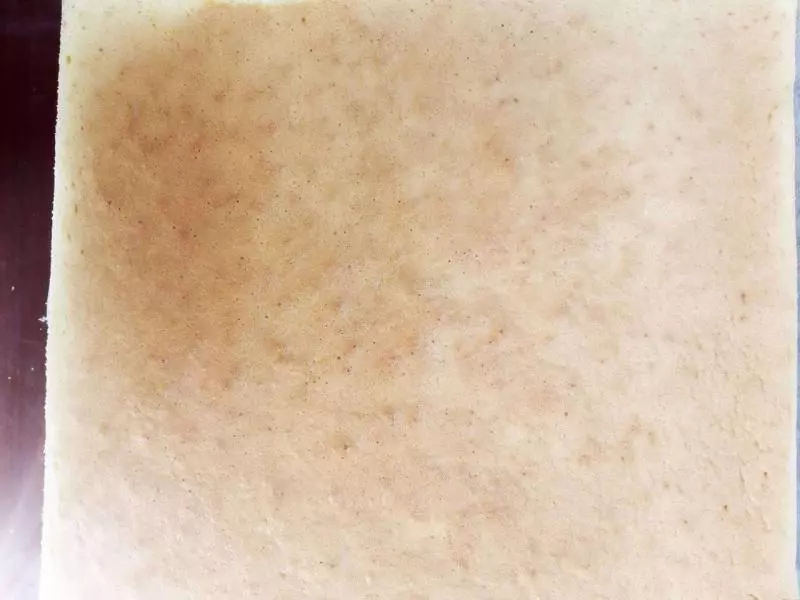
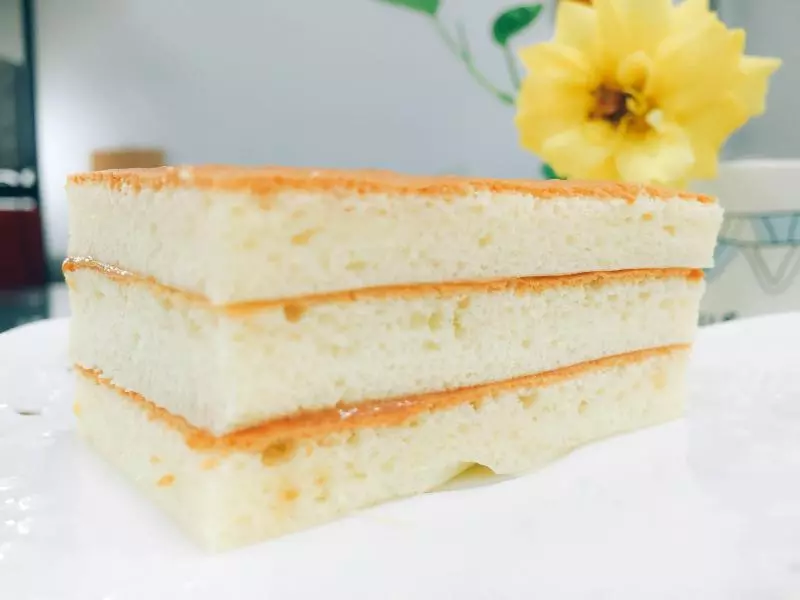
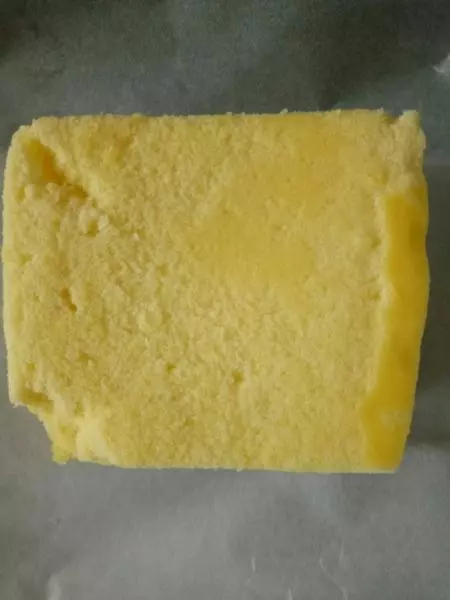
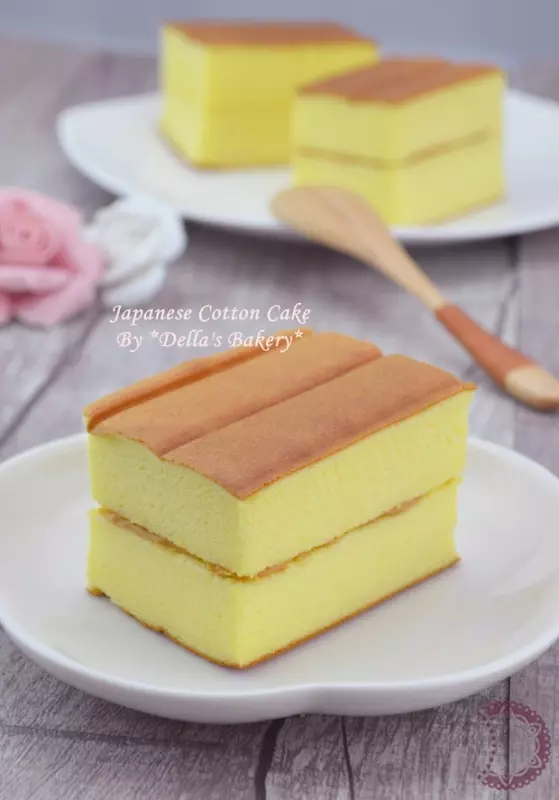
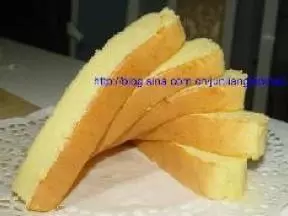
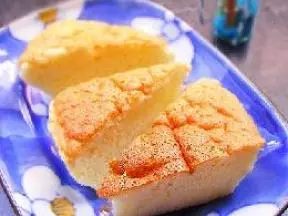
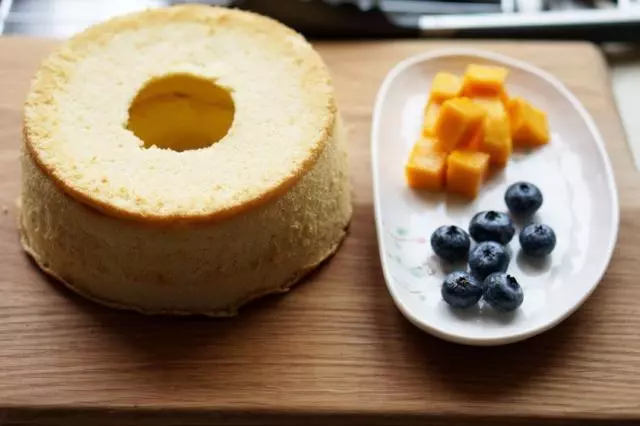
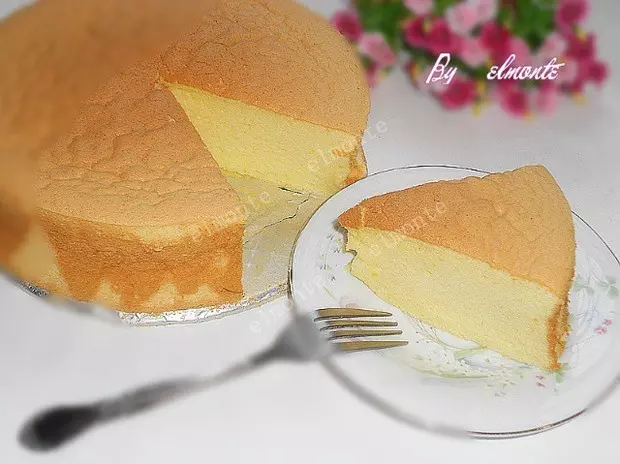
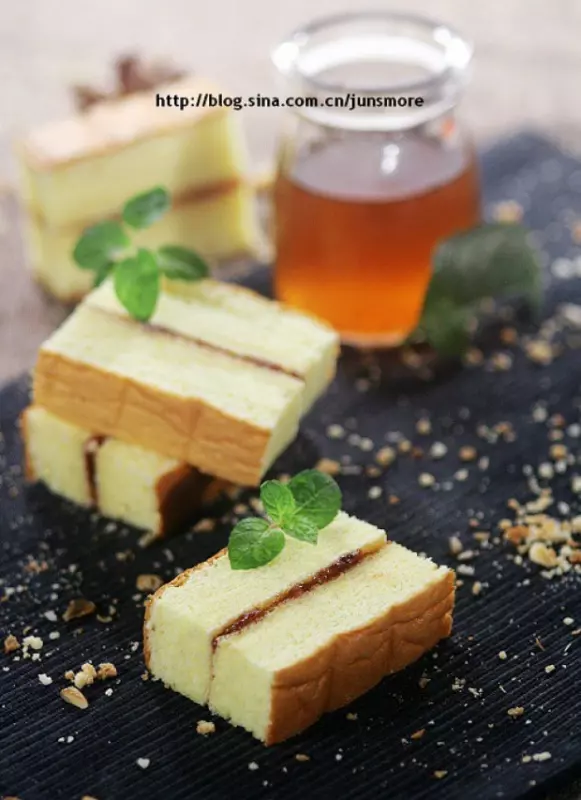
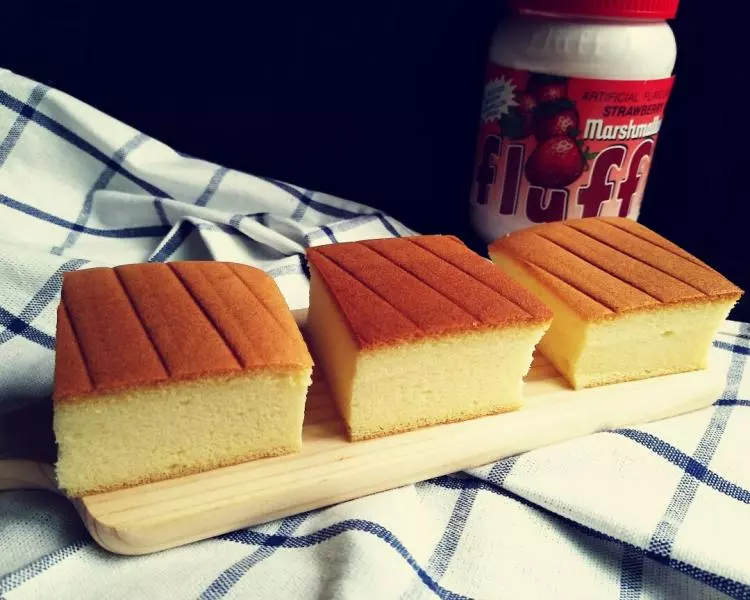
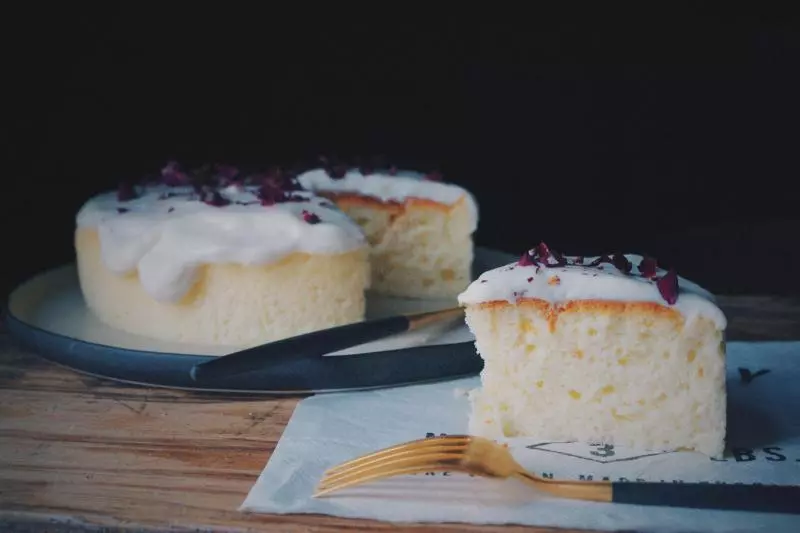
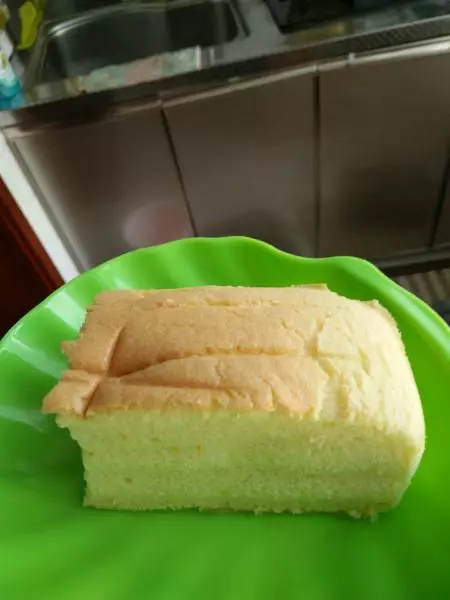
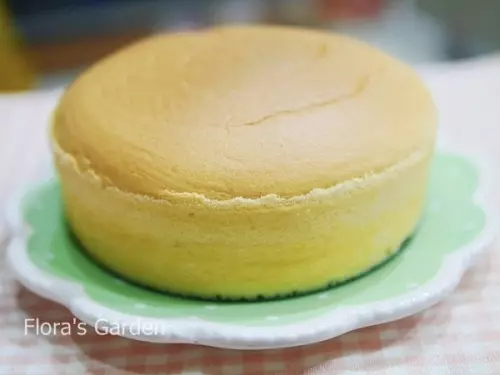
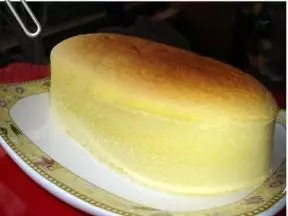
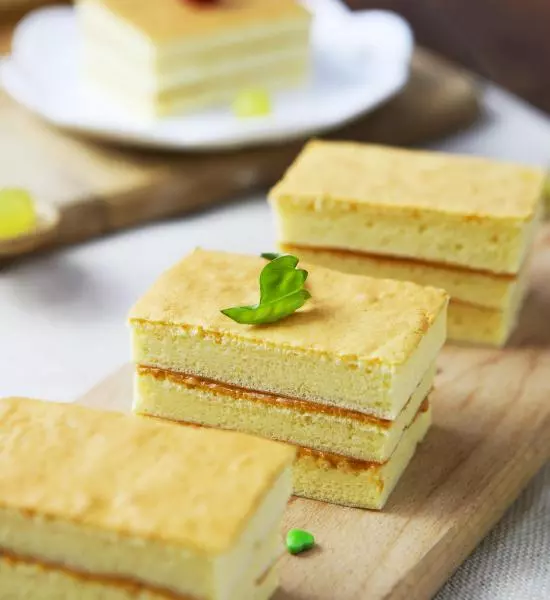
15日本棉花蛋糕完成啦!可以根據自己的喜好進行裝飾,中間的夾層也可以塗抹不同口味的果醬,奶酪哦。