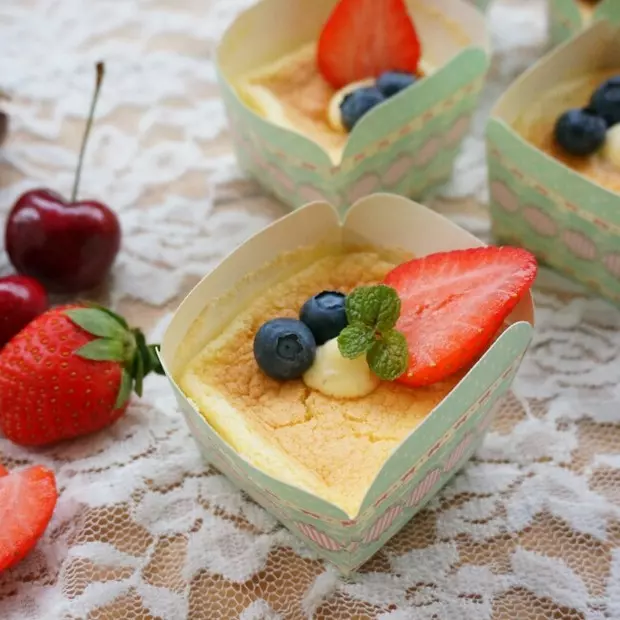
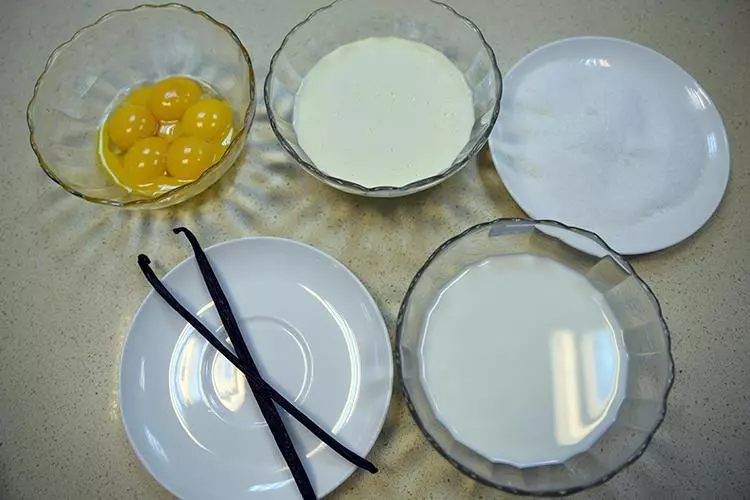
原料
雞蛋: 4個, 低筋麵粉: 35g, 糖: 50g, 植物油: 30g, 水: 30g, 牛奶: 250g, 淡奶油: 220g, 雞蛋: 6個, 砂糖: 80g, 香草莢: 2條
步驟
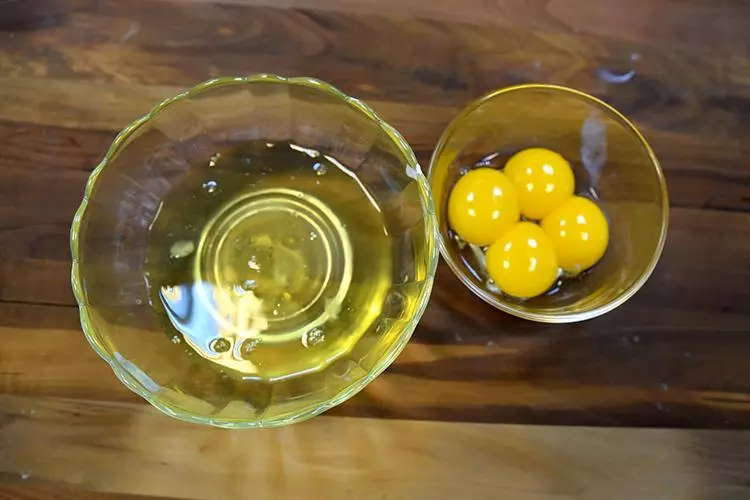
1將蛋白和蛋黃分離,分別放在兩個無水無油乾淨的碗里
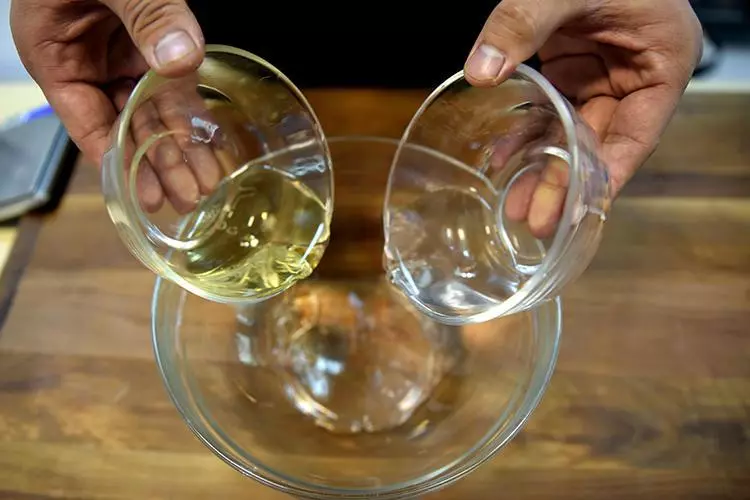
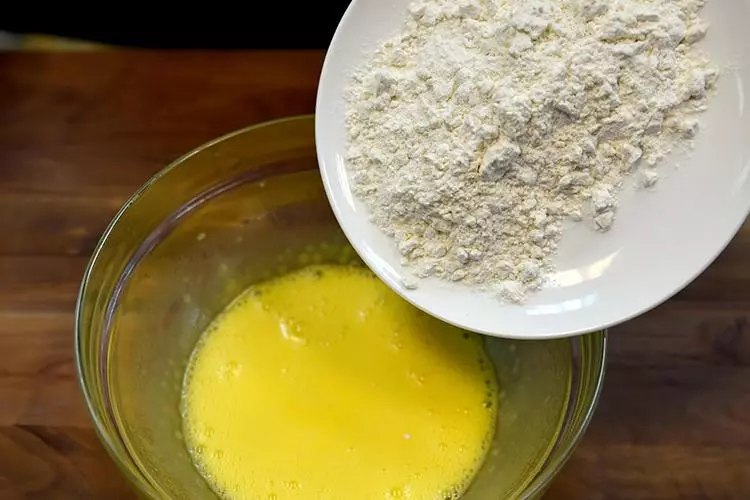
2倒入水和植物油,徹底乳化
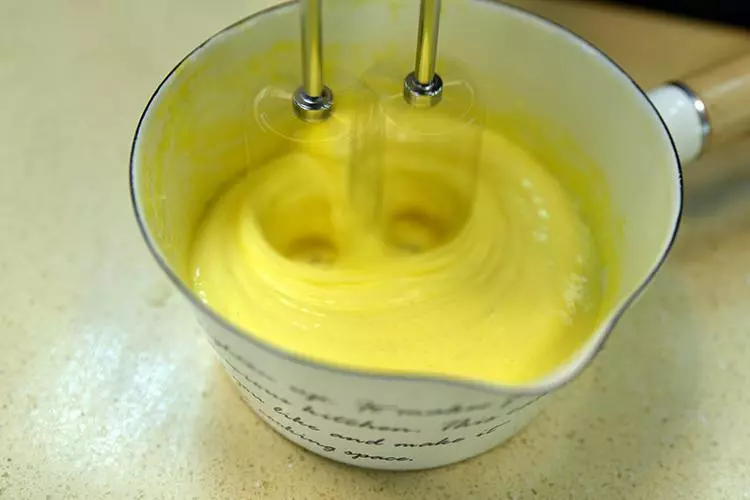
3加入蛋黃攪拌均勻

4加入過篩的低筋麵粉,快速攪拌至無乾粉,待用
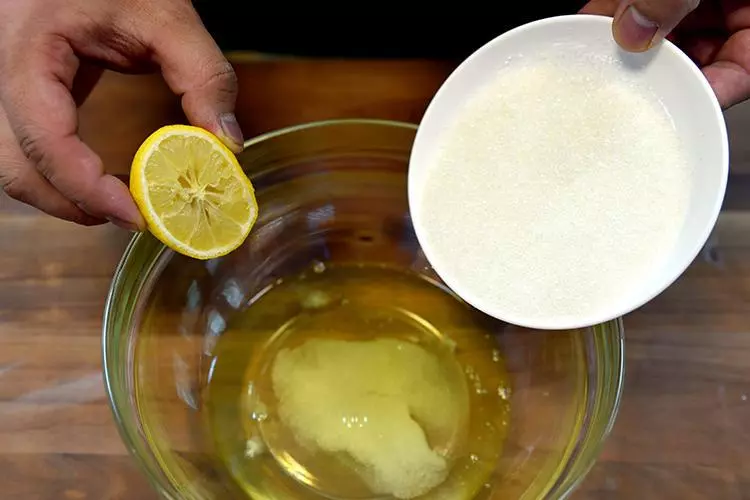
5蛋白里加入適量新鮮檸檬汁和砂糖,打發至濕性發泡
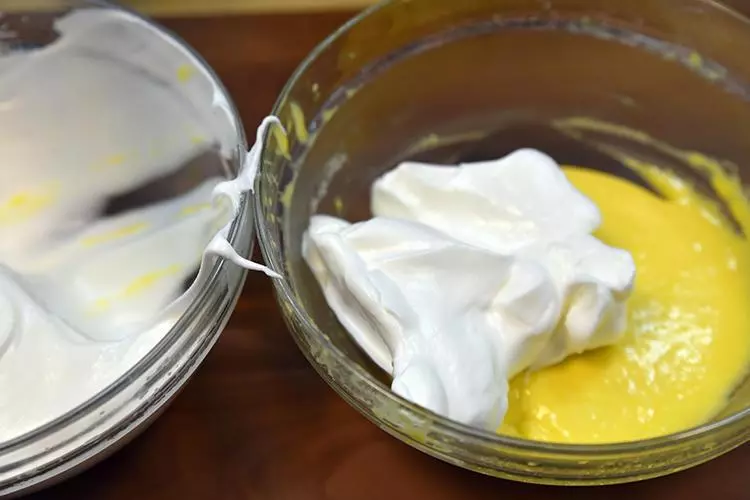
6取1/3蛋白和蛋黃糊混合均勻,再倒入剩餘的蛋白里翻拌均勻即可。
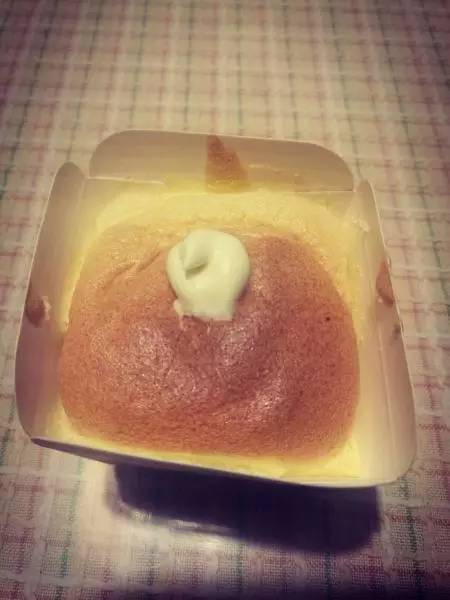
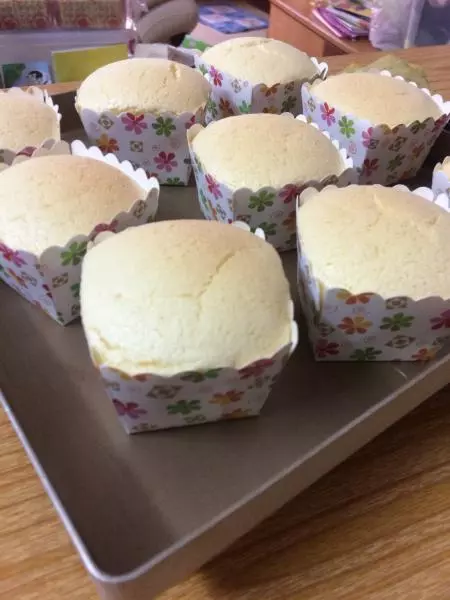
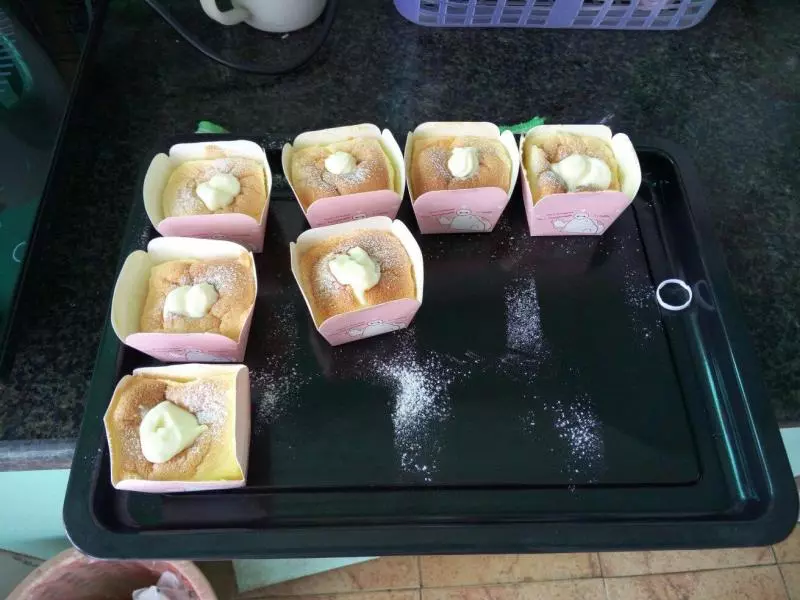
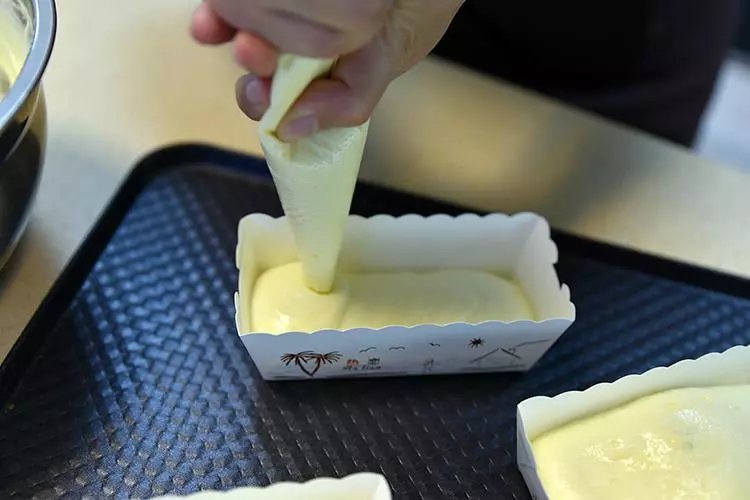
7將蛋糕糊裝入裱花袋裡,擠入紙杯
8提前預熱烤箱135度,焙烤中層,50分鐘。

9戚風在烤箱裡烤制的同時,我們可以開始製作中間的奶油醬了
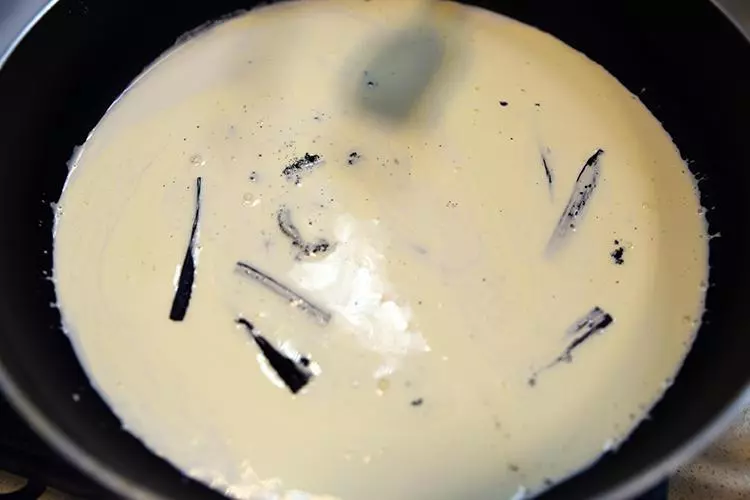
10牛奶和淡奶油一起倒入奶鍋中煮至微沸

11將香草莢從中間剖開,用刀尖處刮下裡面的香草籽
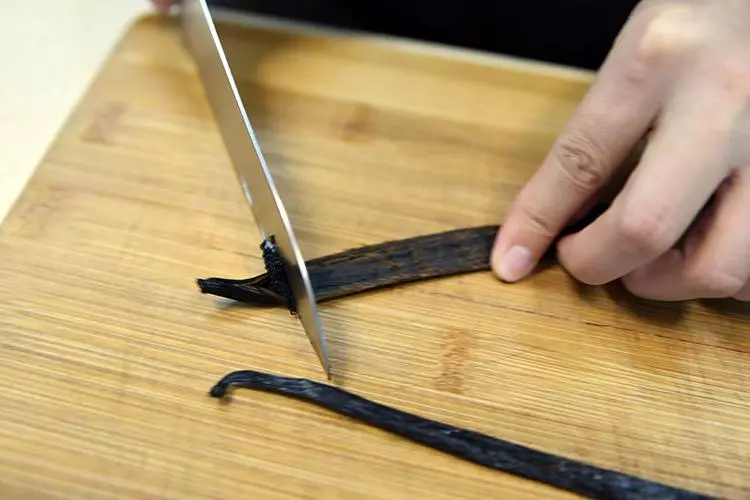
12將切段的香草莢及香草籽一起放入牛奶里煮。
13煮沸離火,並蓋上鍋蓋悶15分鐘左右
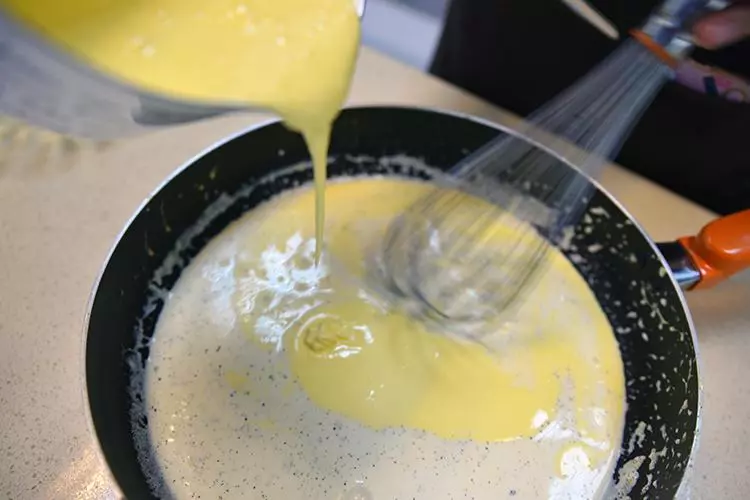
14蛋黃里加入砂糖,用打蛋器打至微黃
15將打好的蛋黃緩慢的倒入加了香草莢的牛奶里,邊倒邊攪拌
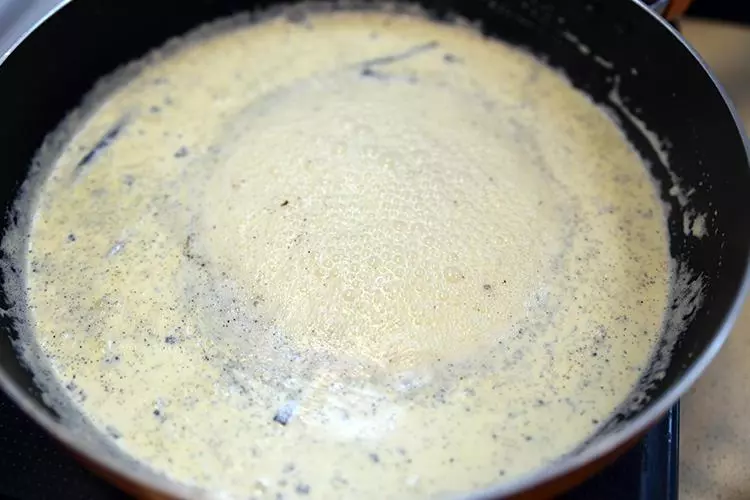
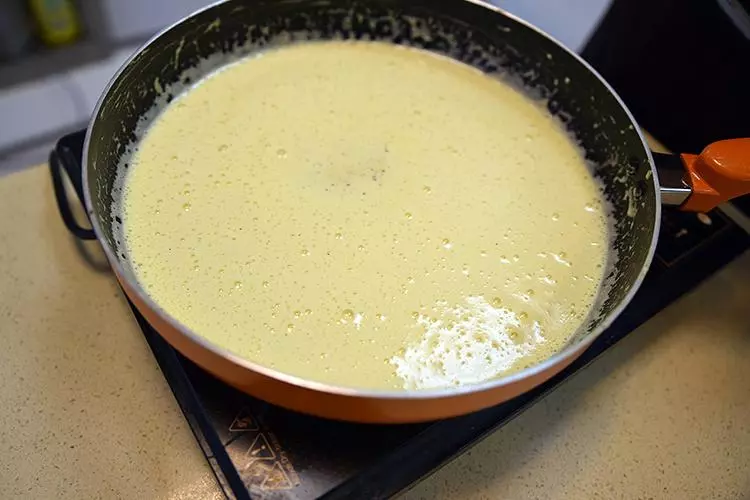
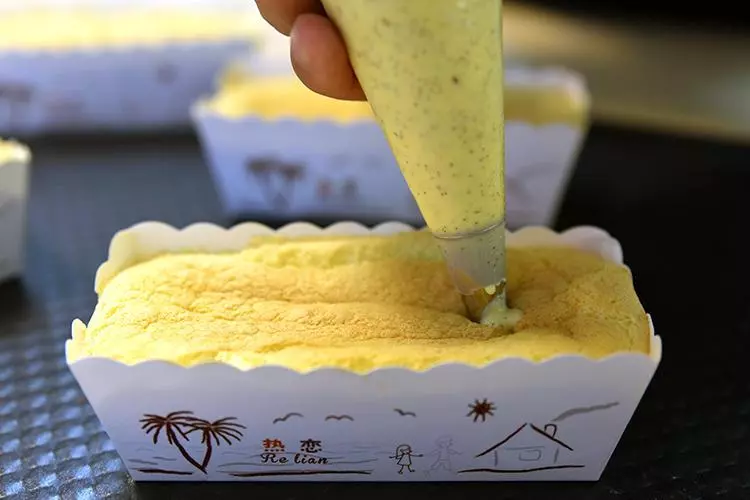
16將奶鍋繼續放到火上,中火慢煮,直到微微粘稠即可關火。
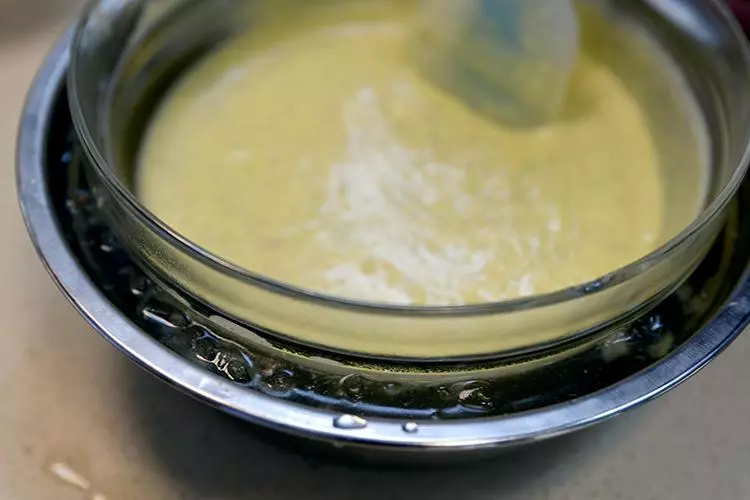
17倒入提前準備好的大碗里,底下坐上冰塊,使奶油醬迅速降溫。
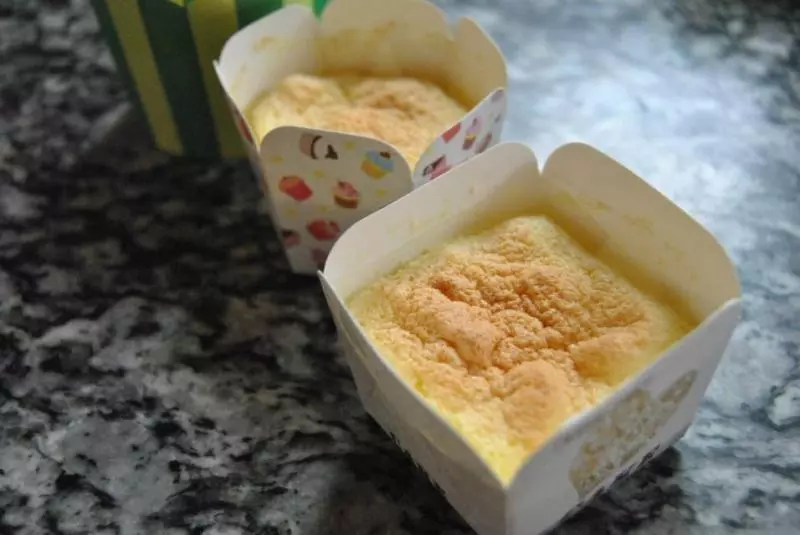
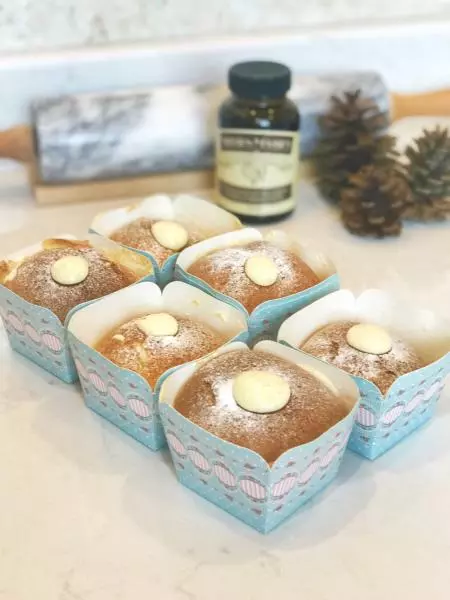
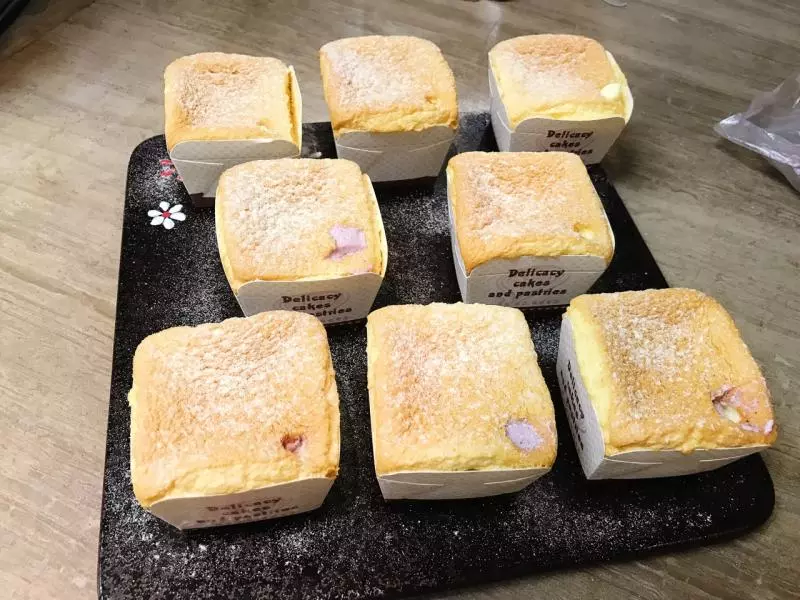
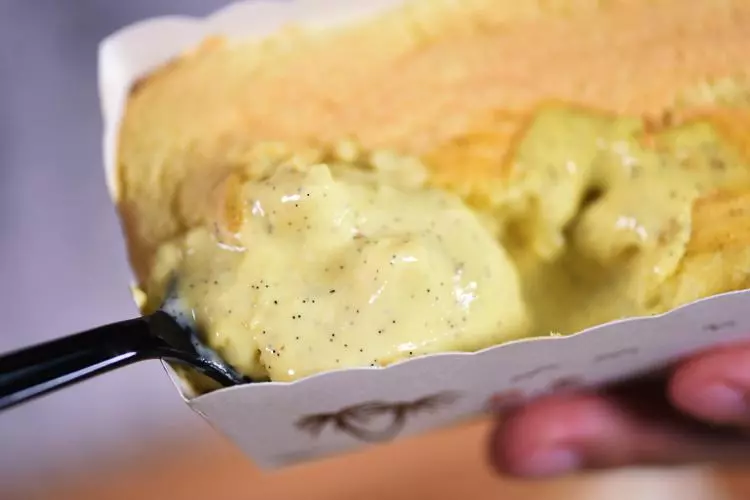
18最後將冷藏後的奶油醬裝入裝入裱花袋裡,擠入冷卻的戚風紙杯蛋糕里,美味的北海道香草戚風就完成啦!
19非常綿軟香甜
小技巧
1.海戚風的配方是比較濕潤的,蛋白打到濕性發泡就好了,出爐回縮是很正常的。 2.奶油醬原方里加的是100g的糖,個人覺得太甜了,可以減少到80g 3.奶油醬最後一步收汁一定要控制好火,可以中小火慢慢煮,直到奶油醬微微粘稠,刮刀划過會有凹槽,並且沒有馬上被填滿,既可。