原料
蛋黃: 5個, 植物油: 50克, 牛奶: 50克, 低筋麵粉: 65克, 蛋白: 5個, 細砂糖: 65克, 檸檬汁: 幾滴
步驟
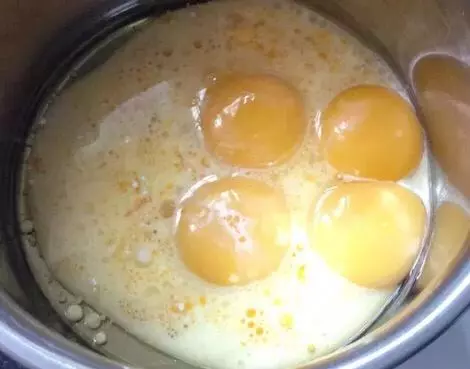
1牛奶.玉米油.蛋黃,混合攪打均勻
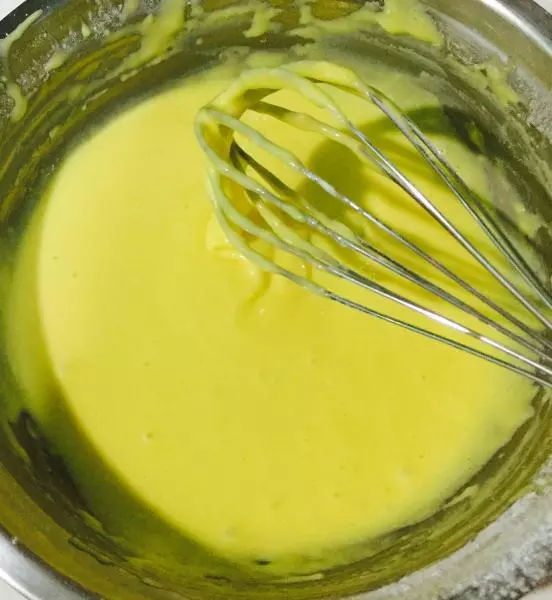
2加入過篩的低筋粉攪拌均勻,Z字攪勻至無顆粒
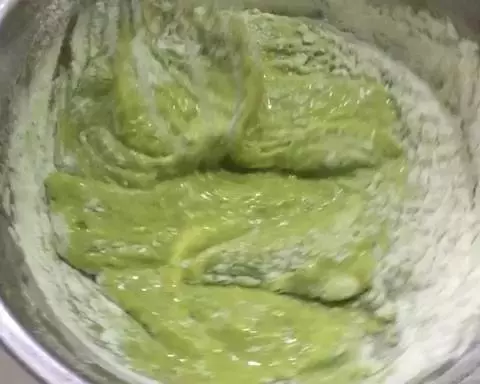
3補張加了抹茶粉的
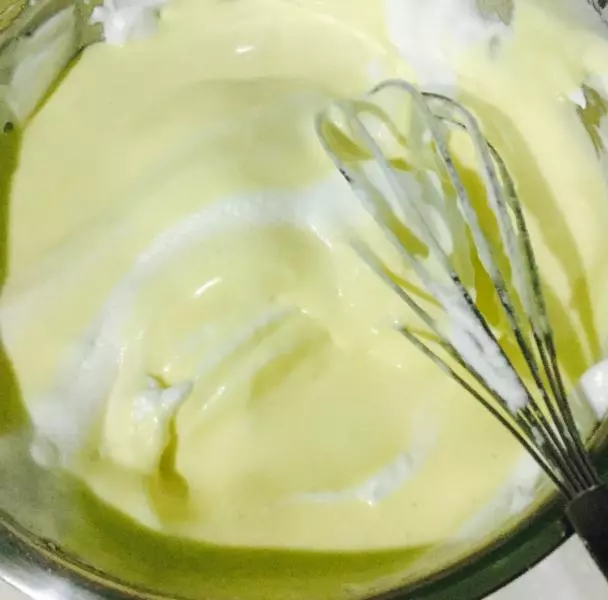
4蛋白加檸檬汁打發至大氣泡加入20g糖,繼續打出淡淡的紋路再加入20g糖
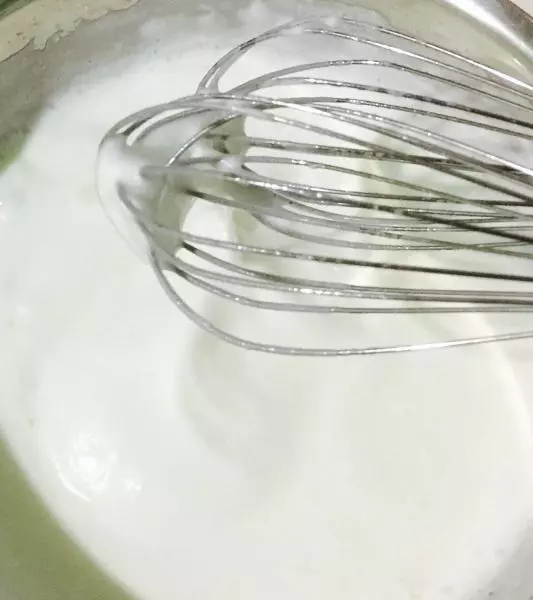
5在打幾下到能拉起還會流動時加入最後的糖繼續打
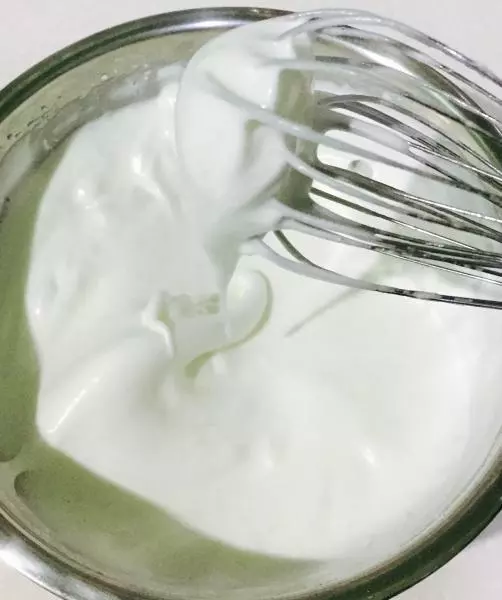
6打到能拉出小彎鉤到濕性發泡
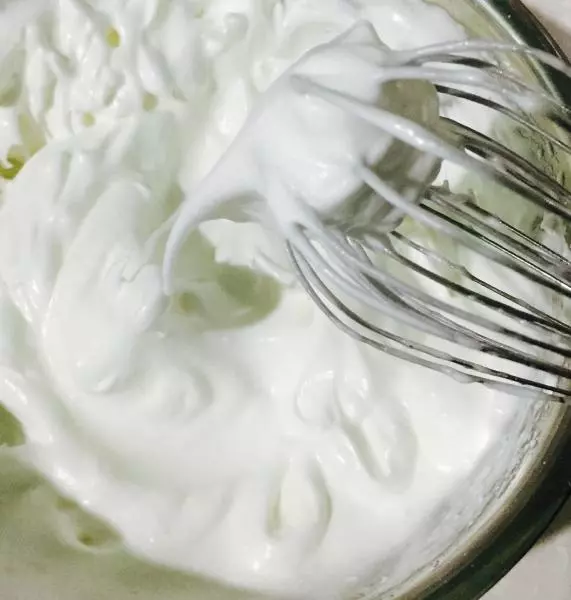
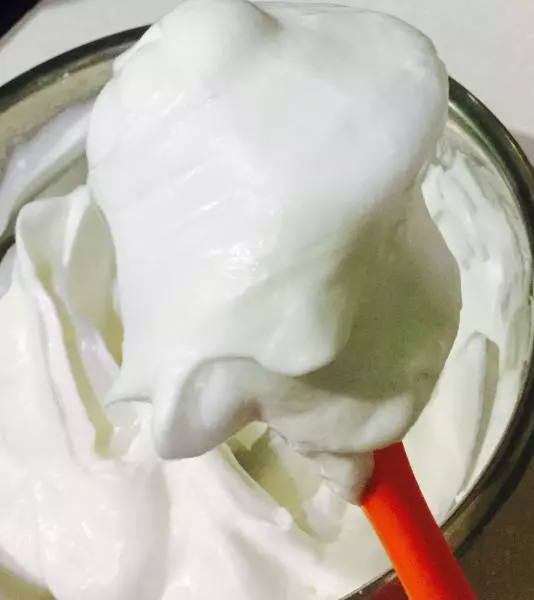
7打好的蛋白霜組織細膩,開始用高速打.最後幾分鐘低速打出來的蛋白霜就會比較細膩了
8三分之一蛋白霜加入蛋黃糊攪拌均勻,兩點鐘方向到八點鐘方向翻拌

9蛋黃糊均勻後倒進剩下的蛋白霜里
10補一張圖
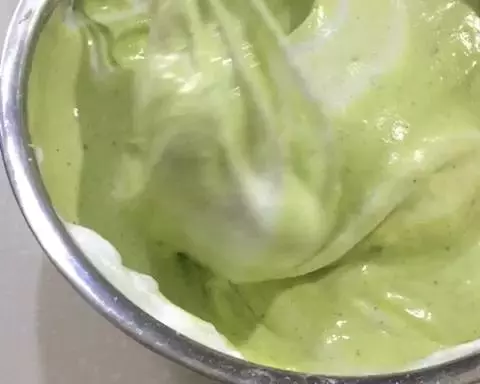
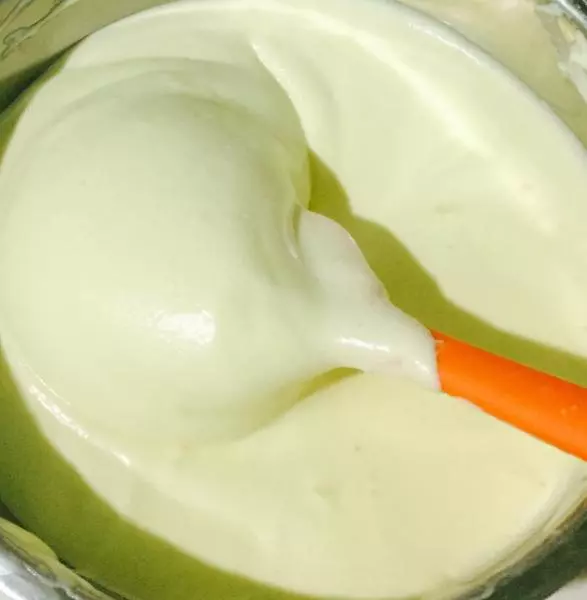
11翻拌均勻
12倒入金盤,金盤鋪油布,用刮刀輕輕刮平表面
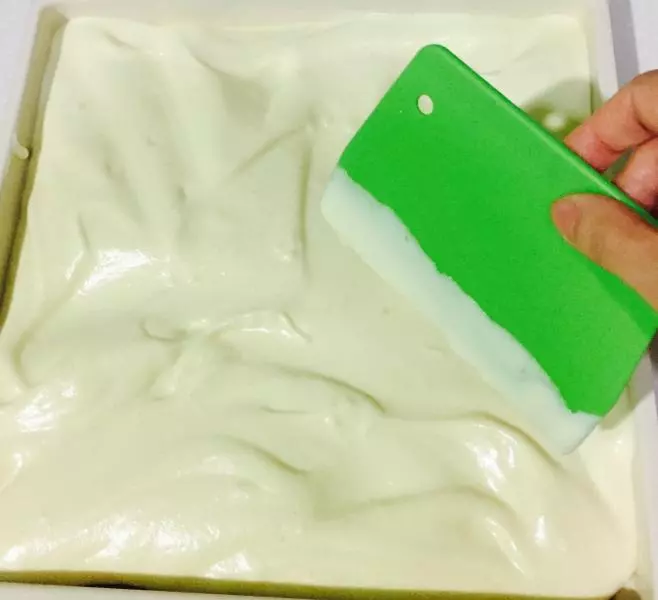
13貼邊上輕輕抹平
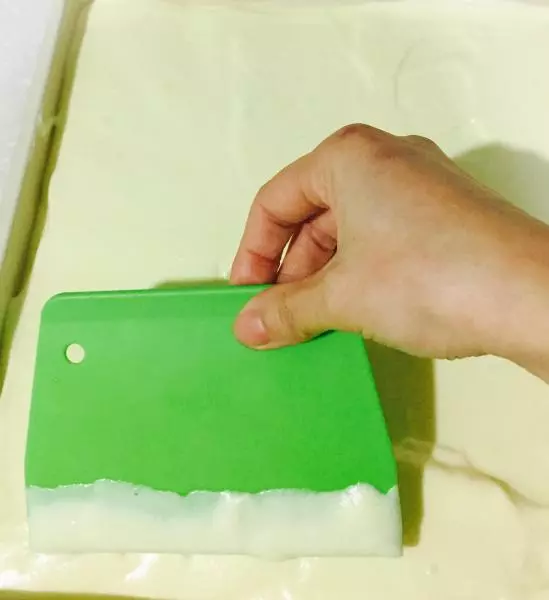
14不太均勻可以來回晃動幾下使表面更平整
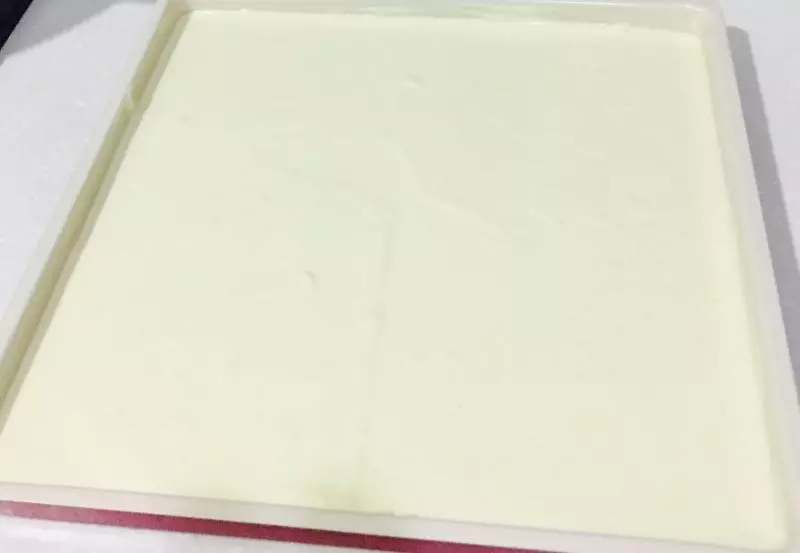
15輕震烤盤出大氣泡。烤箱預熱150中層35分鐘
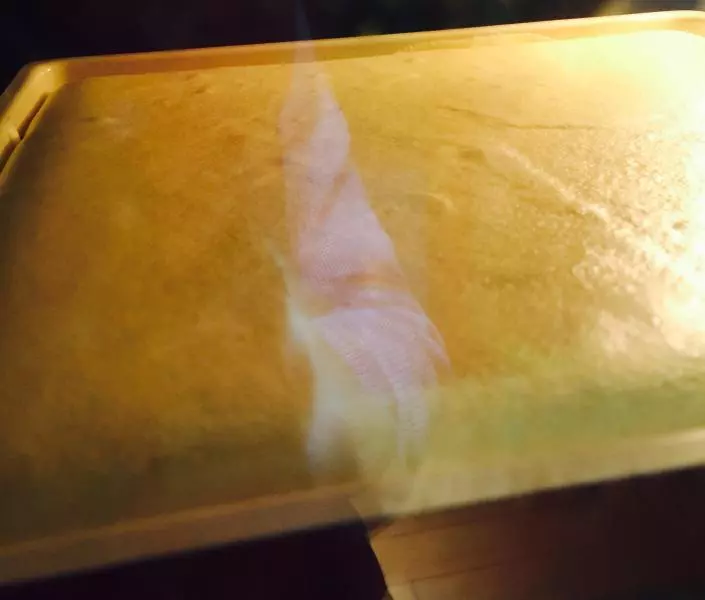
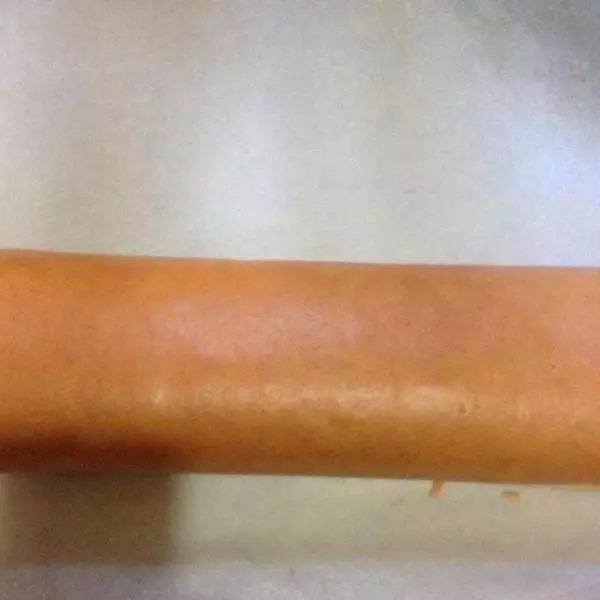
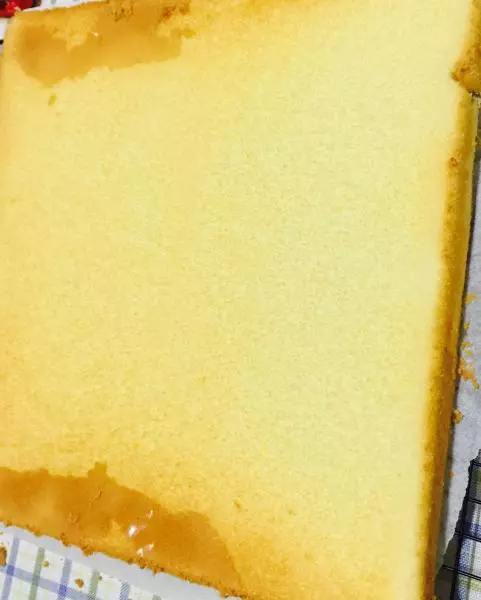
16出爐後用脫膜刀四周劃一下
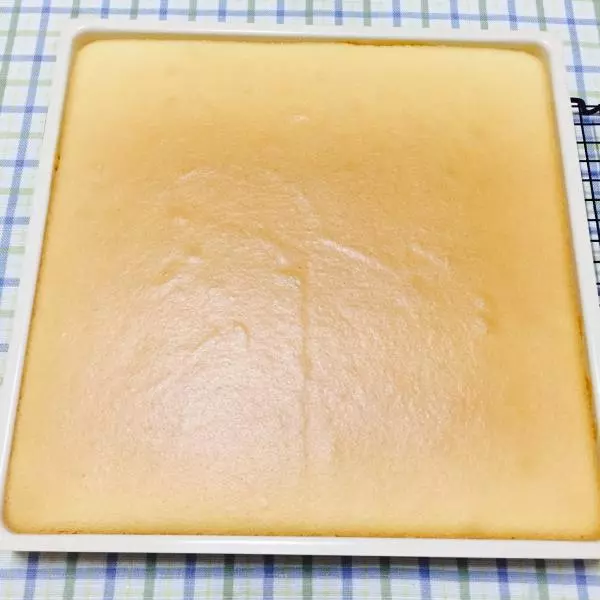
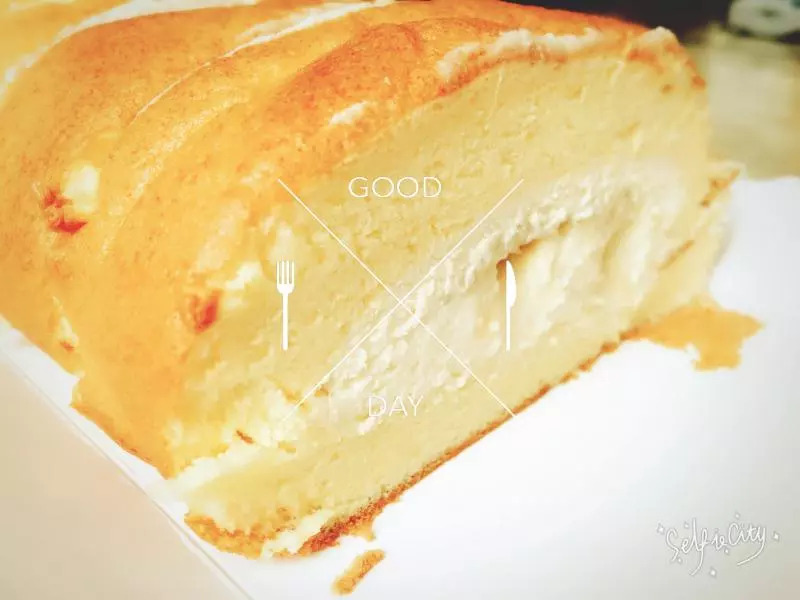
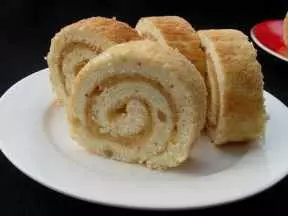
17做翻卷就倒扣,做正卷不用倒扣,拿出來晾涼上面蓋油紙防止水分蒸發
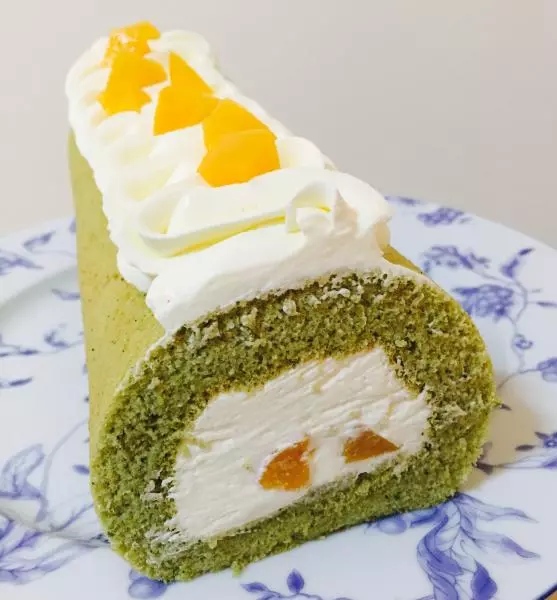
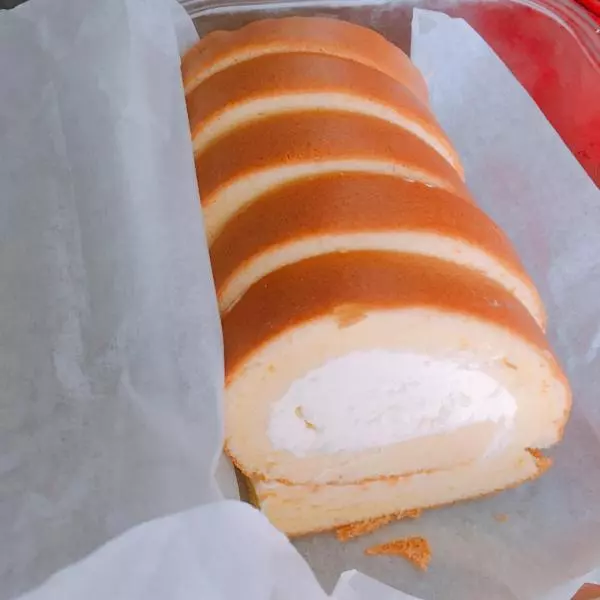
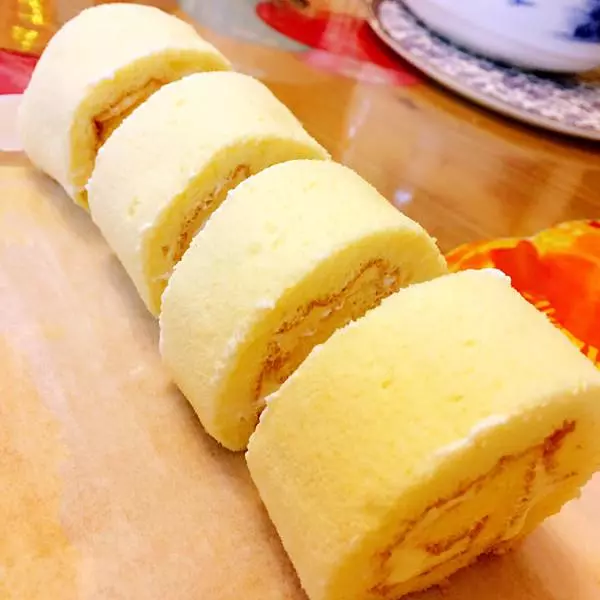
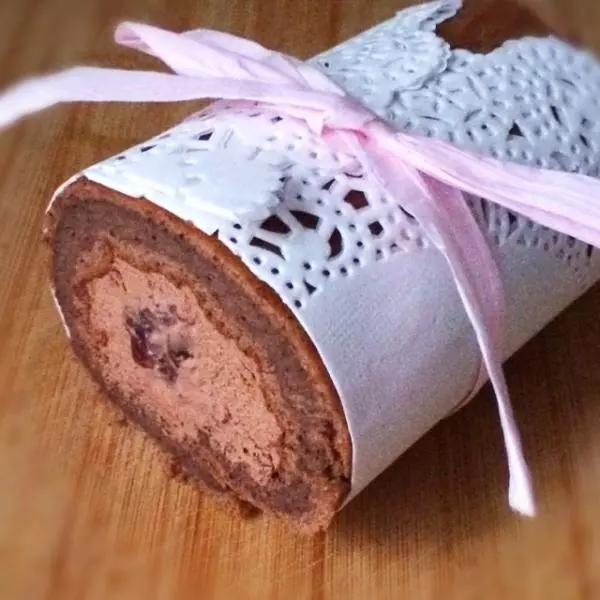
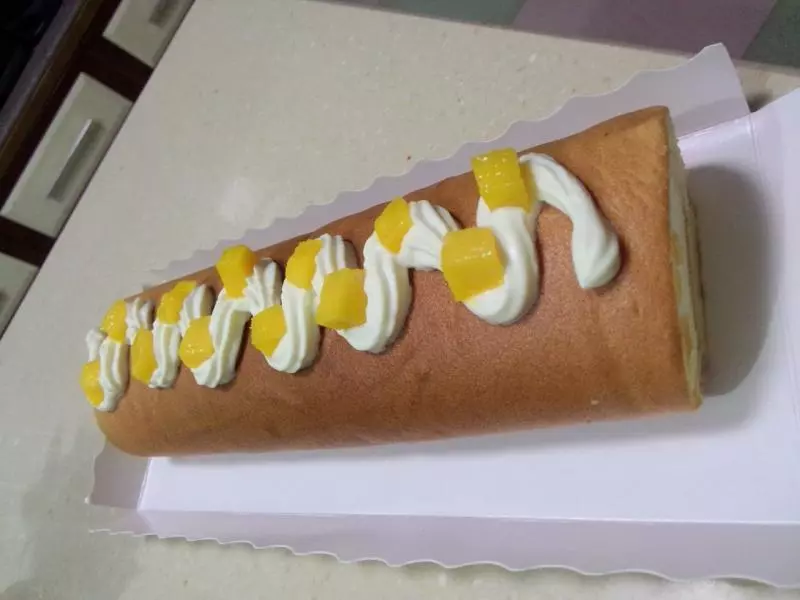
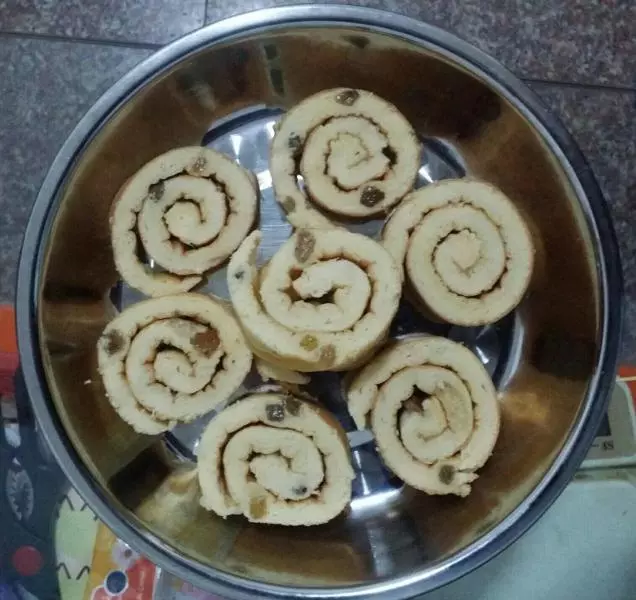
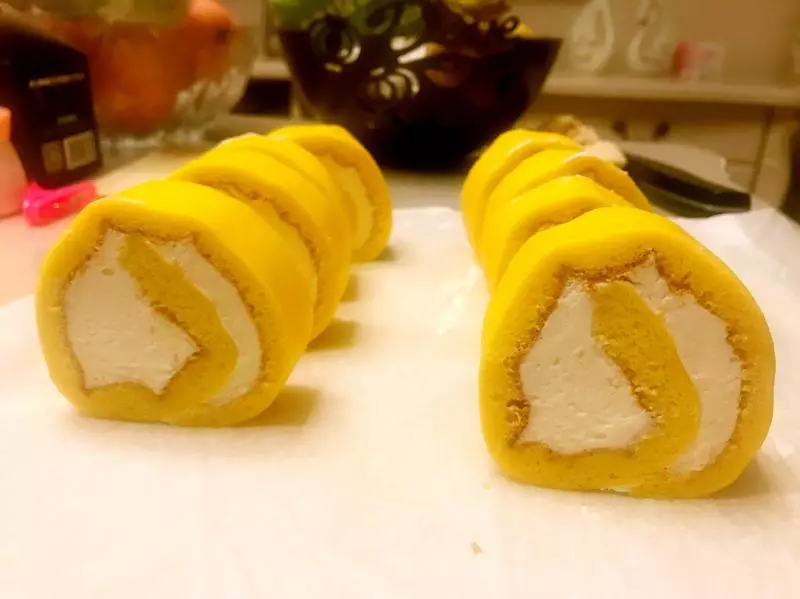
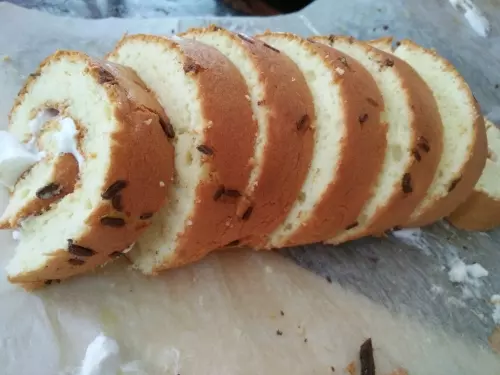
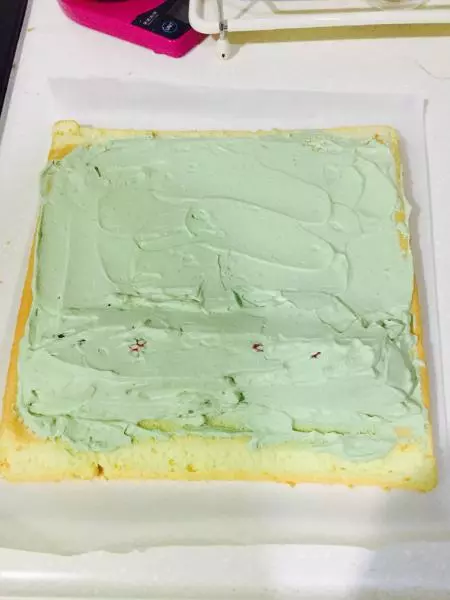
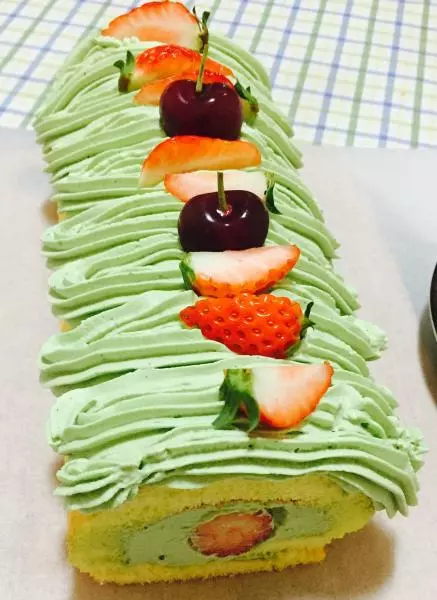
18抹上奶油,用的抹茶粉打得奶油,捲起來定型冷藏一下就可以吃了
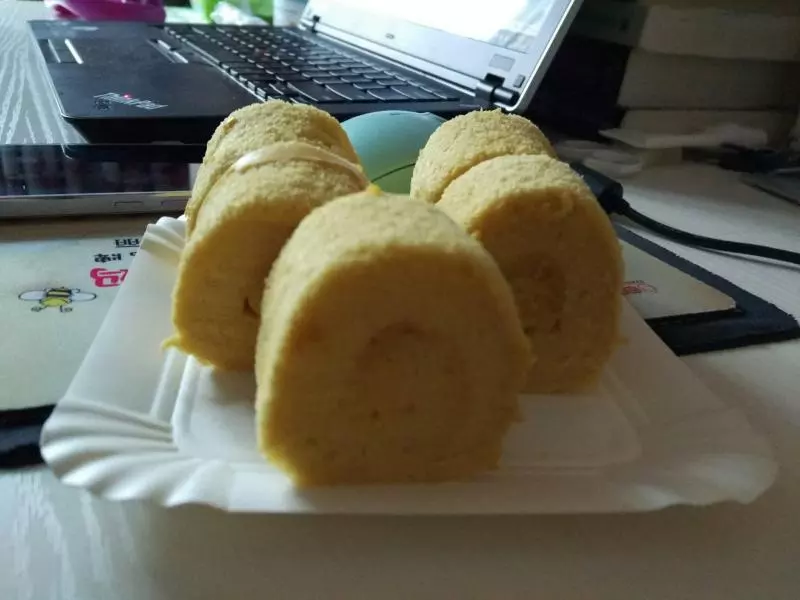
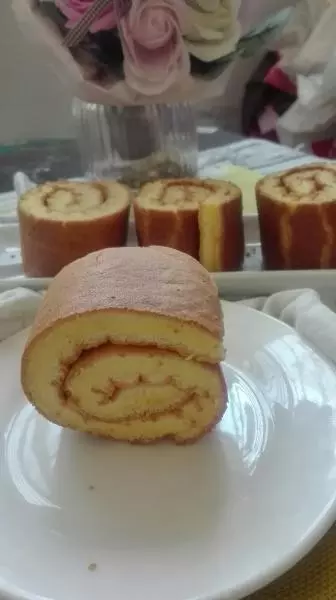
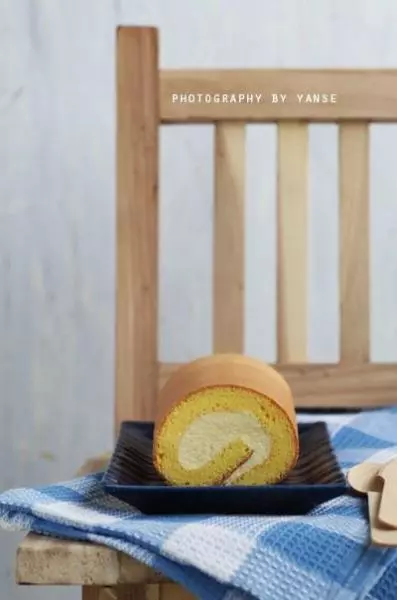
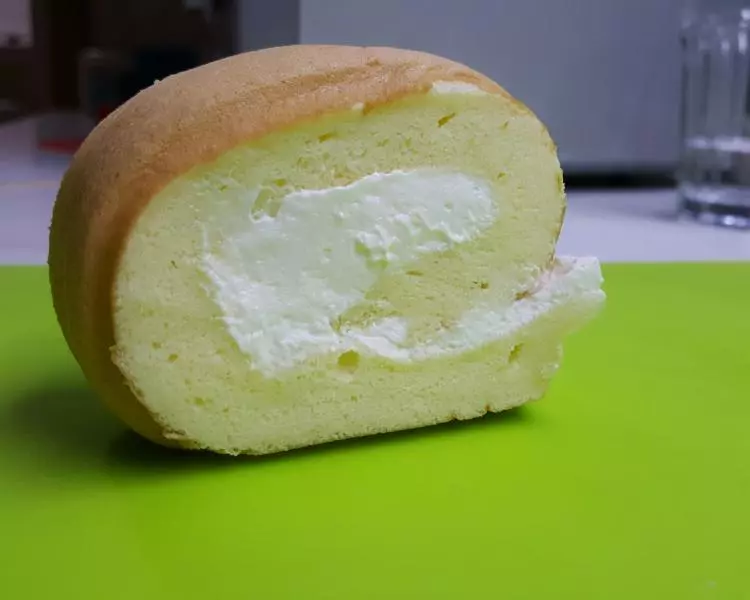
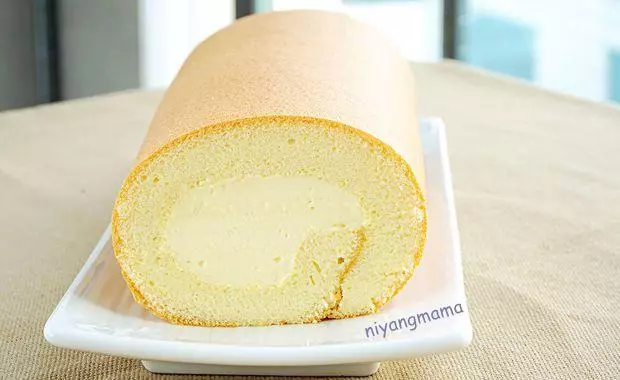
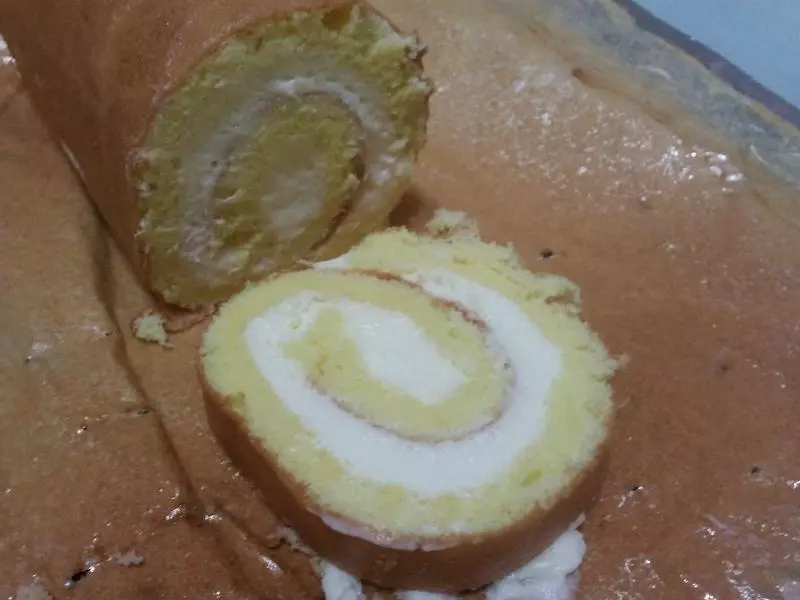
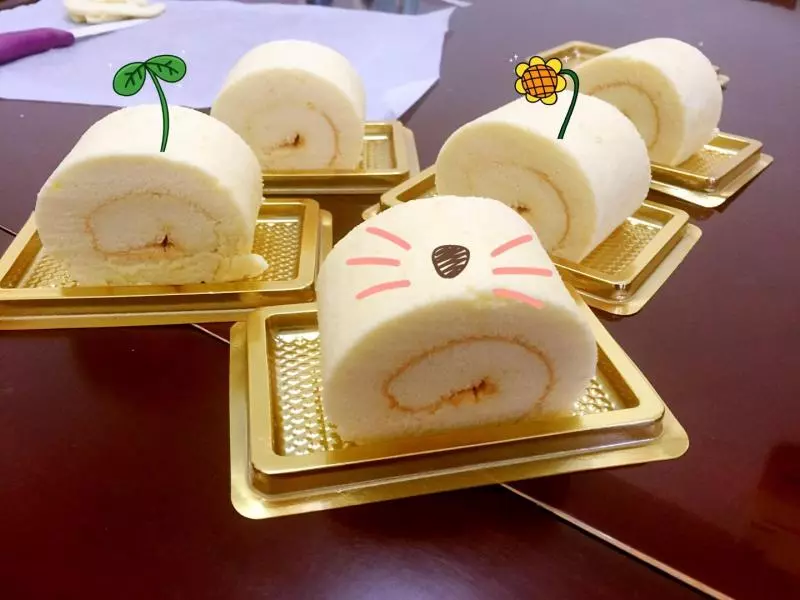
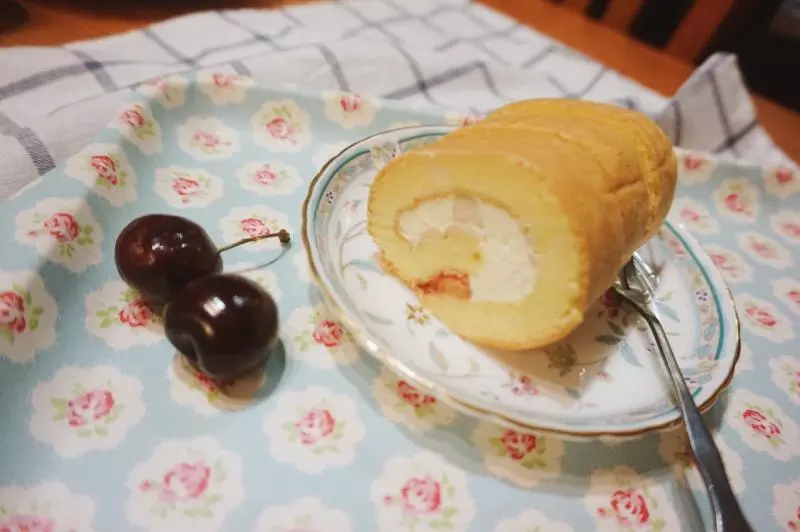
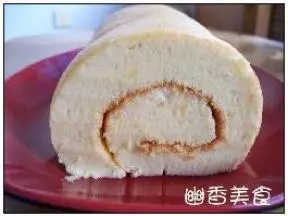
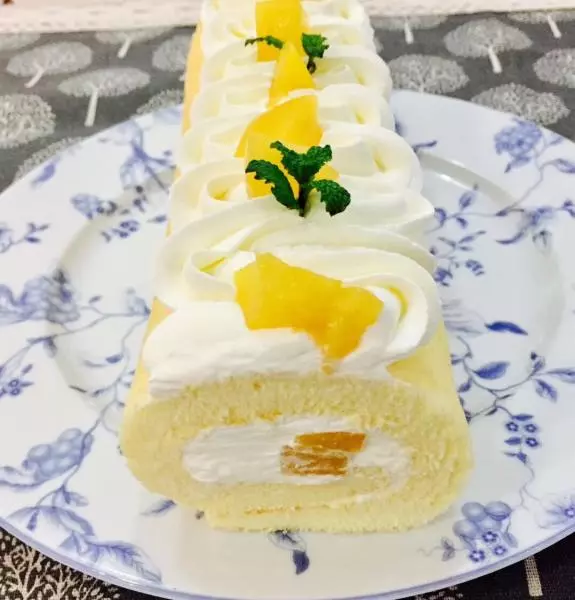
19這個是原味的
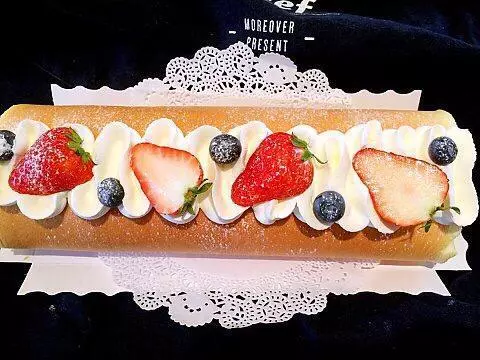
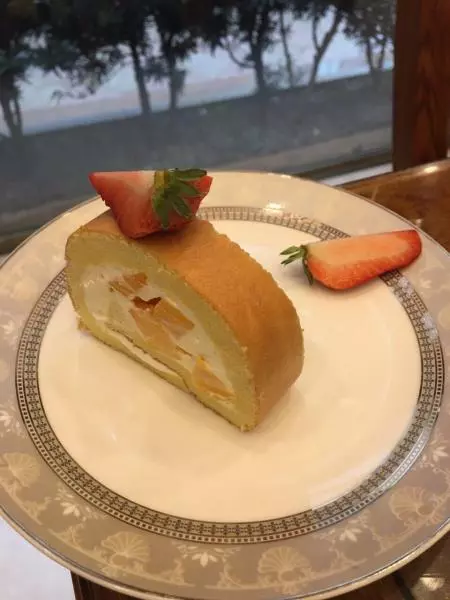
20中間可以放一排草莓
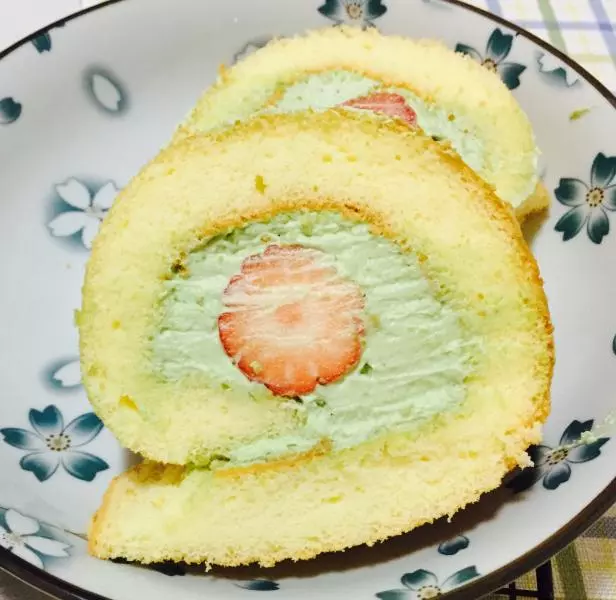
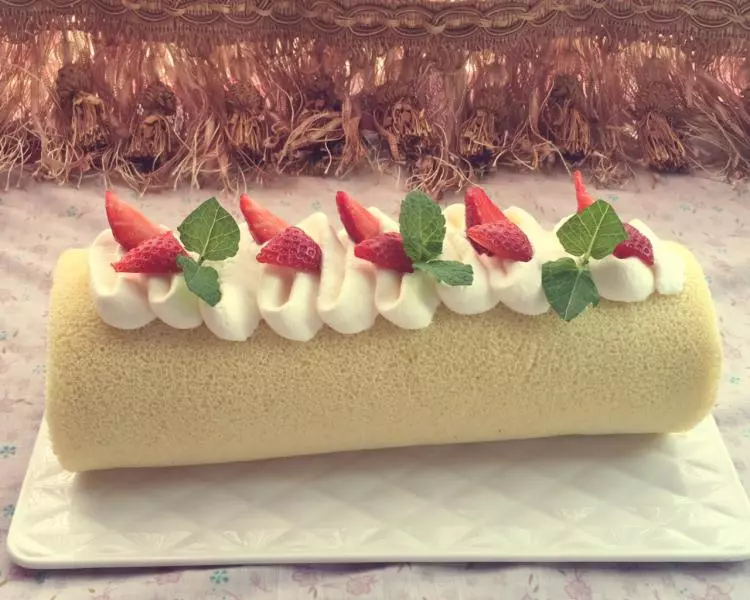
21開吃吧
22?