原料
彩繪圖案麵糊: , 黃油: 30, 玉米油: 10, 蛋清: 30, 糖粉: 30, 低粉: 30, 蛋糕糊: (參見小鈴鐺聖誕彩繪蛋糕卷, 奶油: 180, 水果: 適量, 糖: 15克
步驟
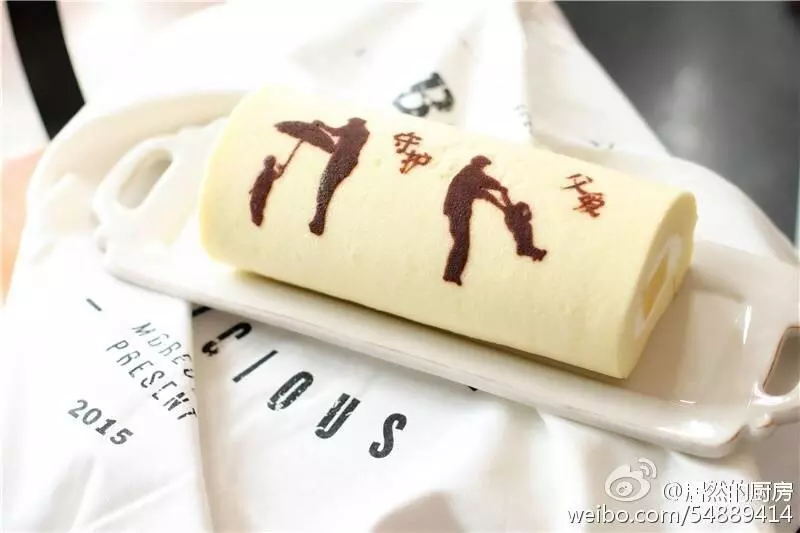
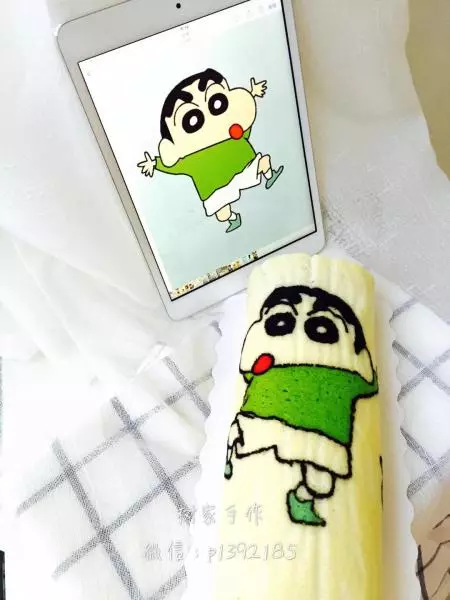
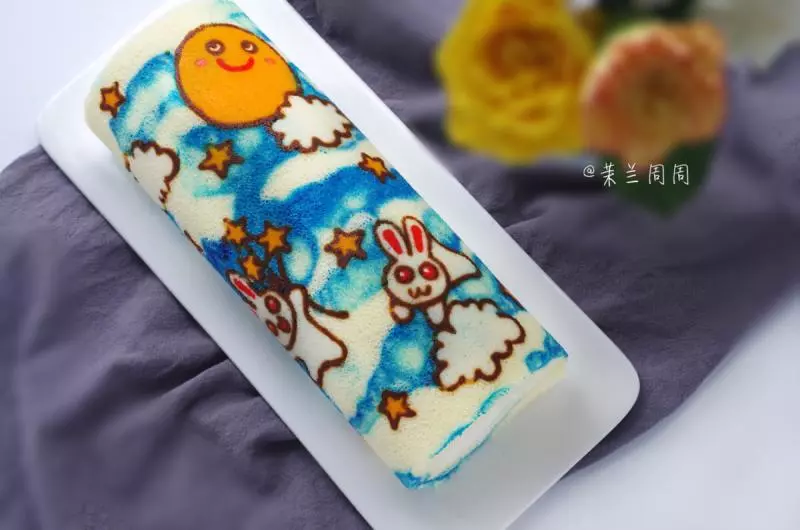
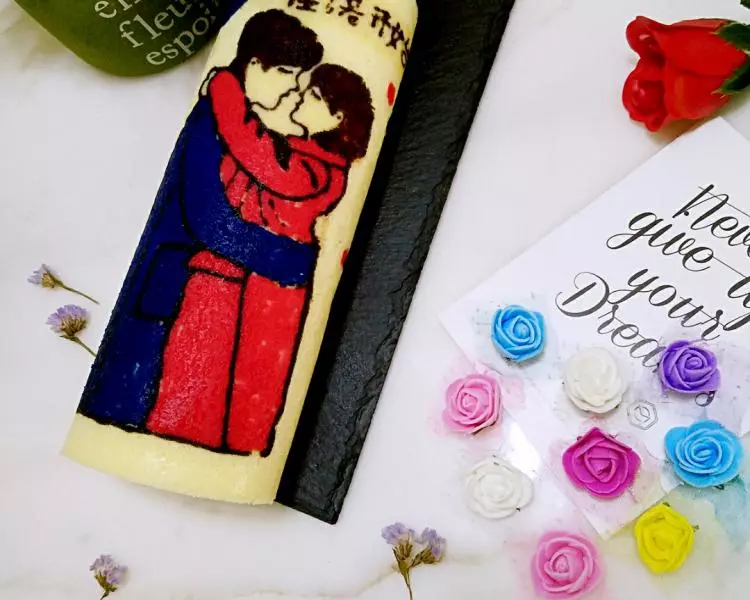
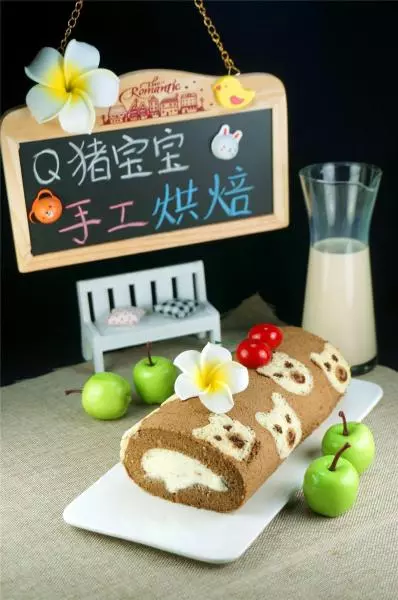
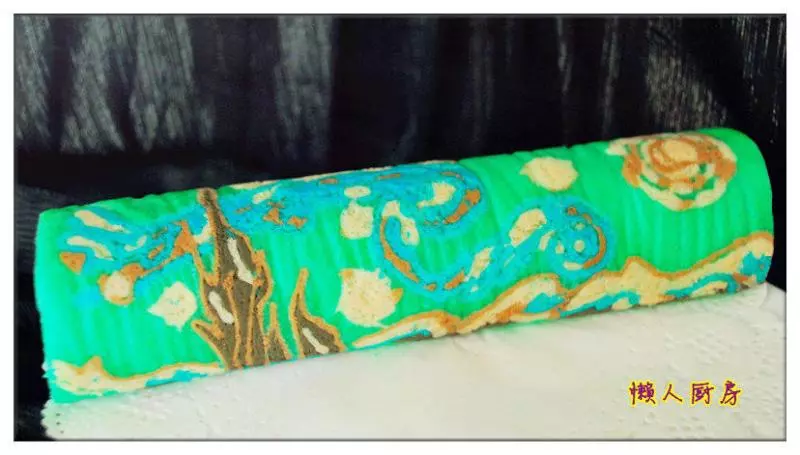
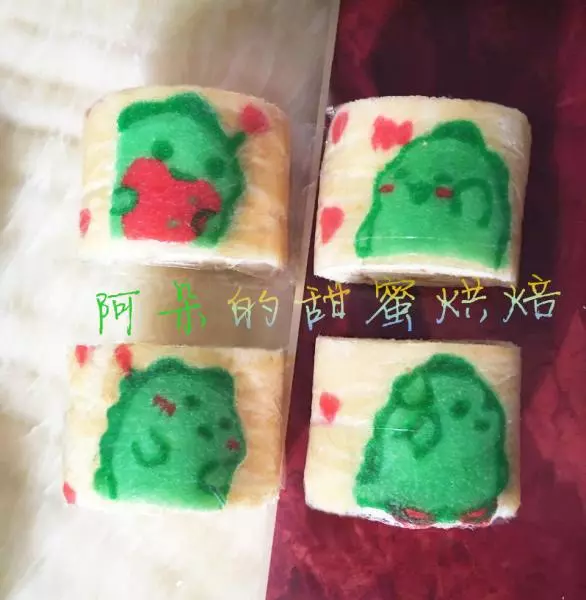
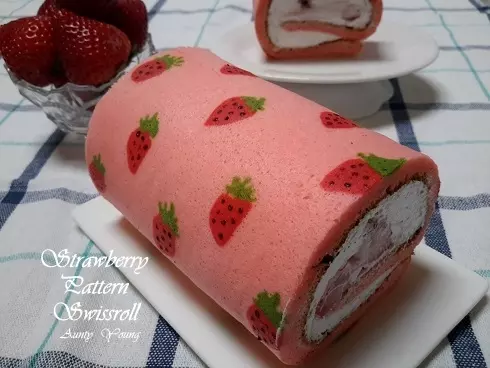
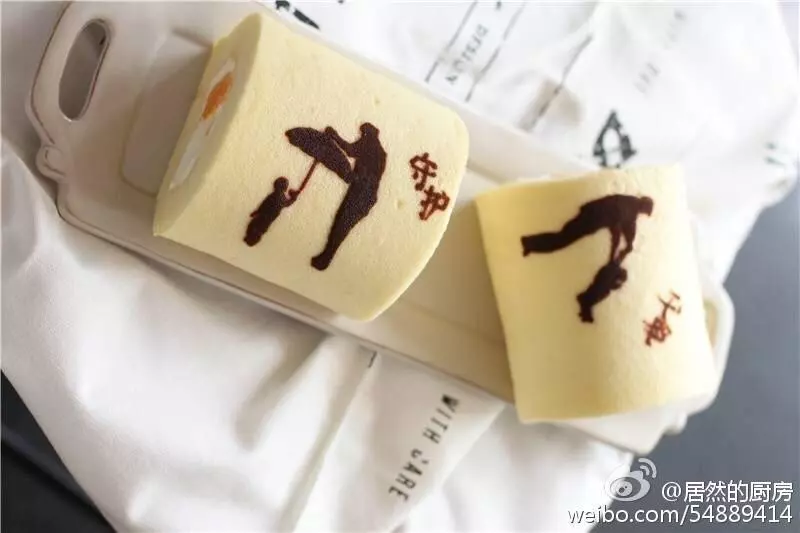
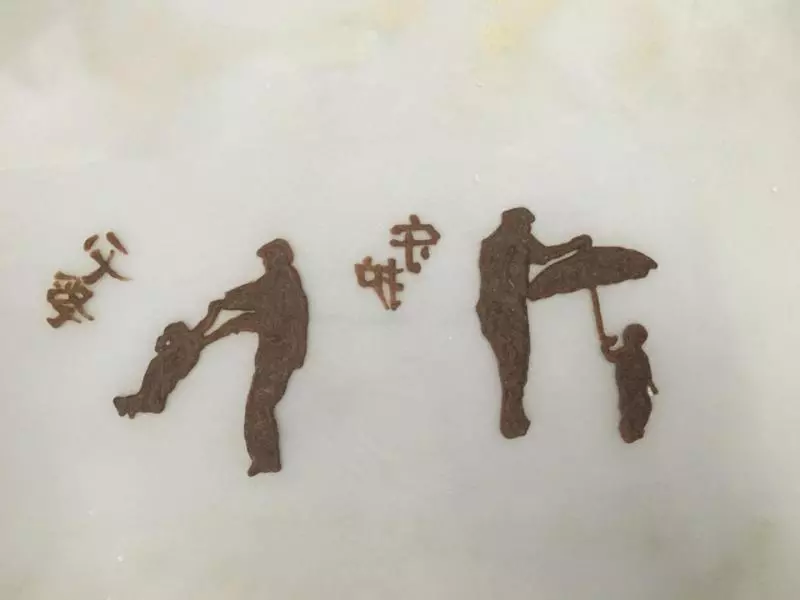
1找好圖案

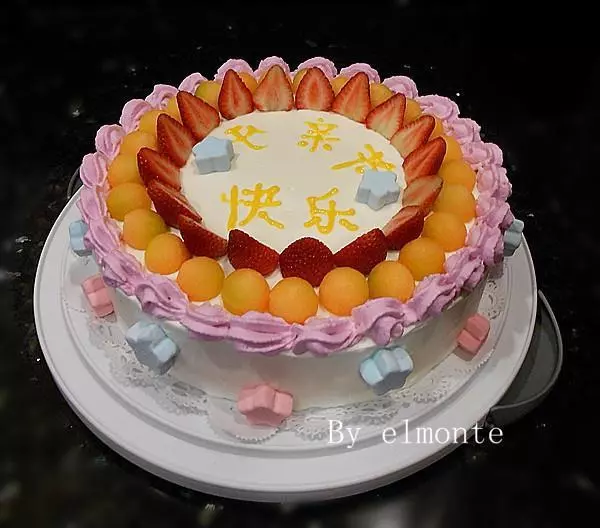
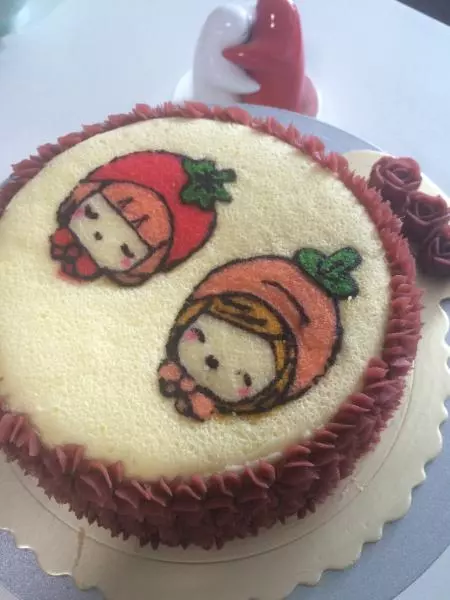
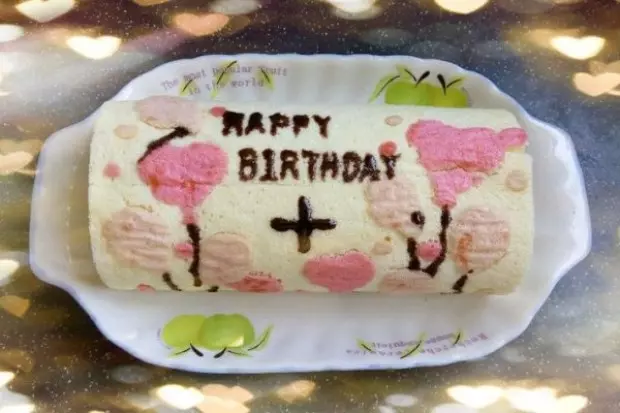
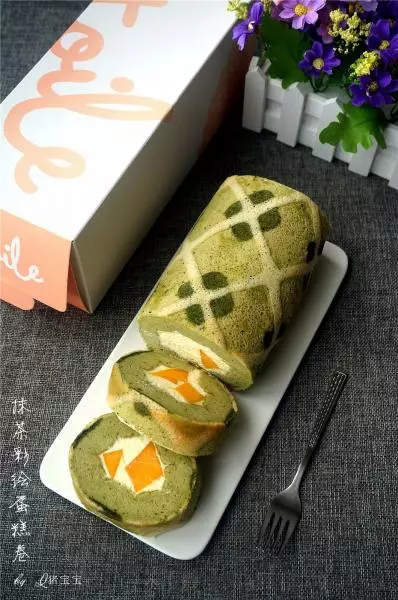
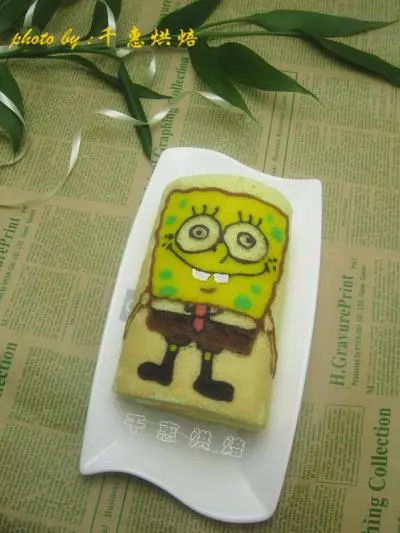
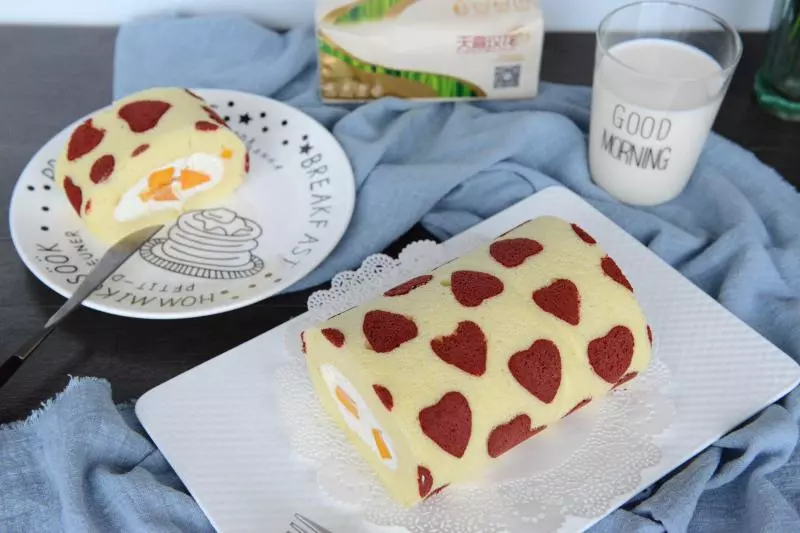
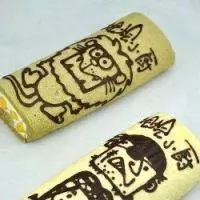
2圖案2

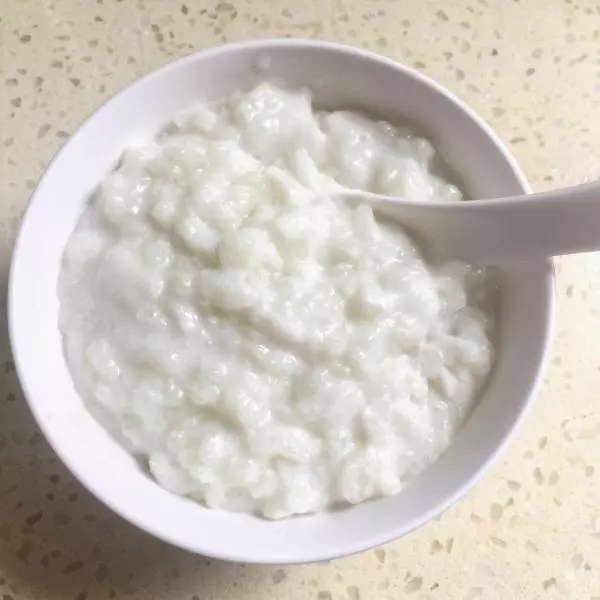
3彩繪麵糊做法:黃油軟化,加入玉米油拌勻,加入糖粉拌勻,加入蛋清拌勻,加入低粉拌勻,調色即可 在油紙上畫出圖案
4蛋黃糊做好(參見小鈴鐺彩繪蛋糕卷做法和配方)

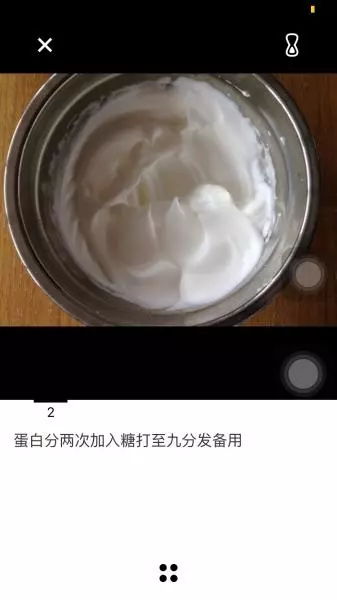
5蛋白霜打好(參見小鈴鐺彩繪蛋糕卷做法和配方)
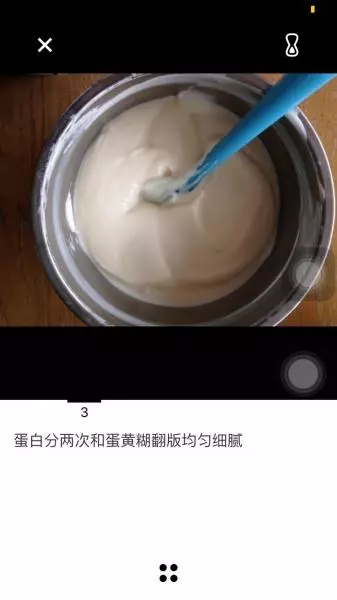
6混合蛋黃糊和蛋白霜(參見小鈴鐺彩繪蛋糕卷做法和配方)
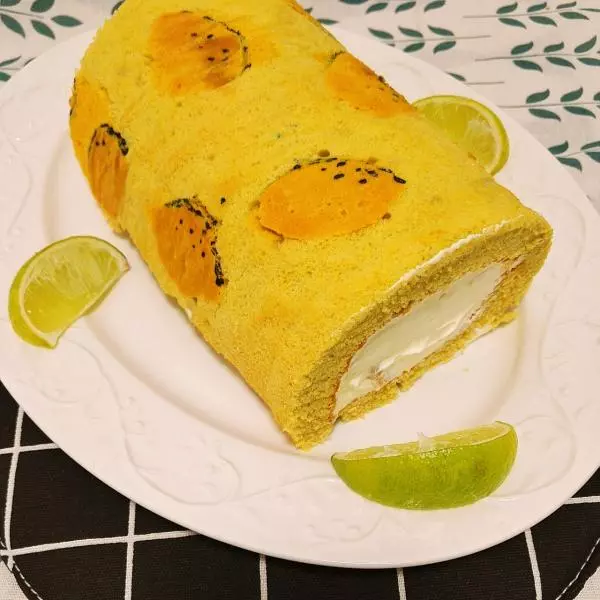
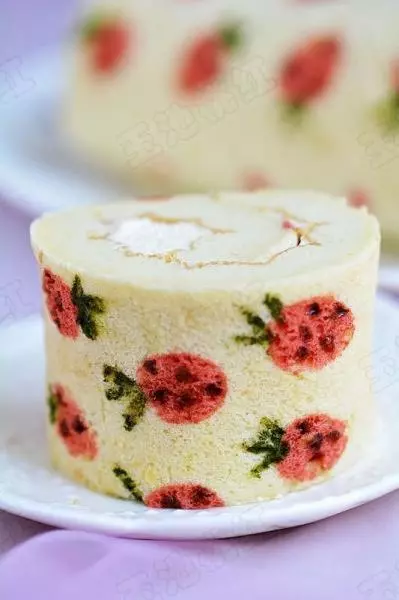
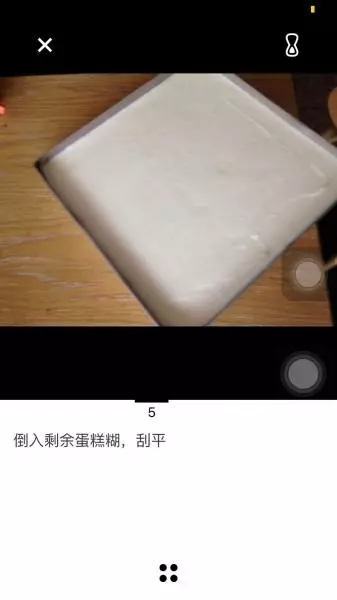
7倒進畫好圖案的蛋糕盤中
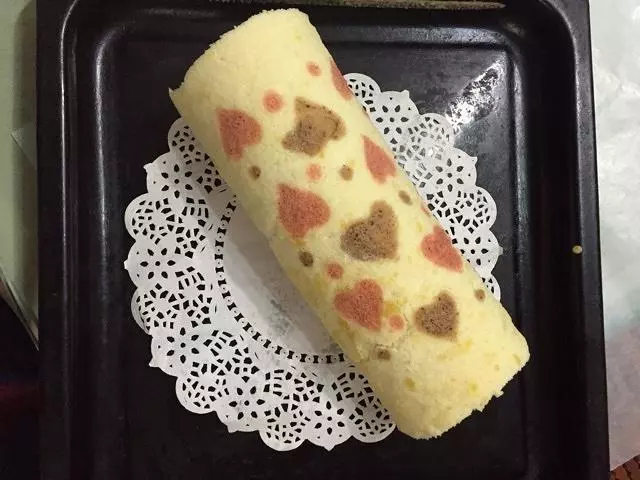
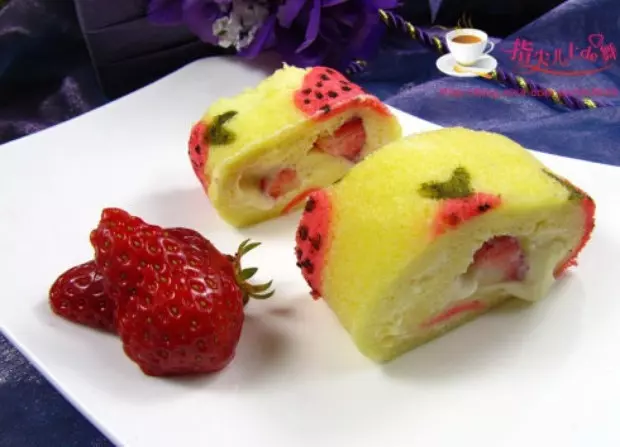
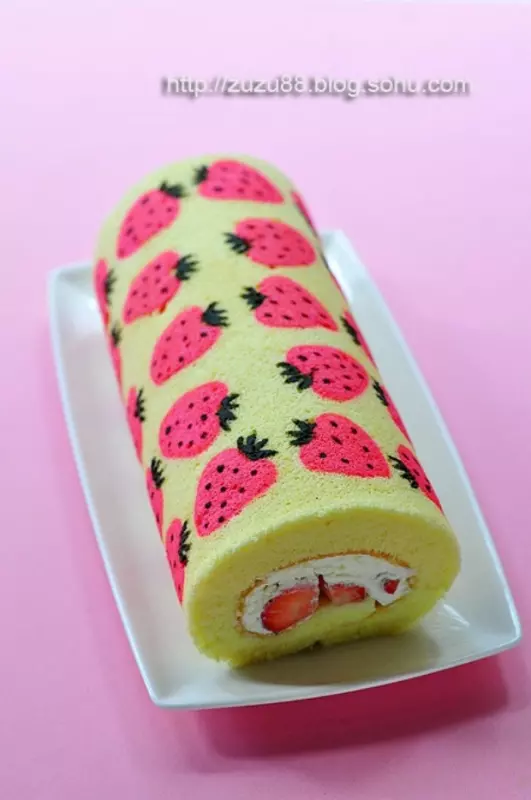
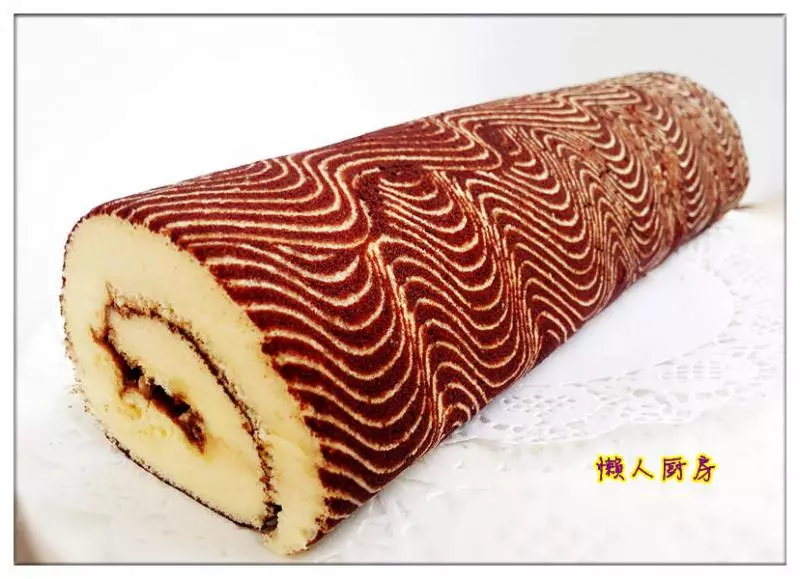
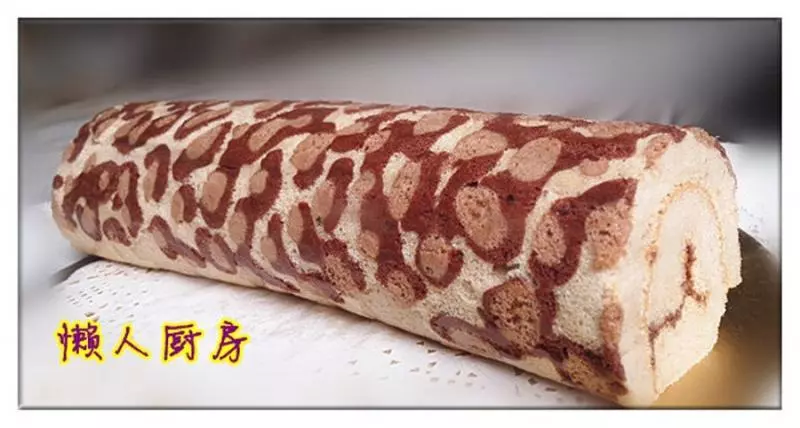
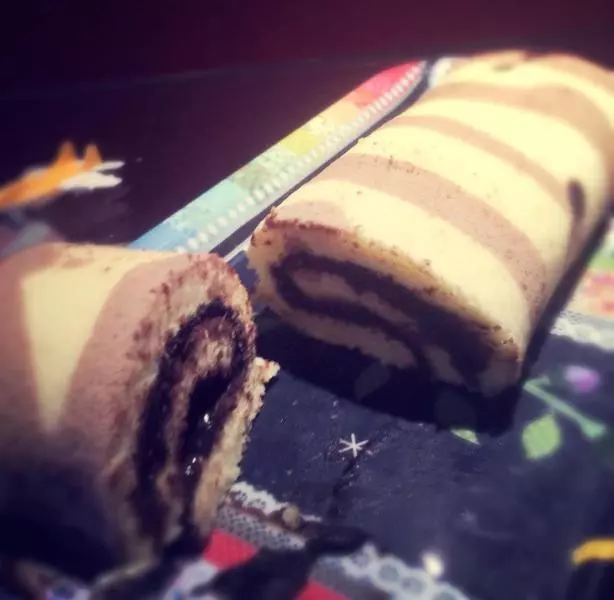
8170度18分鐘烘烤完成,打發奶油,加水果捲起