原料
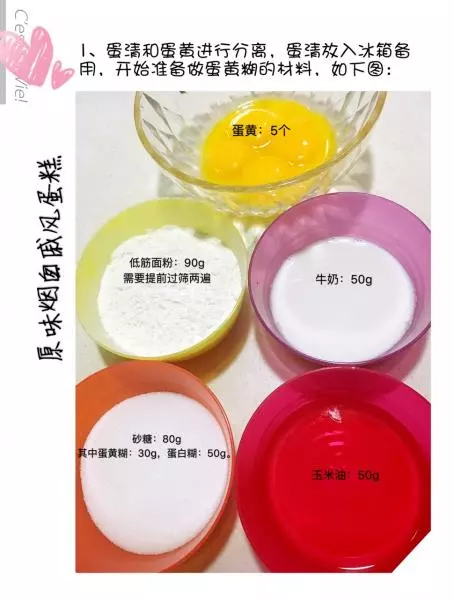
雞蛋: 5隻, 玉米油: 50g, 牛奶: 50g, 細砂糖: 80g(其中蛋黃糊:30個;蛋白糊:50個), 低筋麵粉: 90g(提前過篩兩遍)
步驟
11、蛋清和蛋黃進行分離,蛋清先放冰箱備用,開始準備做蛋黃糊的材料,如圖:
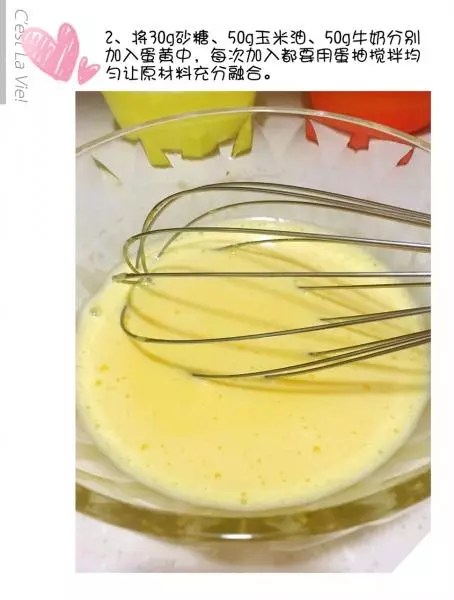
22、將30g砂糖、50g玉米油、50g牛奶分別加入蛋黃中,每次加入都要用蛋抽攪拌均勻,讓原材料充分融合。
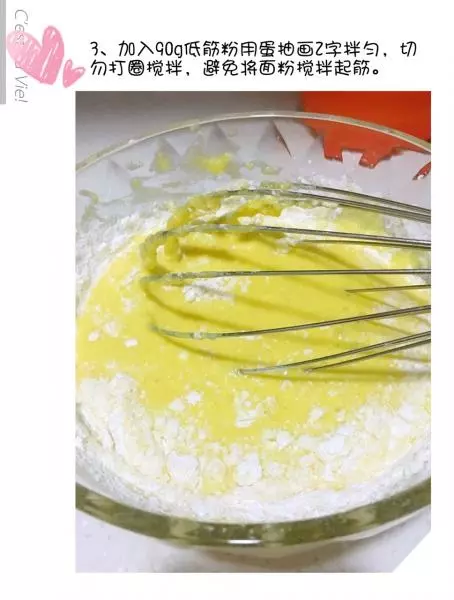
33、加入90g低筋麵粉用蛋抽畫Z字攪拌均勻,切勿打圈攪拌,避免將麵粉攪拌起筋。
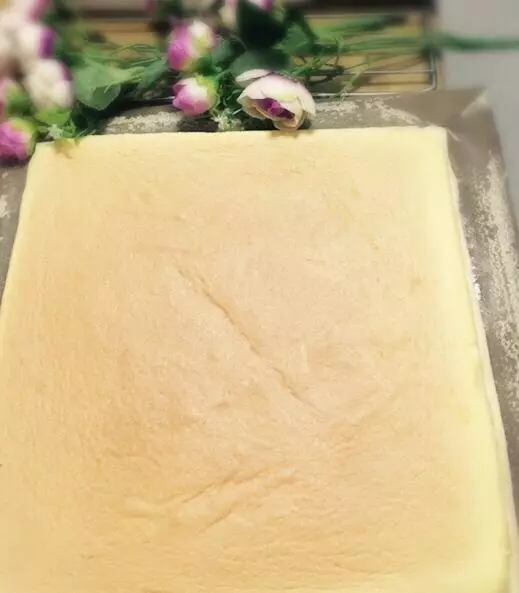
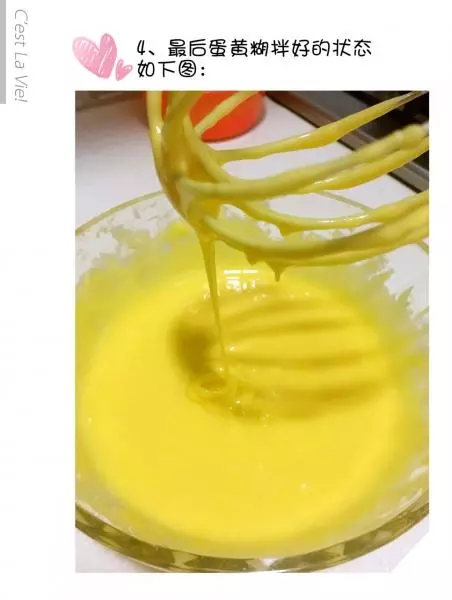
44、最後蛋黃糊拌好的狀態如圖:
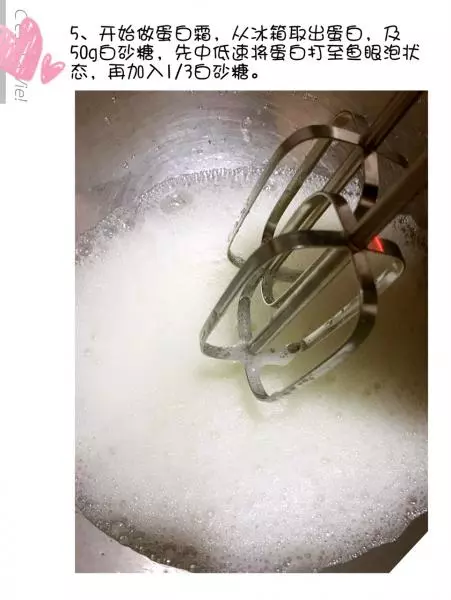
55、開始做蛋白霜,從冰箱取出蛋白及50g細砂糖,先用電動打蛋器中低速將蛋白打至魚眼泡狀,再加入1/3細砂糖。
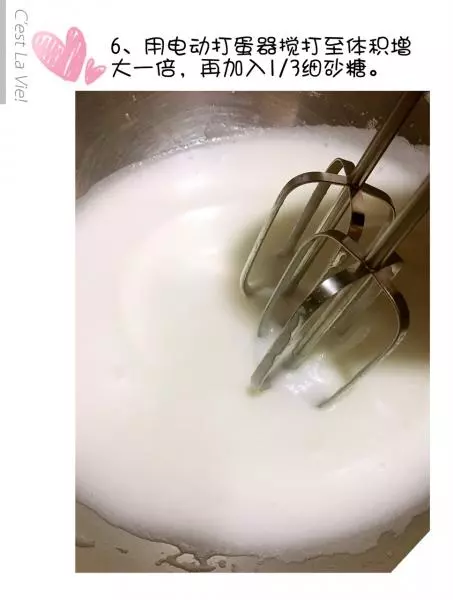
66、用電動打蛋器繼續將蛋白打至體積增大一倍,繼續加入1/3細砂糖。
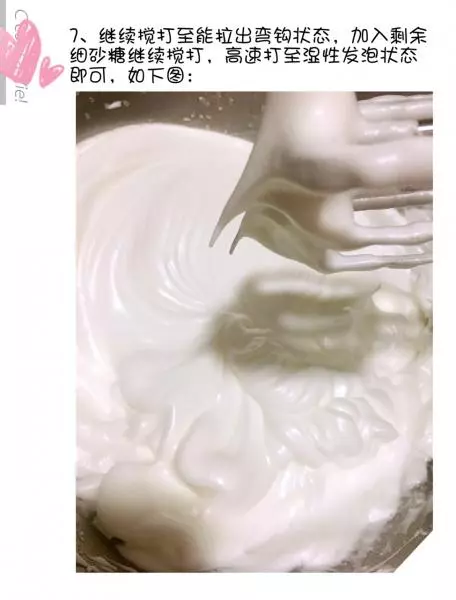
77、繼續攪打至能拉出彎鉤狀態,加入剩餘細砂糖繼續攪打,高速打至濕性發泡狀態即可,如圖:
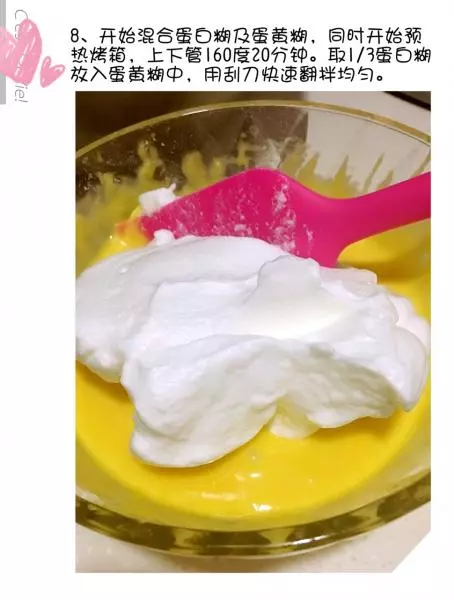
88、開始混合蛋白霜及蛋黃糊,同時開始預熱烤箱,上下管160度20分鐘。取1/3蛋白糊放入蛋黃糊中,用刮刀快速翻拌均勻。
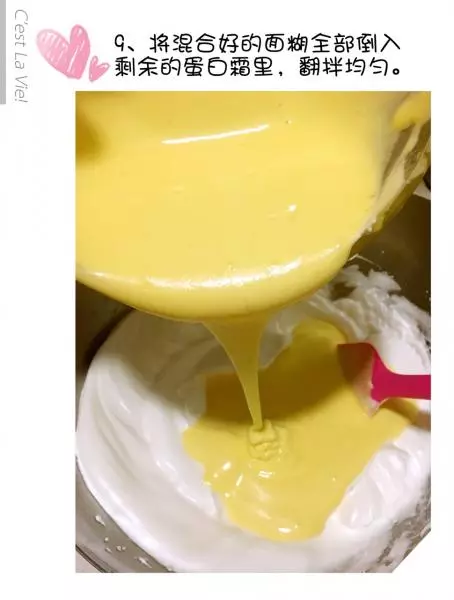
99、將混合好後的麵糊全部倒入剩餘的蛋白霜里,翻拌均勻。
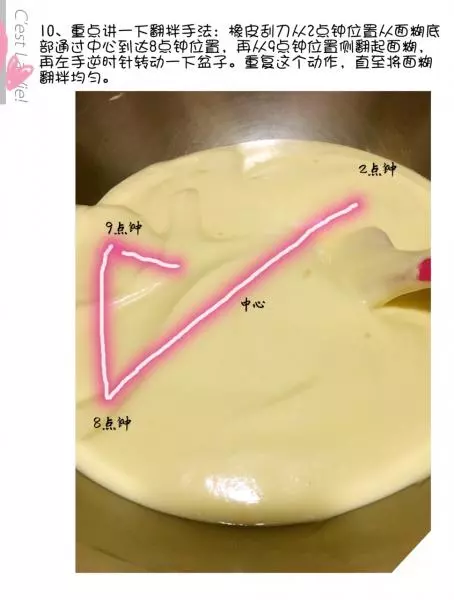
1010、重點講一下翻拌手法:橡皮刮刀從2點鐘位置從麵糊底部通過中心到達8點鐘位置,再從9點鐘位置側翻起麵糊,再左手逆時針轉動一下盆子。重複這個動作,直至將麵糊翻拌均勻。
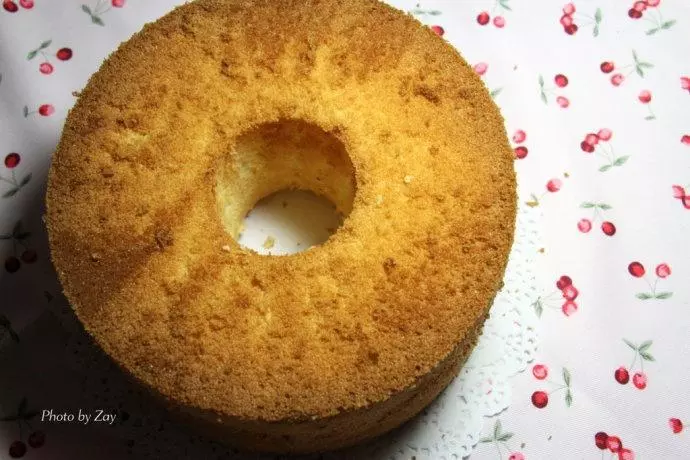
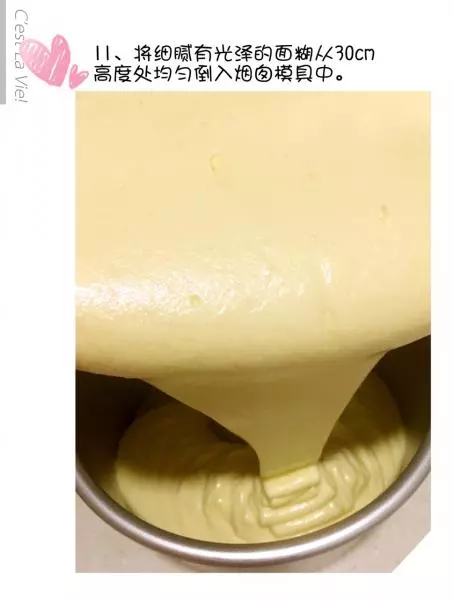
1111、將細膩有光澤的麵糊從30cm高度處均勻倒入煙囪模具中。
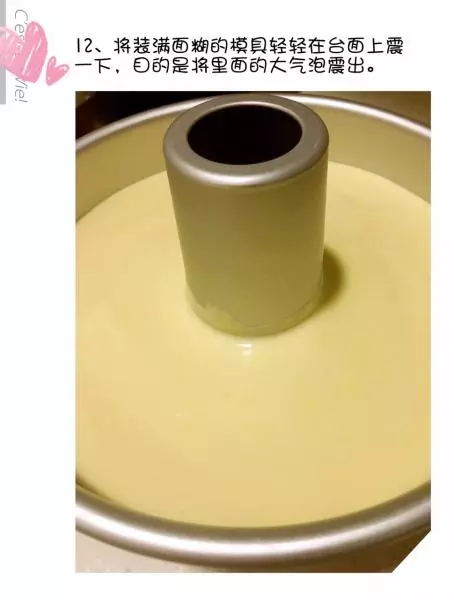
1212、將裝滿麵糊的模具輕輕在檯面上震一下,目的是將裡面的大氣泡震出。
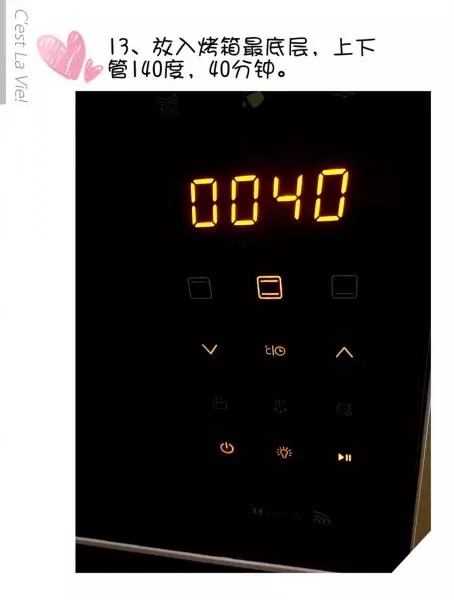
1313、放入烤箱最底層,上下管140度40分鐘。
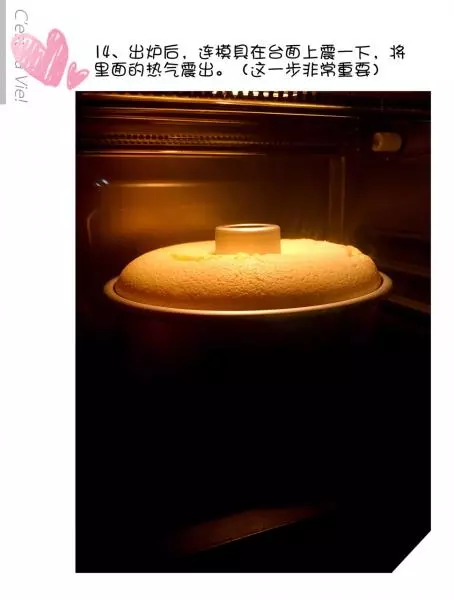
1414、出爐後,連模具在檯面上震一下,將裡面的熱氣震出。(這一步非常重要)
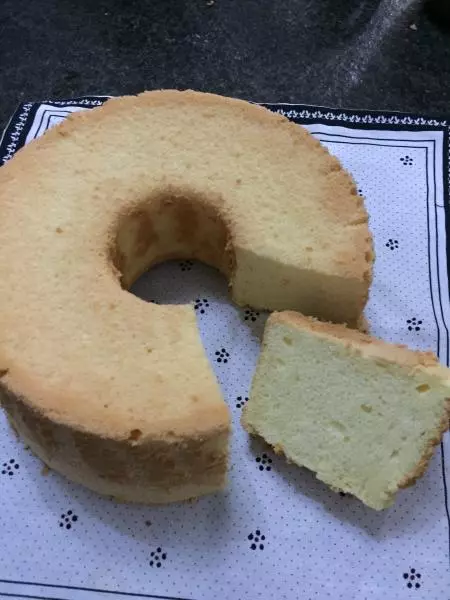
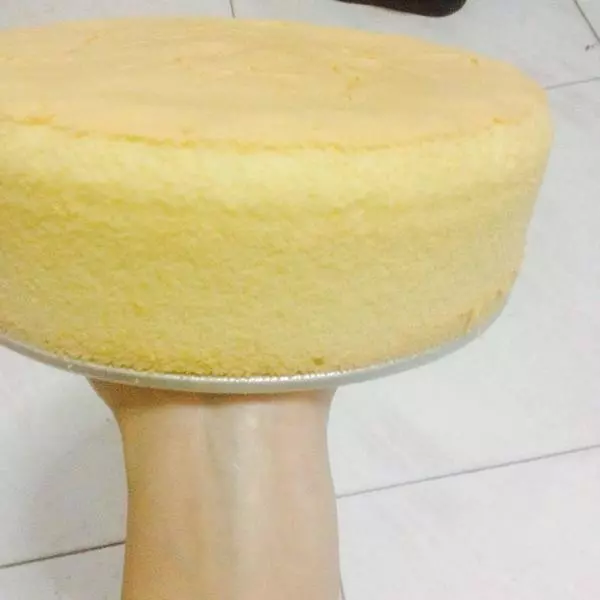
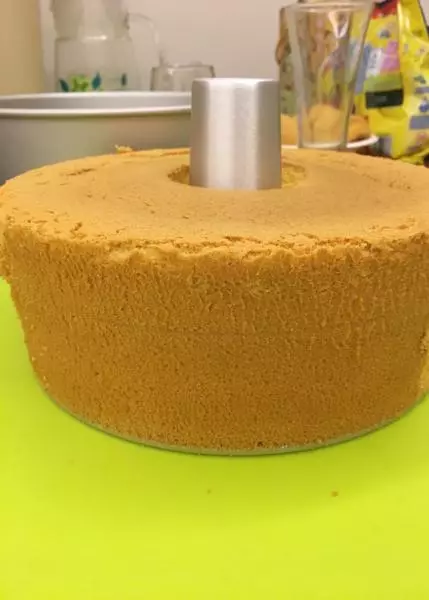
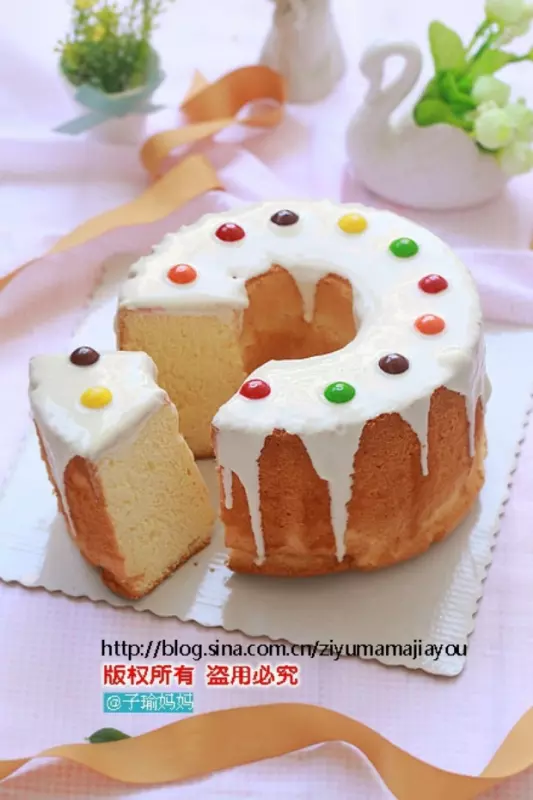
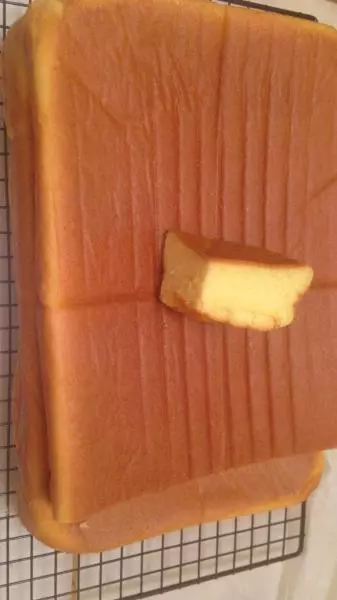
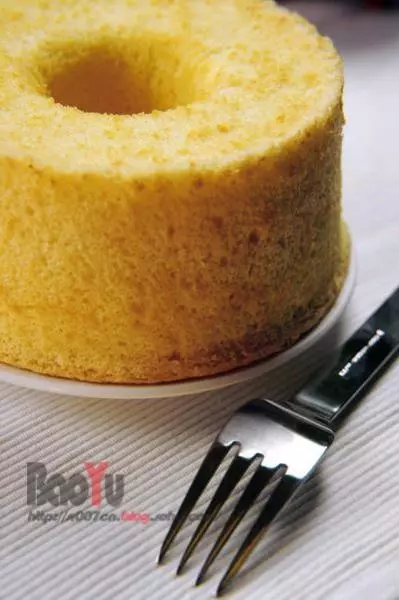
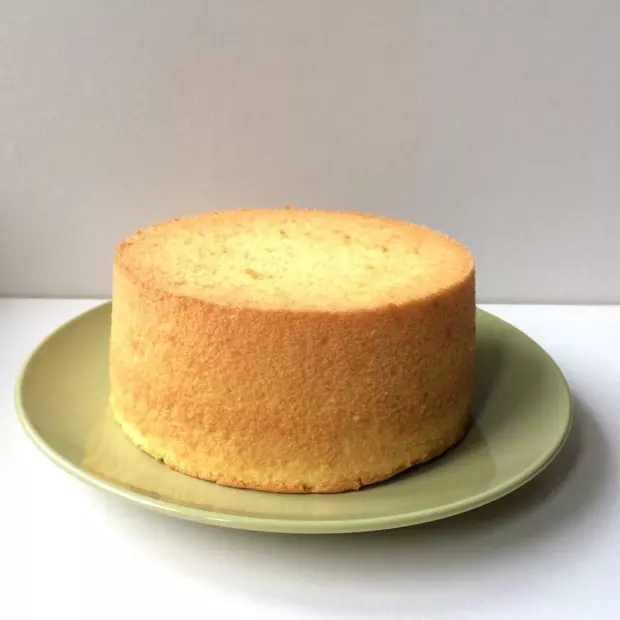
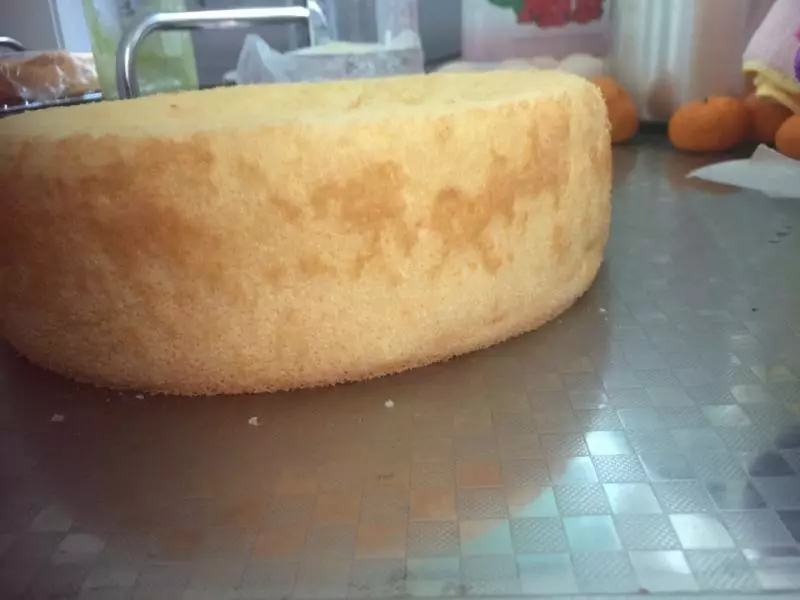
1515、找個瓶,將模具倒扣在瓶口上,這樣是為了防止蛋糕塌腰,放涼後就可以脫模了。

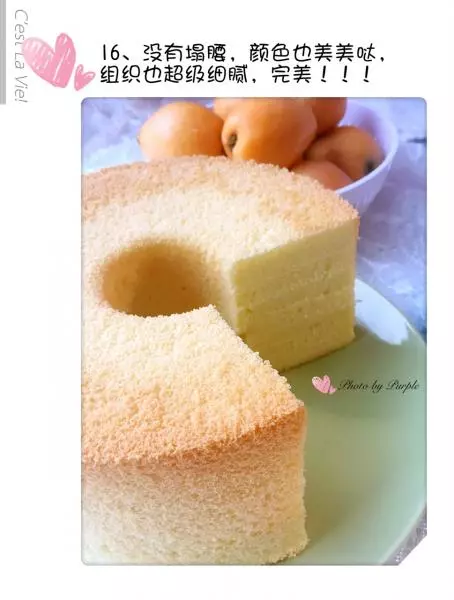
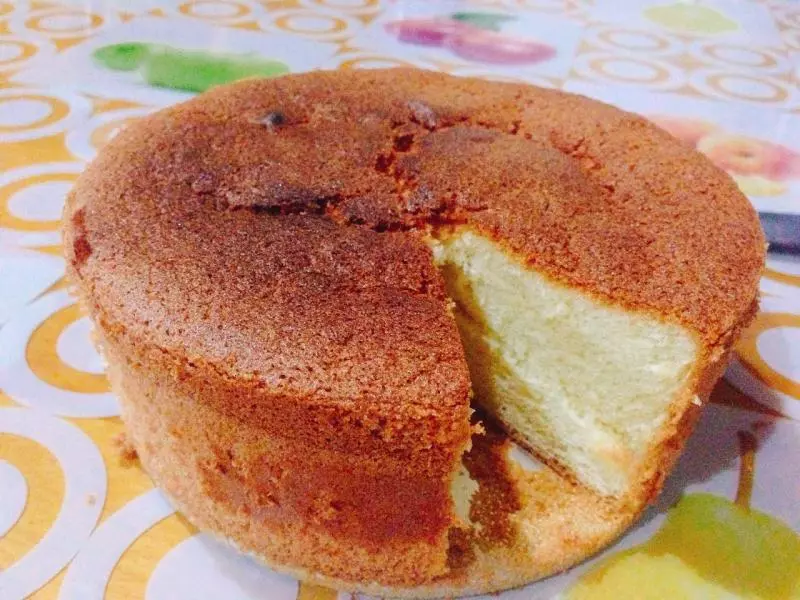
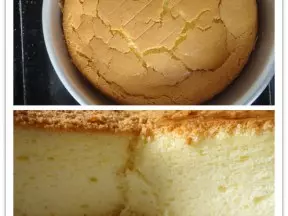
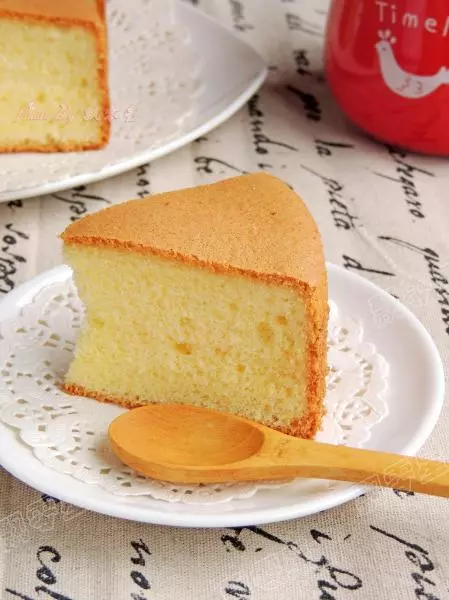
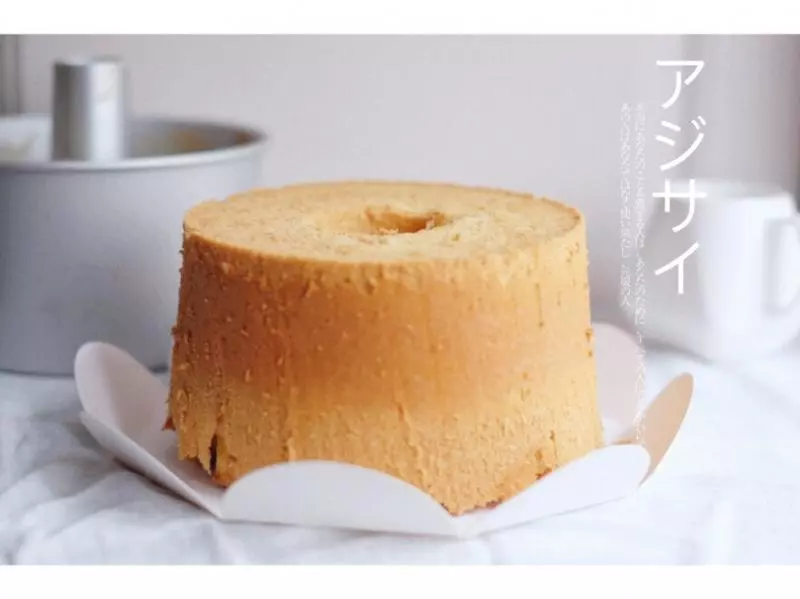
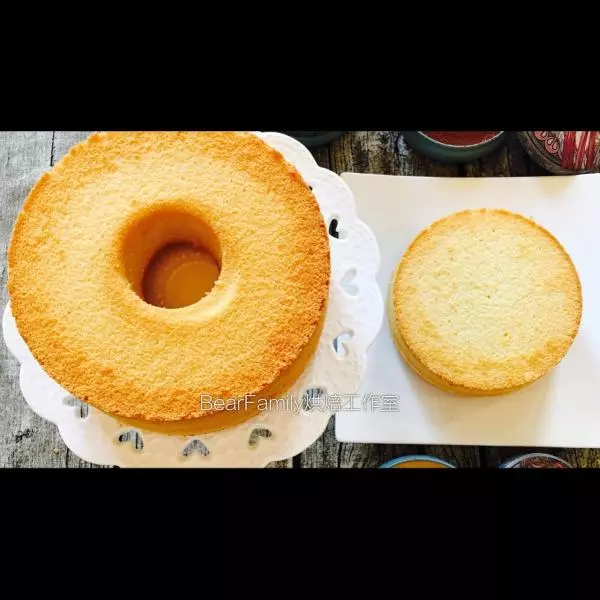
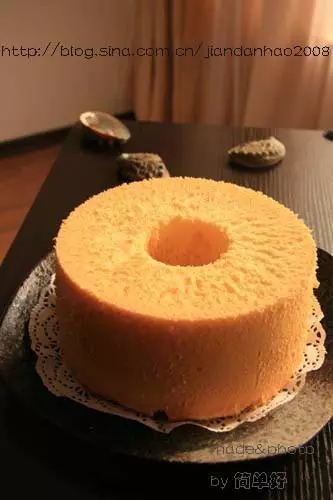
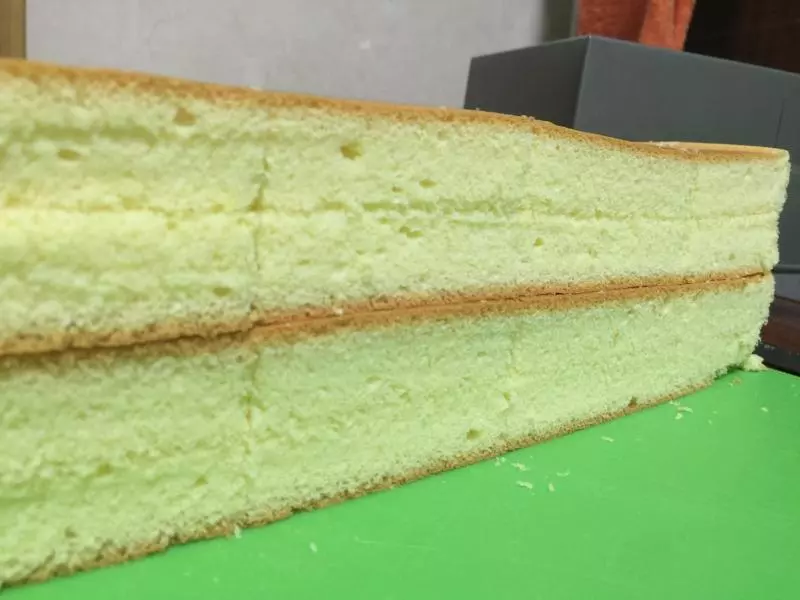
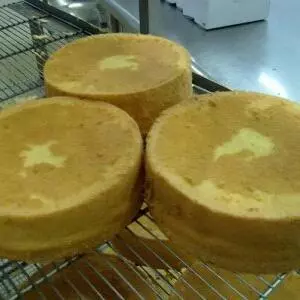
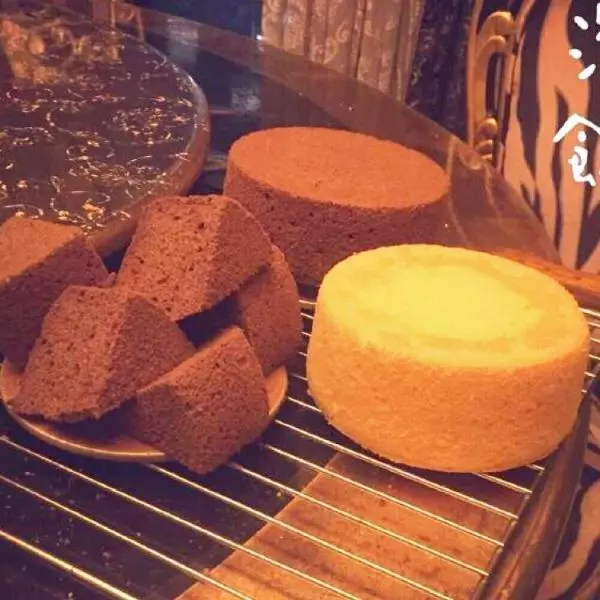
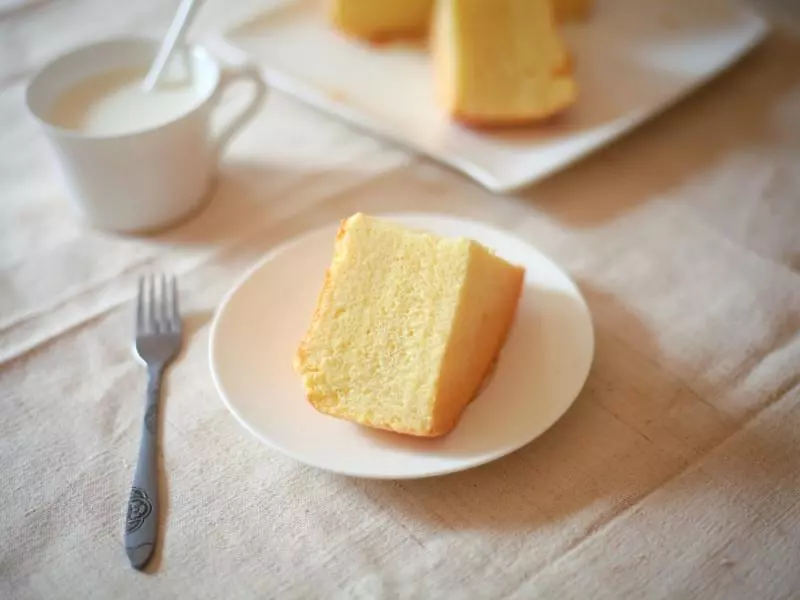
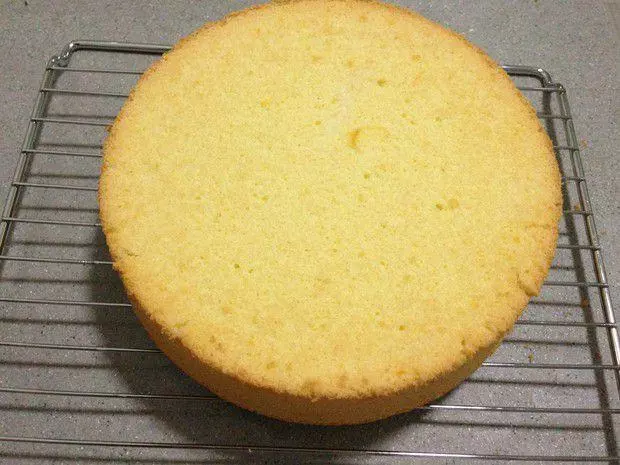
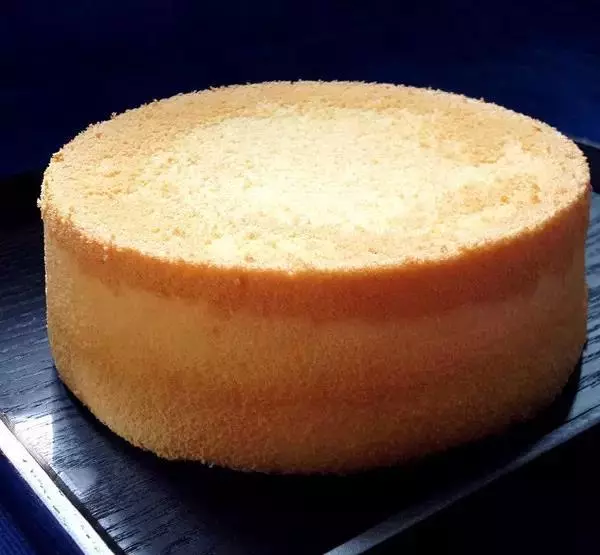
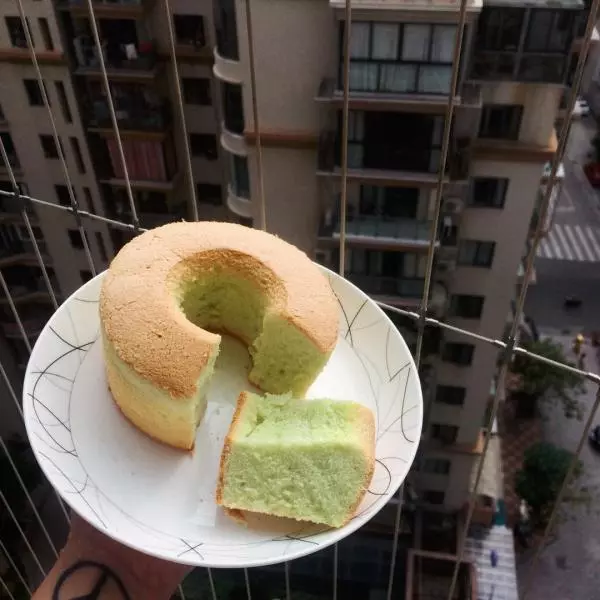
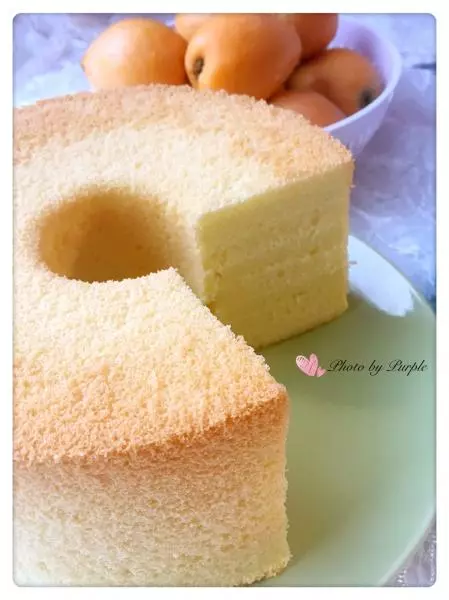
1616、沒有塌腰、顏色也美美噠、組織也超級細膩,完美!!!