原料
鸡蛋: 4个, 低筋面粉: 60克, 巧克力粉: 20克, 色拉油: 50克, 牛奶: 50克, 细砂糖(加入蛋白): 50克, 细砂糖(加入蛋黄): 10克, 淡奶油: 100克, 细砂糖(加入淡奶油): 10克
步骤
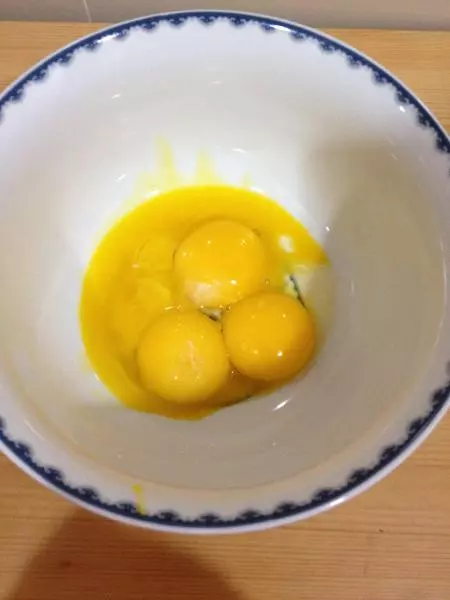
1将鸡蛋的蛋黄和蛋白分开。
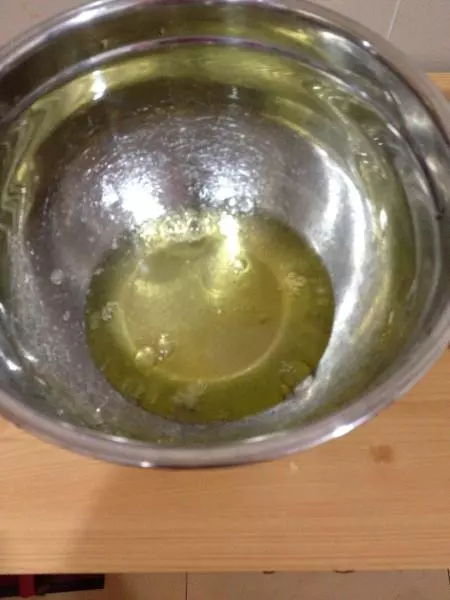
2盛蛋白的碗需要无油无水。
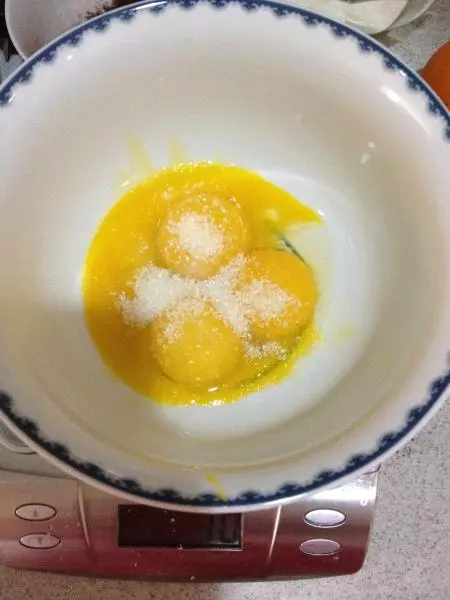
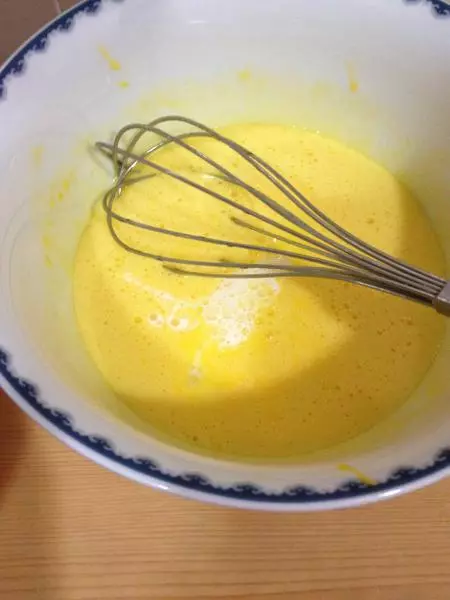
3把蛋黄和细砂糖混合后用打蛋器打均匀。
4分三次加入色拉油(或葵花籽油等无味的植物油)。每加入一次都用打蛋器搅打到混合均匀再加下一次。

5加入牛奶,轻轻搅拌均匀。
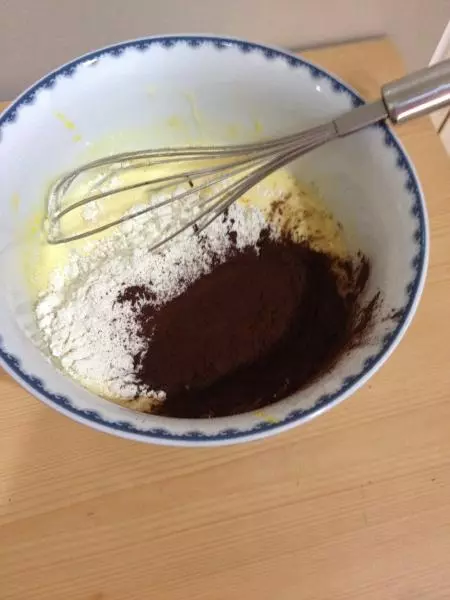
6可可粉和低筋面粉过筛筛入蛋黄里。用橡皮刮刀翻拌均匀,成为蛋黄面糊。将拌好的蛋黄面糊放在一旁静置备用。
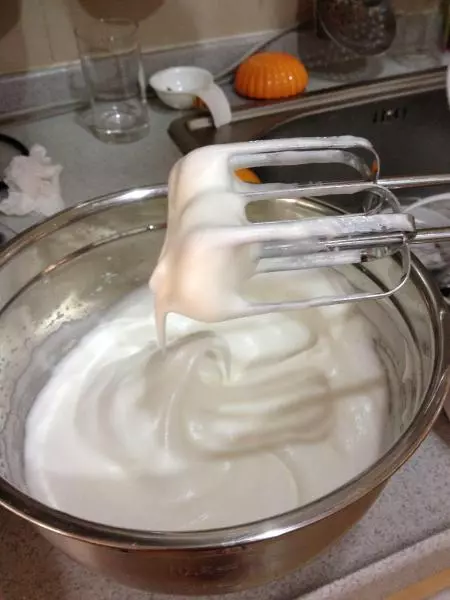
7开始打发蛋白。将糖一次性加入,先低速后高速,将蛋白打发到湿性发泡的状态(提起打蛋器后,蛋白拉出弯曲的尖角)
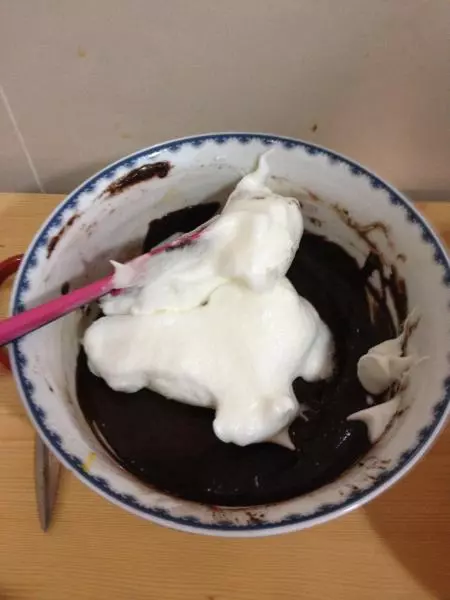
8盛1/3蛋白到蛋黄碗里,翻拌均匀(从底部往上翻拌,不要画圈搅拌)。再盛1/3蛋白到蛋黄碗里,翻拌均匀。
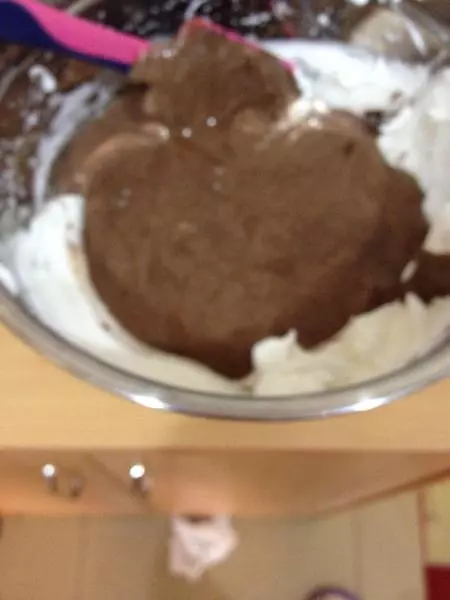
9将拌匀的面糊倒入剩余的蛋白里。再次翻拌均匀。
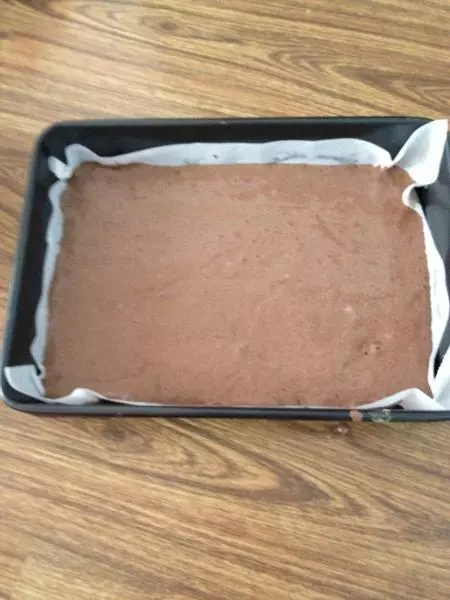
10烤盘铺好油纸
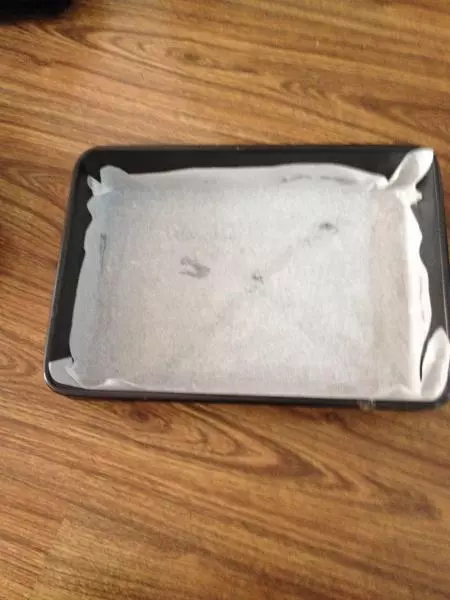
11把面糊倒入铺了锡纸或油纸的烤盘,抹平,并用力的震几下,让面糊内部的大气泡跑出。把烤盘放入预热好180度的烤箱,烤10分钟。
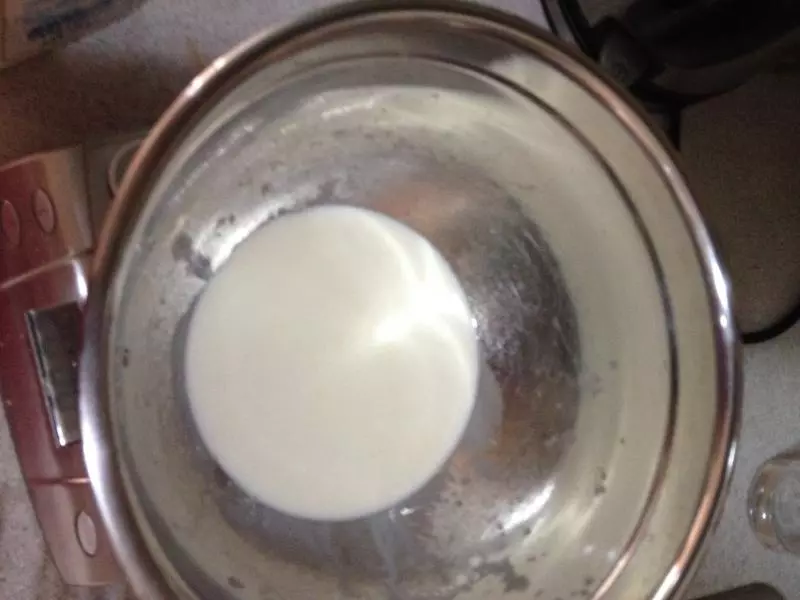
12淡奶油100克,放白糖10克,用电动打蛋器打至硬性。
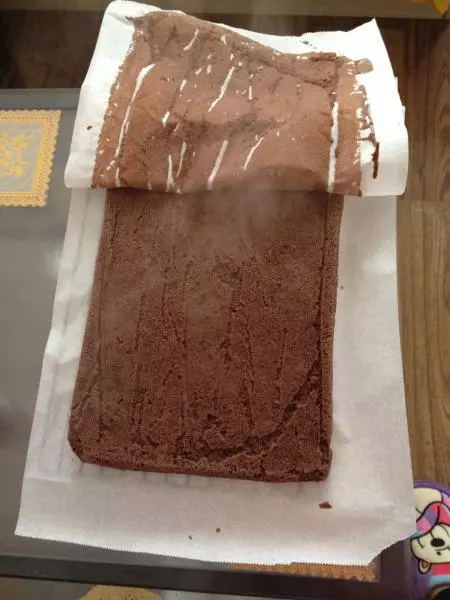
13准备一张新的锡纸或油纸,把蛋糕倒在上面,趁热撕去蛋糕上的锡纸或油纸。此时蛋糕底面朝上。待蛋糕稍冷却后,把蛋糕翻过来,使表面重新朝上。
14在蛋糕表面抹上一层打发的淡奶油,最后的边上不抹奶油或少抹奶油。
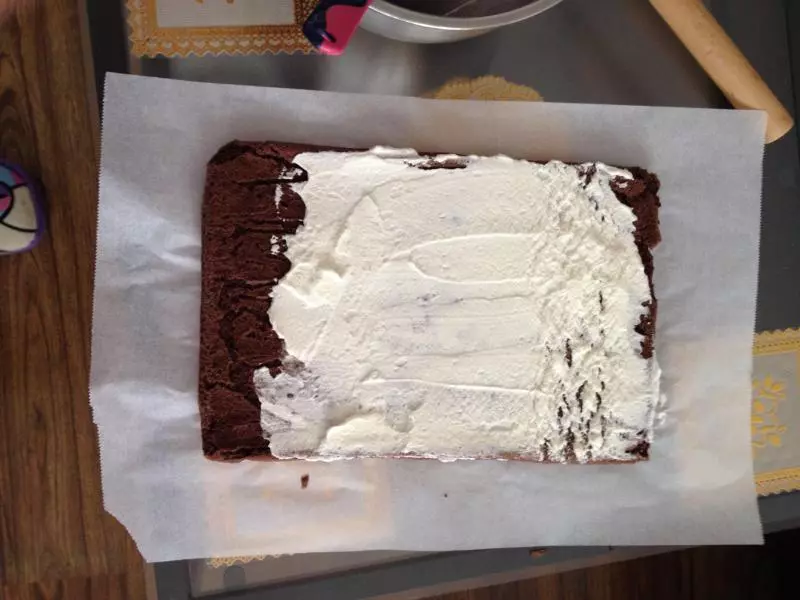
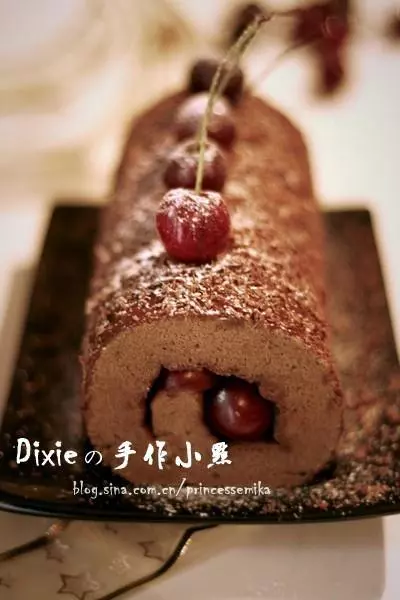
15在准备卷起的一边,先用刀拉一刀,但不要切断。这样卷的时候更方便。从切的那头开始卷,一直卷到最后面,把后面的边切下来,这样看起来整齐些。最后,用锡纸或油纸把卷好的蛋糕卷包起来,两端拧成糖果状。放入冰箱冷藏半个小时定型。
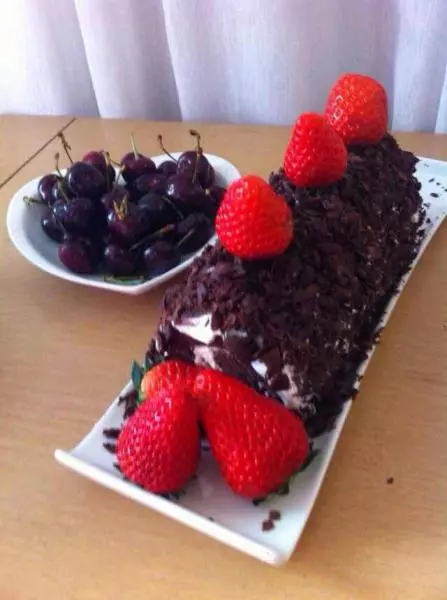
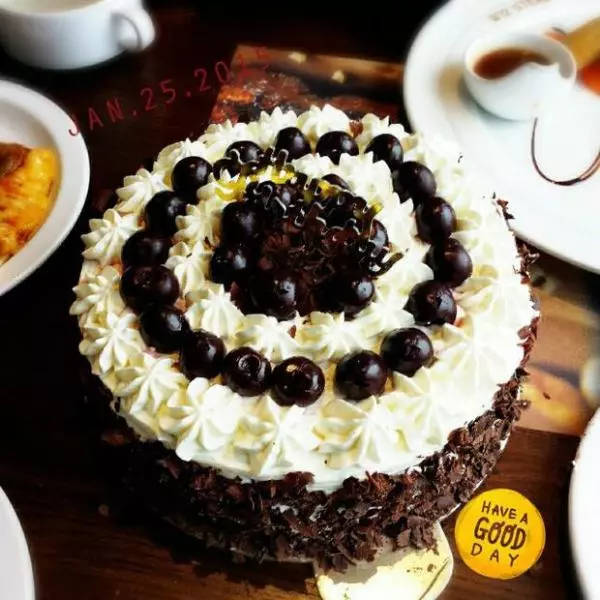
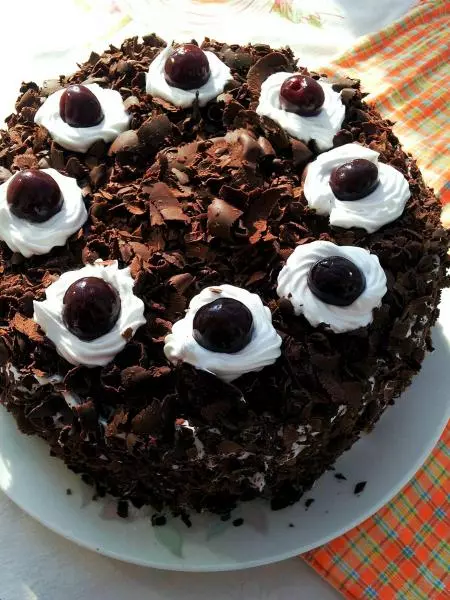
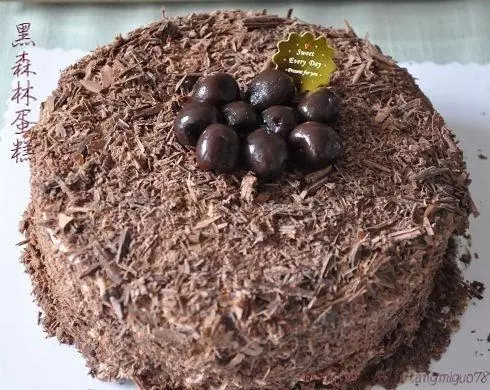
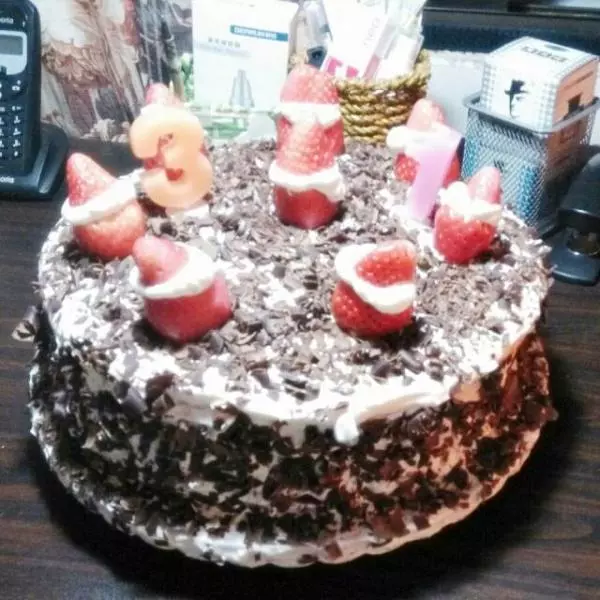
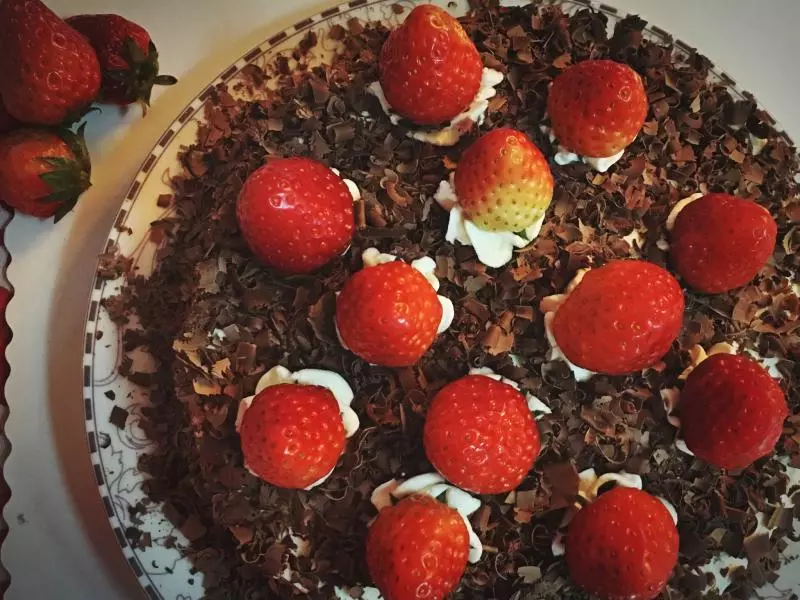
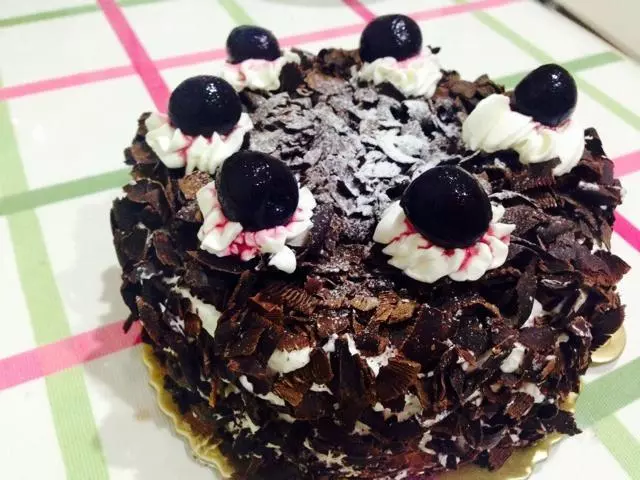
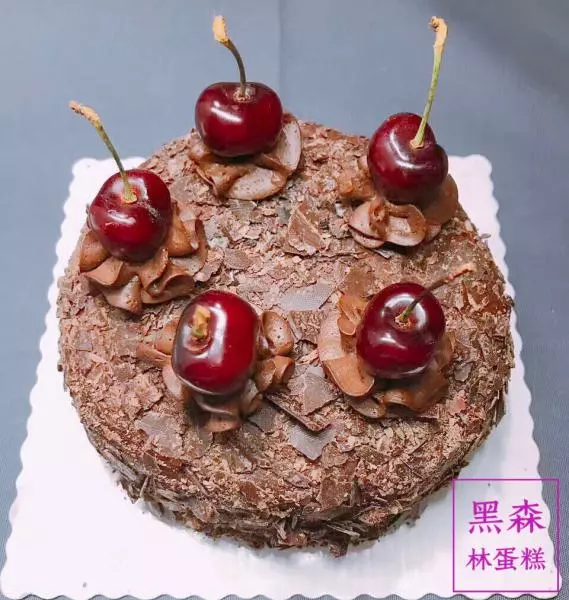
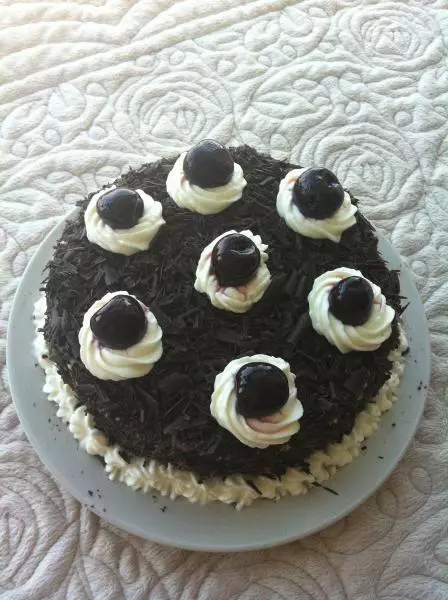
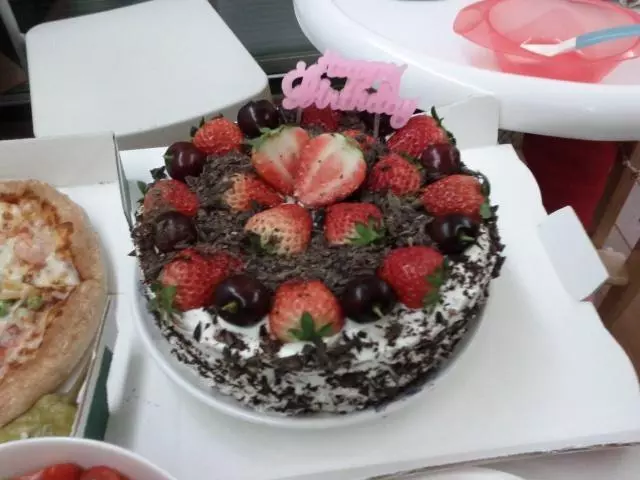
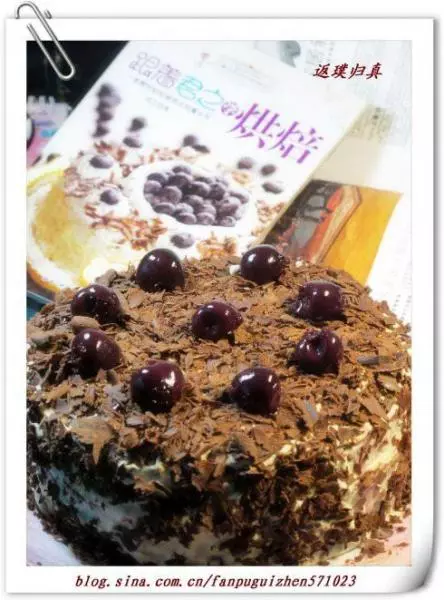
16半小时后,把蛋糕卷从冰箱拿出来,在外面抹一层奶油,撒上黑巧克力碎(巧克力提前软化,用小勺子刮成巧克力碎屑),上面挤三朵奶油,放三棵草莓点缀一下即可。