原料
鸡蛋(大): 5, 玉米油(也可以其他油): 60克, 橙汁: 60克, 白糖(放蛋黄里): 25克, 白糖(放蛋白里): 50克, 泡打粉: 2克, 低筋面粉: 75克, 抹茶粉: 10克, 175度烤箱底层35分钟:
步骤
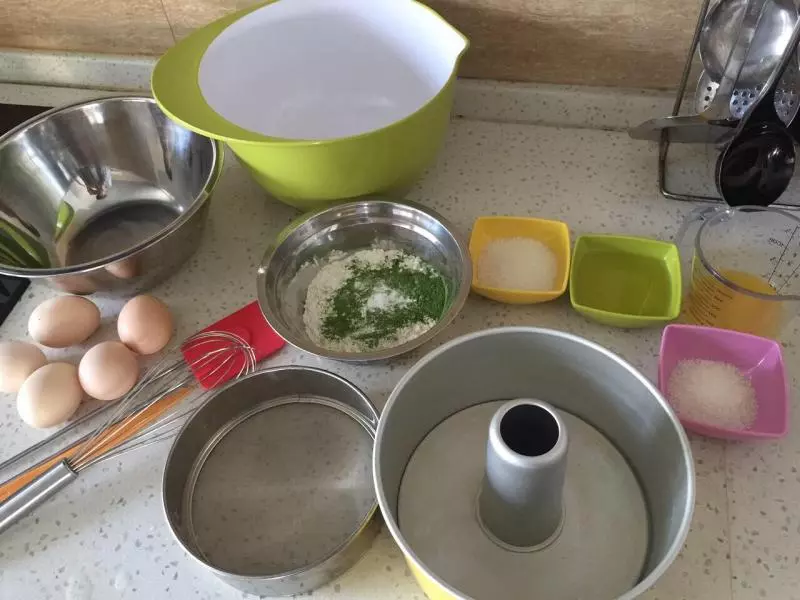
1上图是我准备的材料
2我个人比较喜欢先制作蛋黄,当然也可以先打发蛋白哈。
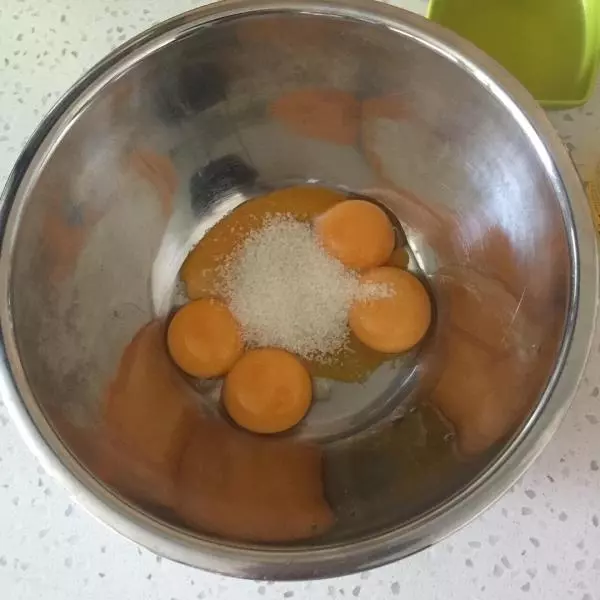
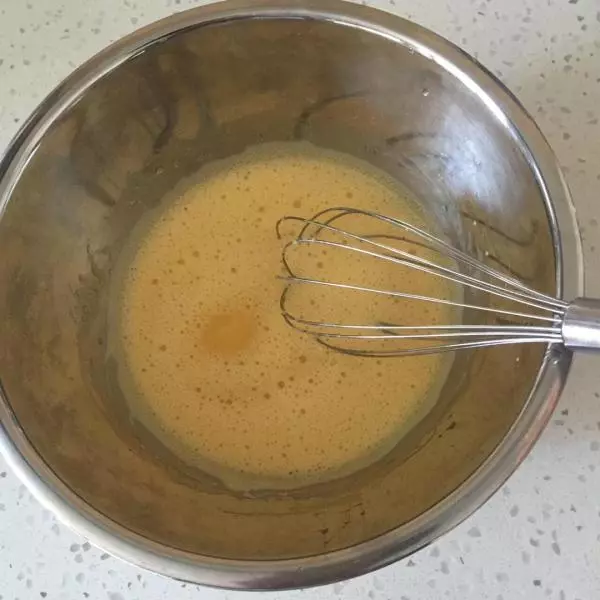
3蛋黄里放入25克白糖,用手动打蛋器搅拌好白糖。上面是我搅拌好的模样。
4抹茶粉,泡打粉,低筋面粉放入容器里先搅拌均匀。
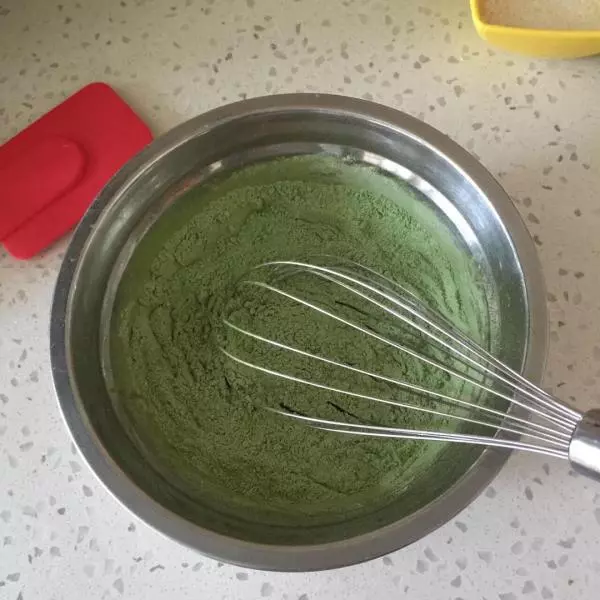
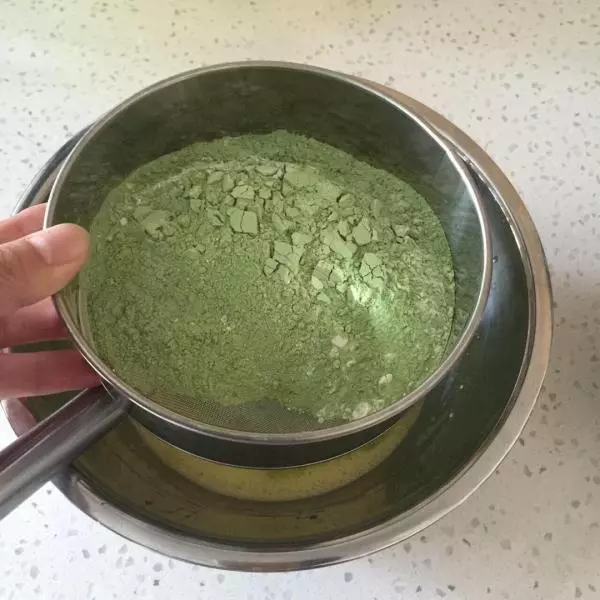
5用过筛网晒入刚刚准备好的蛋黄里。我是用了3-4次晒入和搅拌,每次晒入都搅拌好。没有过筛网的也可以一次性倒入搅拌,就是做出来的蛋糕没有这么细腻。
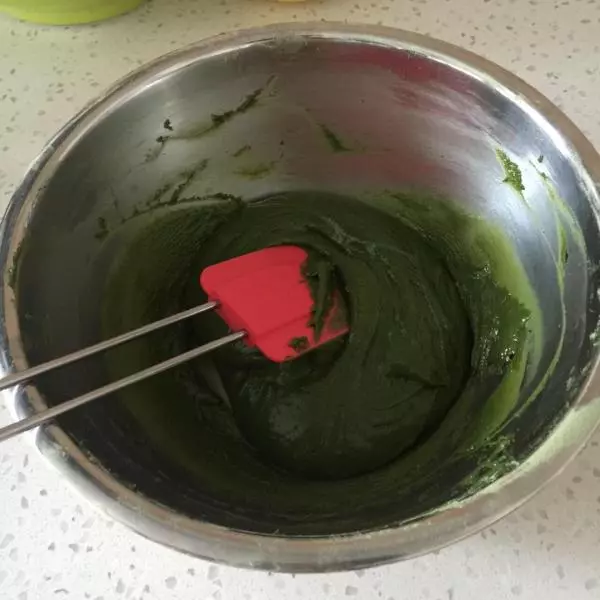
6搅拌均匀备用
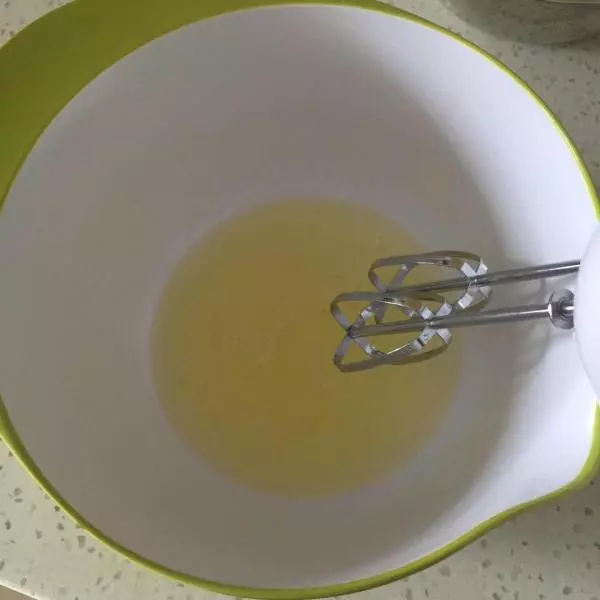
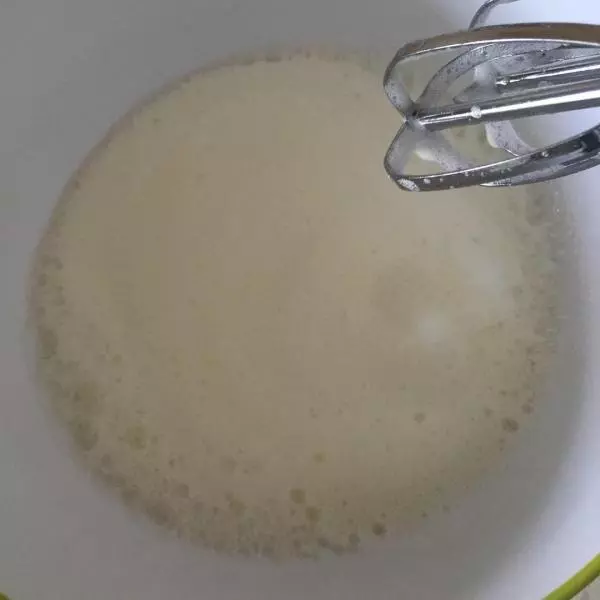
7开始打发蛋白!50克准备好的白糖先不加。先把机器开启小的档位打发一下。
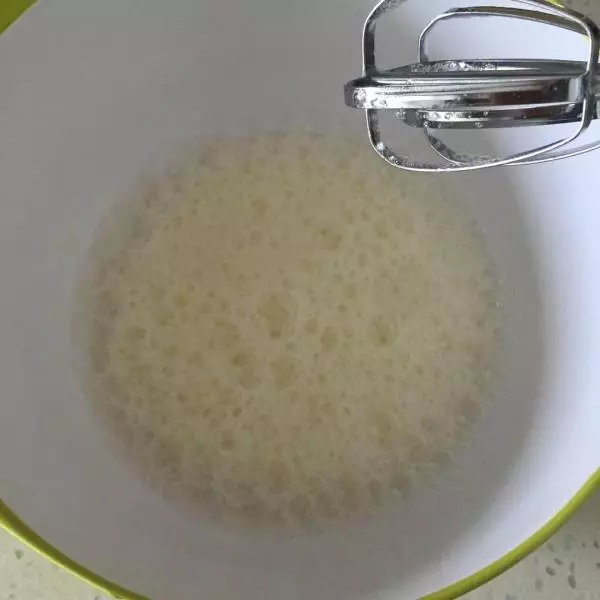
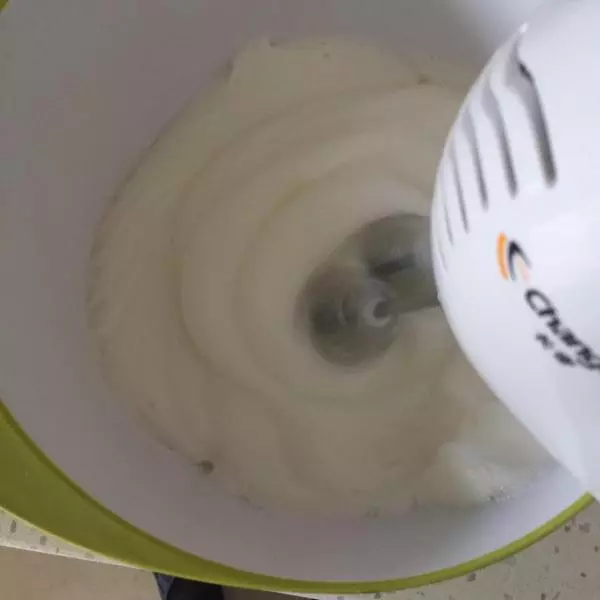
8到了这个程度就可以加第一次白糖了(50克的白糖分3次加入)
9这个状态就可以加第二次了。
10第三次
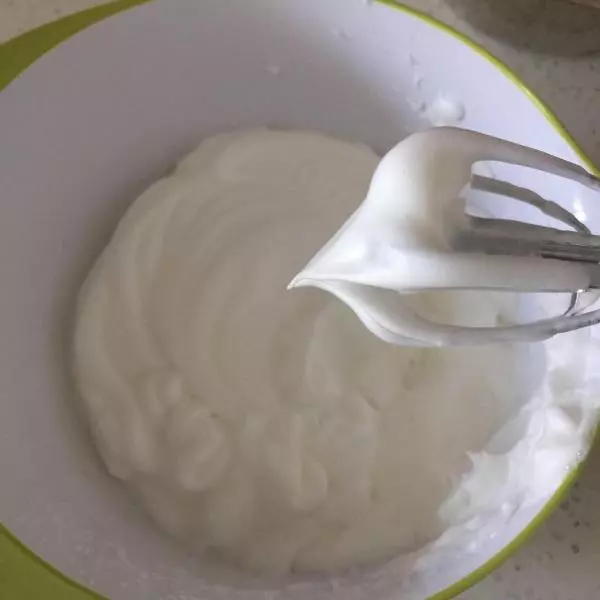
11这种程度就可以了,手拿打蛋器你有点阻力的感觉,机器拿起来不脱落。下面盆里的形状保持!
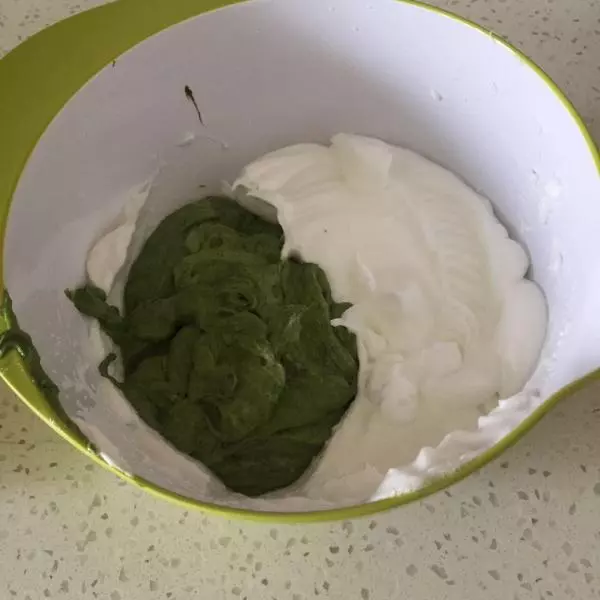
12取1/3和蛋黄搅拌,别人都是用2点到8点的方式搅拌,但是我不是。我直接用快速左右搅拌发搅拌。
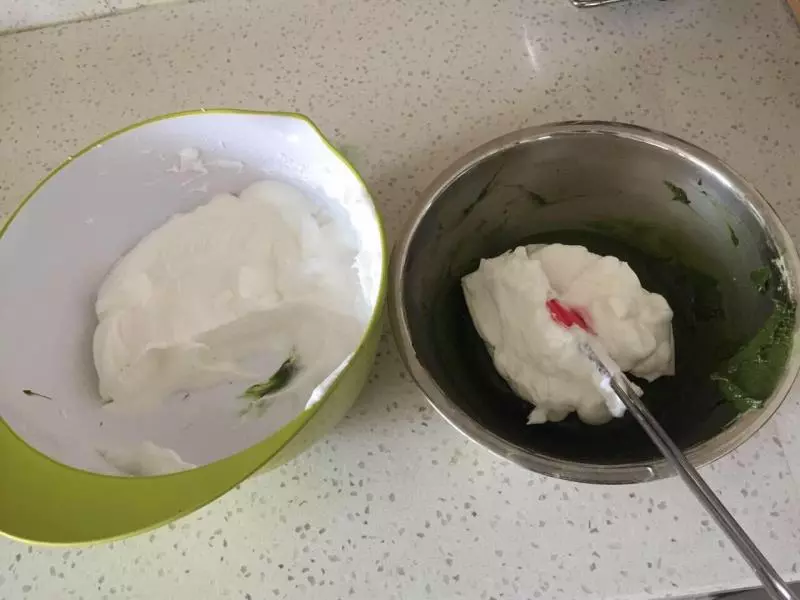
13这个步骤也不多说了,倒回蛋白里用上面同样的搅拌方式。
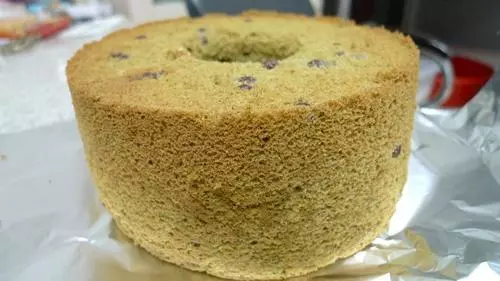
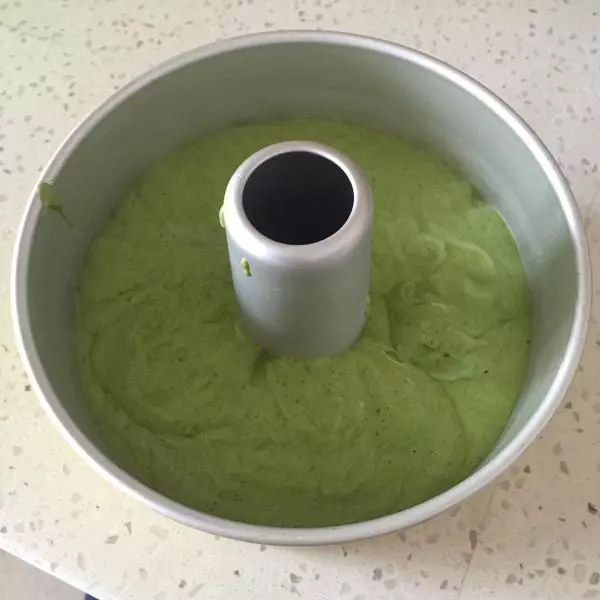
14倒入中空模具,从20cm的上方往下震动2-3次。如果出现多的泡泡用牙签Z字形轻轻划动。
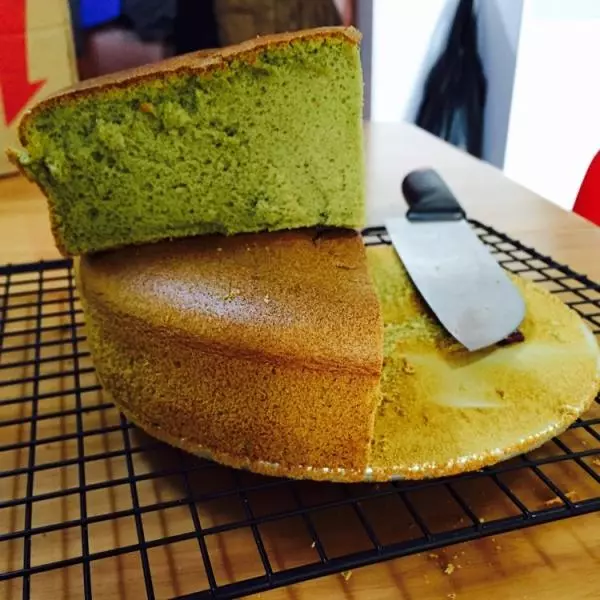
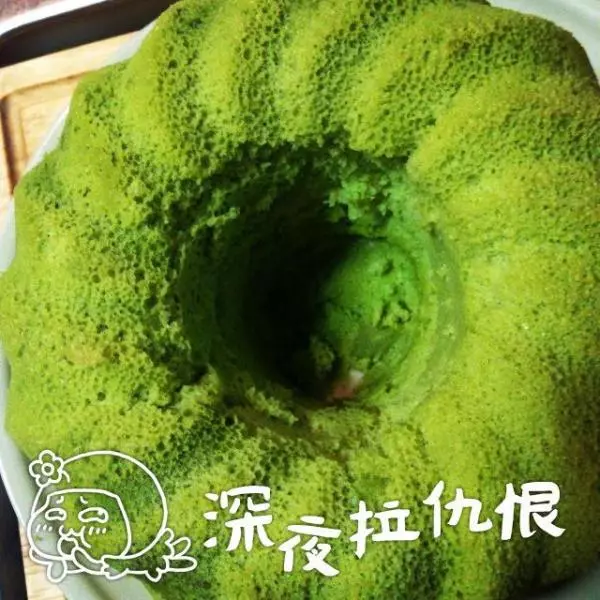
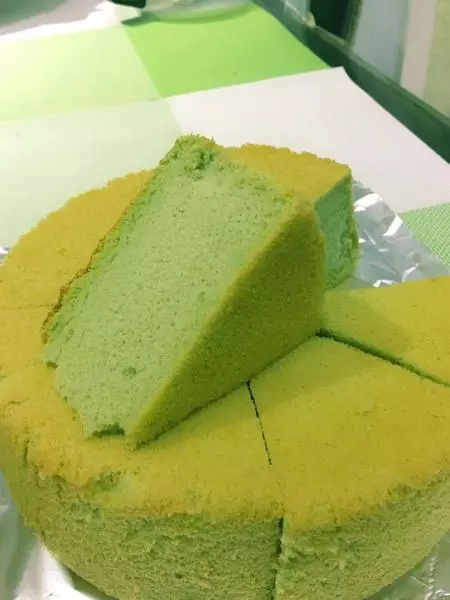
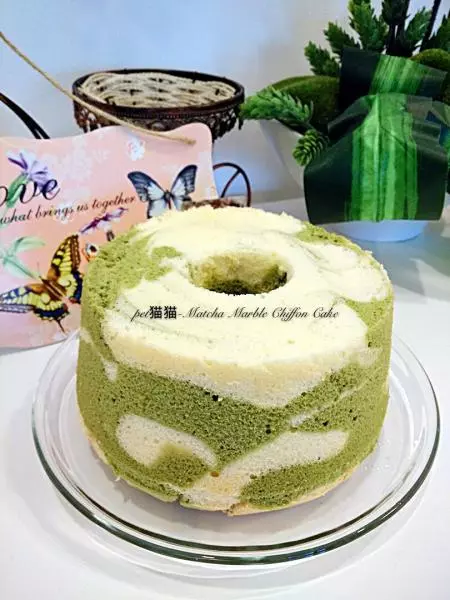
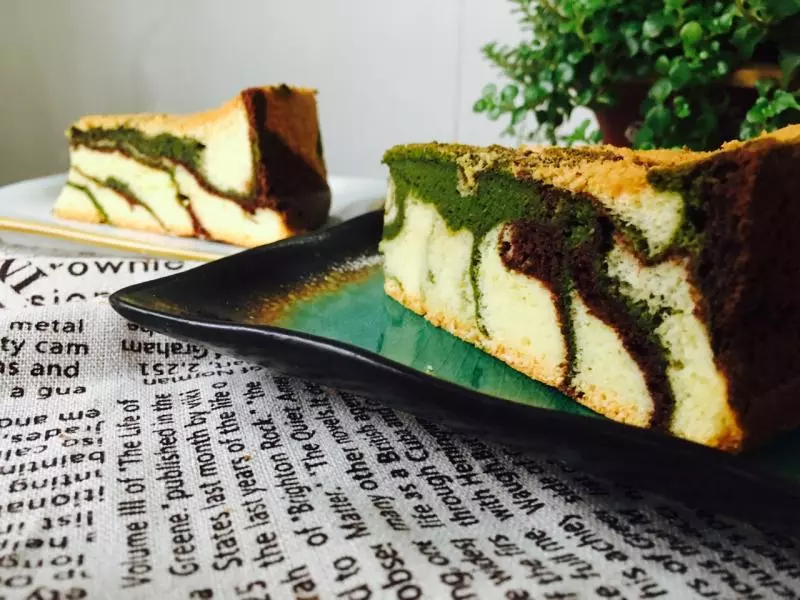
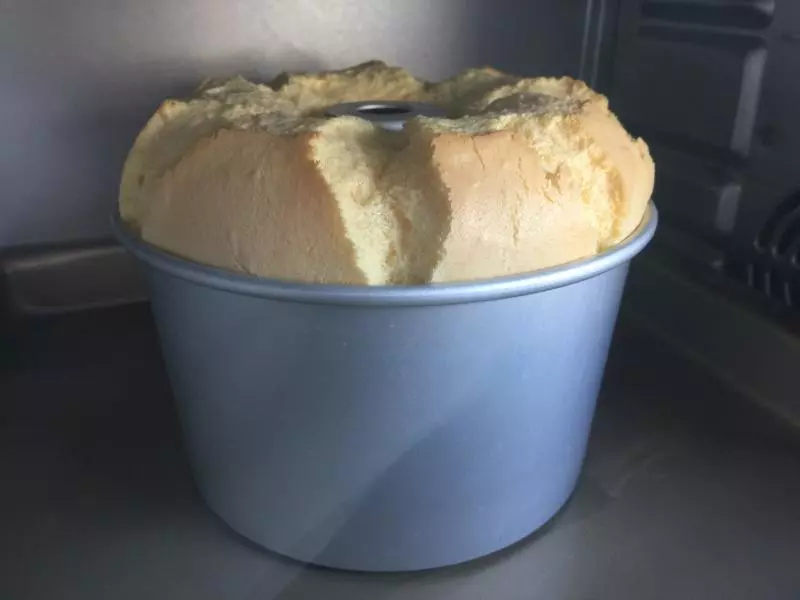
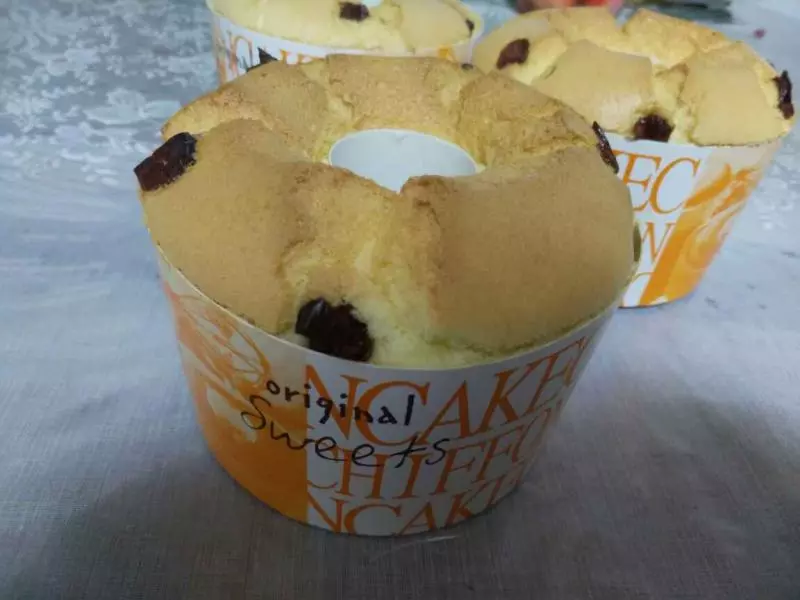
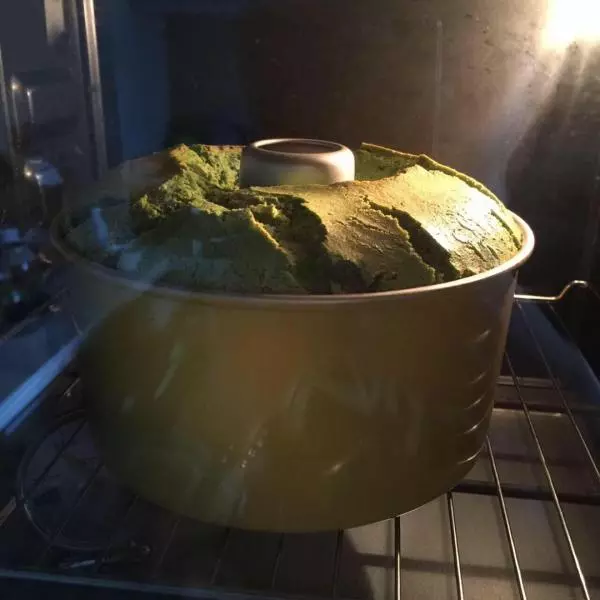
15送去预热好的烤箱,我家是175度底层,35分钟。根据烤箱温度不同有些烤箱会偏高,有些会偏低,这个自己定夺哈!上图是烤好的状态。要的就是爆炸头的效果!
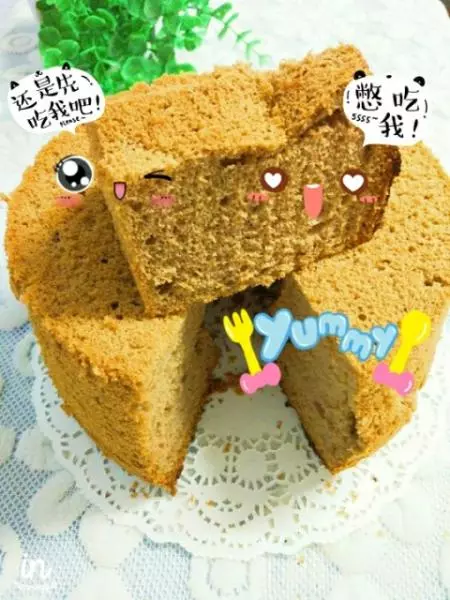
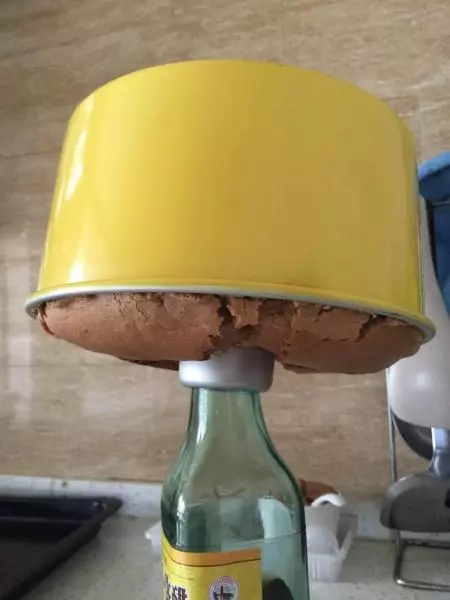
16时间到立马从烤箱拿出。
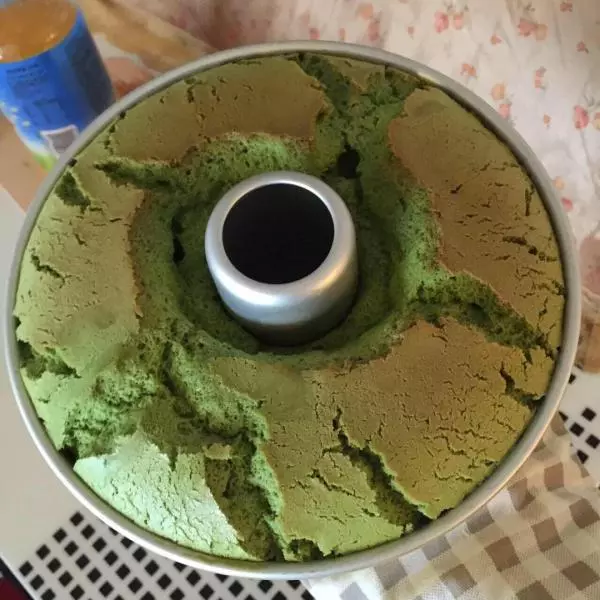
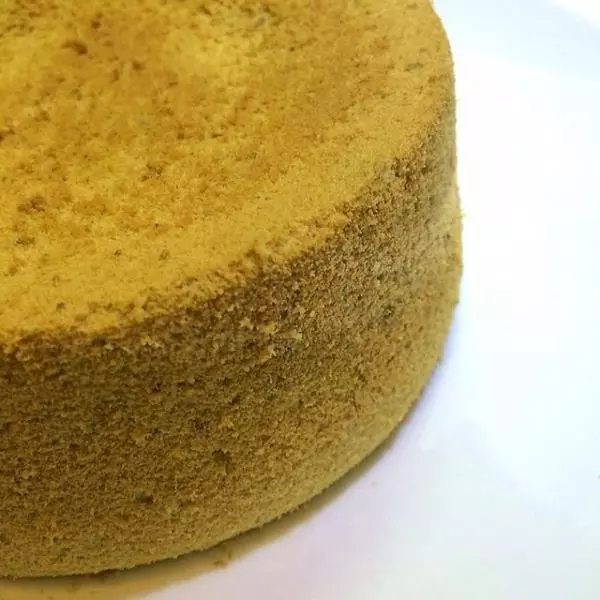
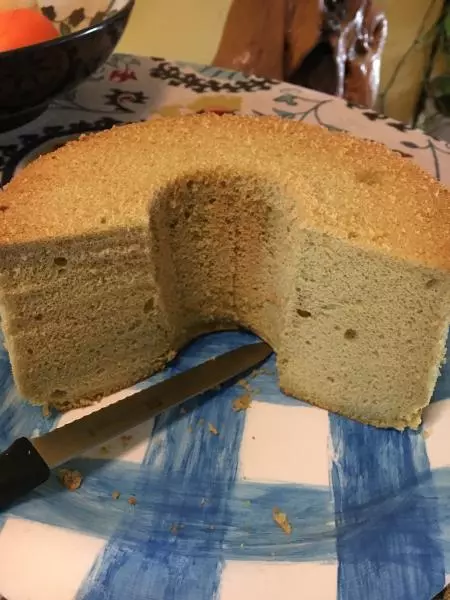
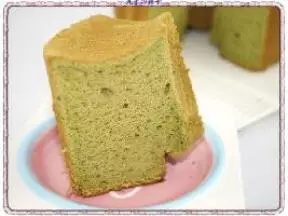
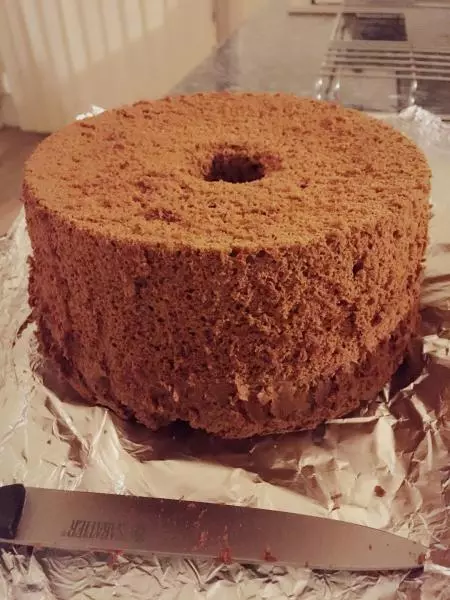
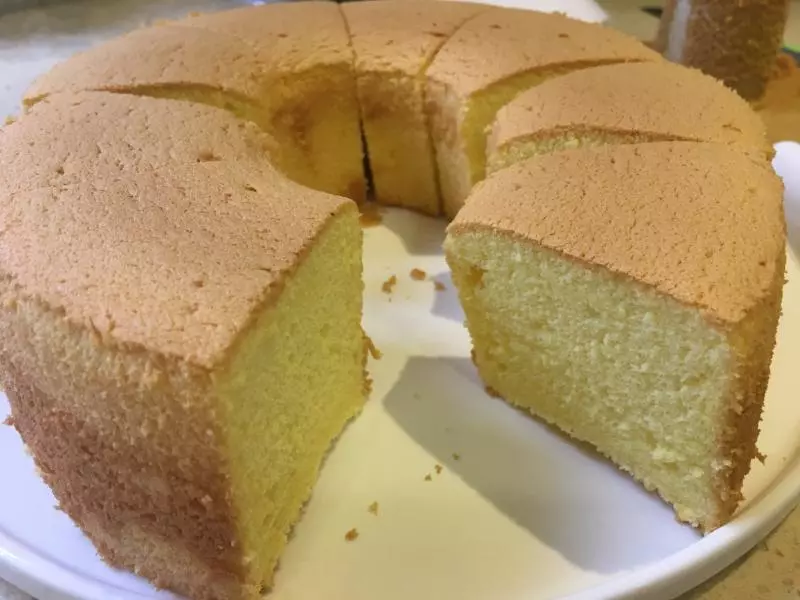
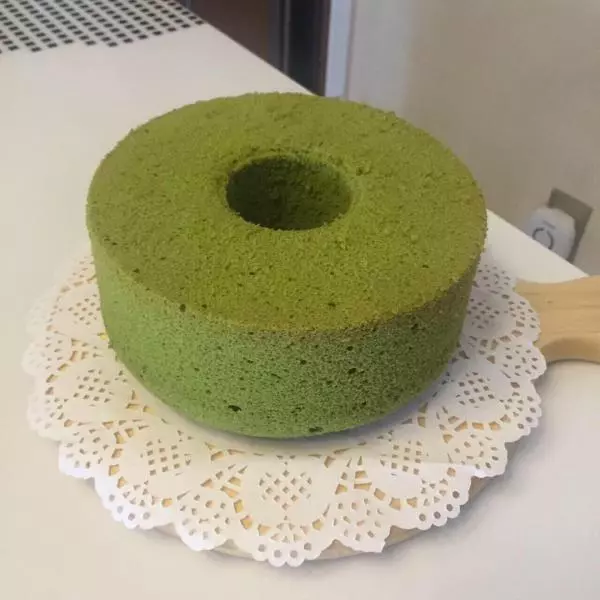
17立马倒扣,忘记拍抹茶中空戚风图,用原味代替。
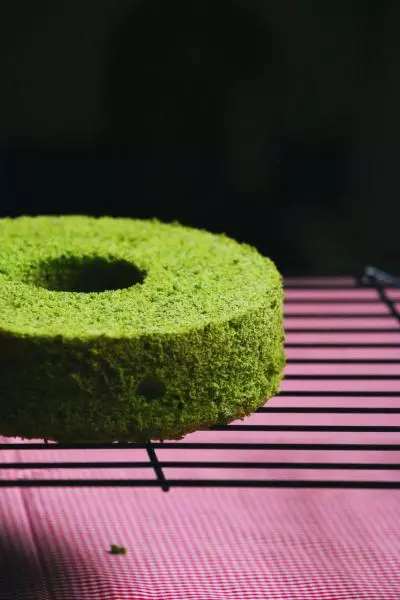
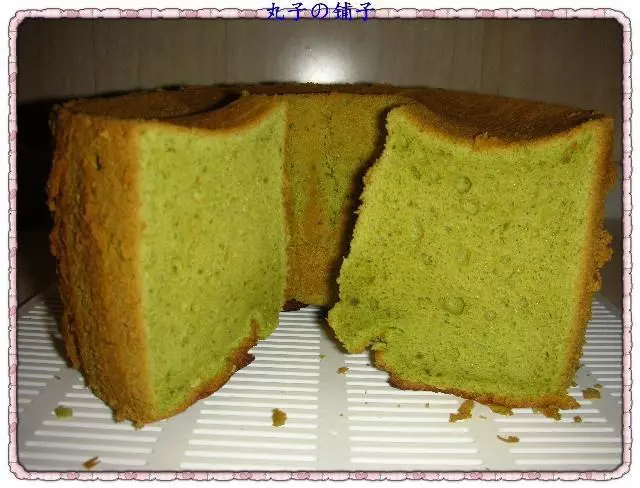
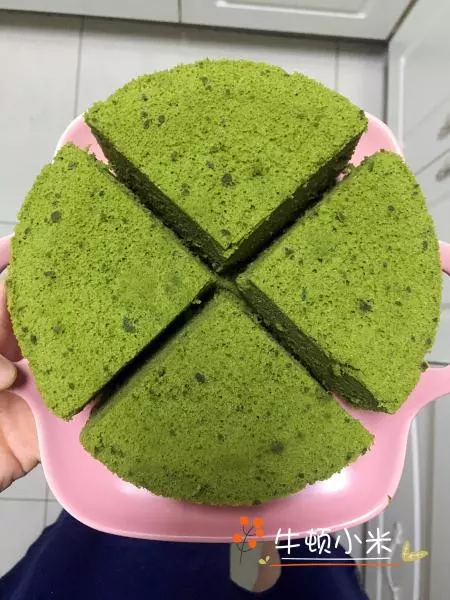
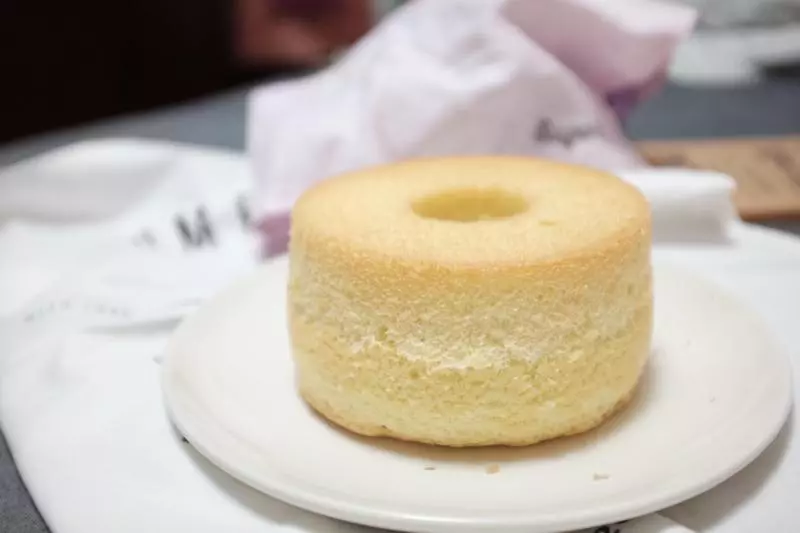
18完全冷却才脱模!弹性不错。你也试试吧,有不足的给点意见。谢谢!微信号码xia346097310
小技巧
倒入中空模具