原料
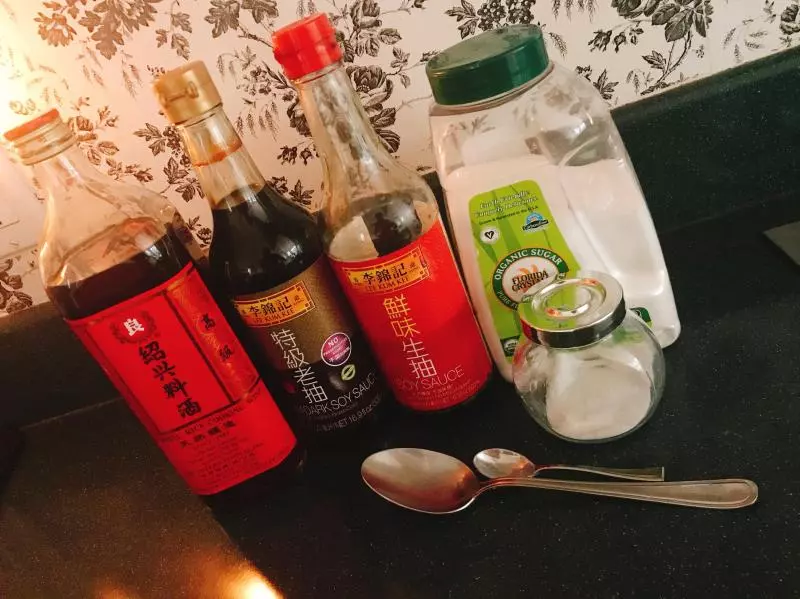
鸡: 1只, 姜: 6片, 生抽: 3勺, 酱油: 3勺, 大蒜: 6瓣, 料酒: 3勺, 海盐: 2小勺, 糖: 3小勺, 蜂蜜: 适量
步骤
1解冻,掐头去尾,洗干净擦干
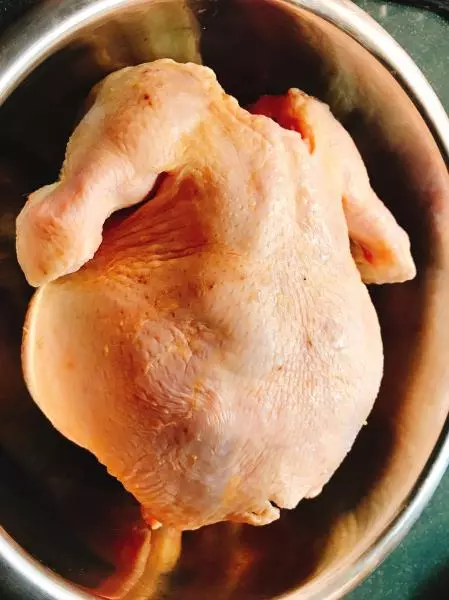
2按配料表把所有配料倒在鸡上
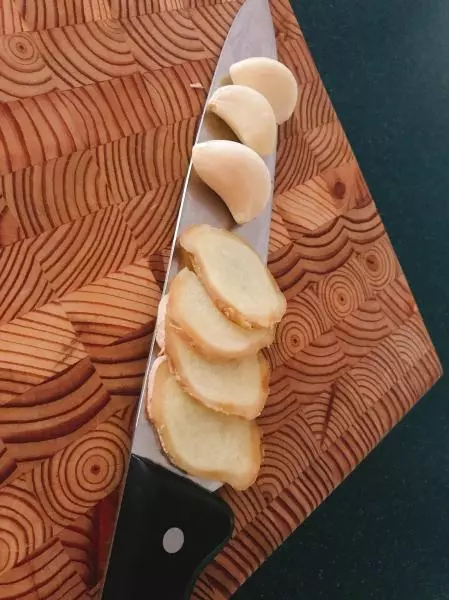
3蒜要整瓣,姜要大片,放一半,留一半
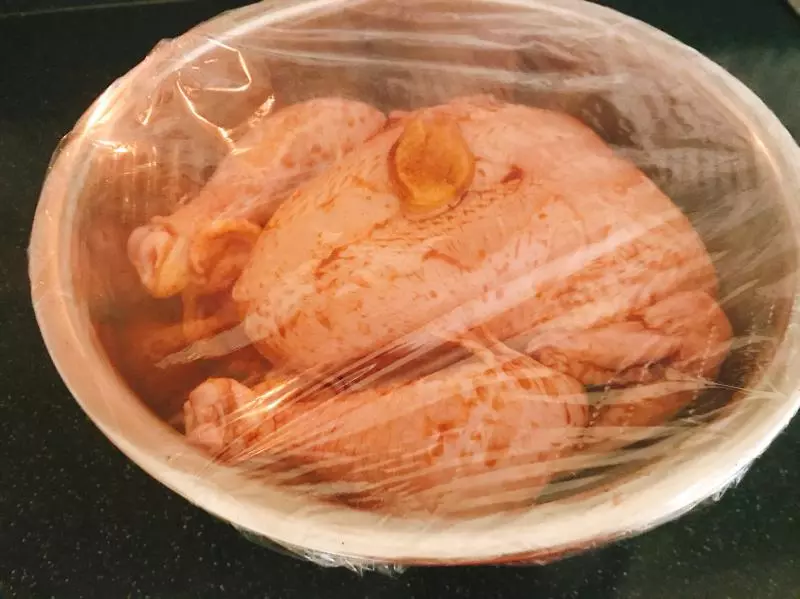
4用牙签在鸡上戳戳戳戳戳戳,再用配料给它按摩均匀,保鲜膜包好,阴凉处腌制6个小时以上,中间翻个再按摩一次。
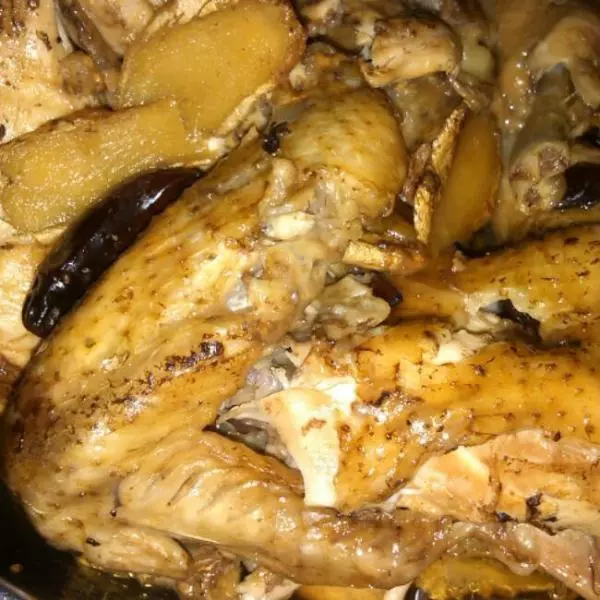
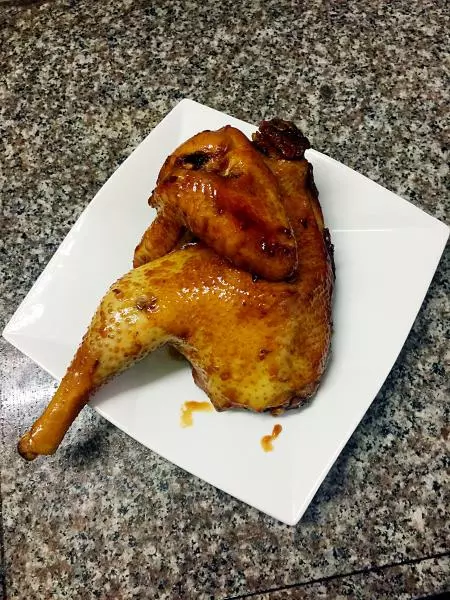
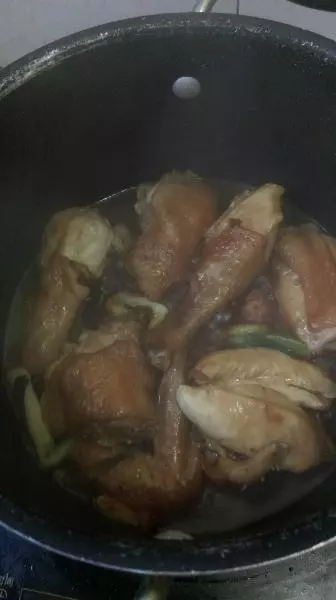
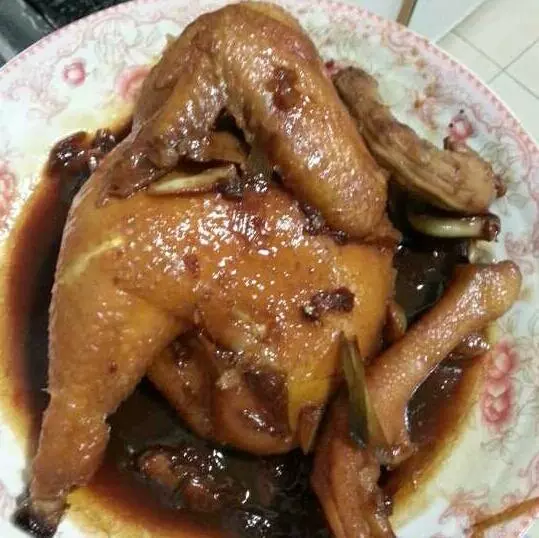
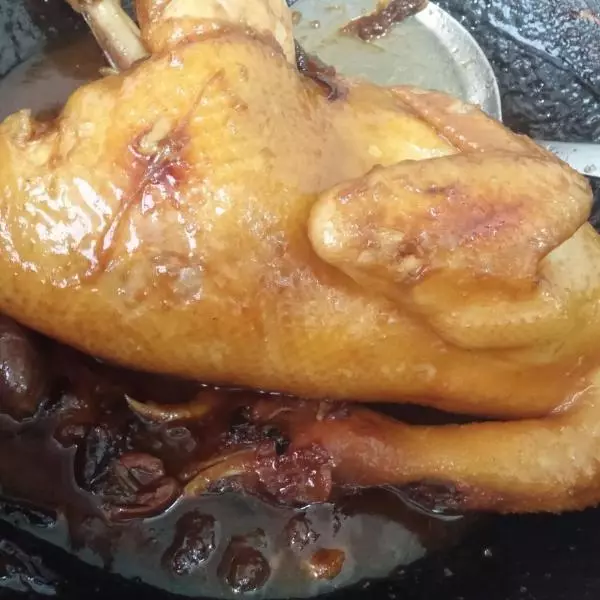
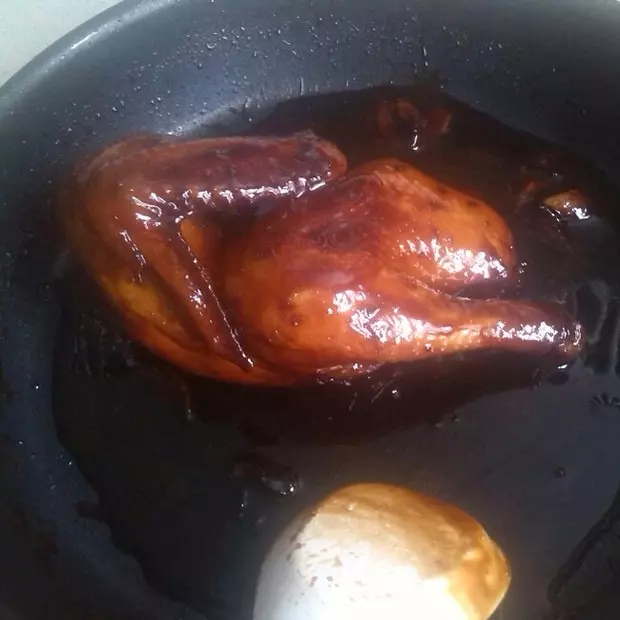
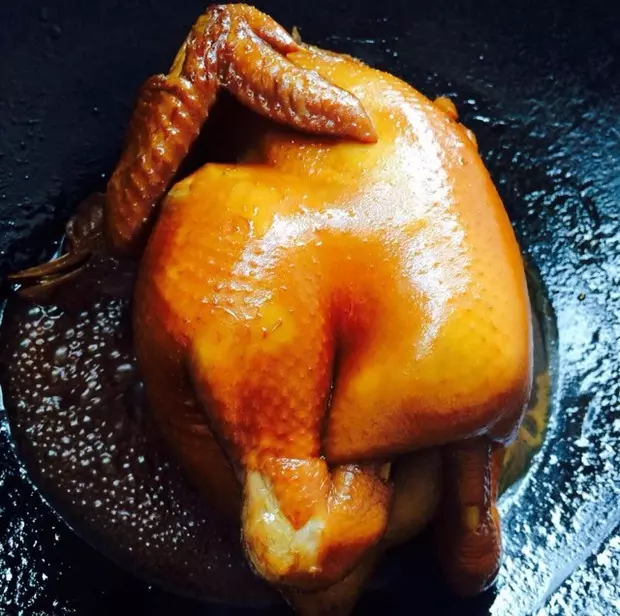
5电饭煲里均匀摸油后,把剩下的姜和蒜铺好,放入鸡,淋上腌汁,按煮饭键开始焗。每30分钟翻个刷蜜。
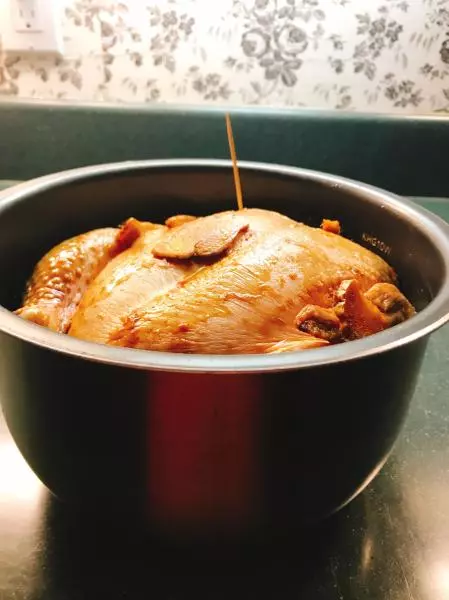
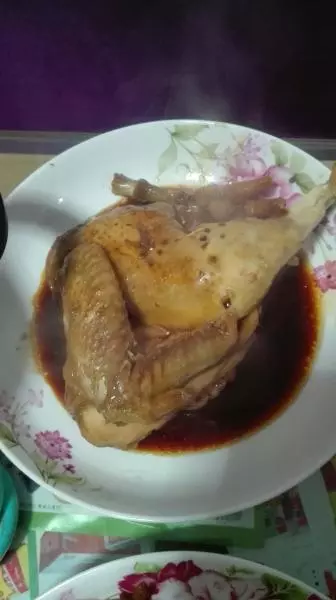
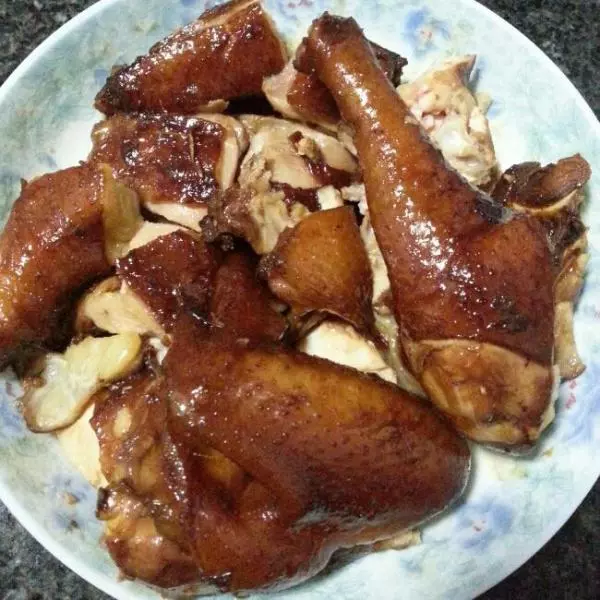
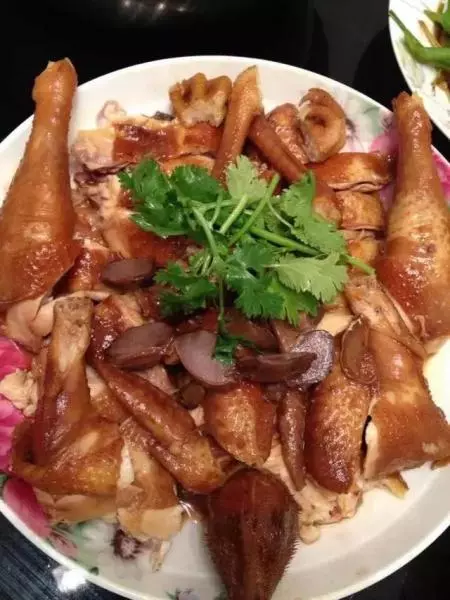
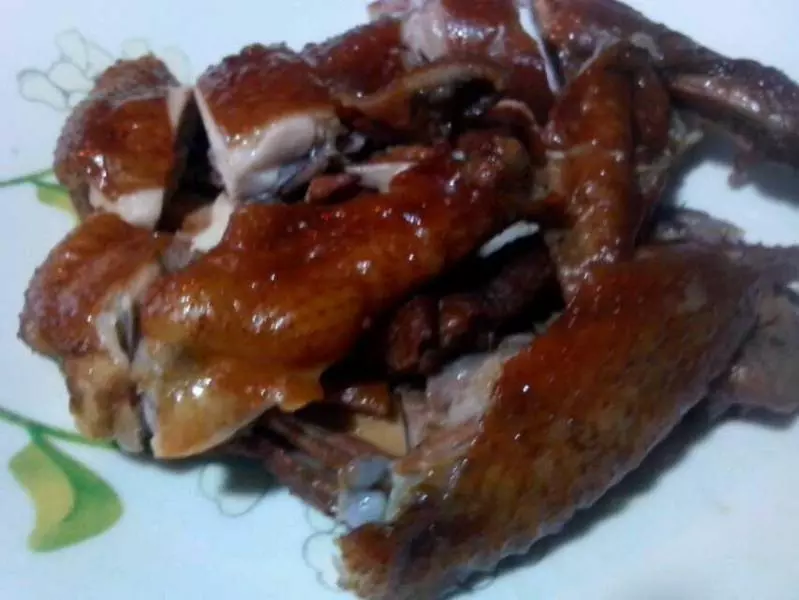
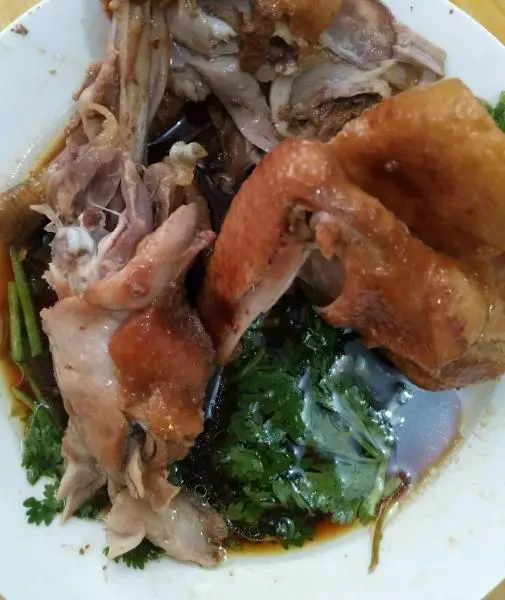
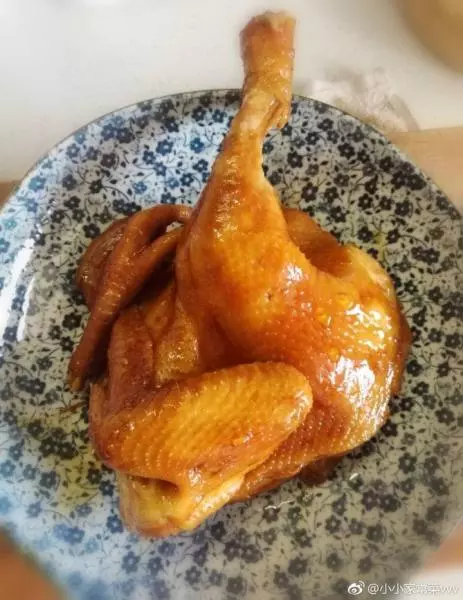
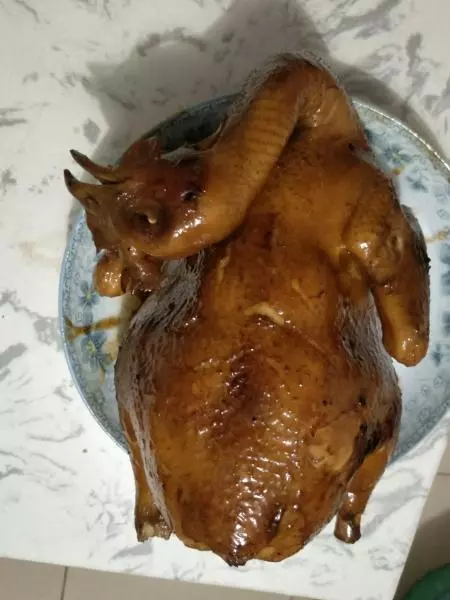
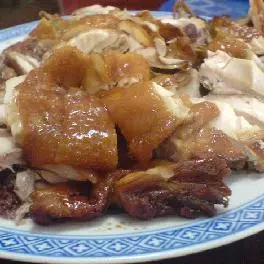
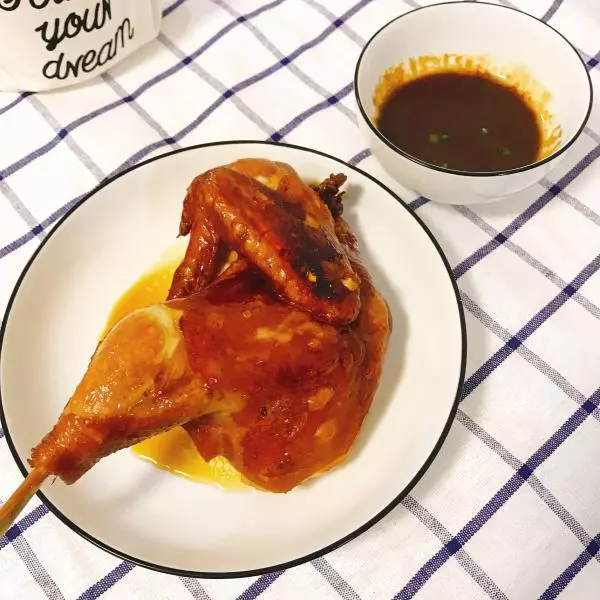
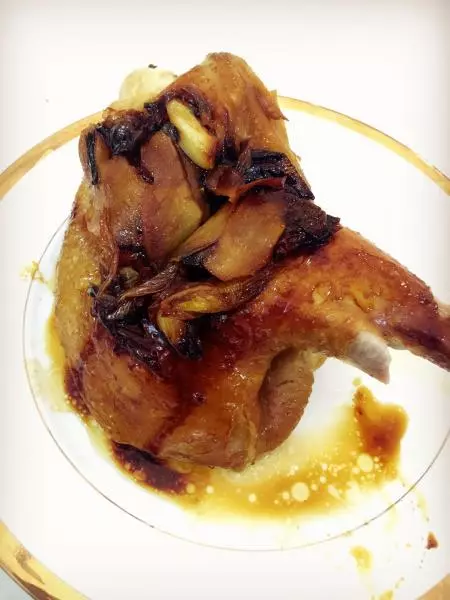
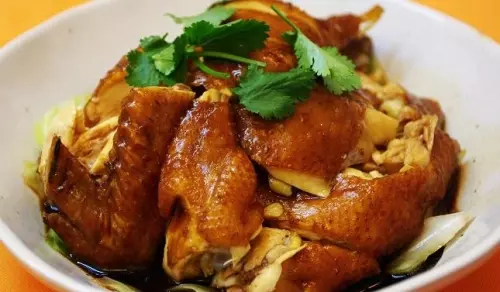
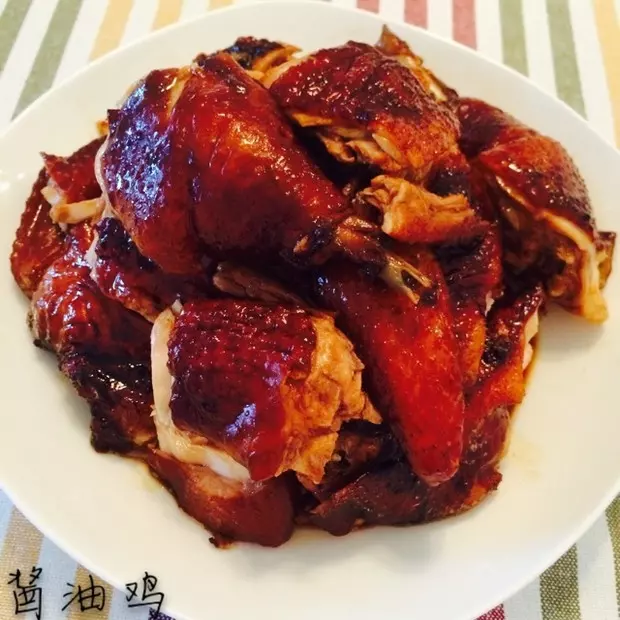
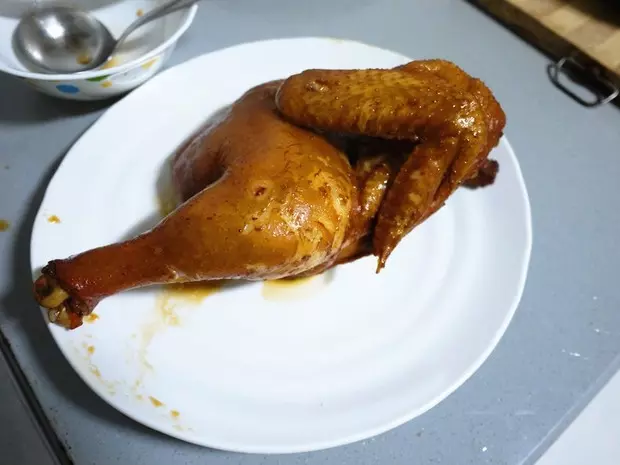
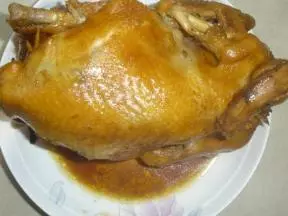
6若是1磅左右的小鸡,一个程序走完再焖15分钟即可。我这只4磅,就走了两次程序。入味,鲜嫩,软糯。