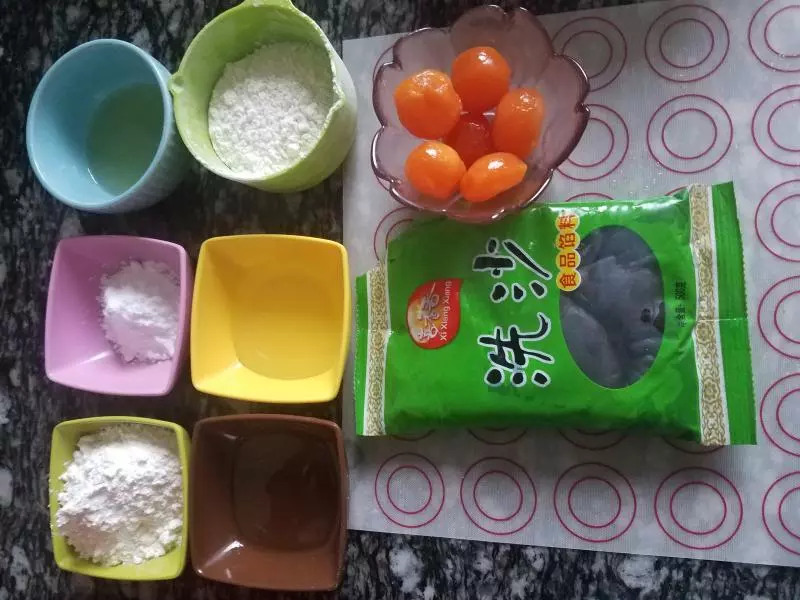
原料
油皮: 7个量, 中筋面粉: 55克, 玉米油: 24克, 水: 23克, 糖粉: 13克, 油酥: 7个量, 低粉: 60克, 玉米油: 30克, 蛋黄: 7个, 豆沙: 适量, 表面装饰芝麻: 适量, 鸡蛋黄: 一个
步骤
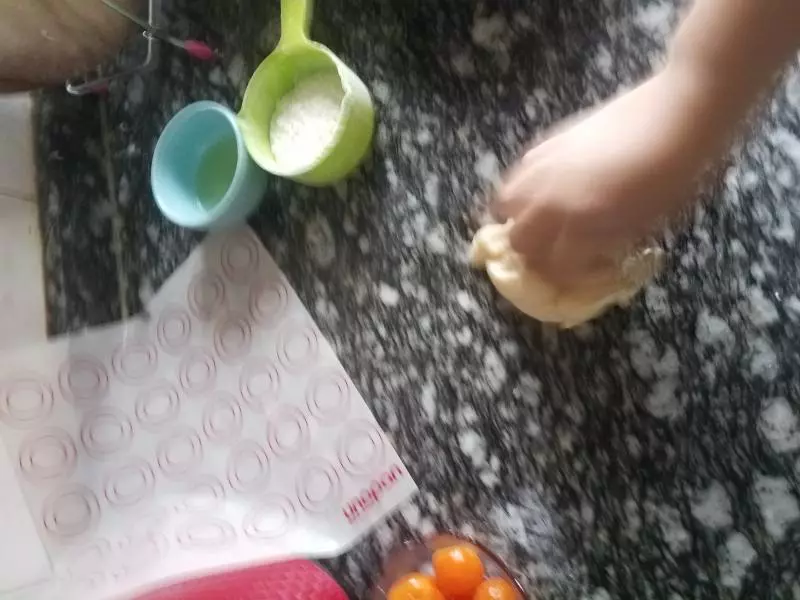
1准备食材,因为前天做过,蛋黄只剩六个了,方子是7个的
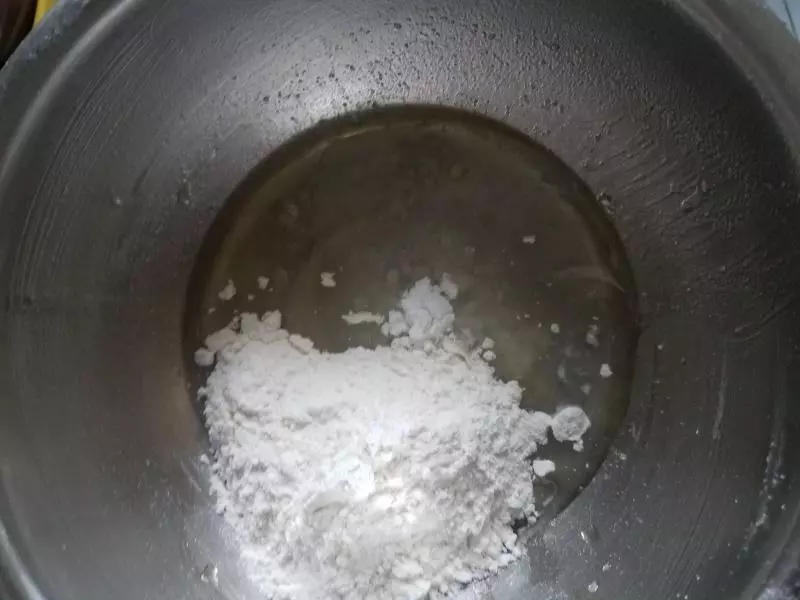
2油皮部分材料所有加在一起
3揉搓摔打,可以拉出薄膜
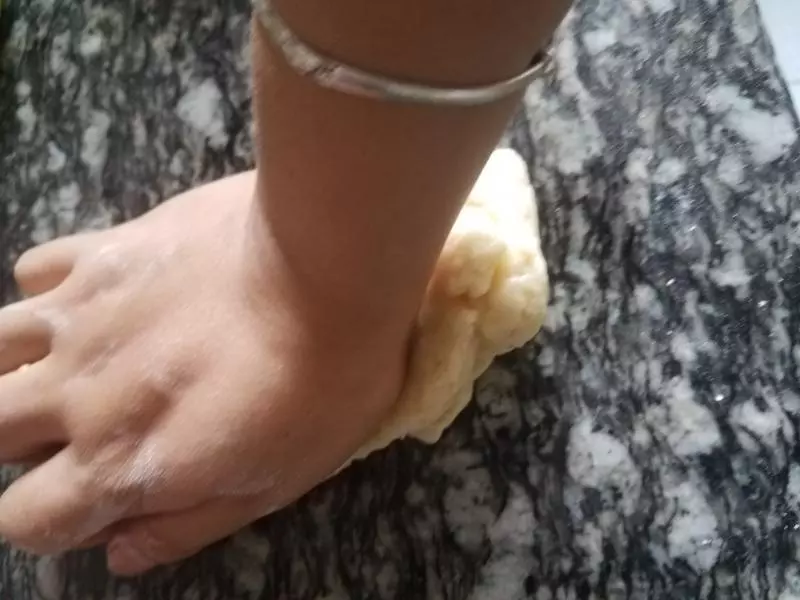
4摔打摔打,揉圆保鲜膜包住准备油酥
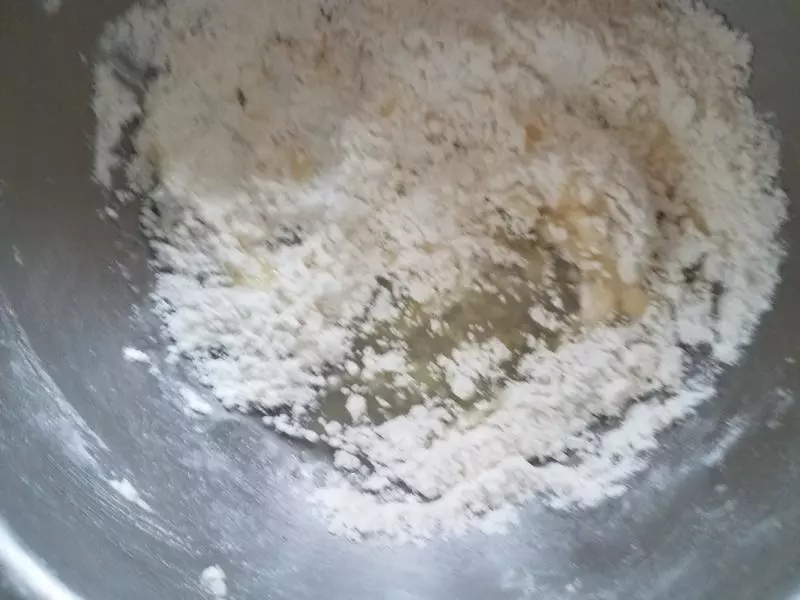
5材料混合用刮刀按压的方式到无干粉状态,
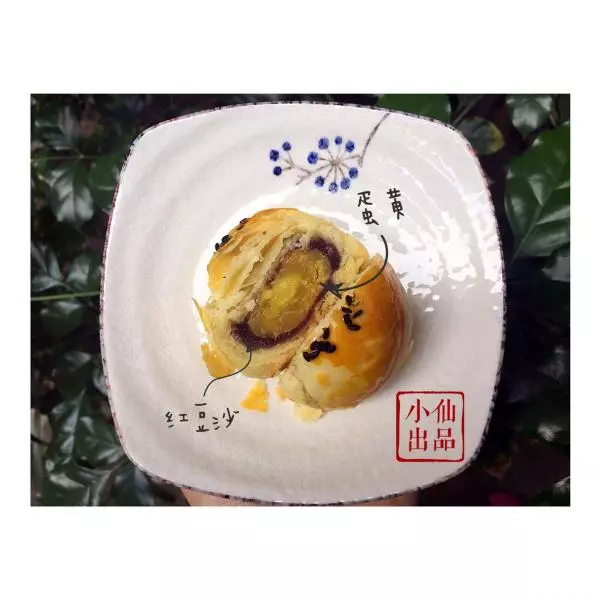
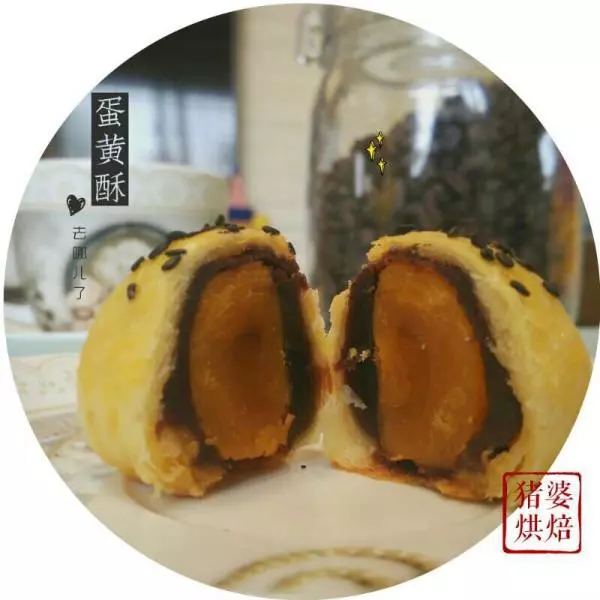
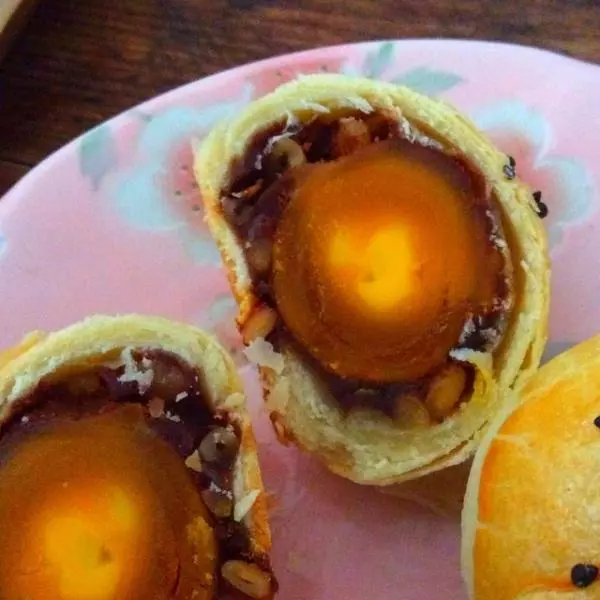
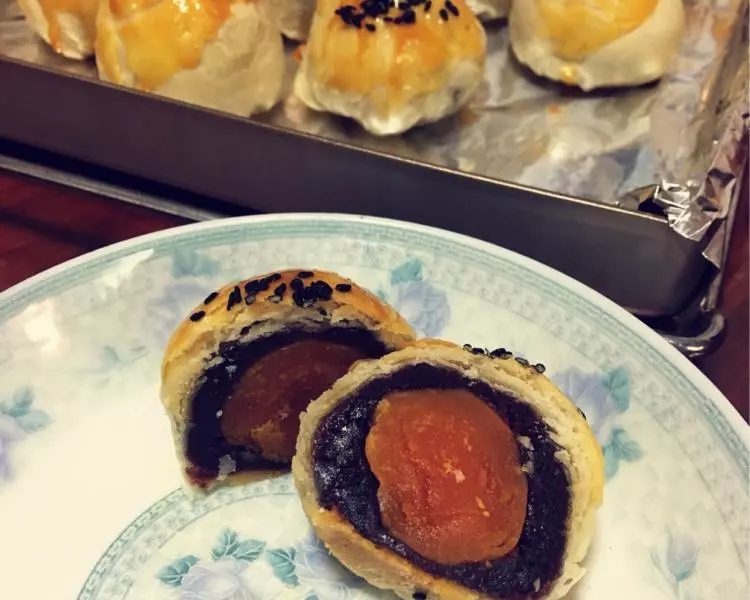
6油皮油酥松弛的时间准备豆沙包蛋黄,平均一个蛋黄加豆沙是30克
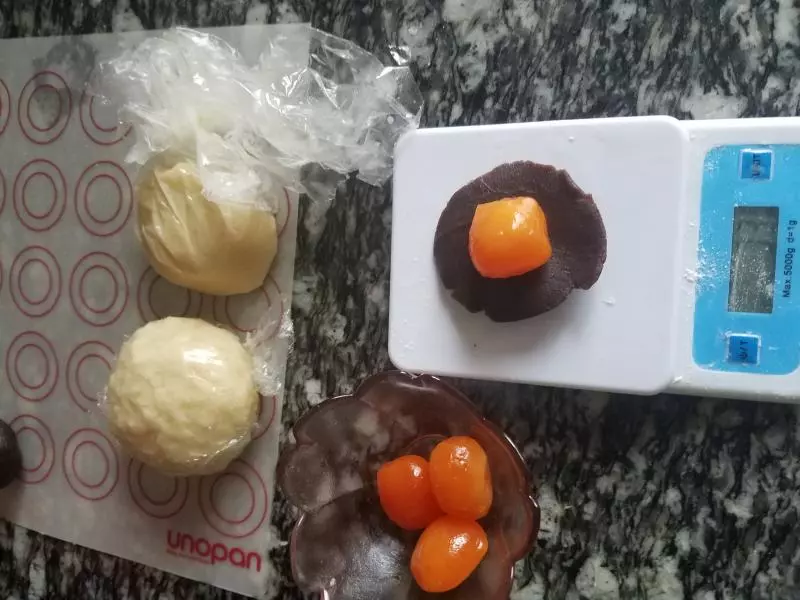
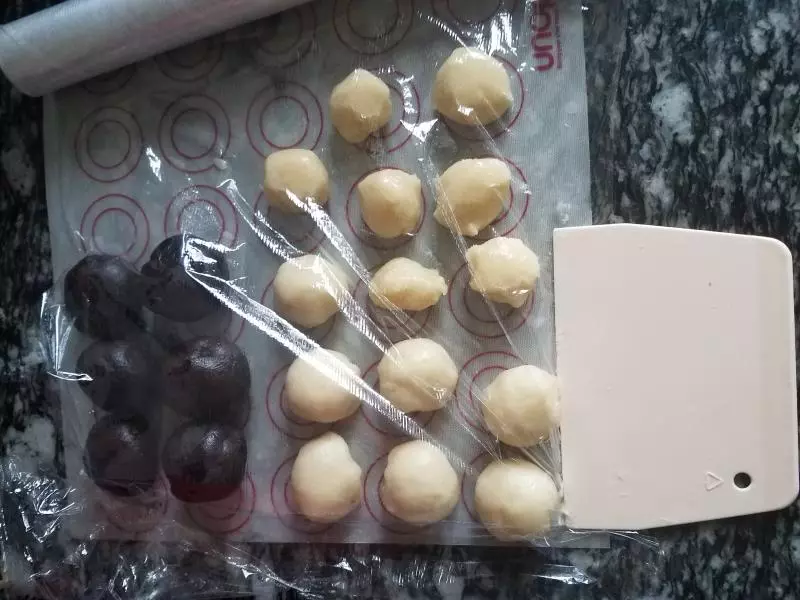
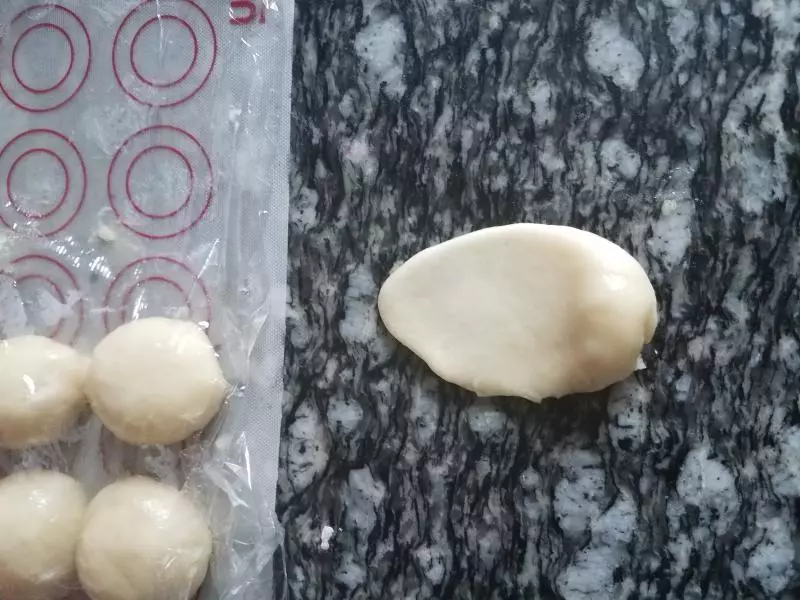
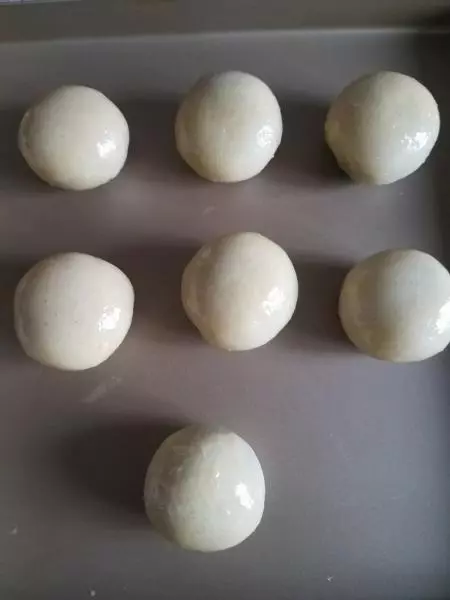
7油皮,油酥分成七份,滚圆,保鲜膜盖好
8取一个油皮用手压扁,包裹油酥,
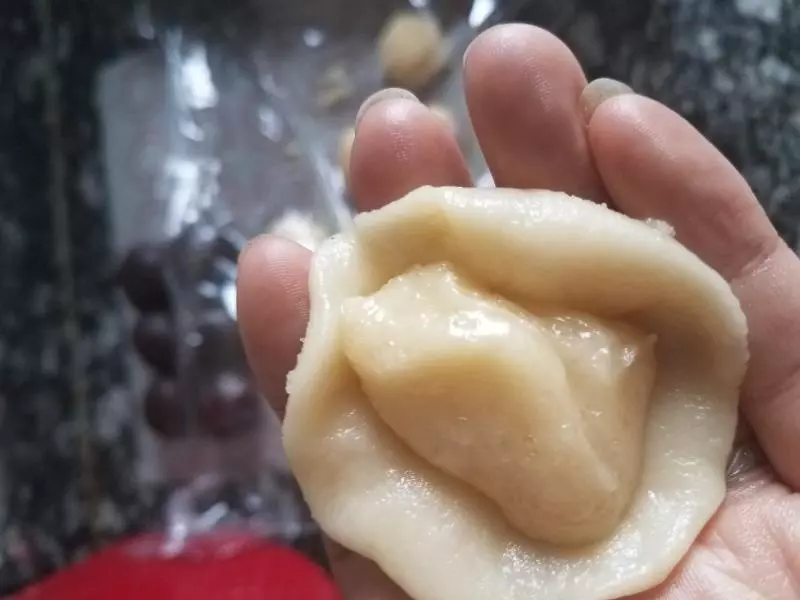
9用虎口的位置慢慢往上推,
10包好所有的松弛十分钟
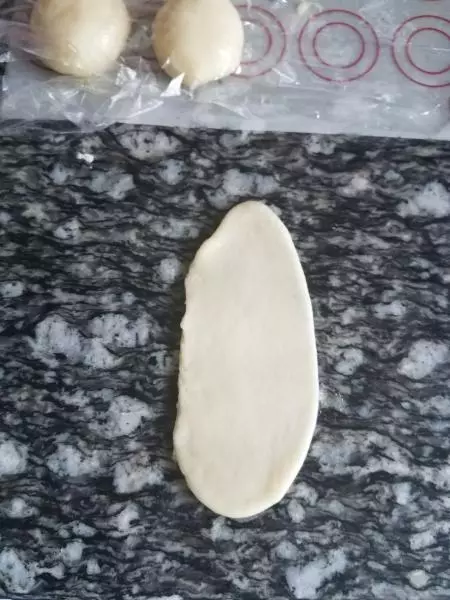
11先擀一头,再擀另一头,千万别来回擀哦
12擀好反面由下往上卷的方式,卷好所有的,继续松弛15分钟
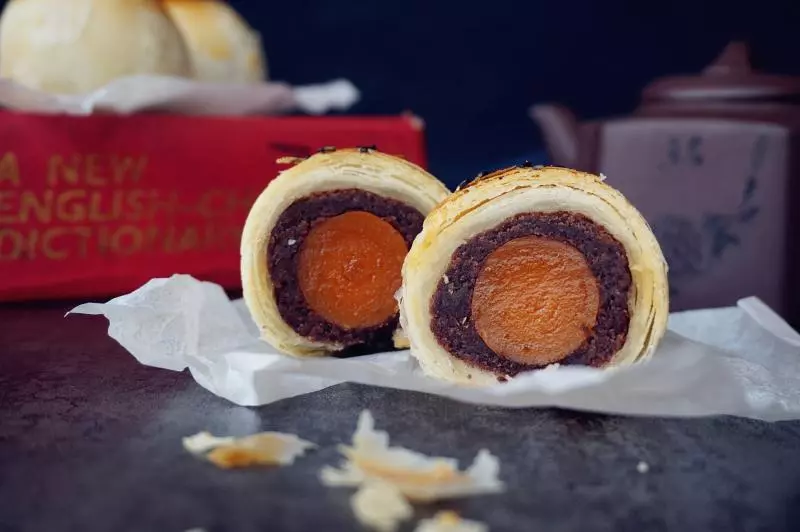
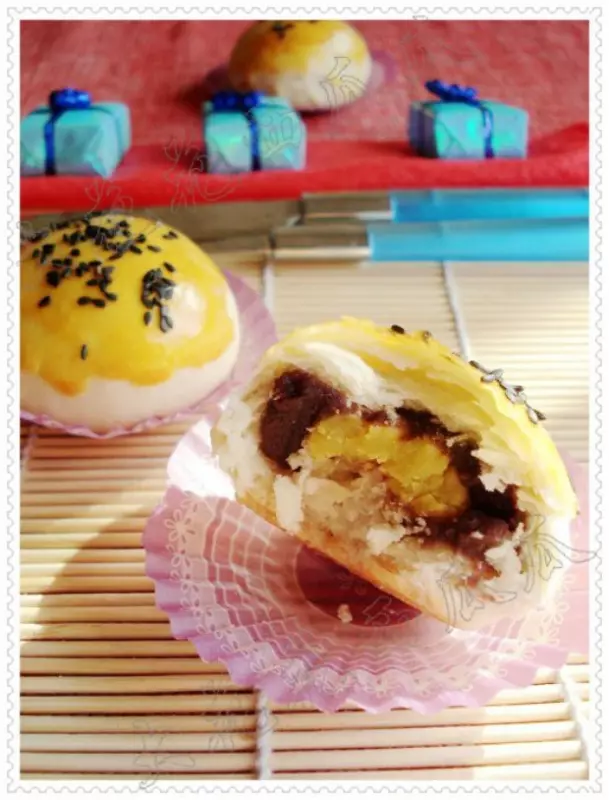
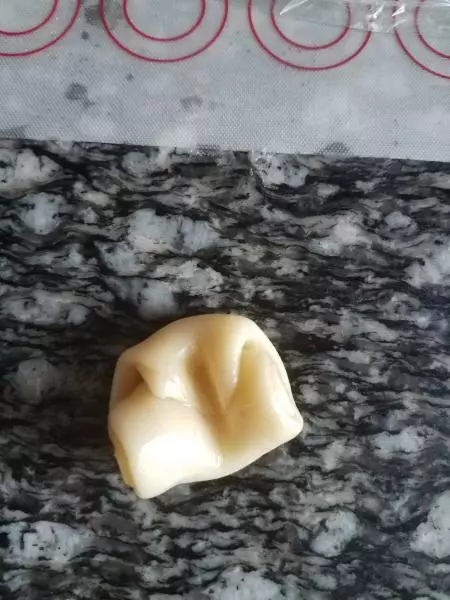
13这张图是其他做酥的,主要忘了拍玉米油版的,方法是一样的
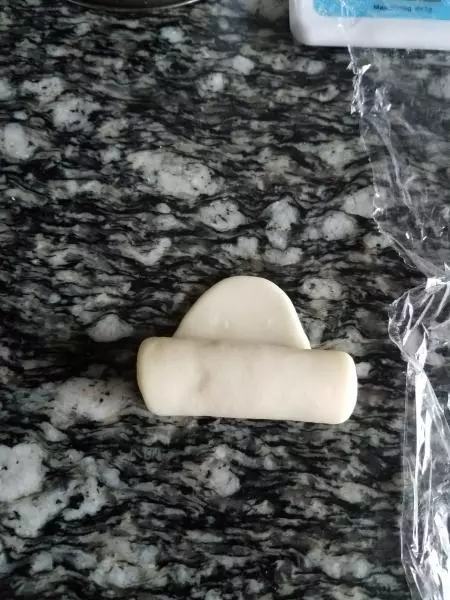
14松弛好,拿一个出来先用手压一下在擀,反面,卷起
15松弛15分钟
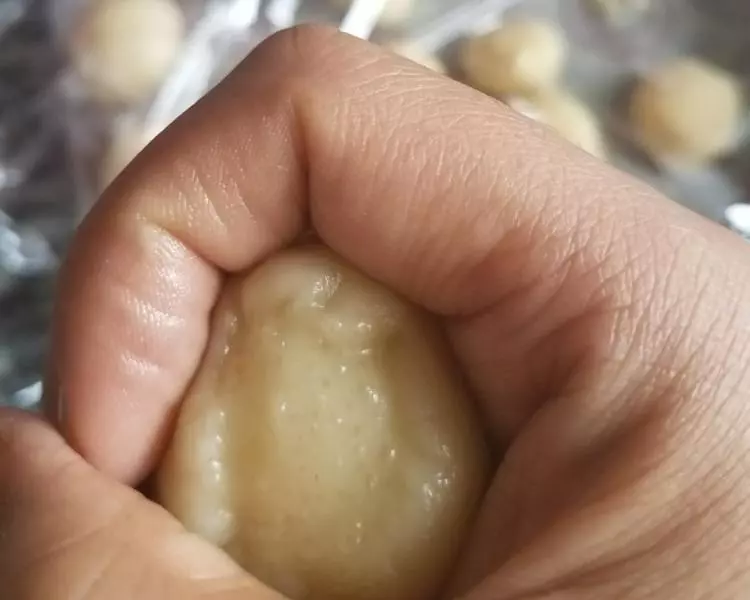
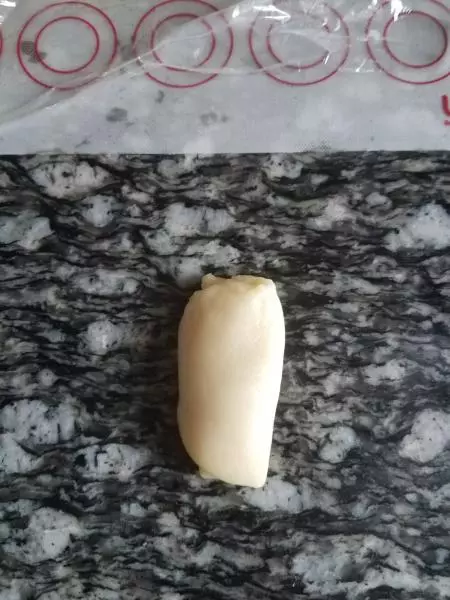
16取一个,用手指压中间
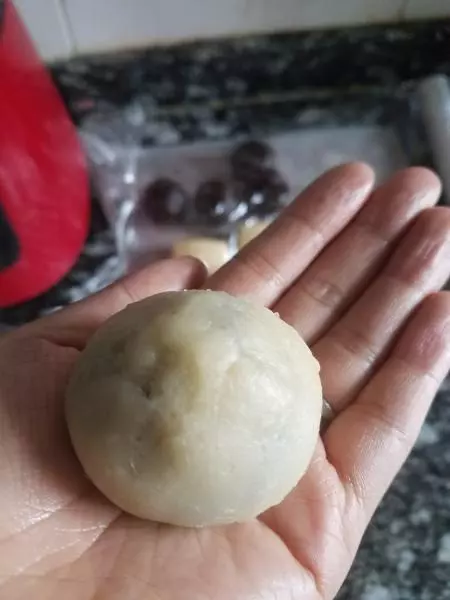
17两头拉过来按压,擀圆
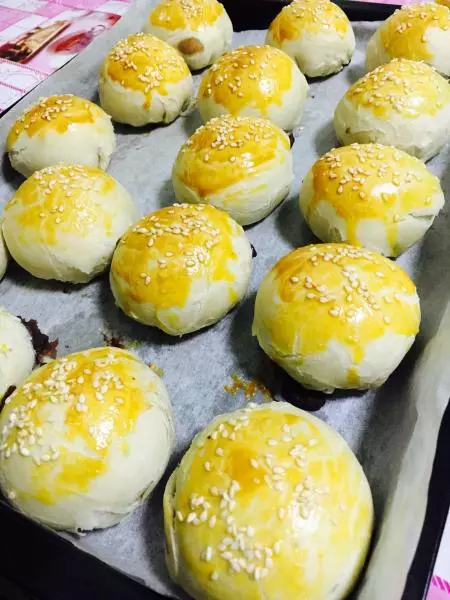
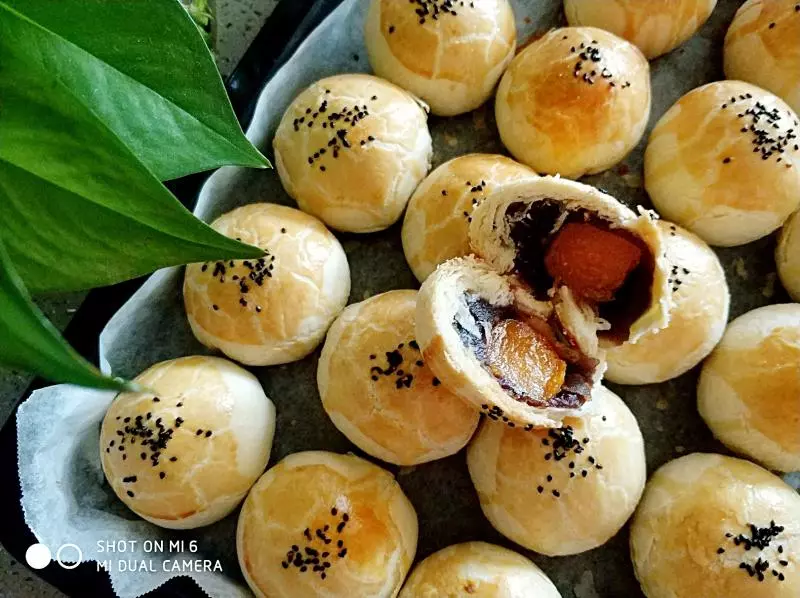
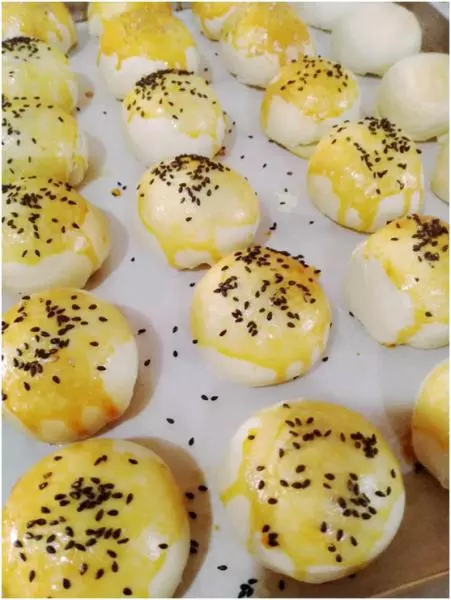
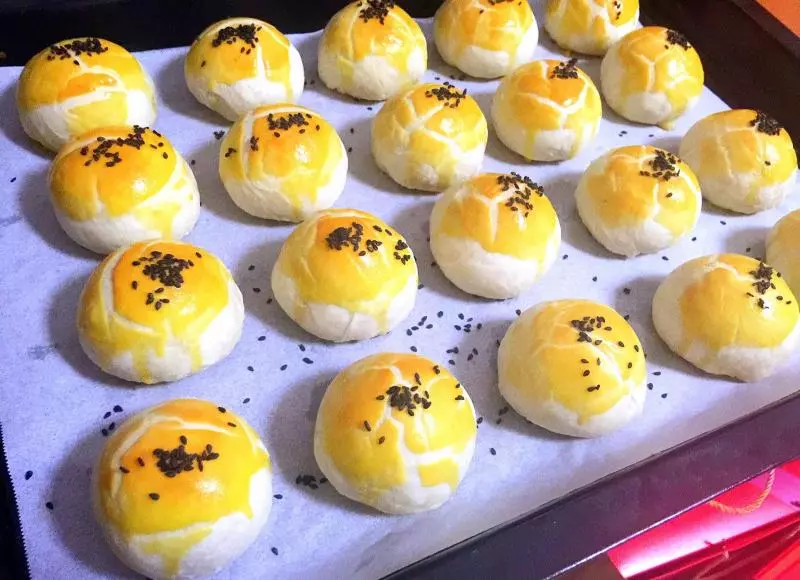
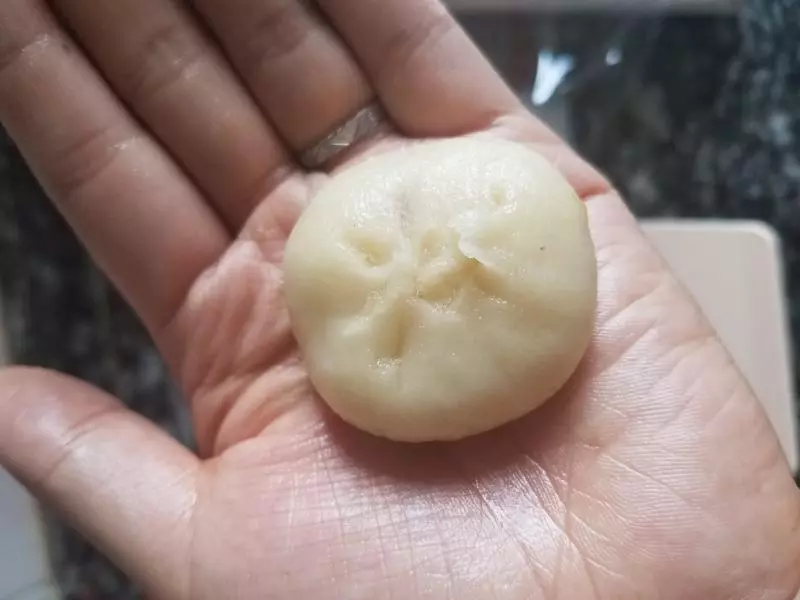
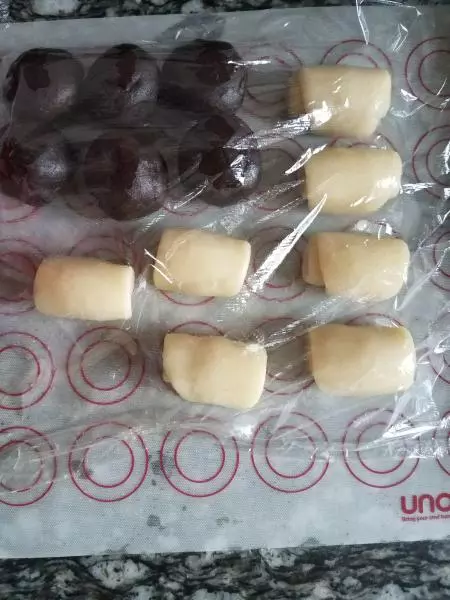
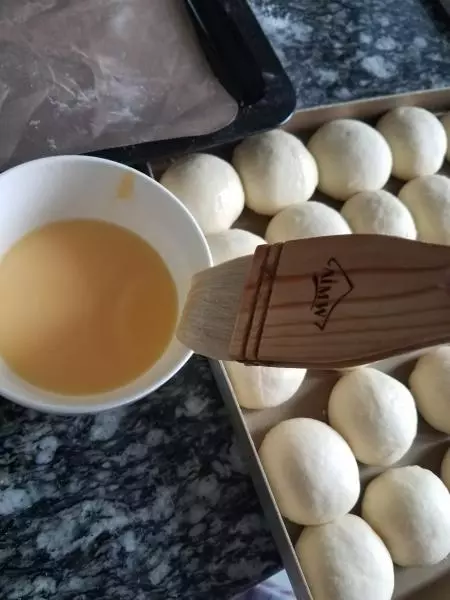
18包蛋黄,虎口慢慢往上推
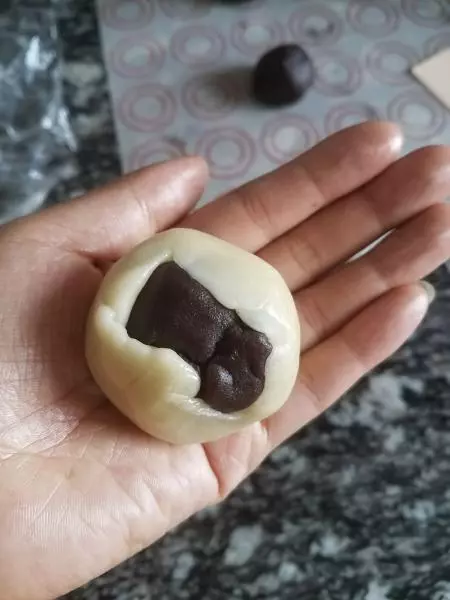
19收口一定要收紧
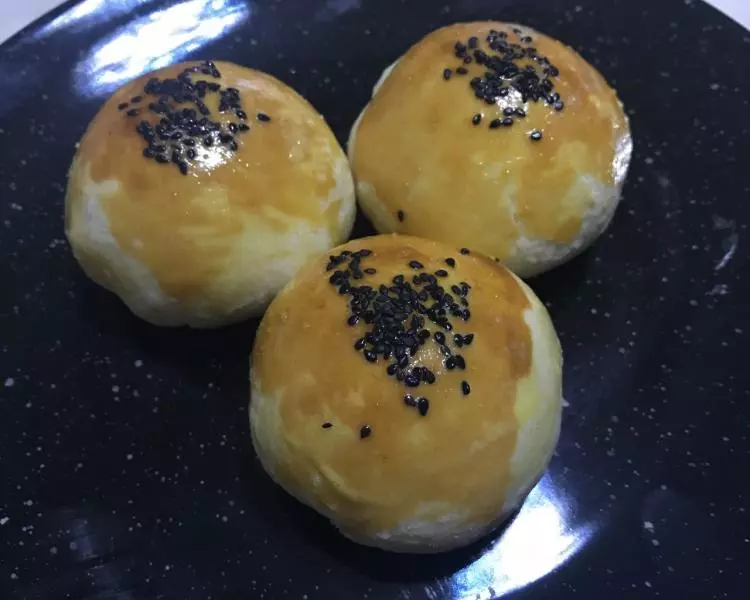
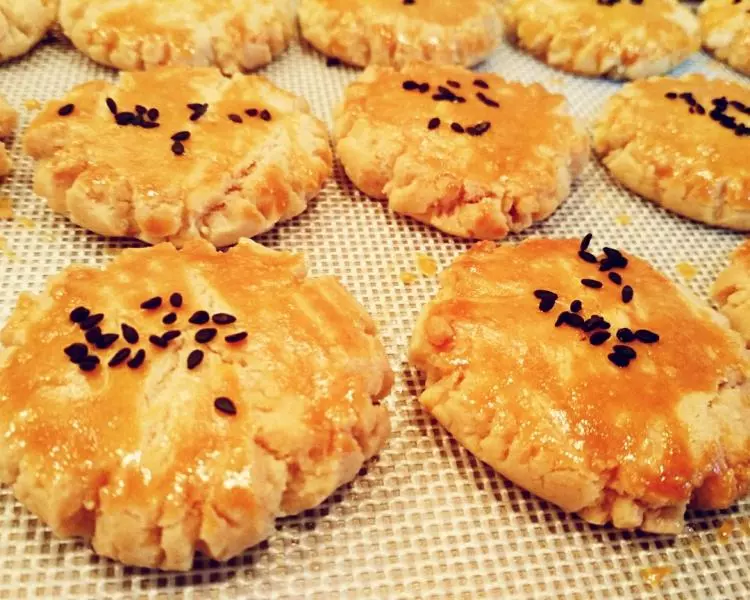
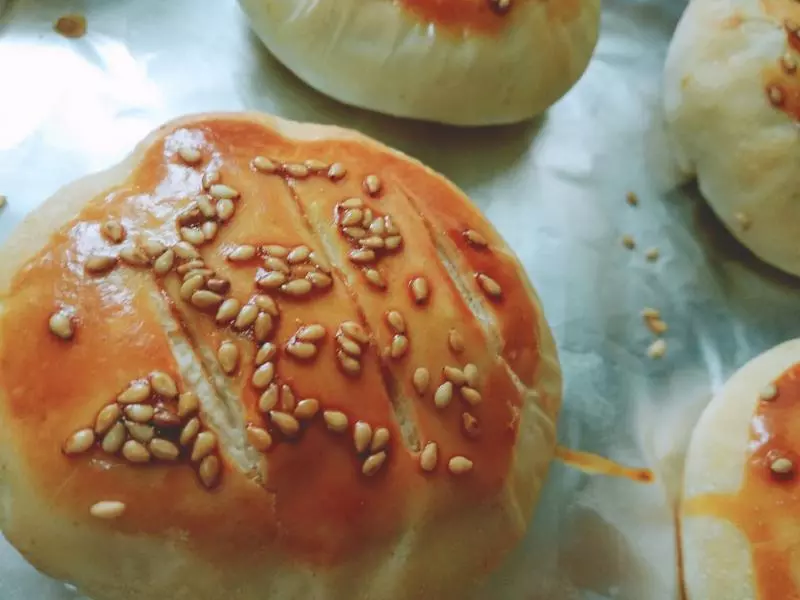
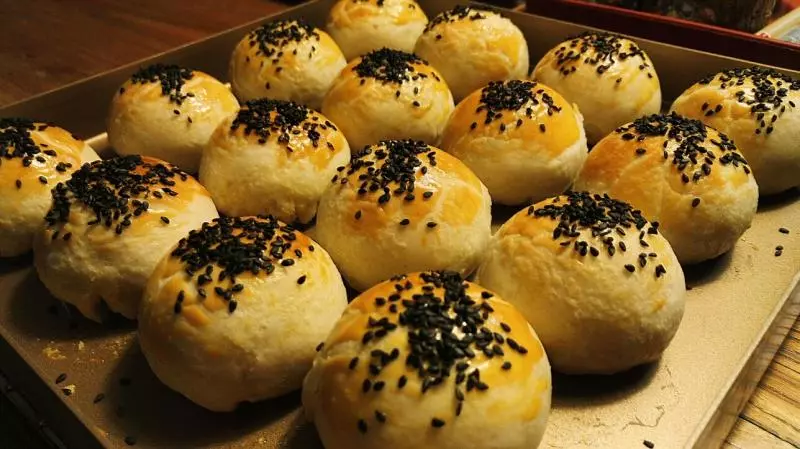
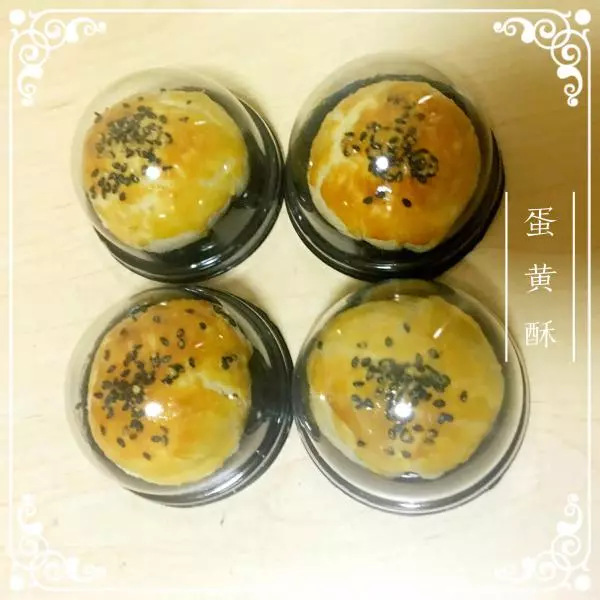
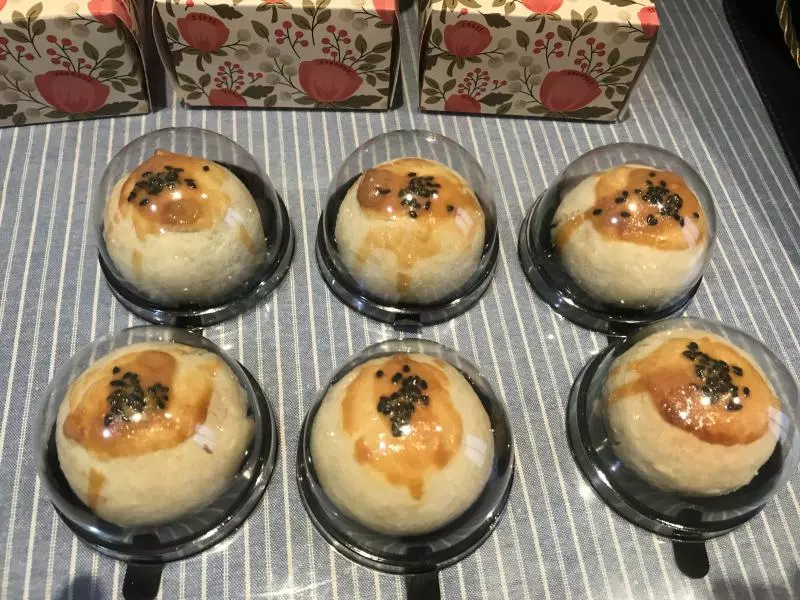
20所有的包好,预热烤箱上下火180度,准备鸡蛋黄,刷蛋液
21突然发现蛋黄酥刷蛋液居然没拍照,还好做面包又拍,蛋黄准备用刷子先沾蛋黄液,在碗边刮一下在刷,可以等蛋黄稍微风干一下,再刷一次
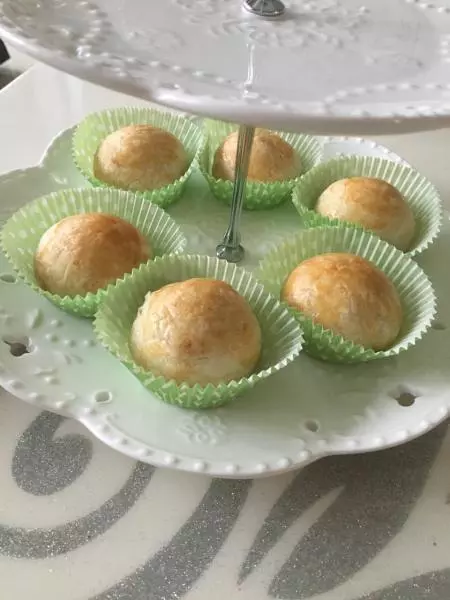
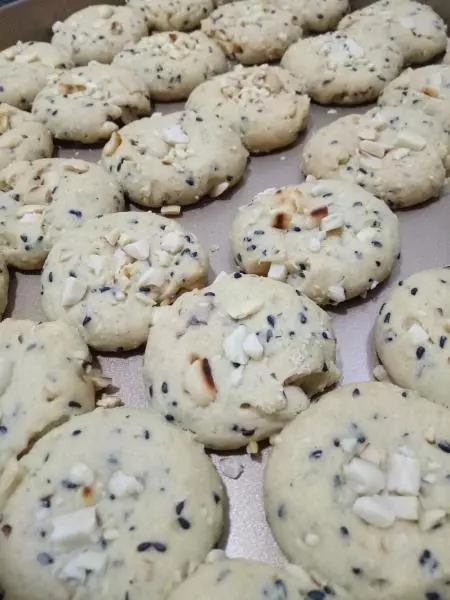
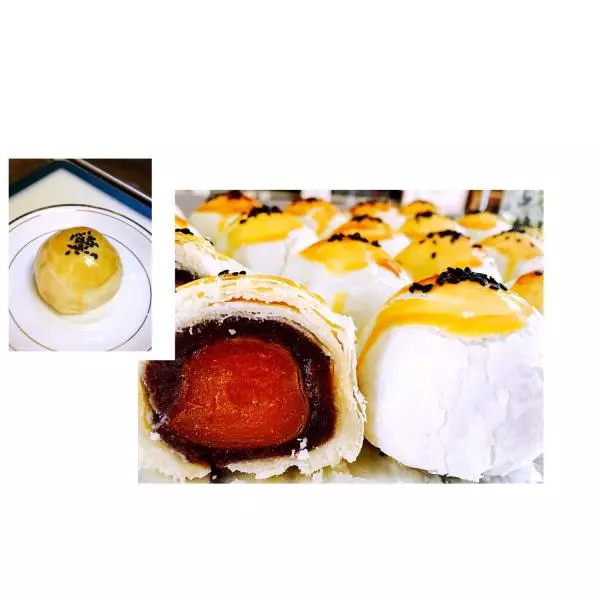
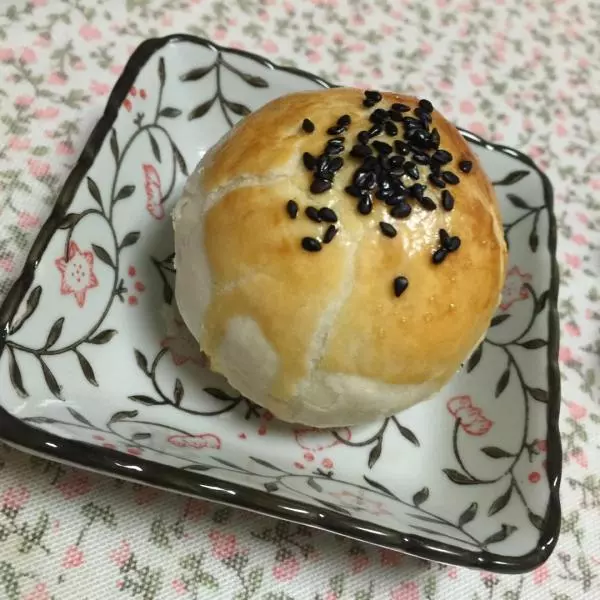
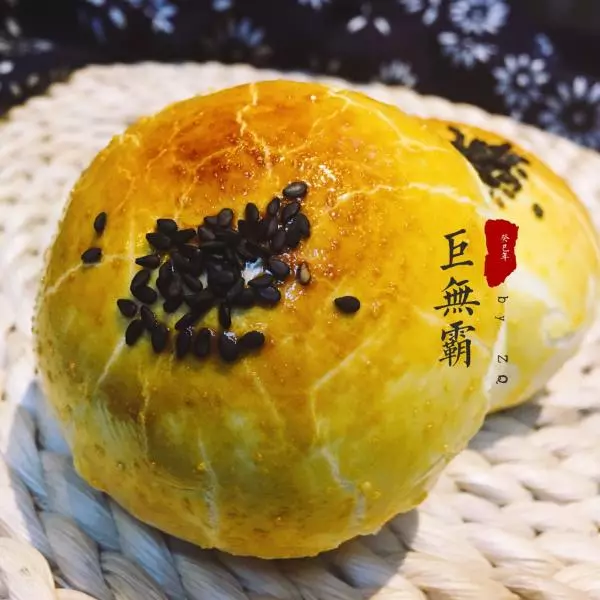
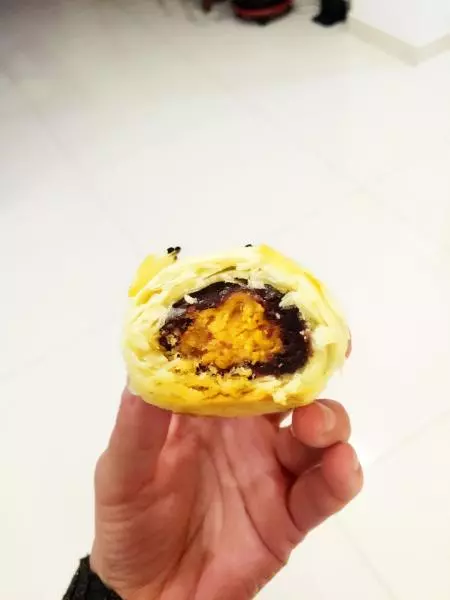
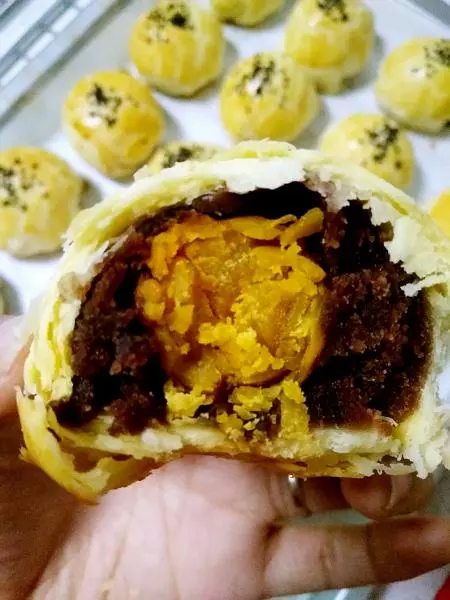
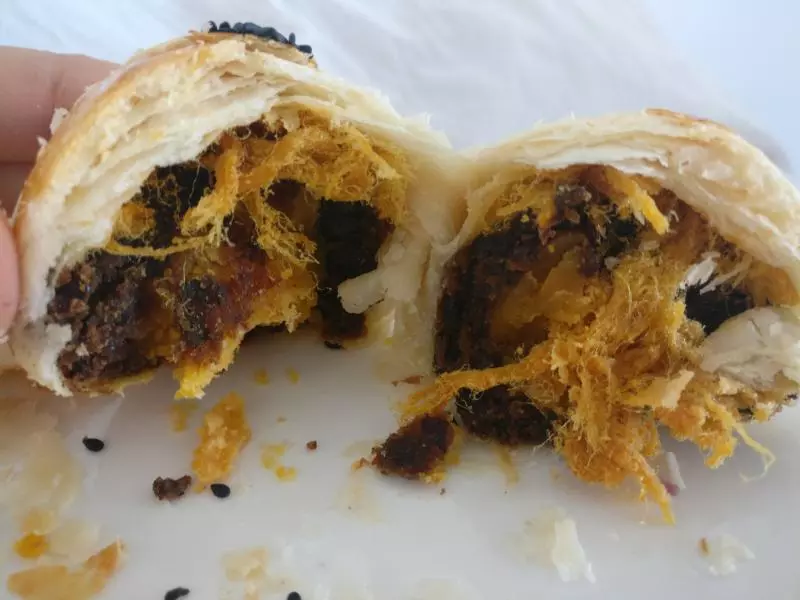
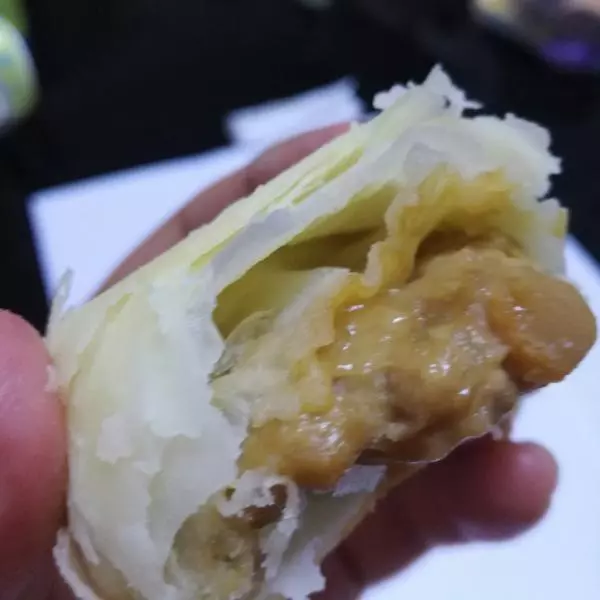
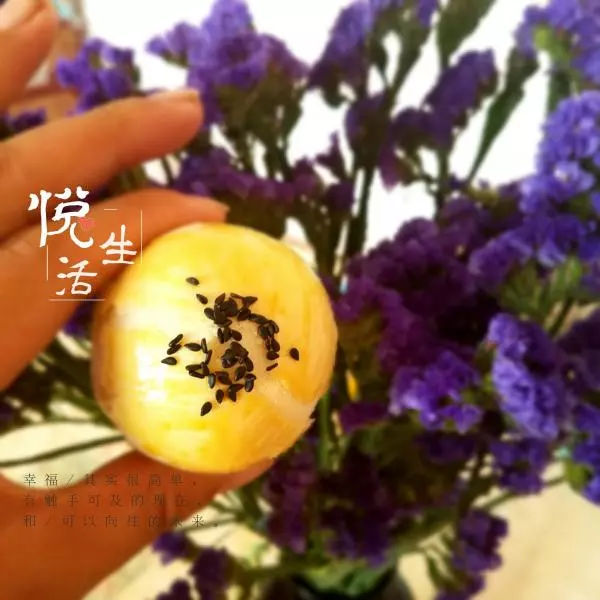
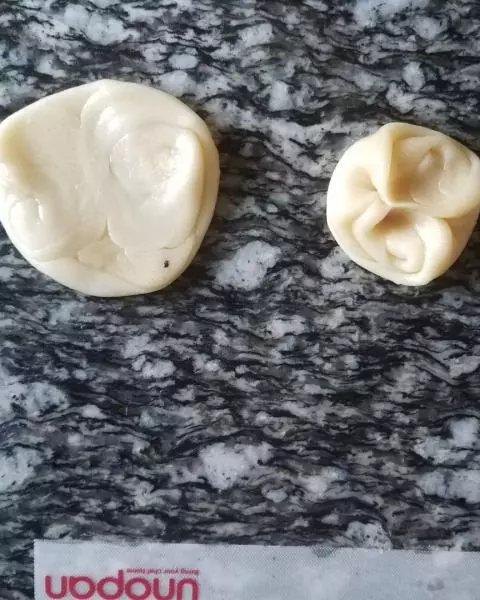
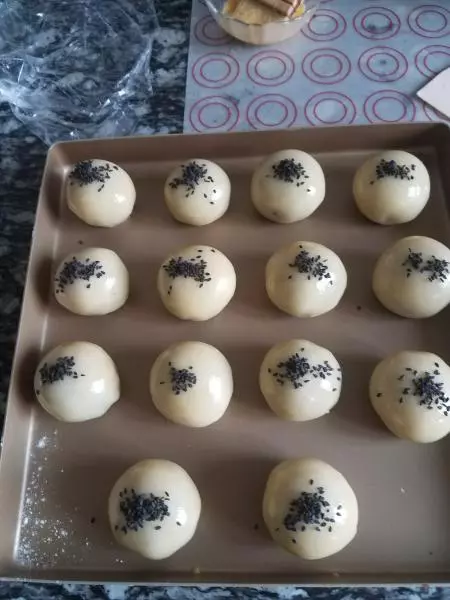
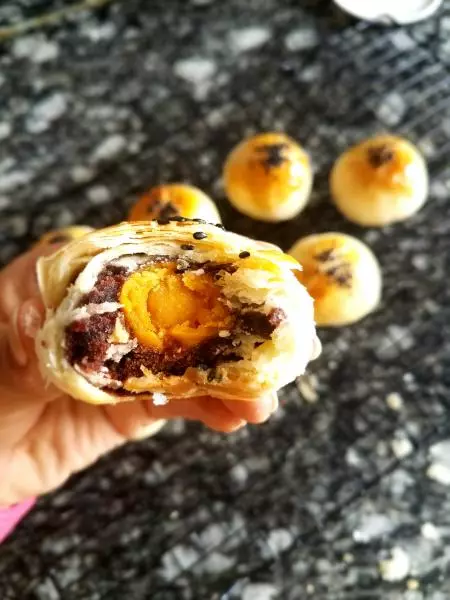
22一心二用了,放芝麻的也忘了拍,借图
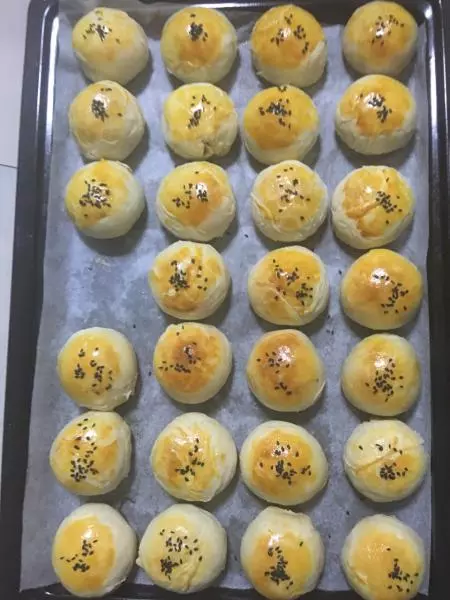
23放入预热好的烤箱,180度烤30分钟出炉晾晾即可,其实不烫就开吃最好了
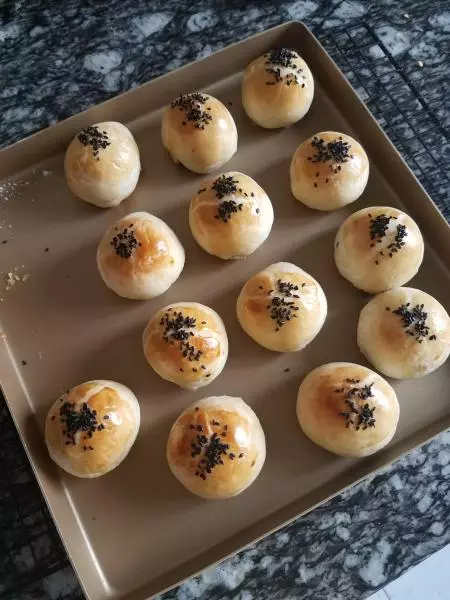
24是不是很酥呢
小技巧
因为前天做过,发了圈好多朋友都问怎么做,所以来个分享食谱, 做玉米油版蛋黄酥要注意的是油皮油酥包的时候,玉米油的是很软的,所以包起来比较麻烦,但是只要耐心一点,成品还是很惊艳的 还有一定要松弛到位,要不然后果你们知道的…… 还有不明白的可以随时问我哦 哦对了,具体时间烤自家烤箱温度哦!