原料
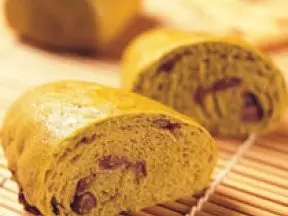
抹茶粉 15克, 高粉 200克, 低粉 45克, 蜜红豆125克, 白糖 30克, 盐 2.5克, 酵母 2.5克, 牛奶 120克左右, 鸡蛋 50克, 黄油 25克
步骤
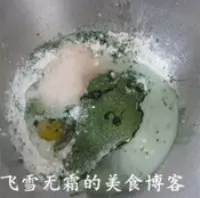
1所有原料除黄油外倒入容器中,奶量最好留下10克慢慢添加
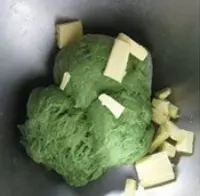
2揉成团并光滑后,放入切成小块并软化的黄油
3然后揉出大片薄膜

4将面团放入容器中盖盖进行发酵
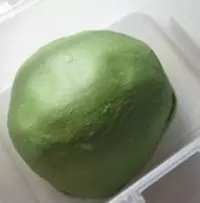
5发酵至二倍大后
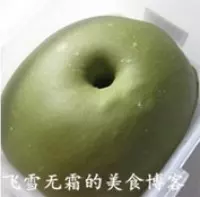
6再取出滚圆,盖上保鲜膜醒10分钟

7然后将面团擀平

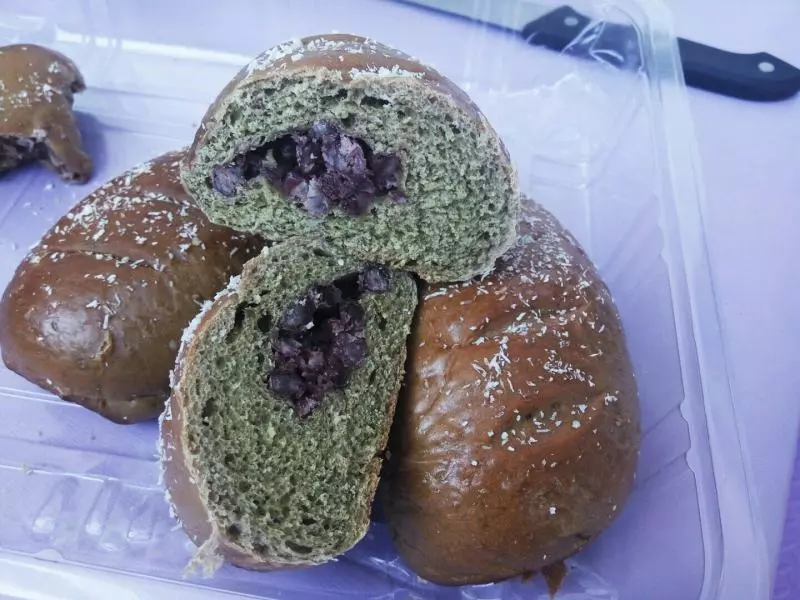
8均匀的铺上红豆
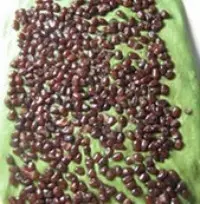
9边缘的面片擀薄一点,卷起的时候,收口会更容易

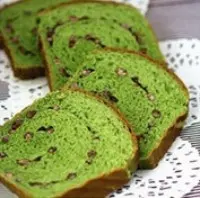
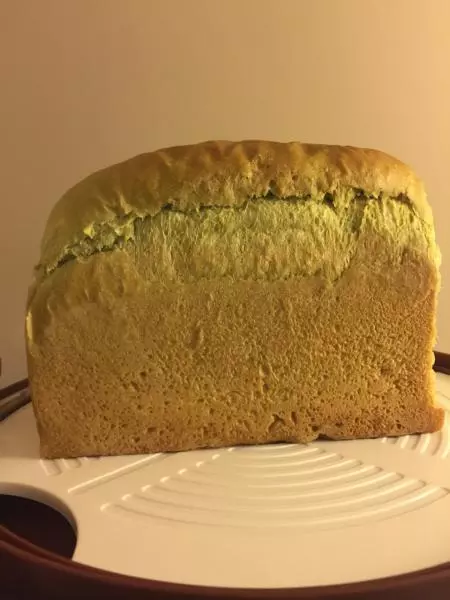
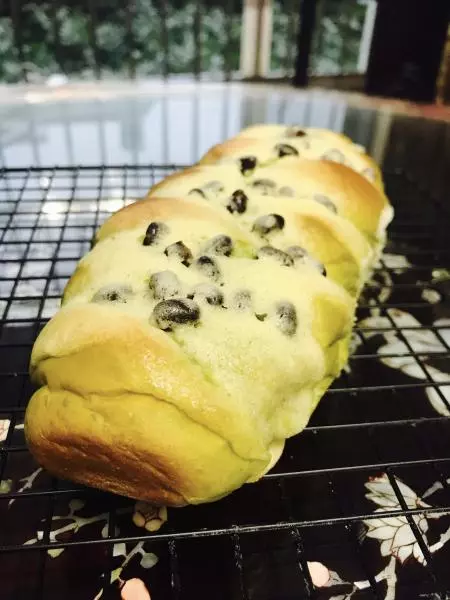
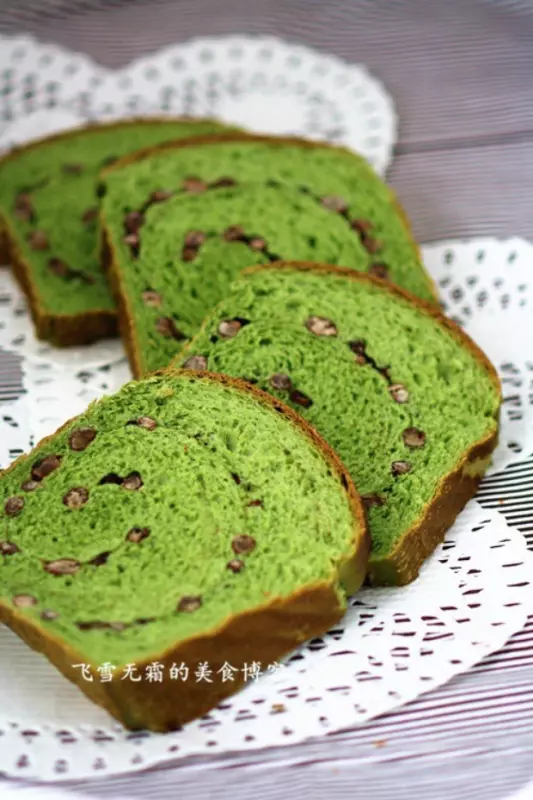
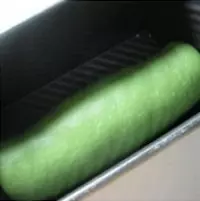
10然后将卷好的面团放入土司盒中
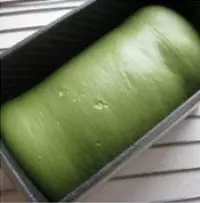
11土司盒中面团发酵至八分满
12烤箱180度预热,下层,烤30分钟左右即可