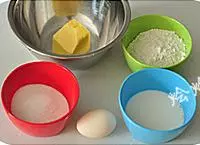
原料
无盐黄油90克, 细砂糖70克, 鸡蛋1个, 鲜奶80克, 香草精1/4小匙, 盐1/8小匙, 低筋面粉110克, 泡打粉1小匙, 动物性淡奶油150克, 细砂糖10克, 草莓6颗
步骤
1 准备好所有的材料,黄油室温软化。
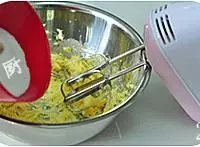
2 用打蛋器将软化的黄油搅拌至顺滑,将细砂糖分2-3次加入搅拌,拌至略泛白后,加入盐和香草精拌匀。
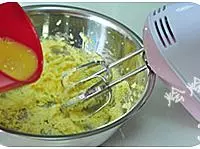
3 分将加入蛋液,充分搅拌均匀。
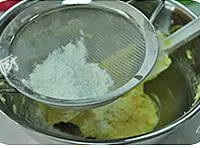
4 先将1/3的低筋面粉和泡打粉过筛进作法3内,用橡皮刮刀拌匀。
5 再将1/3牛奶过筛进作法4内,用橡皮刮刀拌匀。
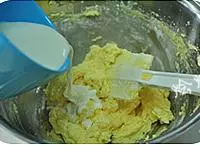
6 这样交替将所有的粉类和牛奶加入,用橡皮刮刀拌匀。

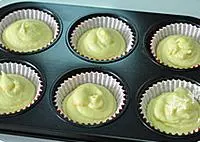
7 将拌好的面糊装进纸杯中。
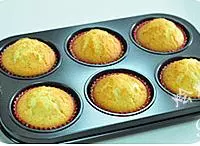
8 预热烤箱至上火170度,下火160度,将蛋糕糊放进烤箱烘烤30-35分钟。

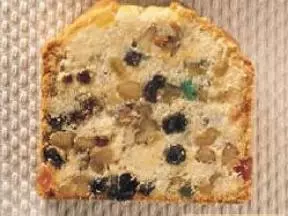
9 烤制好的蛋糕取出放凉备用。
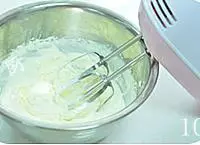
10 将动物性淡奶油加糖打至9分发。
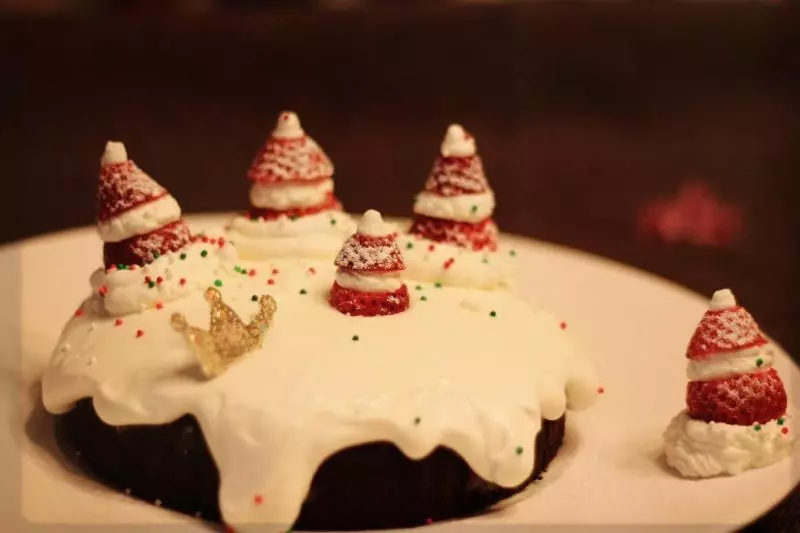
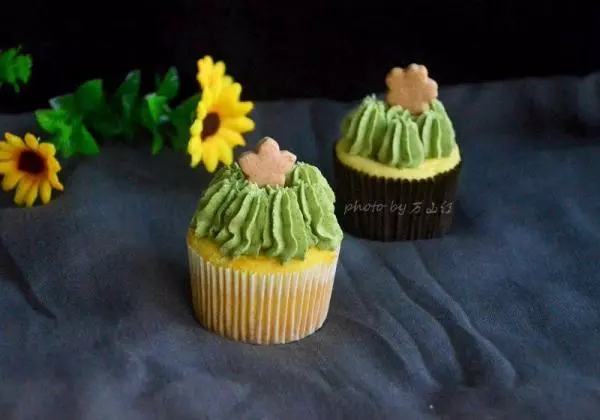
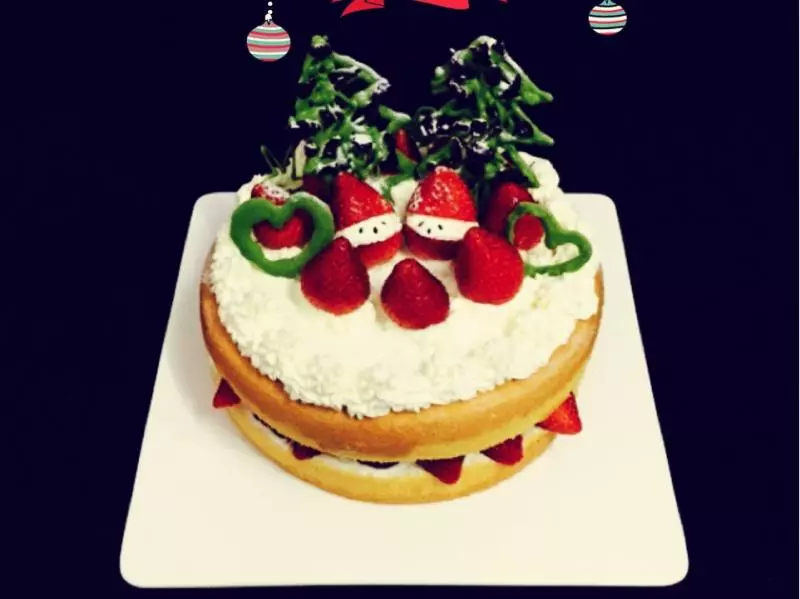
11 将奶油装进裱花袋,挤在小蛋糕的面上。

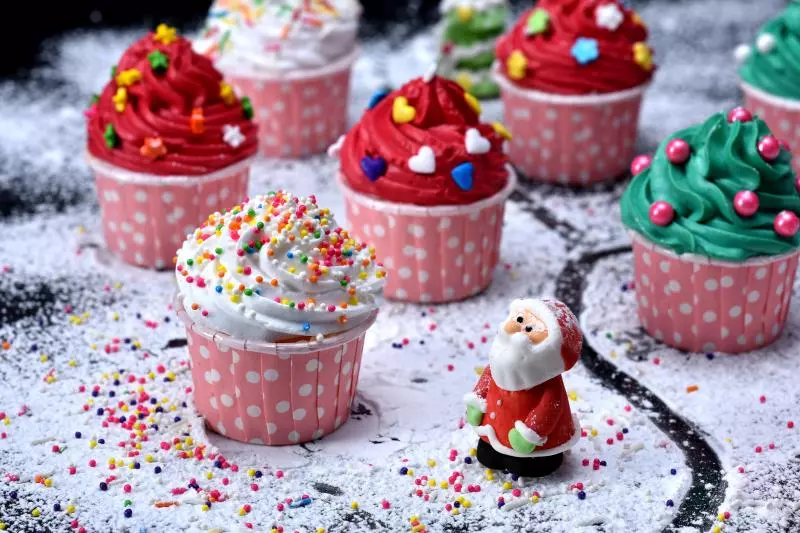
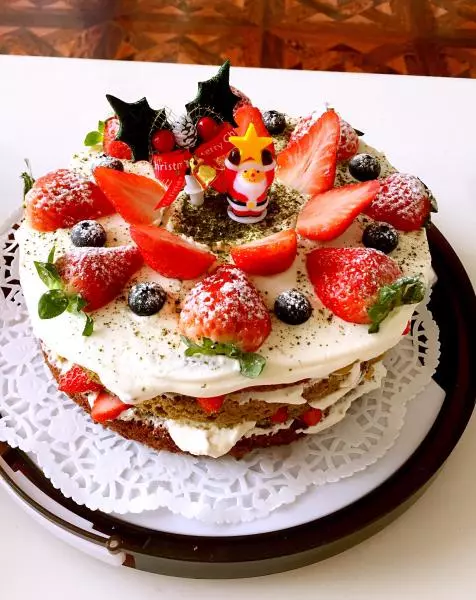
12 再将草莓从顶部的1/3切开,挤上奶油,用巧克力膏画上表情,就是圣诞老人了,再把草莓圣诞老人放在小蛋糕的奶油上装饰即可。