原料
鸡胸肉: 1块, 蛋白: 1份, 盐: 0.5茶匙, 韩式辣酱: 1汤匙, 糖: 适量, 白胡椒: 适量, 玉米: 1棵, 燕麦: 2汤匙, 芝麻油: 少许, 韩式辣鸡面: 1包
步骤
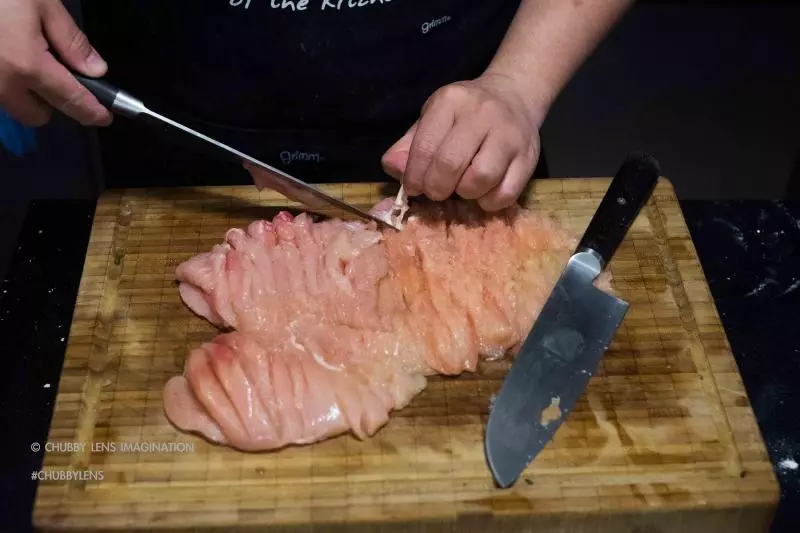
1将鸡胸肉顺着肉的纤维切成竖条
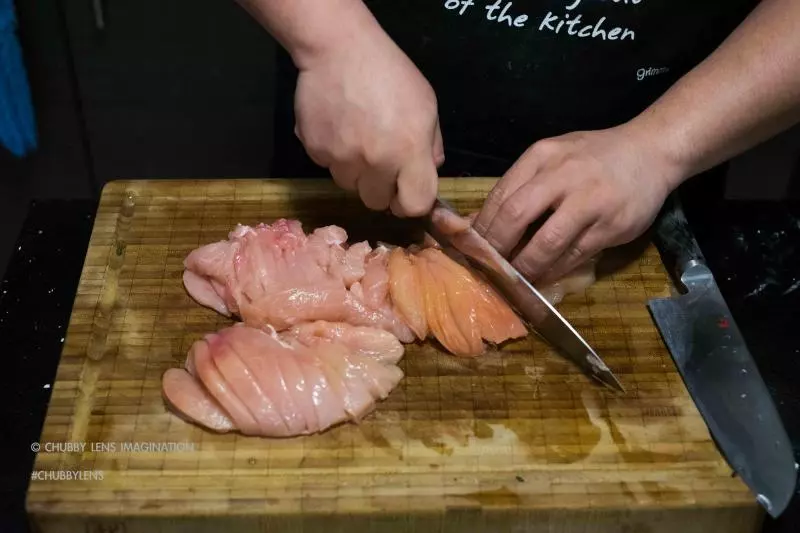
2切肉过程,记得将筋膜、脂肪和脆骨剃掉
3然后用双刀模式剁成肉 p.s. 个人建议肉不要剁得太细,更有口感
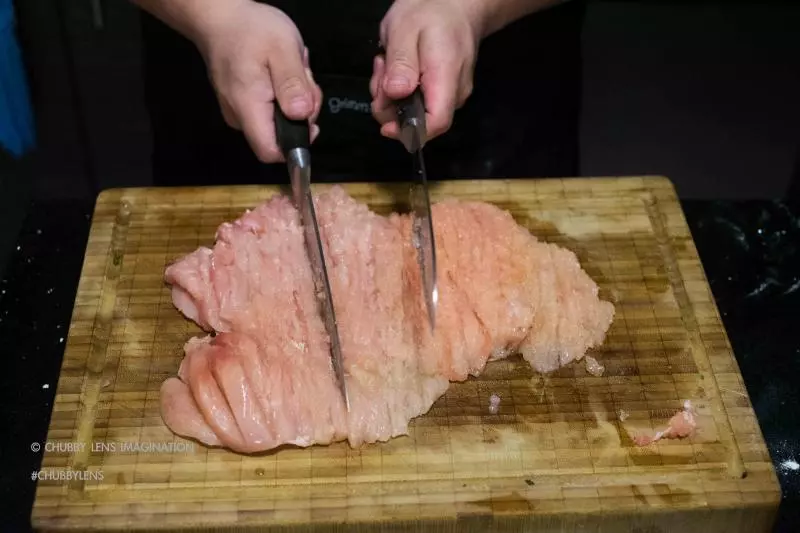
4期间,可以把盐加进去一起剁
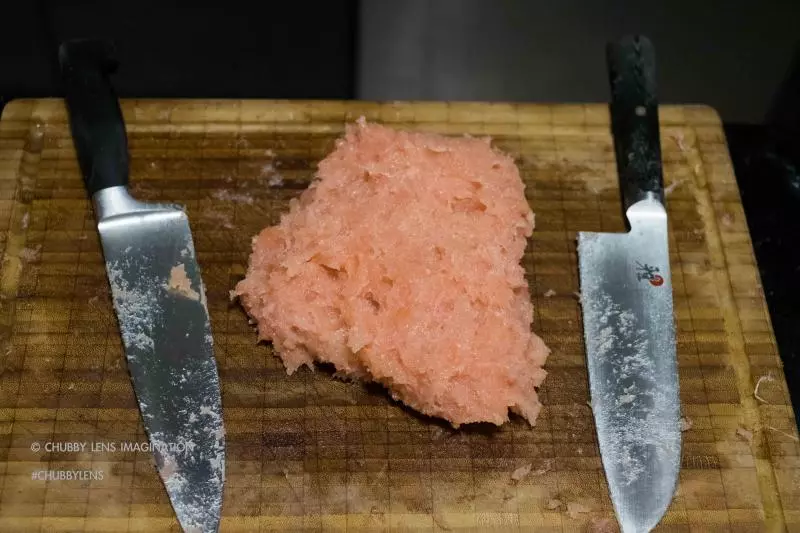
5剁好的肉泥
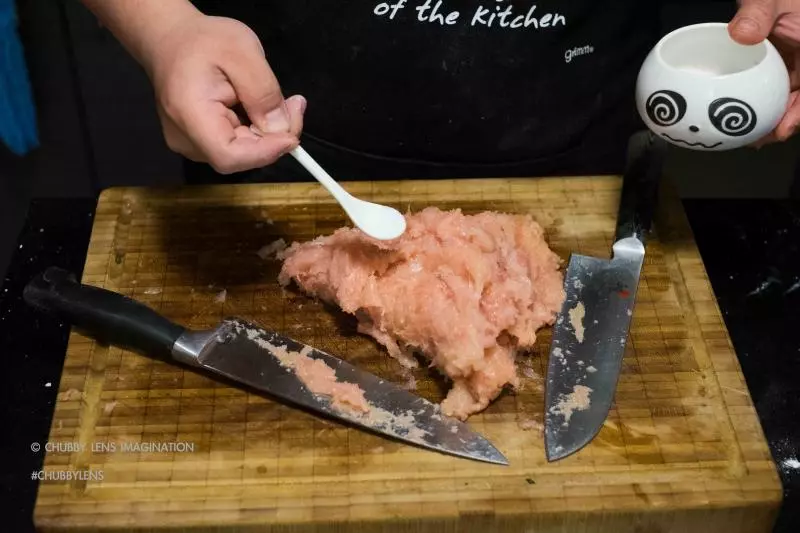
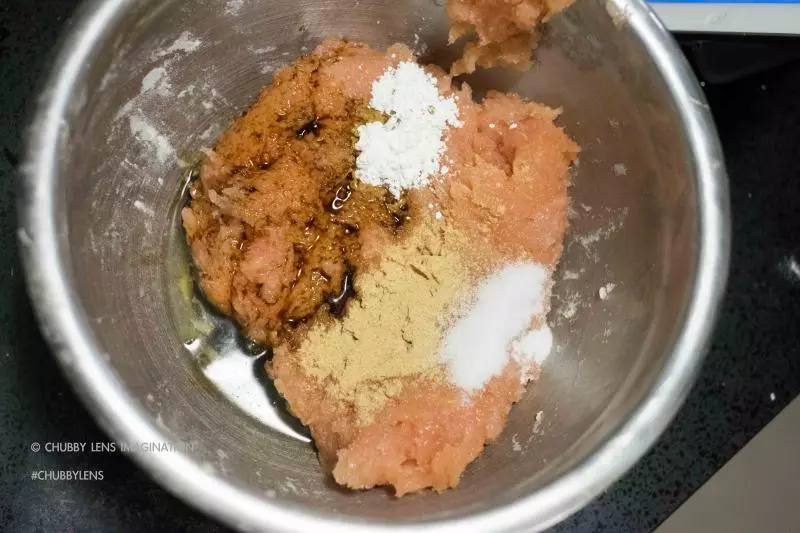
6放入一个盆中,加入蛋白、调味、韩式辣酱和燕麦,
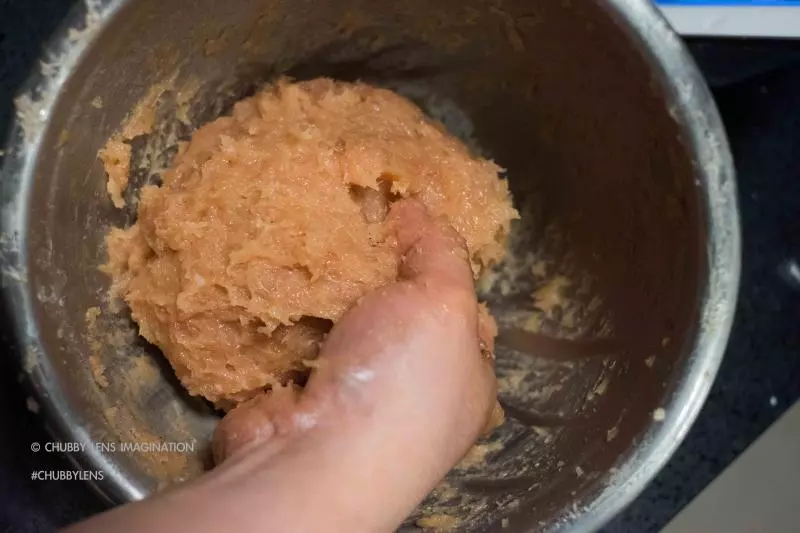
7一并摔打出粘性 (大概20-30下就可以)
8最后加入玉米粒,搅拌均匀即可
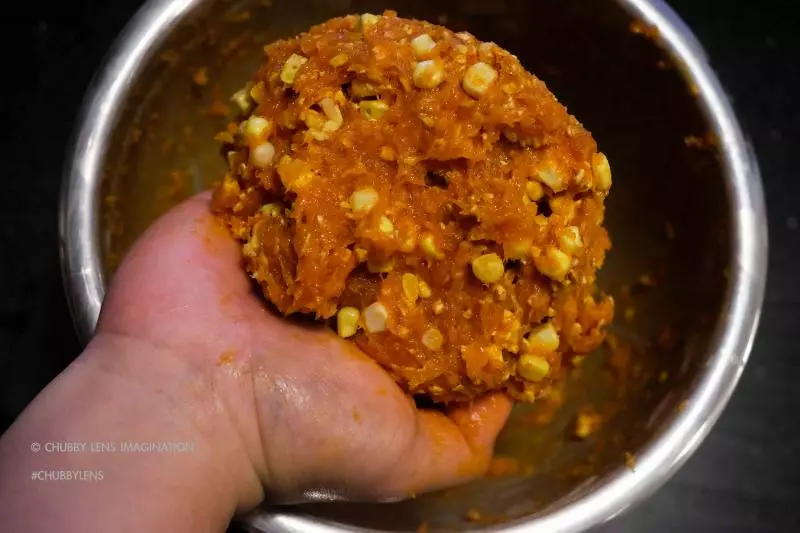
9临下锅前拌入麻油 (这样剂丸子的时候没那么粘手)
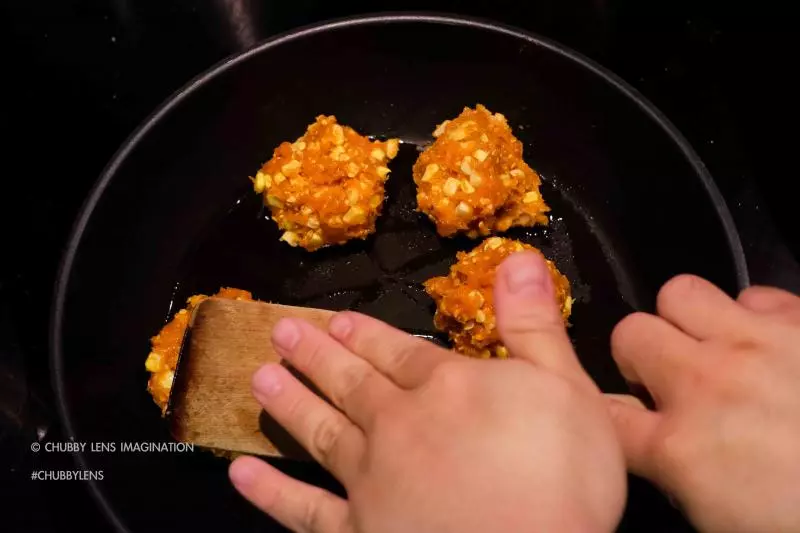
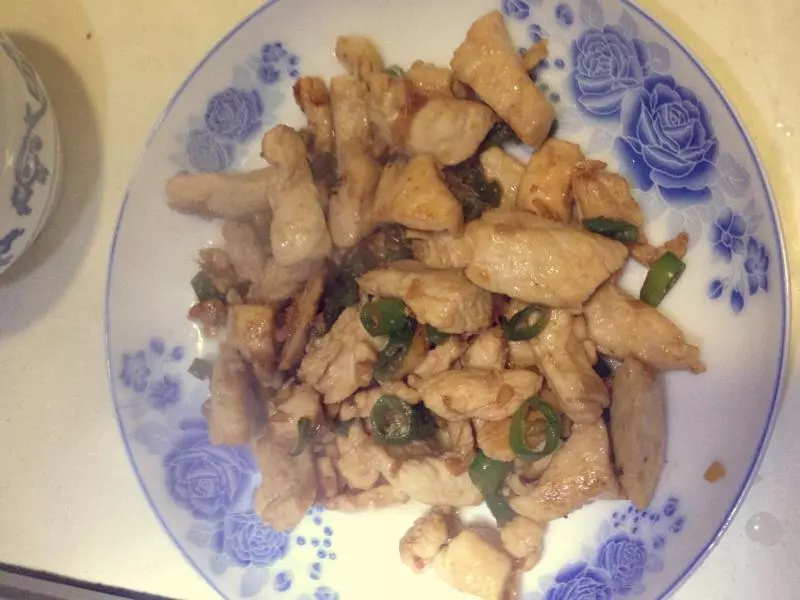
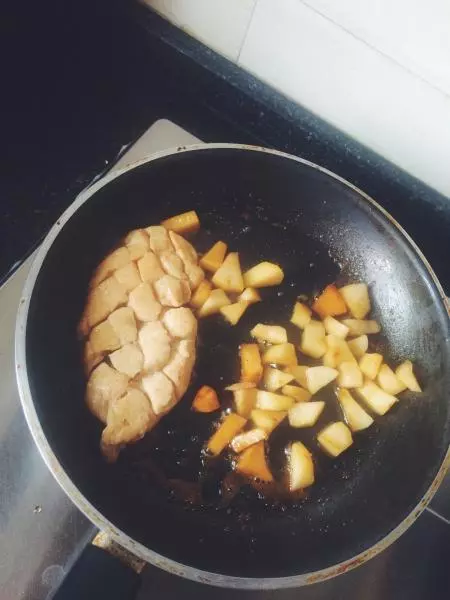
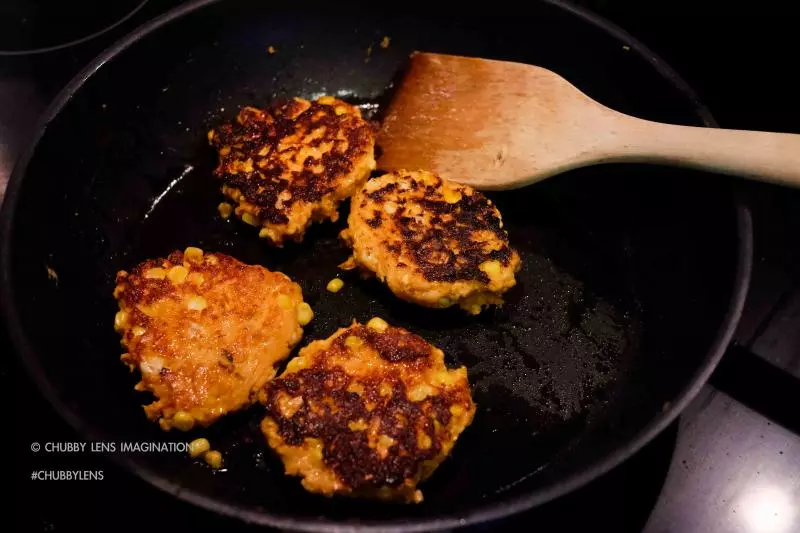
10然后在不粘锅中用木铲子压成饼状 用中火煎至两面金黄
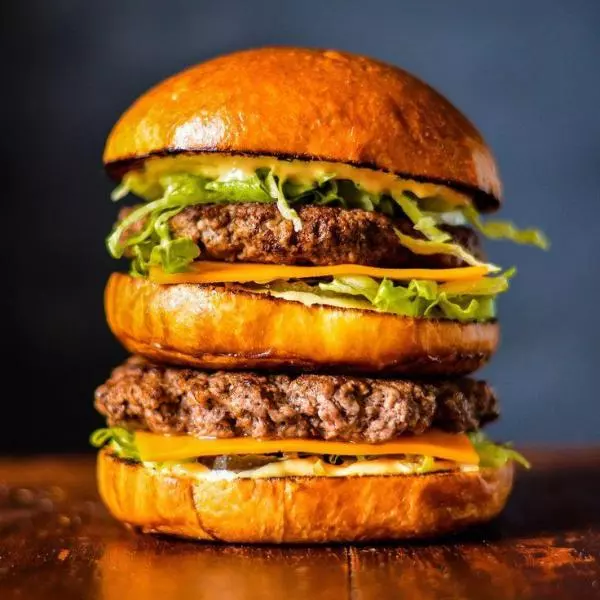
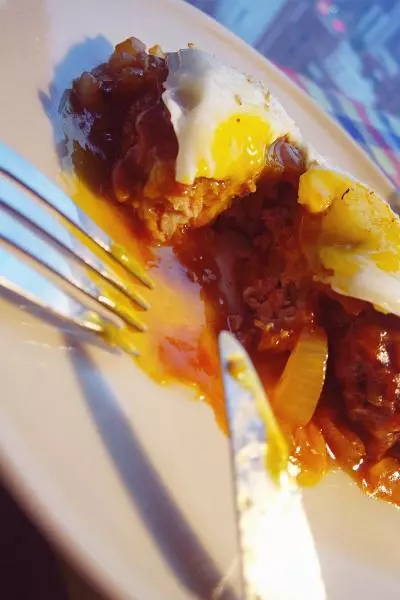
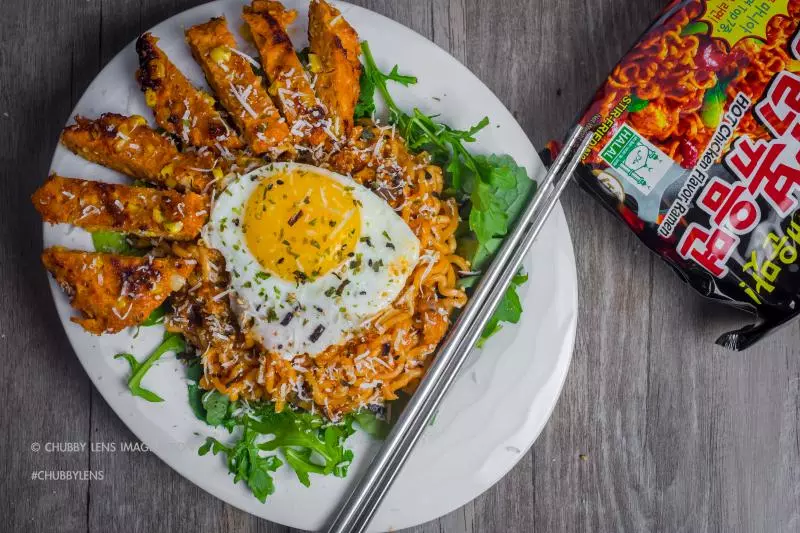
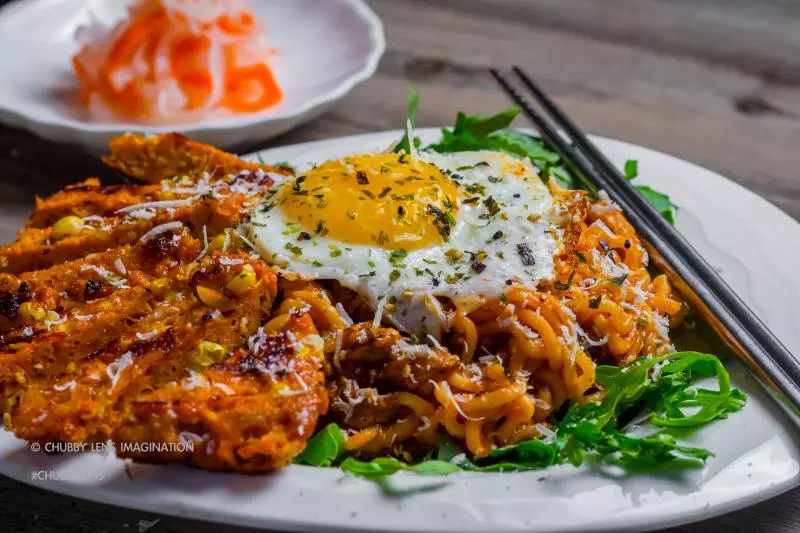
11如果具有韩式风格的汉堡肉,当然得配上之前风靡网络的韩国辣鸡面(핵불닭볶음면)! 下面铺上适量的沙拉菜 上面放上半生的鸡蛋 最后撒上紫菜和芝士碎 (此处应该有“舌尖”的背景音乐)
12欢迎扫码关注公众号 多村黄教煮 Id:ChubbyLens

小技巧
另外加入酸豆角粒、土豆碎都是不错的选择!