原料
金典有机奶: 140克, 鲜奶油: 115克, 伯爵红茶: 4克, 蛋黄液: 65克, 细砂糖: 24克, 红砂糖: 适量
步骤
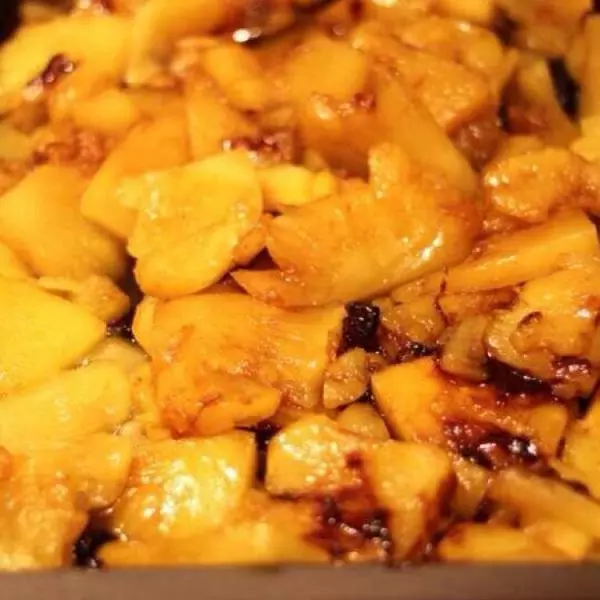
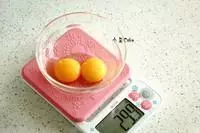
1这款烤布蕾我共做了两次,第一次只拍了步骤图,用了方子一半的分量。图中的量只能参考哟。蛋黄准备好,大约5只鸡蛋的蛋黄,共65克。前后差5克关系不大,但是不要差太多。
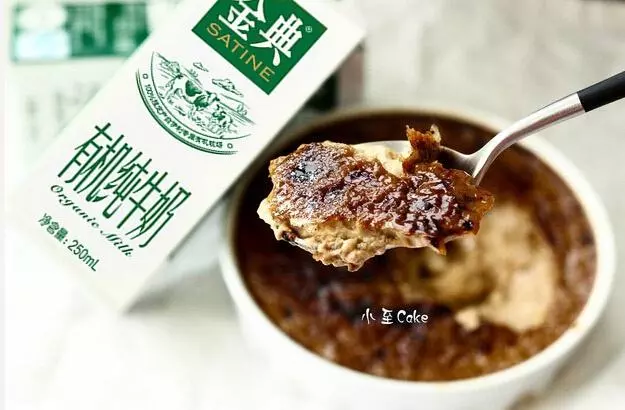
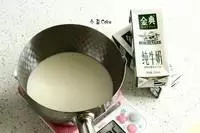
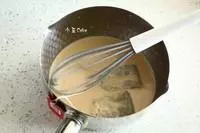
2这里用是金典牛奶。牛奶和鲜奶油称重,放入奶锅中。
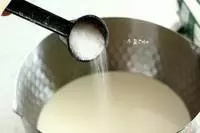
3方子中的24克砂糖分成两部分,12克加入牛奶中
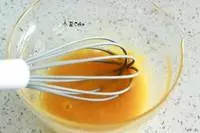
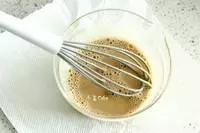
412克砂糖加入蛋黄液中打散
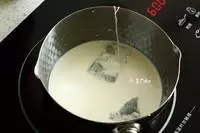
5将3中加入茶包2只,共4克,煮沸
6煮沸后的淡奶和鲜奶混合液稍微放置2-3分钟,可以测量下温度降至60℃时就可以进行下一步了
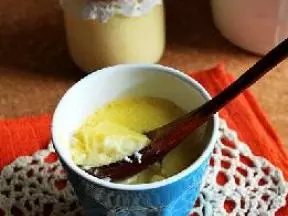
7将6一点一点的倒进4中,充分拌匀
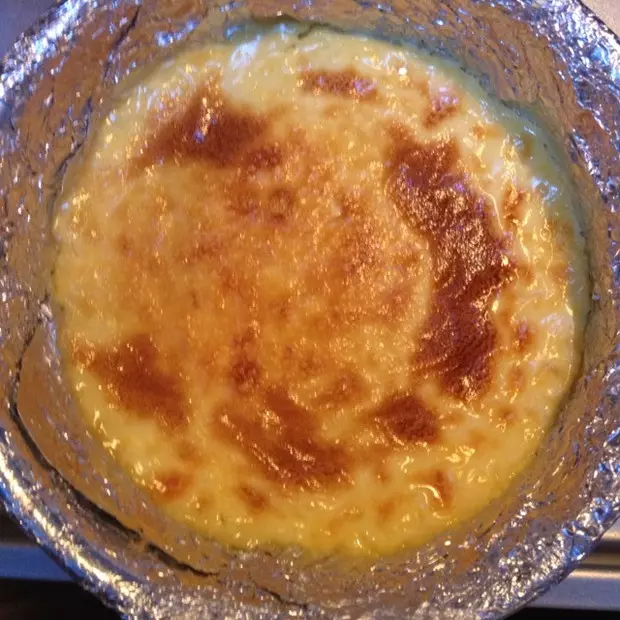
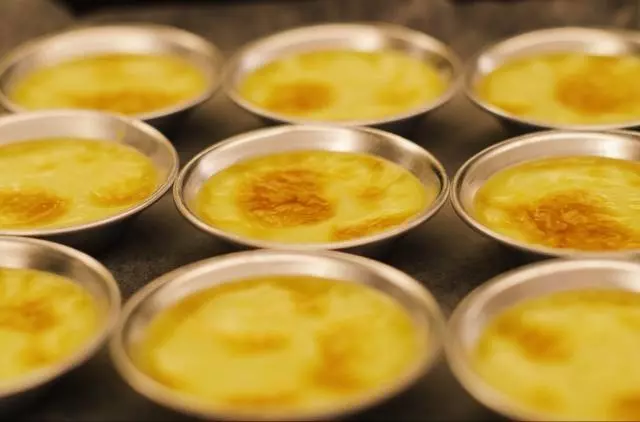
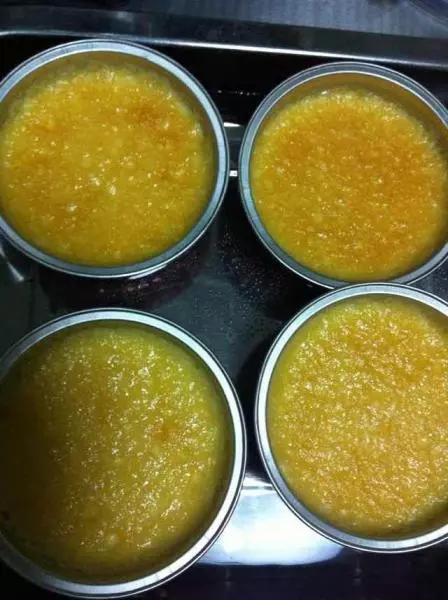
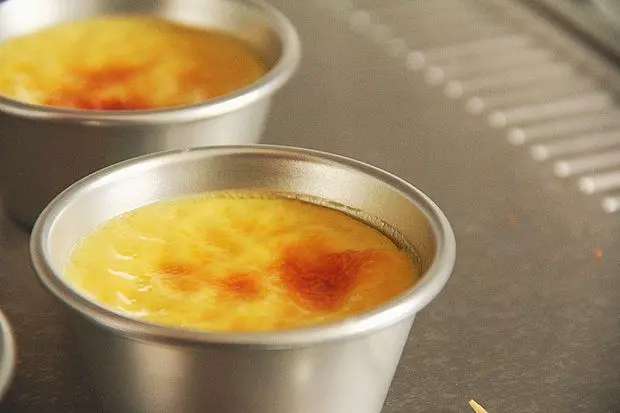
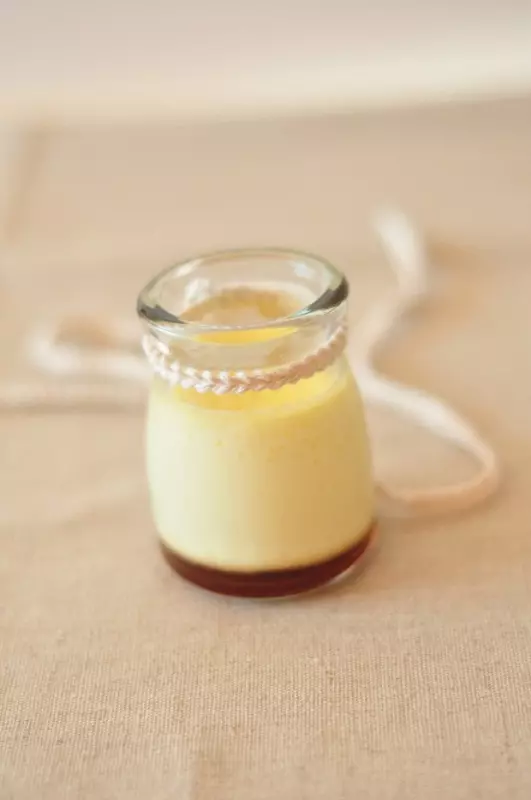
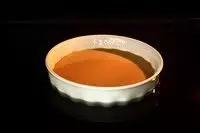
8过筛倒入容器,搅破表面气泡。烤盘中提前注水,预热到170℃左右,将烤布蕾的容器放入烤盘内,转150℃烘烤30-35分钟。温度和时间仅供参考,烘烤情况根据自家烤箱调整,时间快到时将容器倾斜,如果淡奶液不流动,不波动,表面凝固到有点膨胀的程度就可以取出了。 PS:方子中的分量我做了图中盘子的分享的模具刚好满模。这里就不提供尺寸了,大家可以提前找一只量杯,用方子中分量的液体总重,用自来水代替提前测试一下自己手中的模具大概可以做几个,或者想做几个,按照比例增加分量,别忘记算上蛋黄。
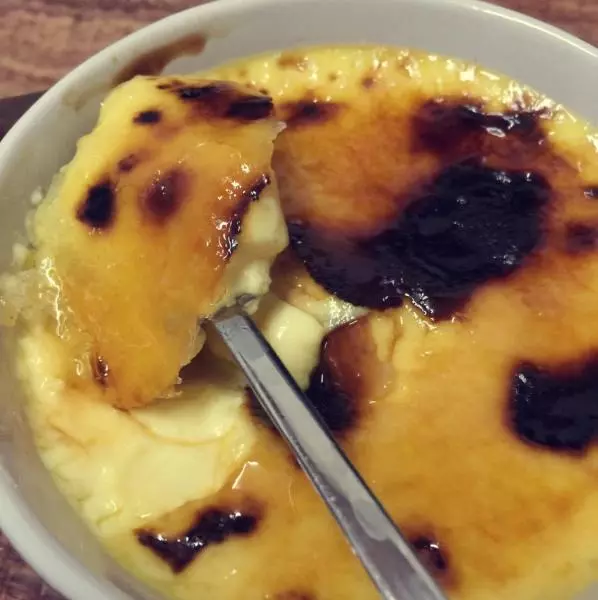
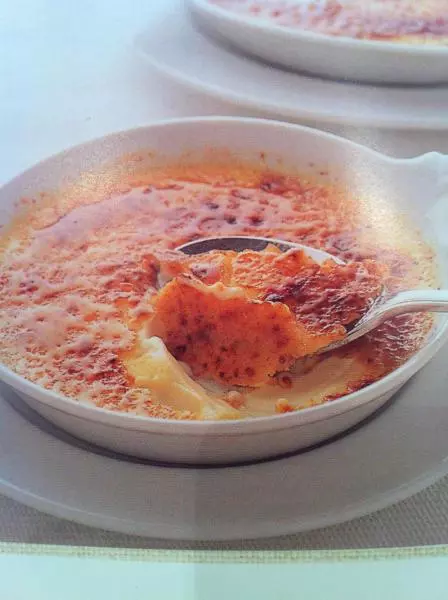
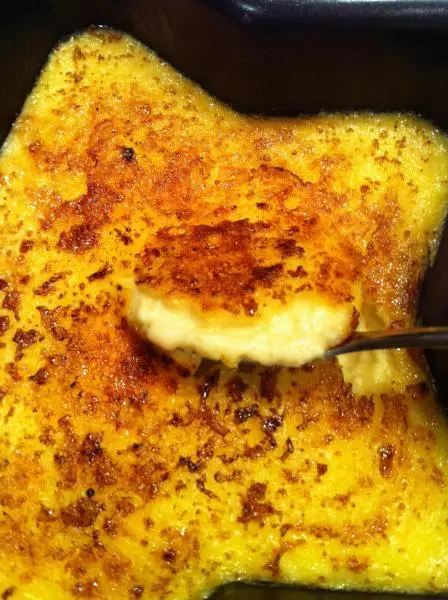
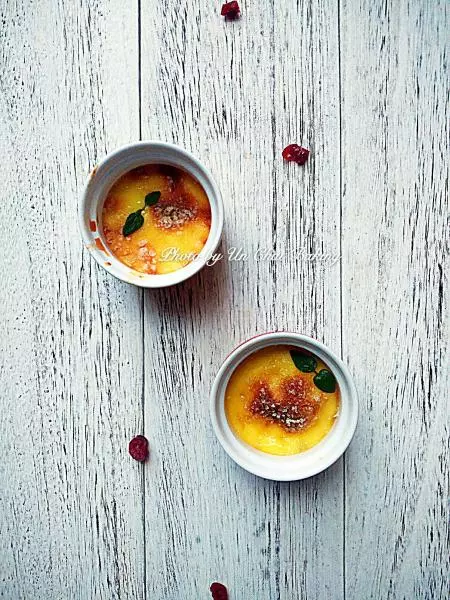
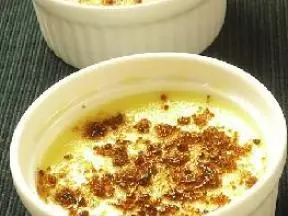
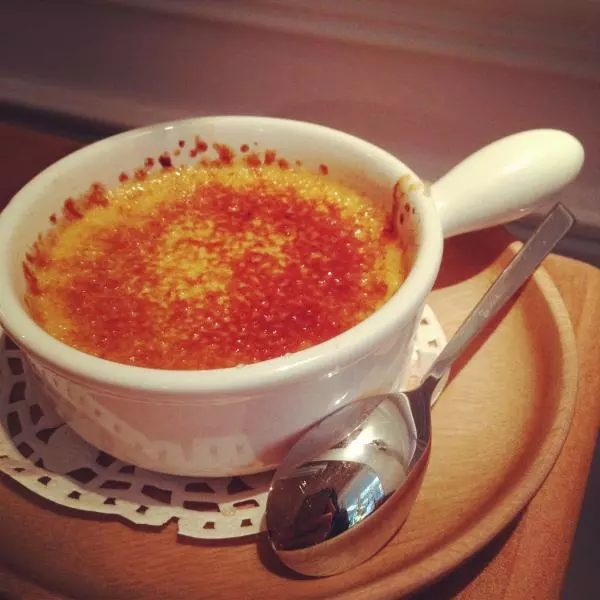
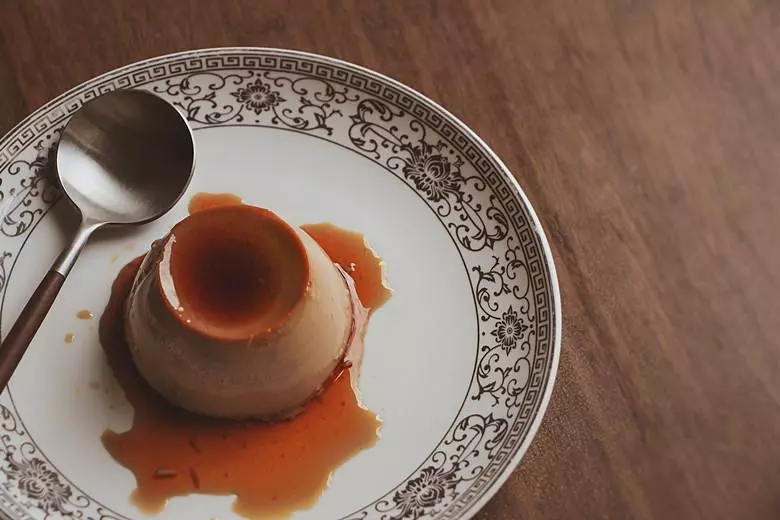
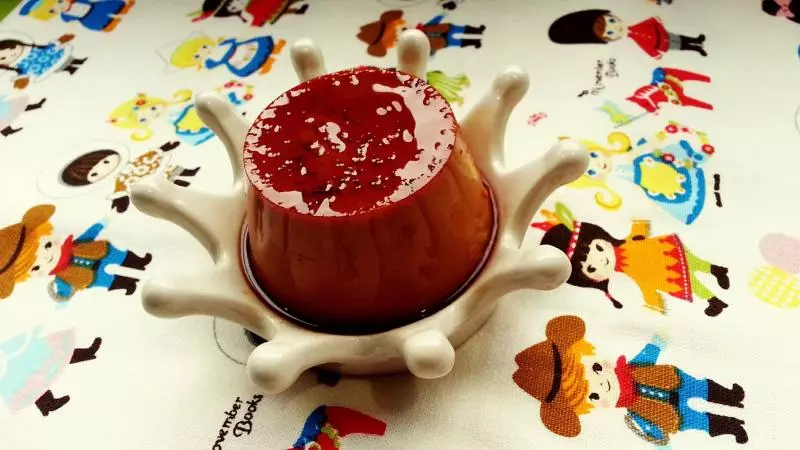
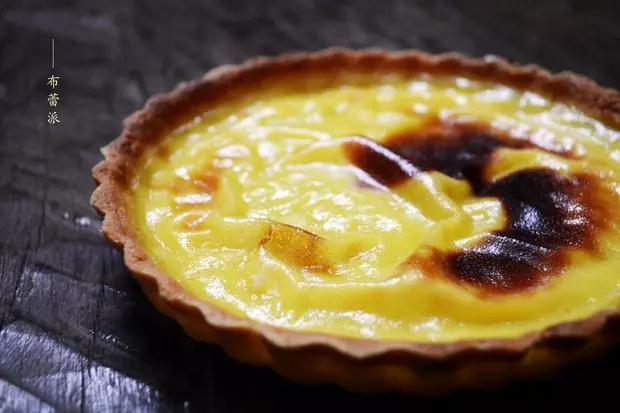
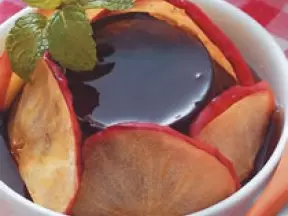
9撒上砂糖,用喷枪烤到焦色即可。
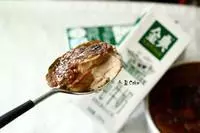
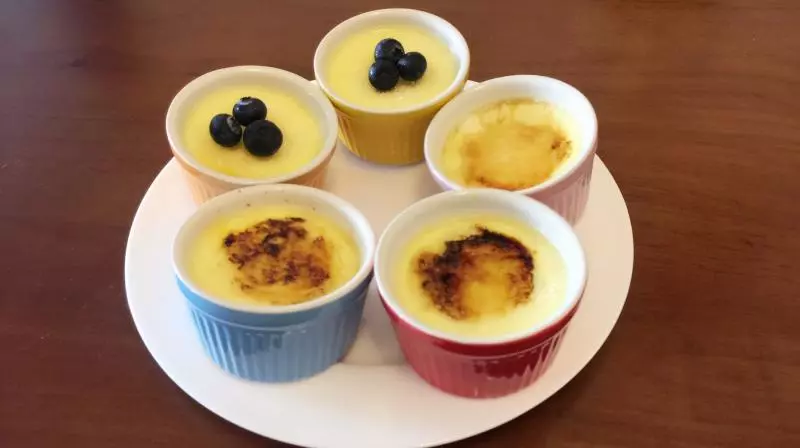
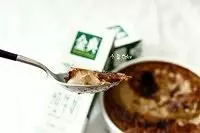
10敲碎,就可以吃啦~
小技巧
1,爱生活,爱家人,选择金典牛奶 2,注意事项基本都在步骤中,只有一点特别说明下,方子仅供参考,使用喷枪注意安全。欢迎大家上传作品分享自己烤布蕾的经验。