原料
马斯卡彭奶酪: 250克, 咖啡酒: 50ml, 吉利丁片: 10克, 细砂糖: 70克, 蛋黄: 3个, 纯净水: 60ml, 淡奶油: 200ml, 细砂糖: 30克(加入蛋白), 全鸡蛋: 2个, 低筋面粉: 60克, 细砂糖: 30克(加入蛋黄), 可可粉: 适量, 糖粉: 适量
步骤
1准备好所有材料

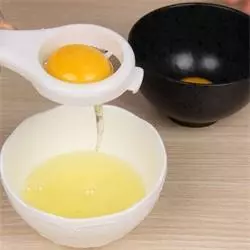
2用隔蛋器分离蛋清,分别装入两个打蛋盆内
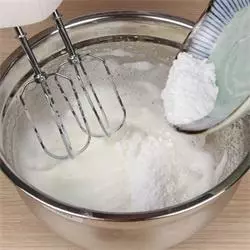
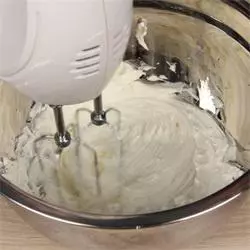
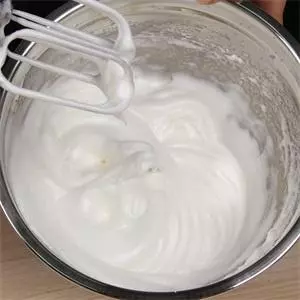
3细砂糖分三次加入蛋清里面打发,至出现尖勾,光滑细腻状
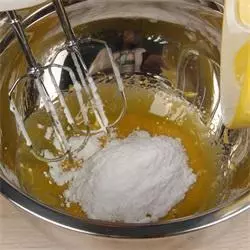
4打发蛋黄到发白浓稠状,同样别忘了加入细砂糖哦!
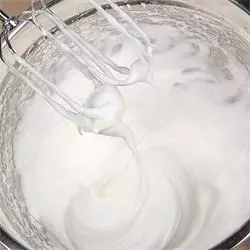
5打发到蛋白非常有光泽,尾端呈挺立状
6将细砂糖加入蛋黄
7蛋黄打发至发白浓稠状

8分次加入面粉翻拌均匀
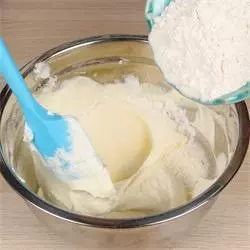
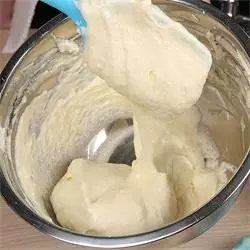
9面糊搅拌至尽量没有颗粒状
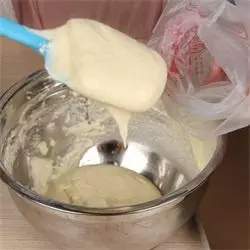
10将面糊装入裱花袋
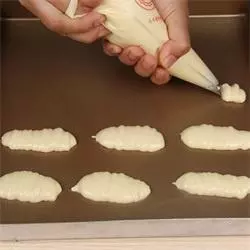
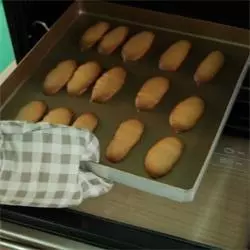
11在烤盘上寄出手指饼干形状
12放入烤箱中层170度,20分钟。烤至表面金黄色就可以出炉喽
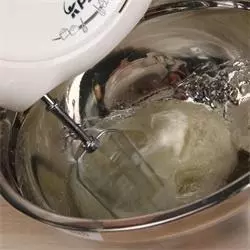
13先把细砂糖加水中小火煮沸。慢慢倒入蛋黄糊打发,

14打发至膨胀到3倍大,发白,浓稠出现纹路,将吉利丁片隔水融化后倒入(吉利丁粉也可以哦)

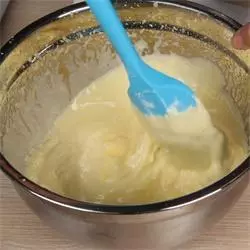
15将马斯卡彭奶酪倒入打蛋盆中
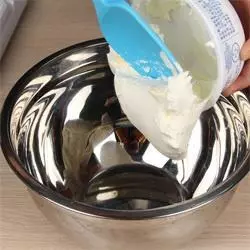
16用打蛋器把马斯卡彭奶酪拌顺滑即可
17先将一半的蛋黄糊和马斯卡彭奶酪混合均匀,压拌和翻拌结合,直到没有任何奶酪颗粒。再把芝士糊倒入剩余的蛋黄糊中翻拌均匀
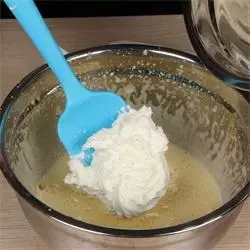
18把淡奶油打发至六七成
19将淡奶油加入蛋黄糊中搅匀均匀
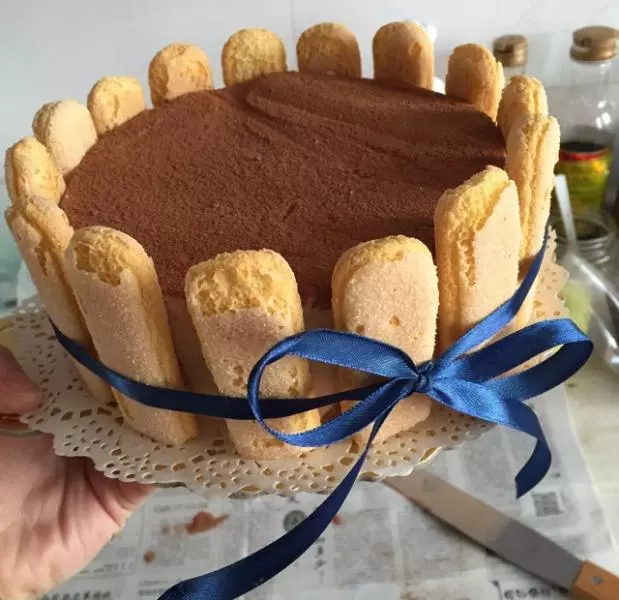
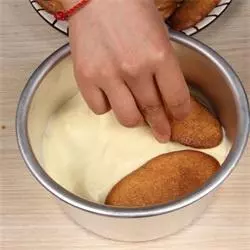
20.手指饼干在咖啡酒里面滚一圈,让手指饼干把表面的酒吸收。然后放进模具的底部

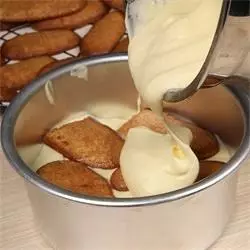
21倒入提拉米苏糊

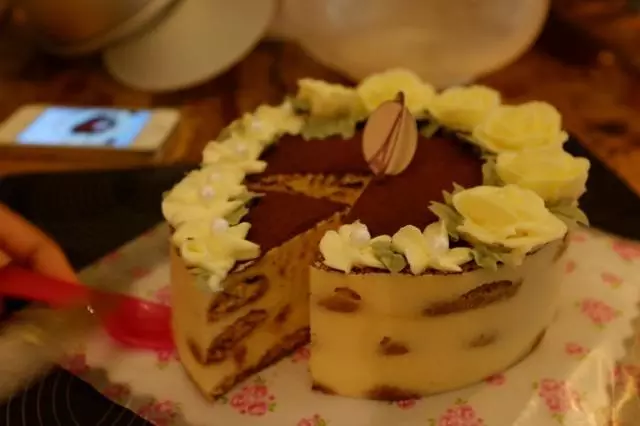
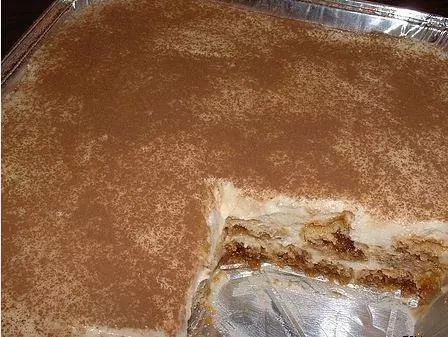
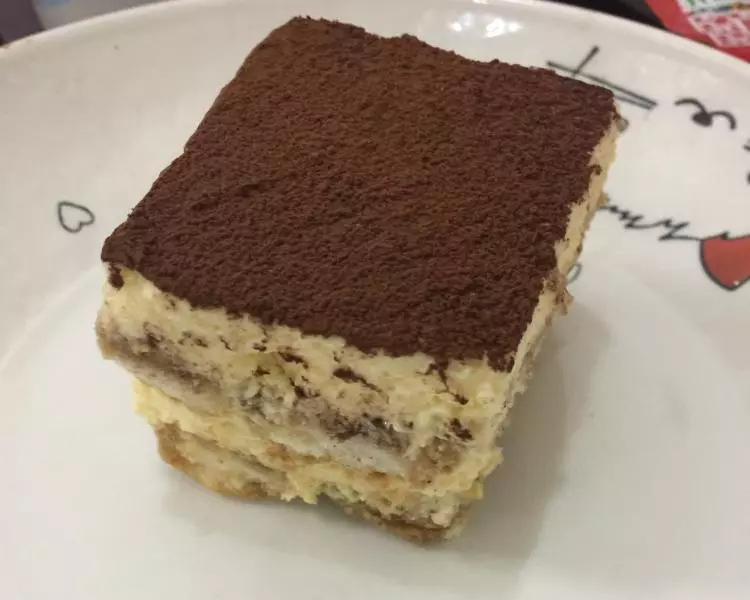
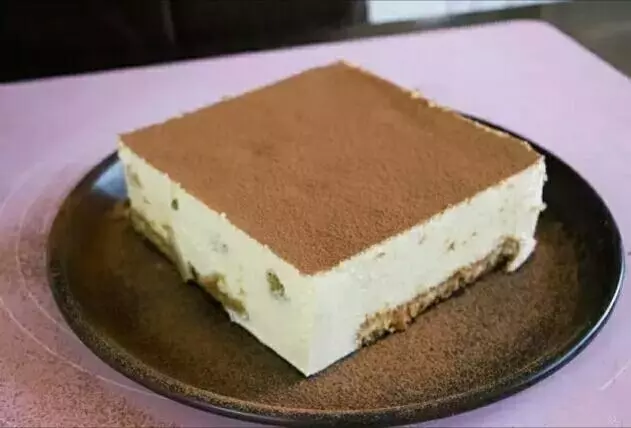
22一层手指饼干一层提拉米苏间隔倒进去
23直到倒满整个模具,最后放进冰箱冷藏,至少5个小时哦
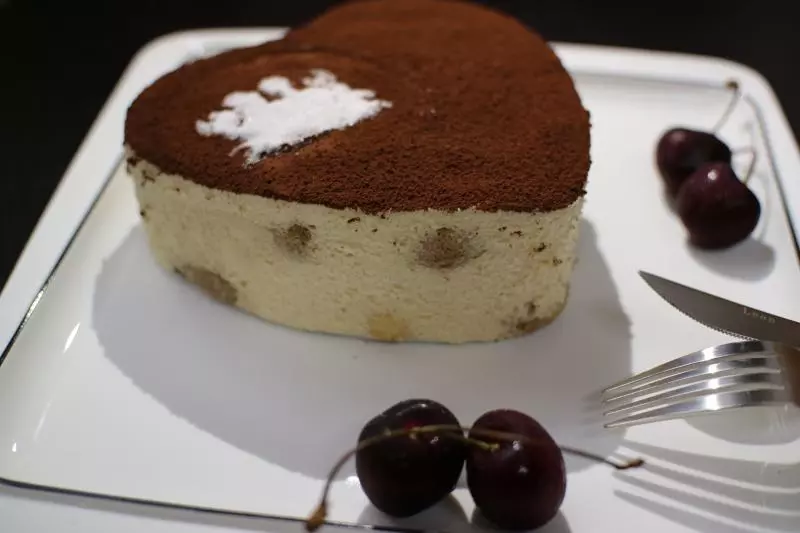
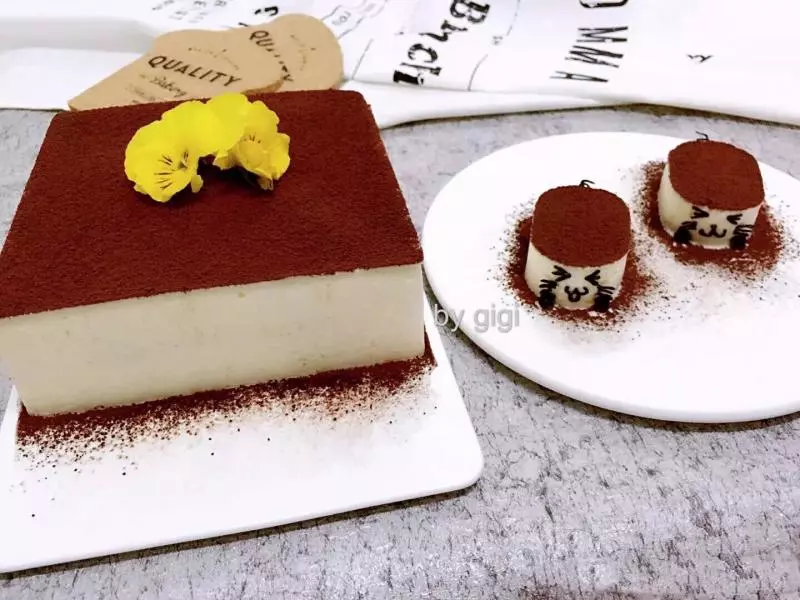
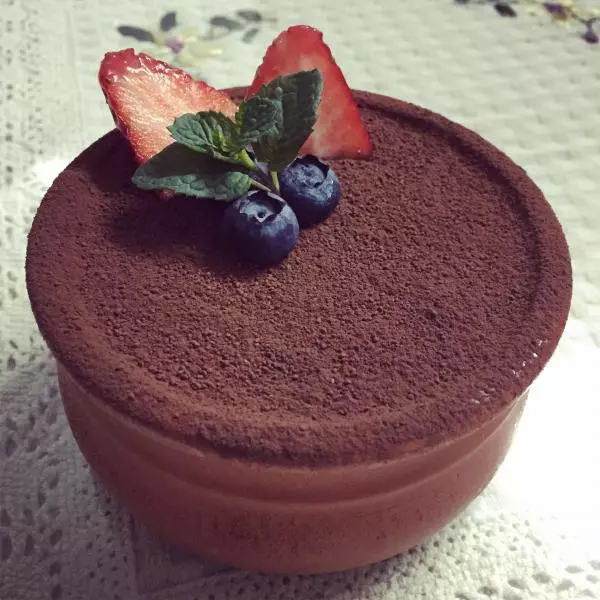
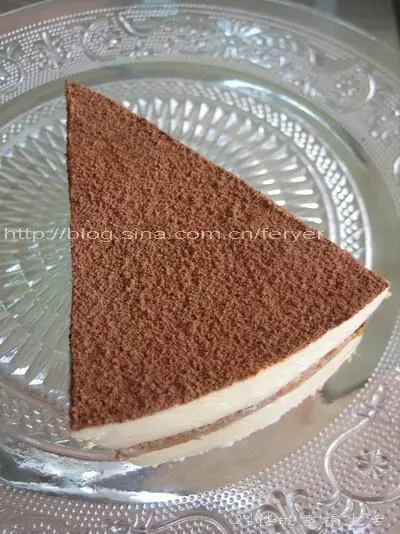
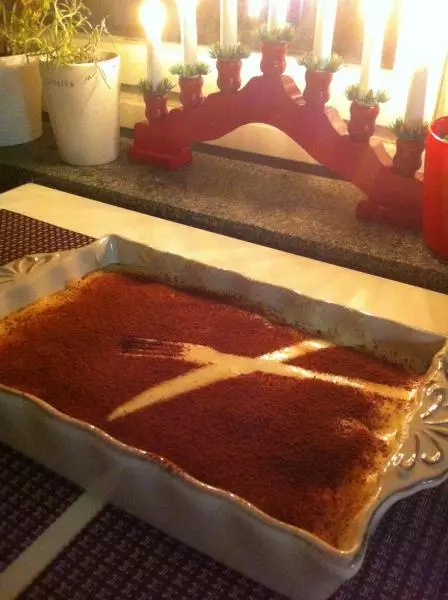
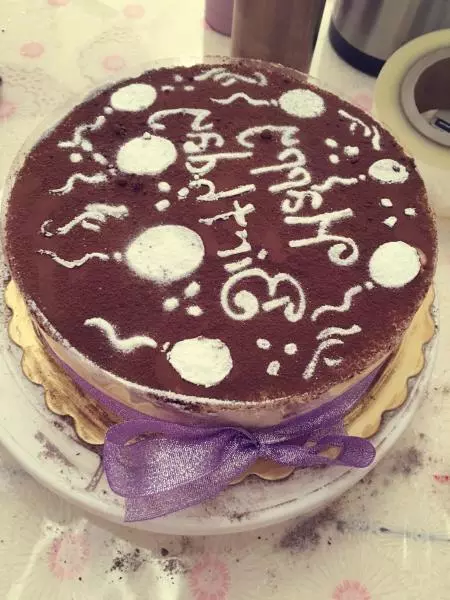
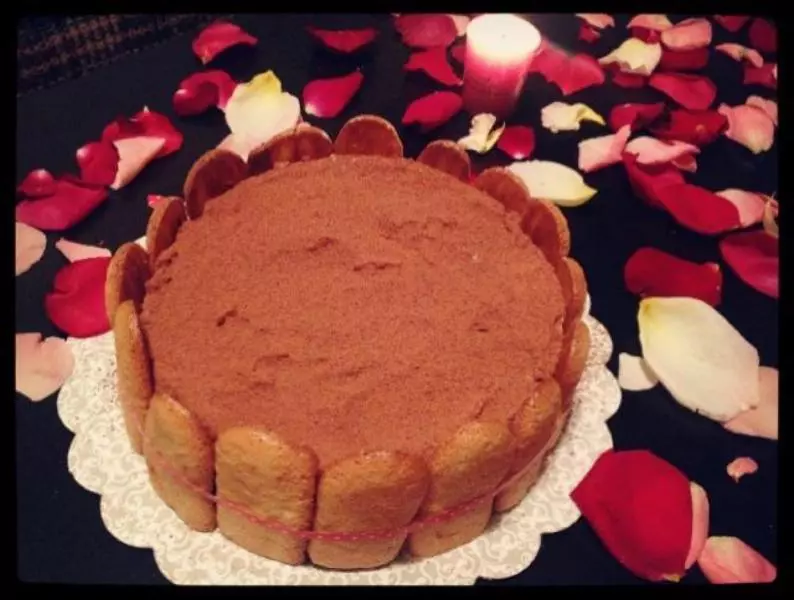
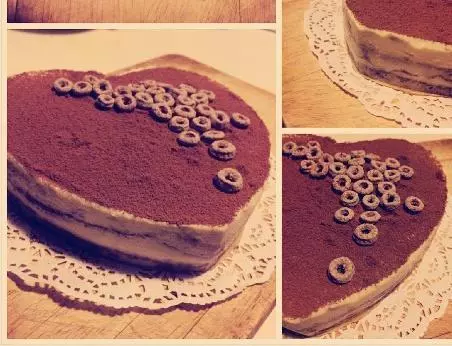
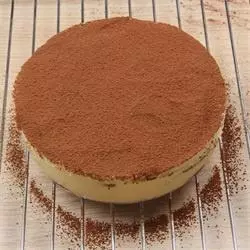
24脱模,撒上可可粉
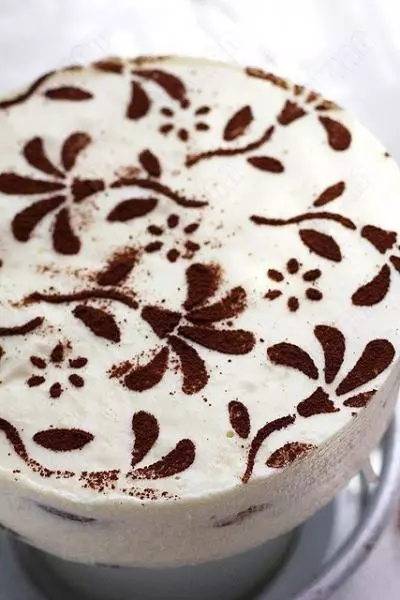
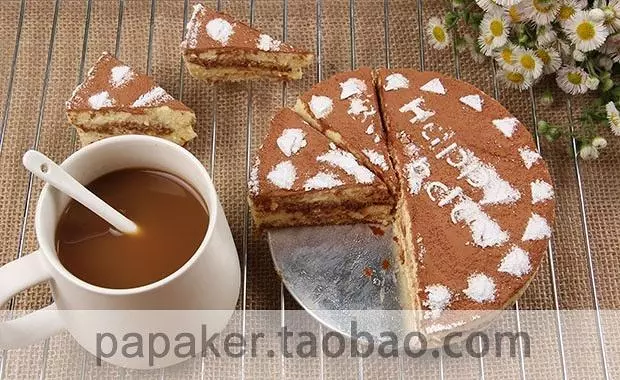
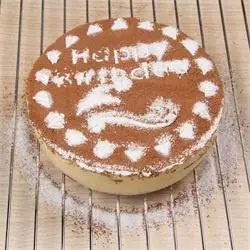
25用蛋糕印花模,撒上糖粉
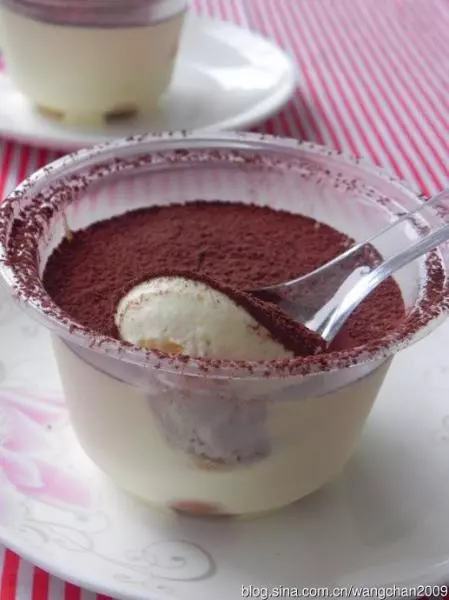
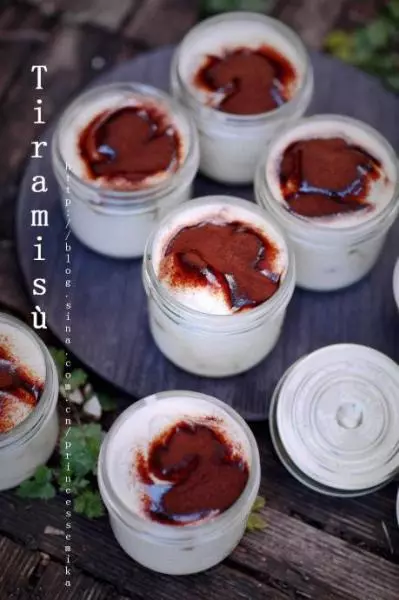
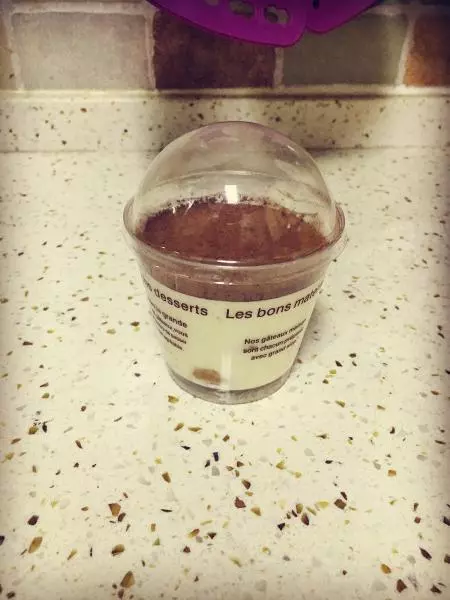
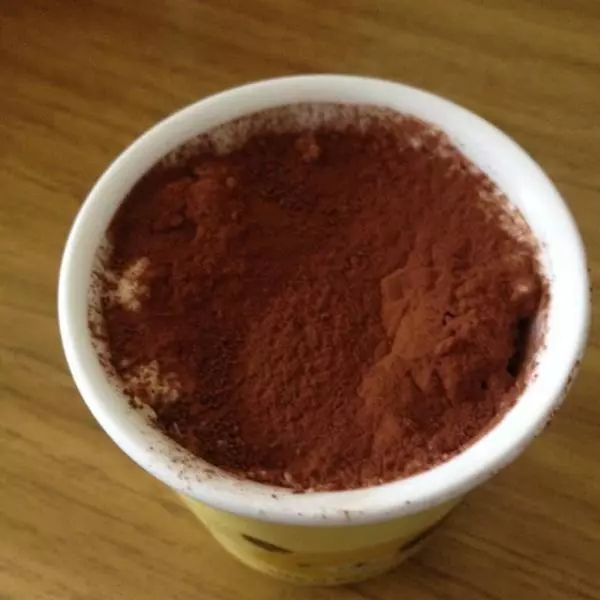
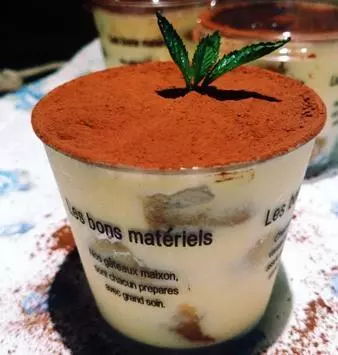
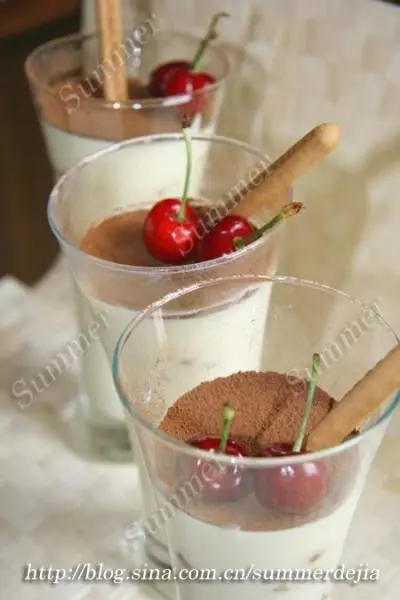
26也可以装入提拉米杯哦