原料
1、白色水油皮:: , 中筋面粉: 100克, 猪油: 20克, 细砂糖或糖粉: 15克, 水: 50克, 2、红色水油皮:: , 中筋面粉: 100克, 猪油: 20克, 细砂糖或糖粉: 15克, 水: 50克, 红曲粉(或粉色色素): 2克, 油酥:: , 低筋面粉: 180克, 猪油: 90克, 馅料:: , 椰蓉: 100克, 黄油: 50克, 细砂糖或糖粉: 35克, 鸡蛋(小): 1个
步骤
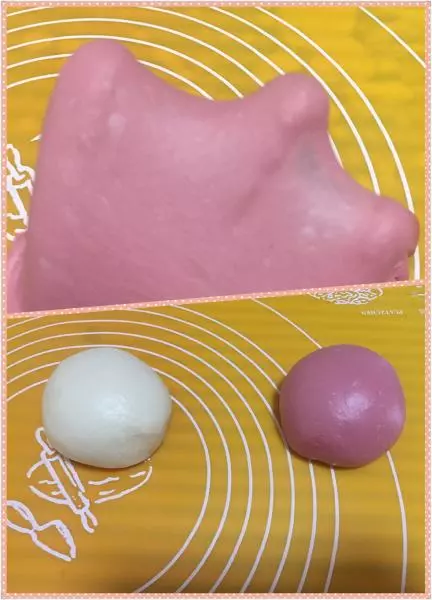
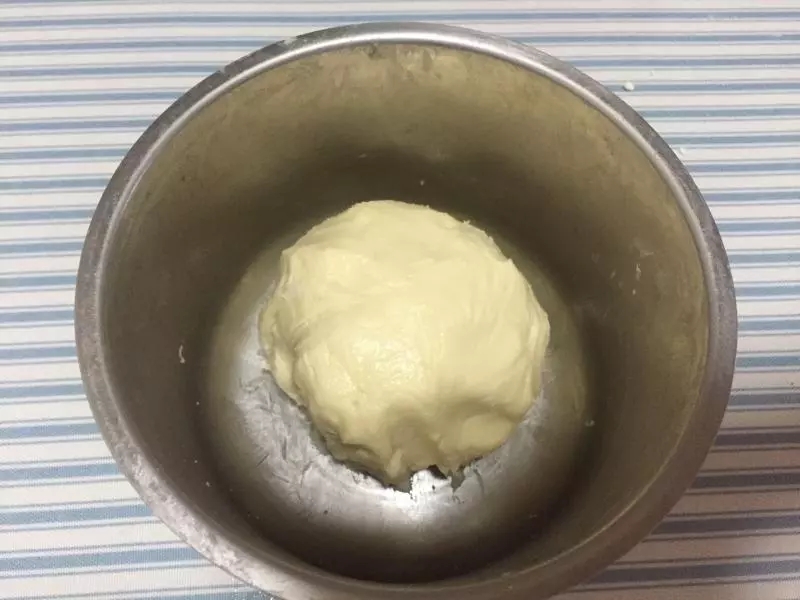
1制作水油皮:把白色水油皮材料和红色水油皮分别混合均匀,揉成可以出膜的光滑面团(这个步骤我是直接放面包机揉的),静置醒发半小时左右。
2将油酥材料混合混合均匀(建议带一次性手套操作)
3将醒发好的两种水油皮分别分成均匀的10份
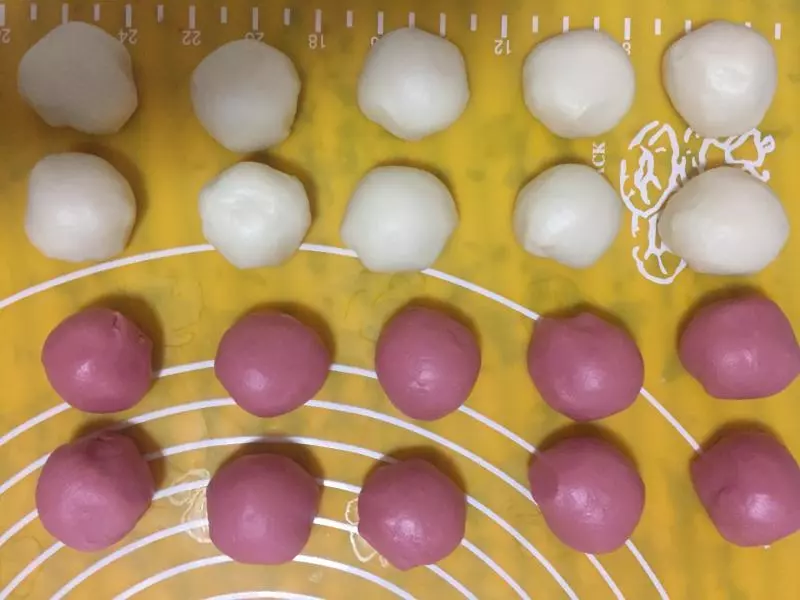
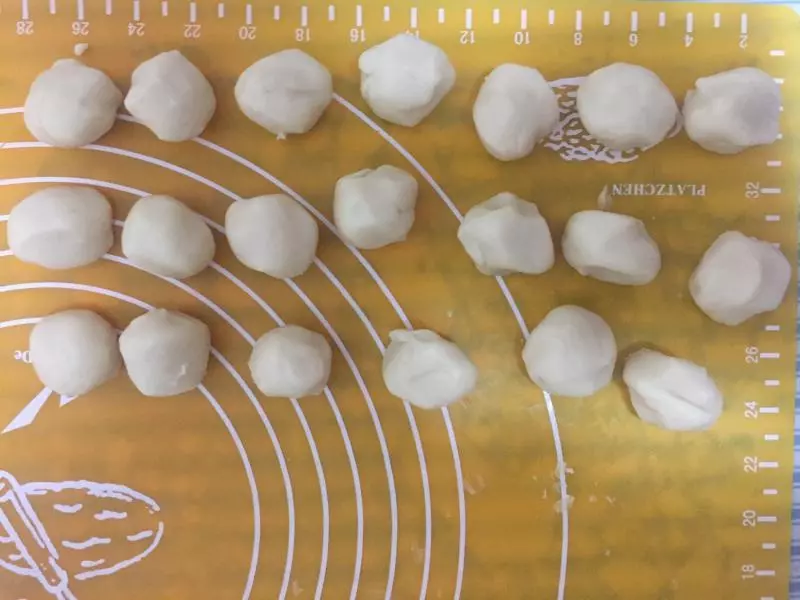
4将油酥面团分成均匀的20份
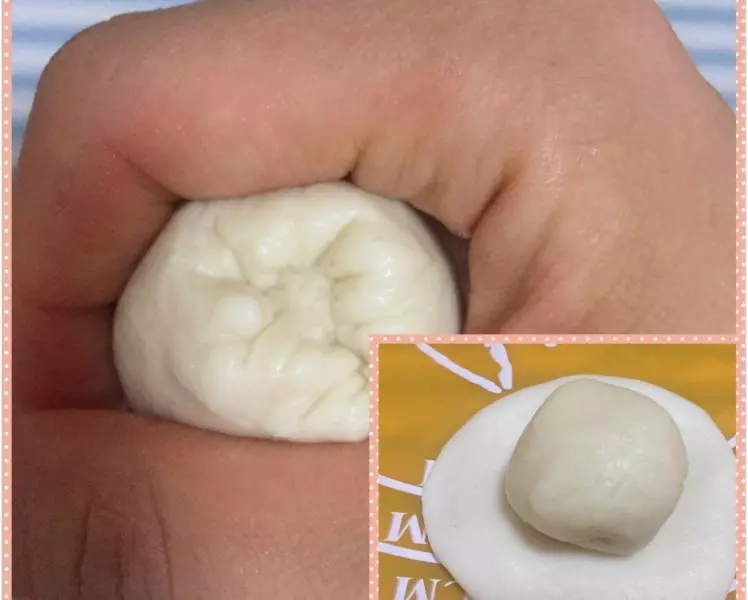
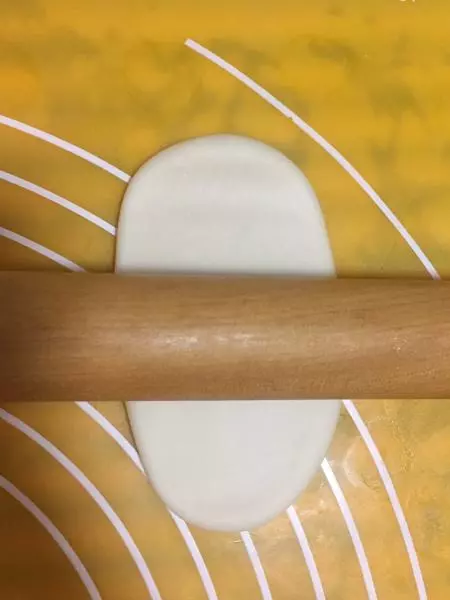
5取一块水油皮用手按圆,把油酥放在油皮中间包好,收口朝下放置
6将包好的油酥皮用擀面杖擀成椭圆形(从中间开始分别轻轻向上向下擀)
7将擀好的油酥皮反面后自上而下卷起来,盖保鲜膜或湿毛巾松弛15分钟左右
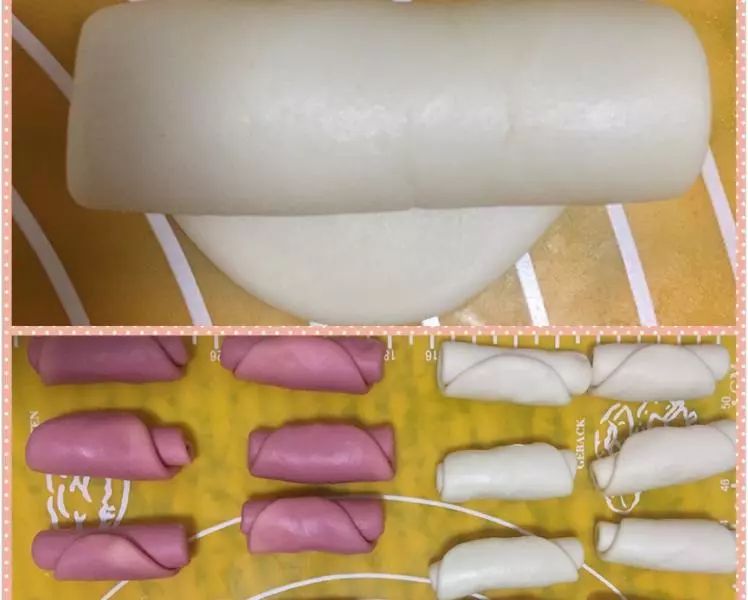
8将静置好的油酥皮用擀面杖再次轻轻擀成长条状,自上而下卷起,继续加盖保鲜膜或湿毛巾松弛15分钟左右
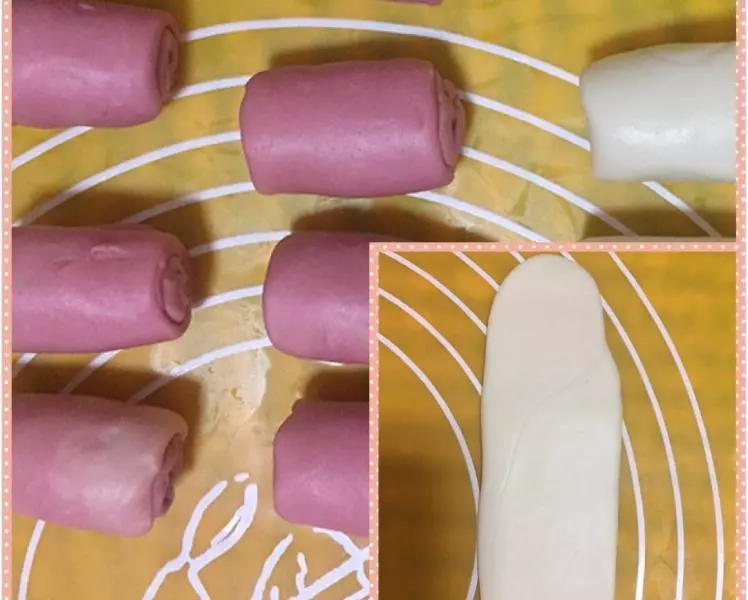
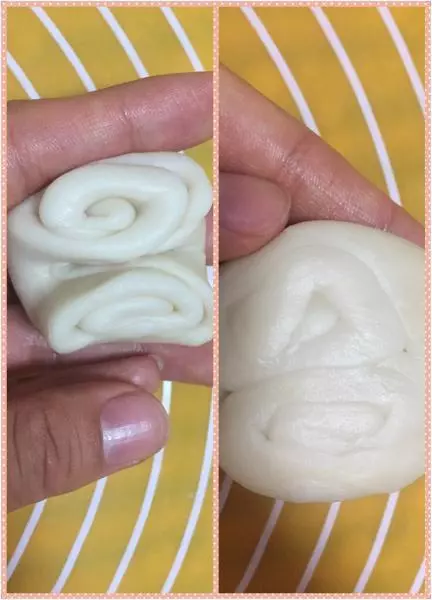
9将松弛好的油酥皮封口朝,面卷对折呈图中状态
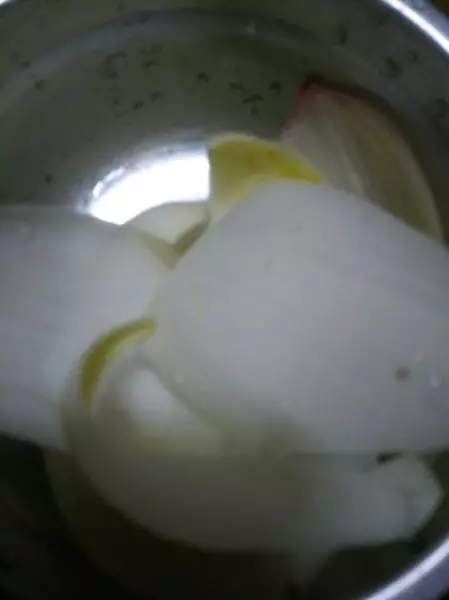
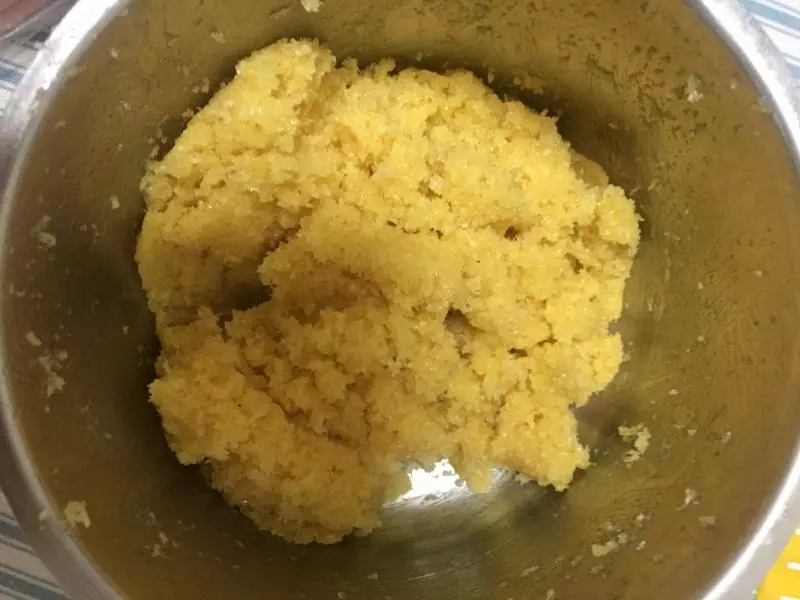
10将馅料混合均匀后平均分成10份
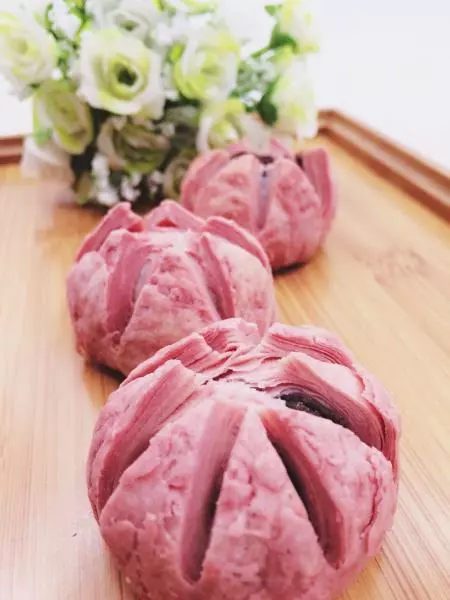
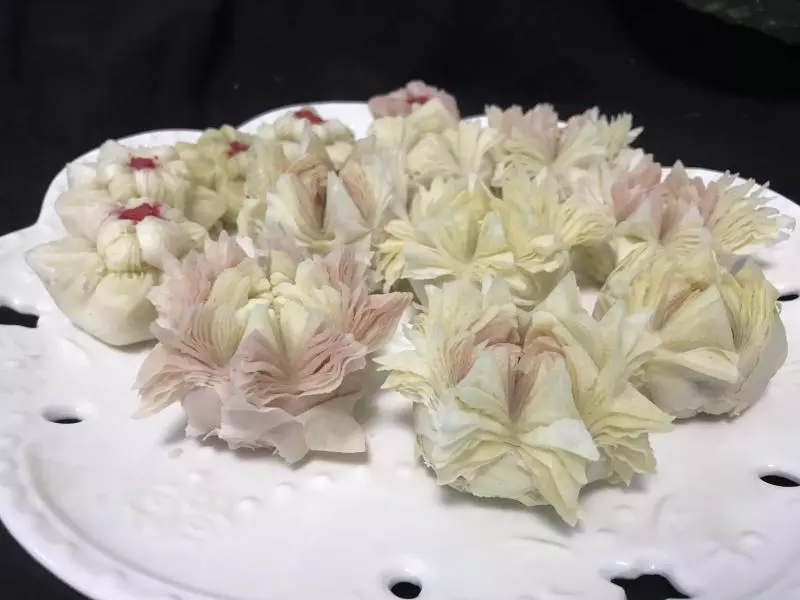
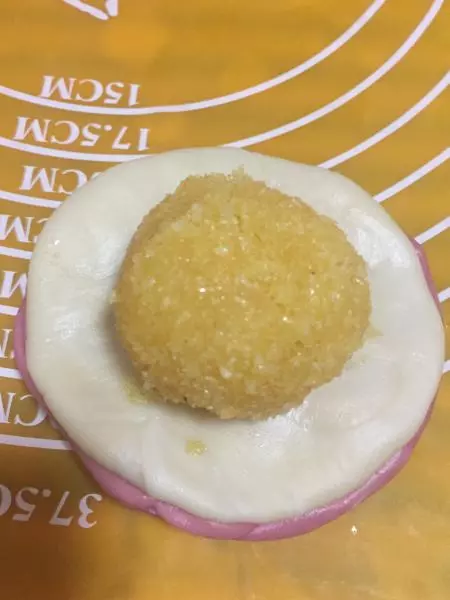
11将油酥皮压扁后用擀面杖擀成圆形(从中间分别轻轻向上下左右擀开),把白色油酥皮放在红色油酥皮上,中间放椰蓉馅。
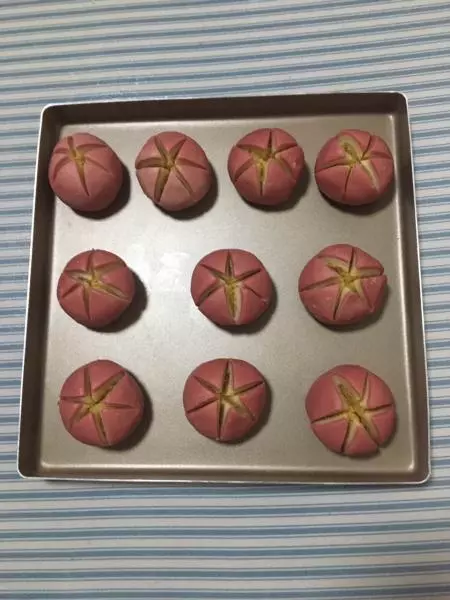
12用虎口慢慢收口捏紧,包好后可将多余的面团去掉。

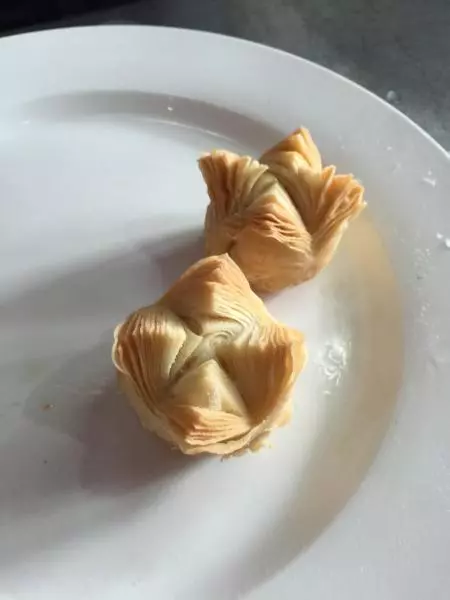
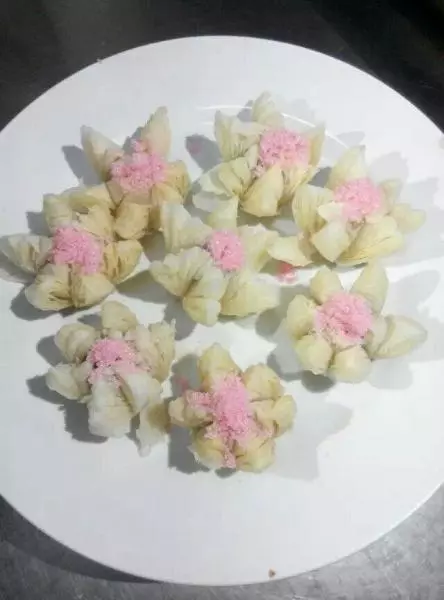
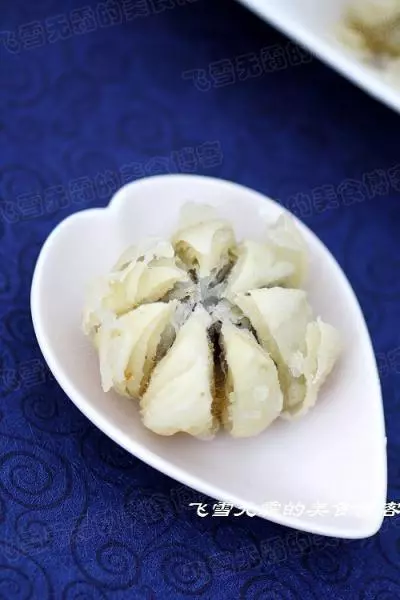
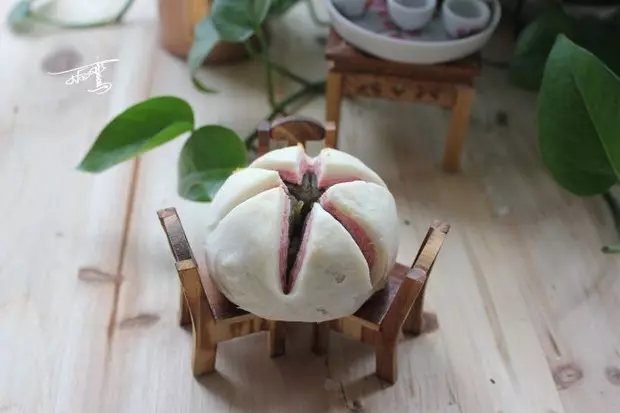
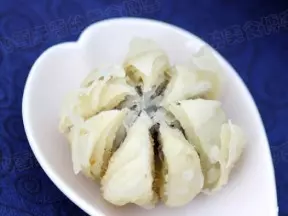
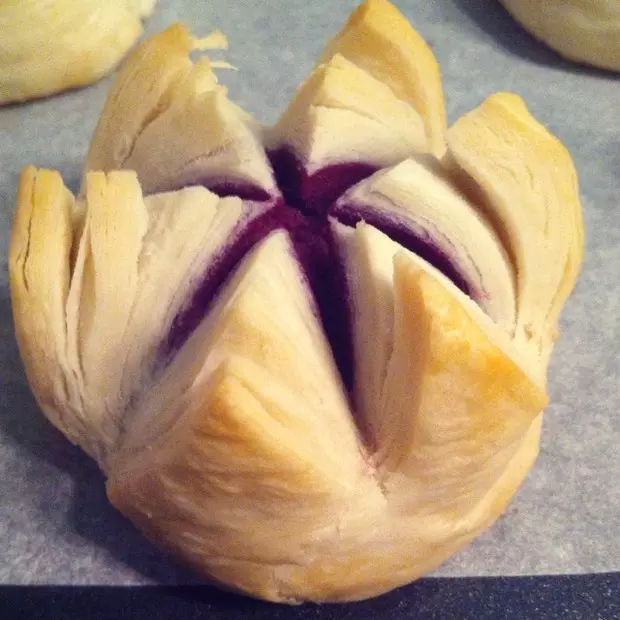
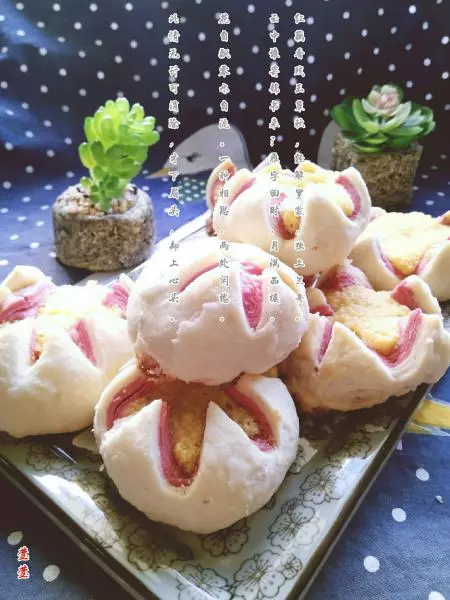
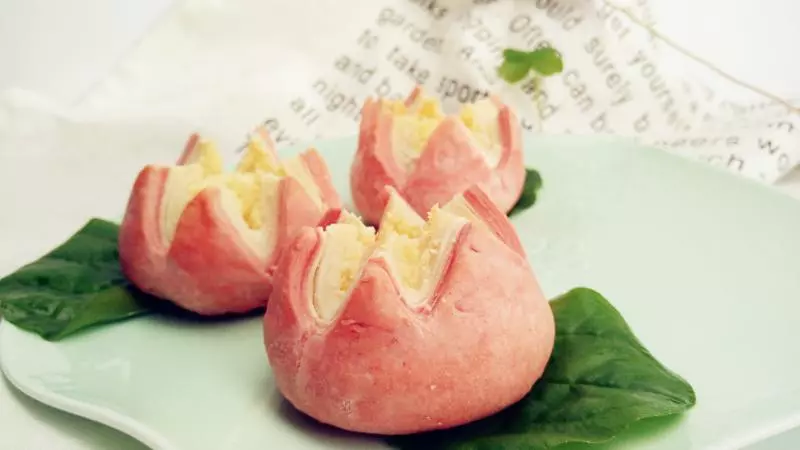
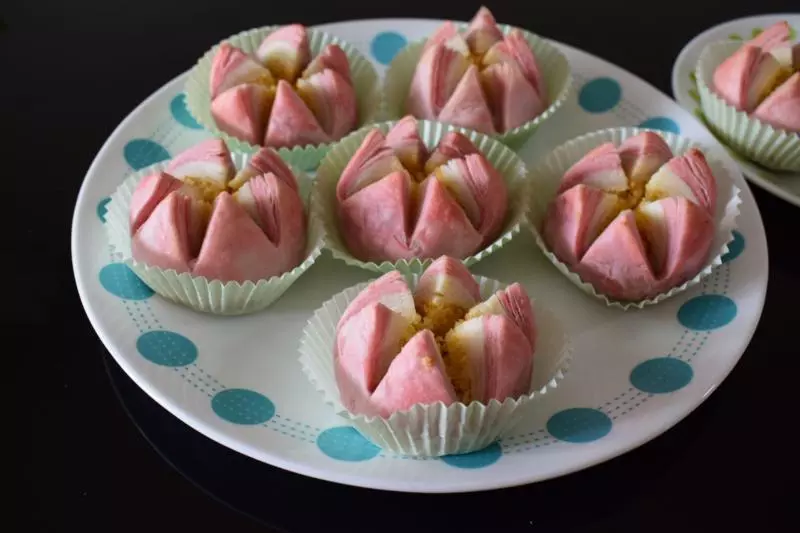
13将包好的面团收口朝下,用刀子在面团上切三刀均分成六瓣,刀口深度要刚刚切刀馅料部分,这样烤出来的荷花酥才漂亮。
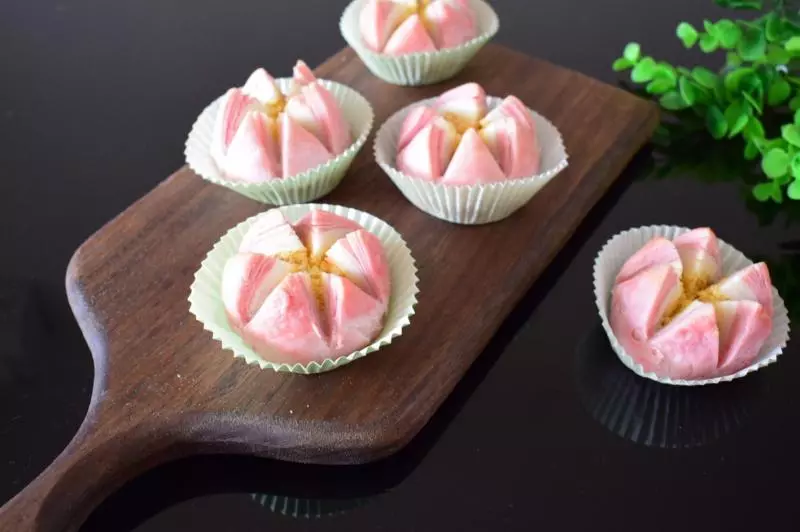
14放入预热好的风炉中150度烤20分钟左右

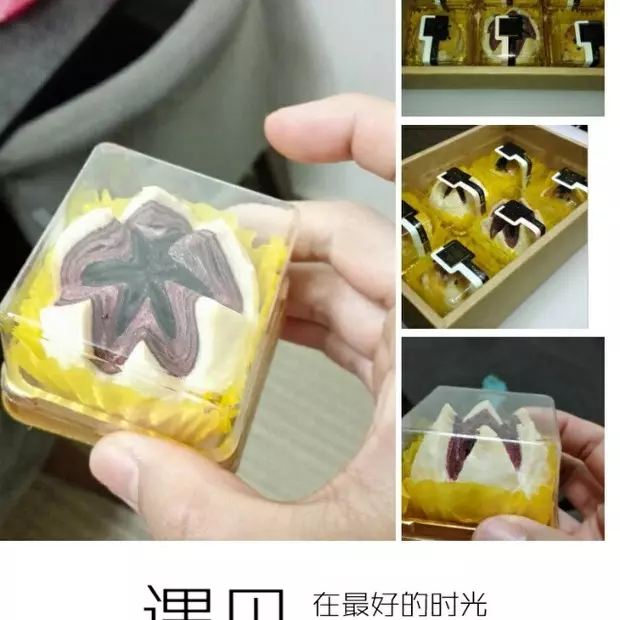
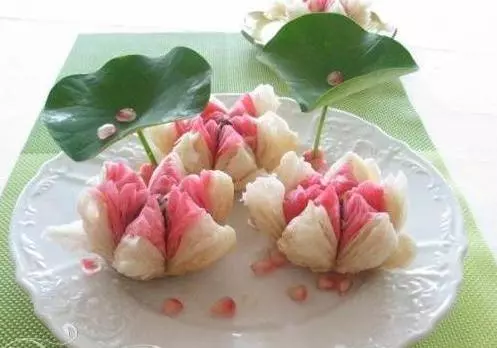
15这个炎热的夏季,来块赏心悦目的荷花酥吧
小技巧
1 、水油皮一定要揉出膜,这样的油酥皮延展性好,不易破皮 2、我这里用的是家宝德风炉,平炉的话温度大概在170度左右,大家视自家烤箱温度调整