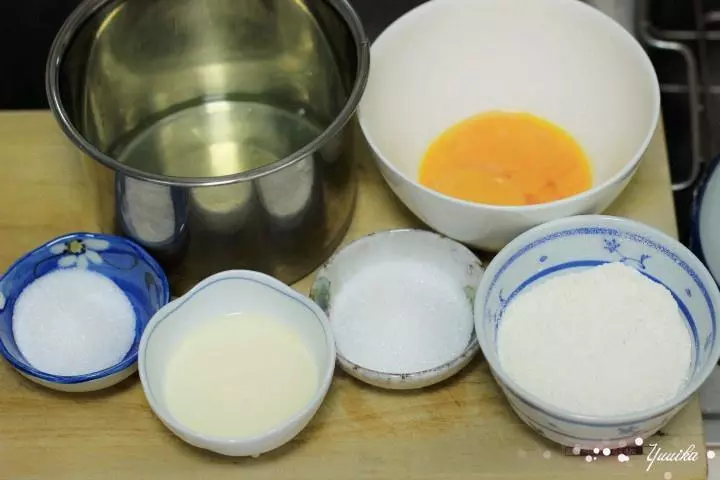
原料
蛋黄糊:: , 酸奶: 56g, 低粉: 66g, 蛋黄: 3个, 糖: 24g, 太阳花油: 28g, 蛋白糊:: , 蛋白: 3个, 糖: 36g, 柠檬汁: 几滴
步骤
1准备好材料
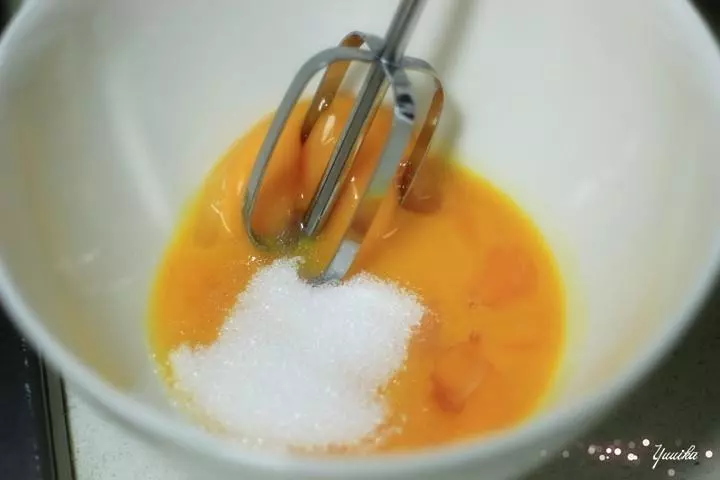
2蛋黄加糖打至糖融化
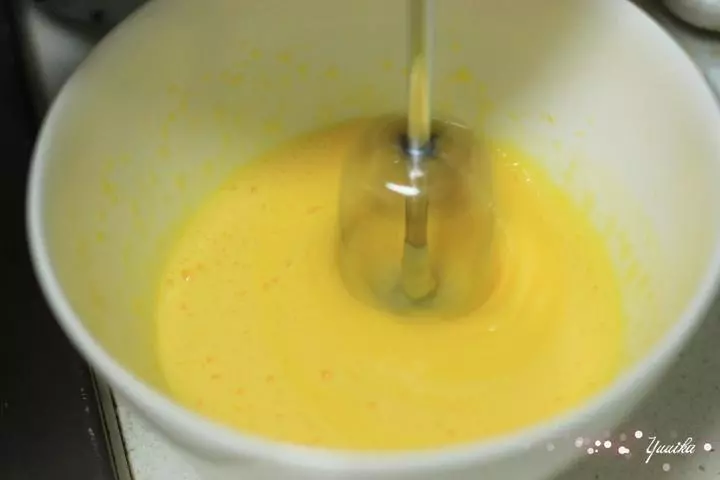
3用打蛋器打至颜色变浅
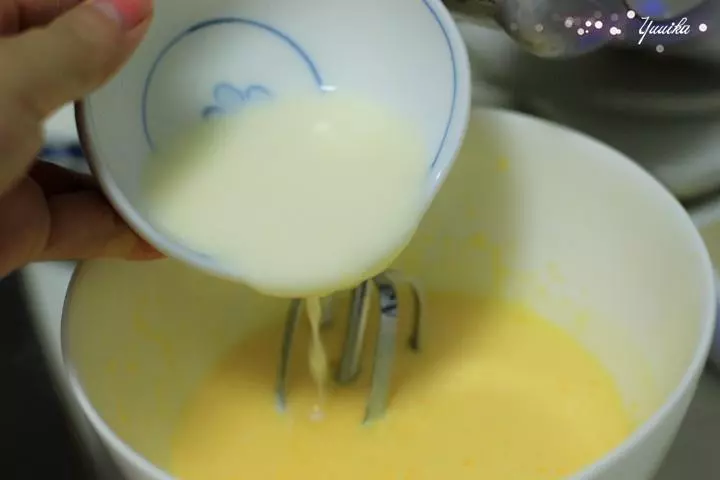
4依次加入太阳花油,酸奶,搅匀
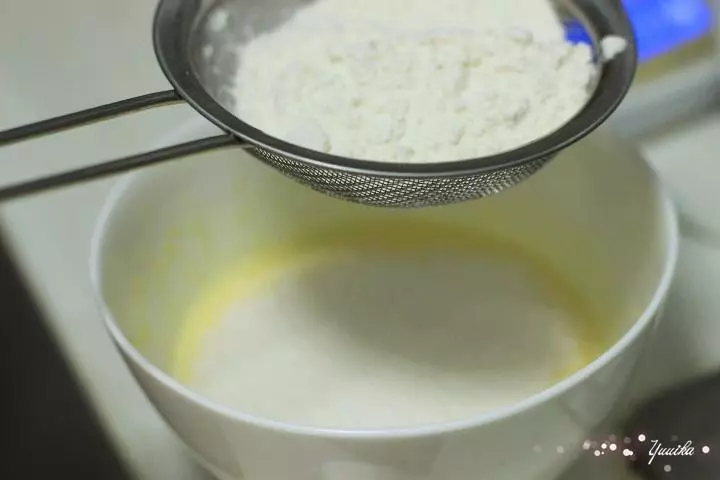
5筛入低粉
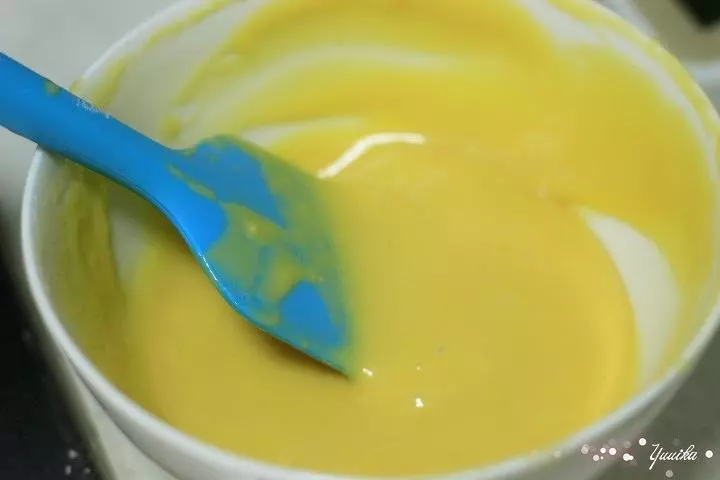
6搅拌成均匀的蛋黄糊
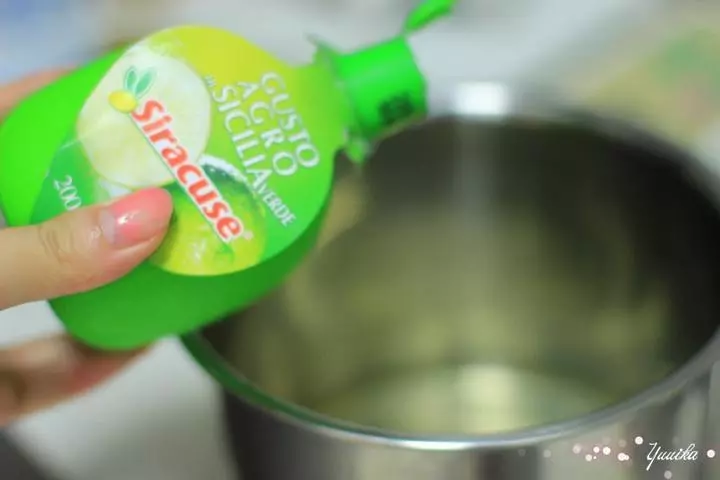
7接下来打发蛋白,在蛋白液中加几滴柠檬汁
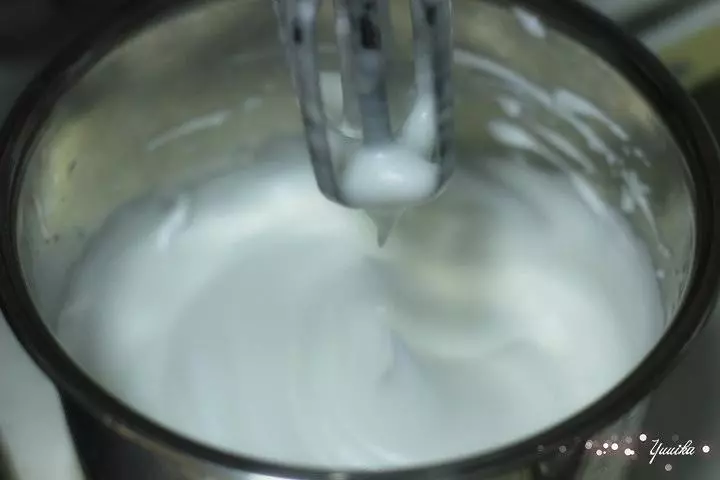
8分三次加糖打发,至提起电动打蛋器时,打蛋器的头能拉出直立的三角形小尖。
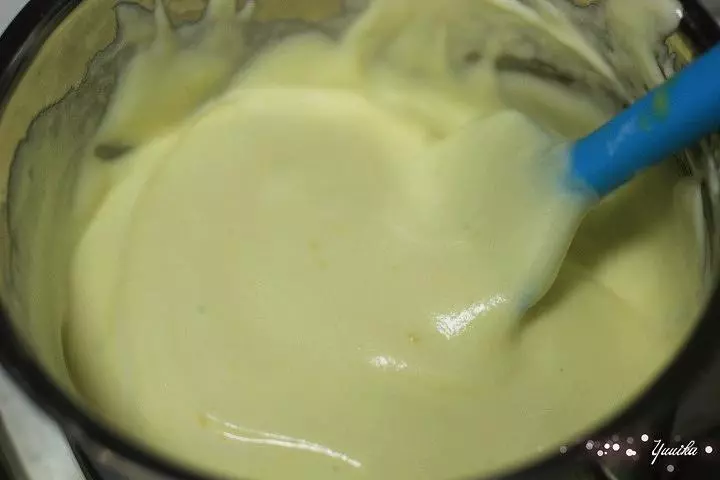
9将蛋黄糊加入蛋白糊
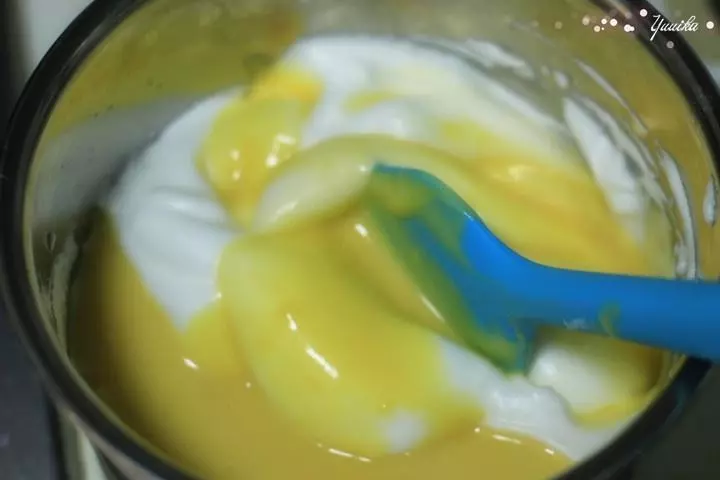
10并呈十字形或者上下拌匀
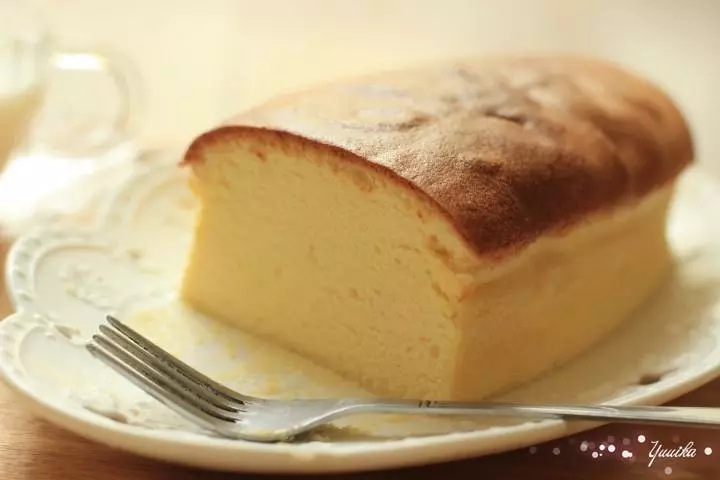
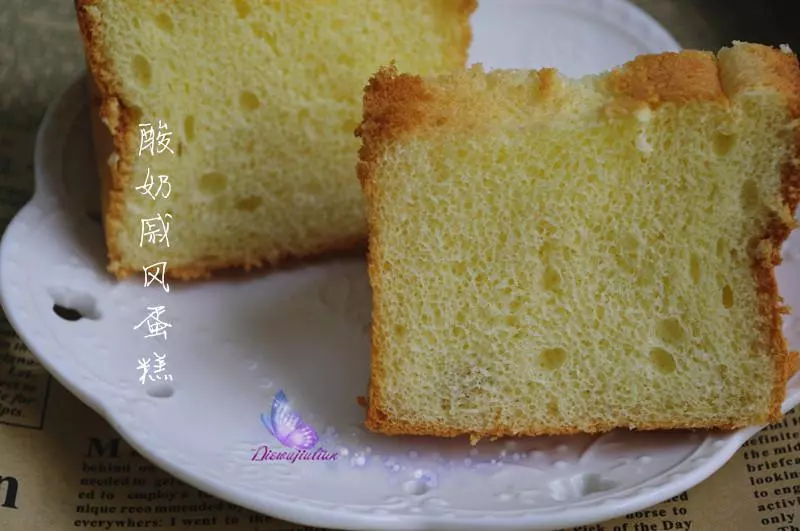
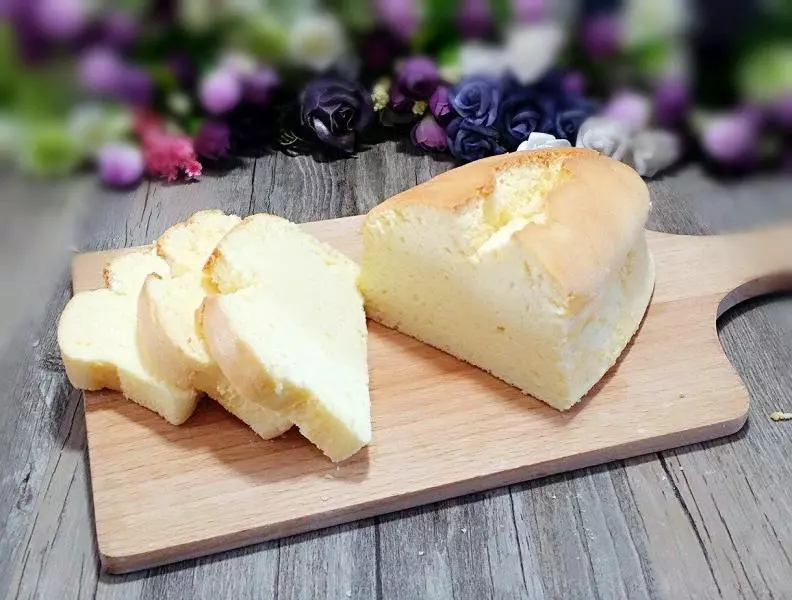
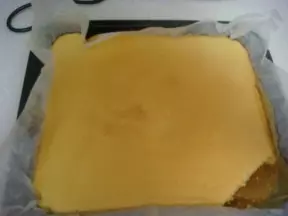
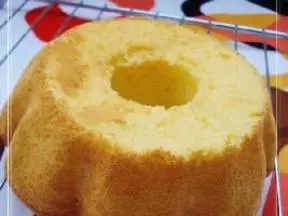
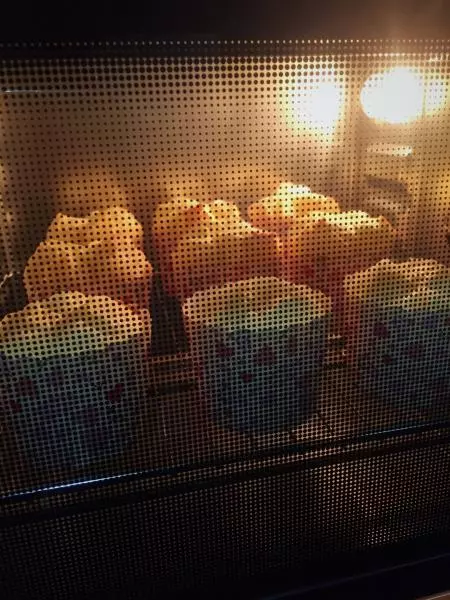
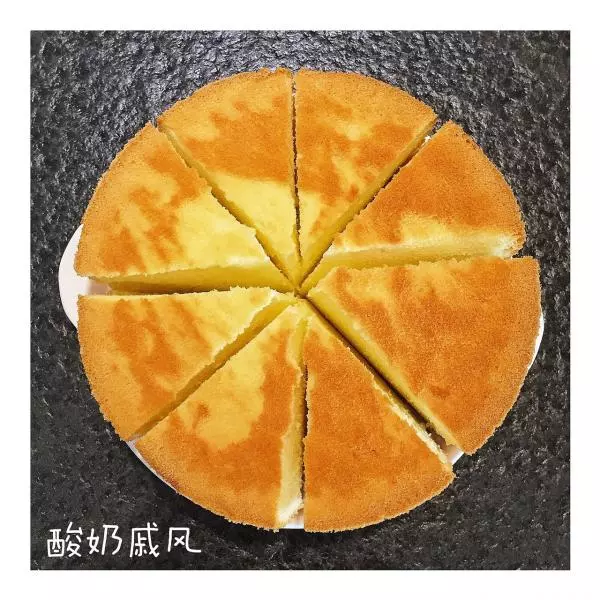
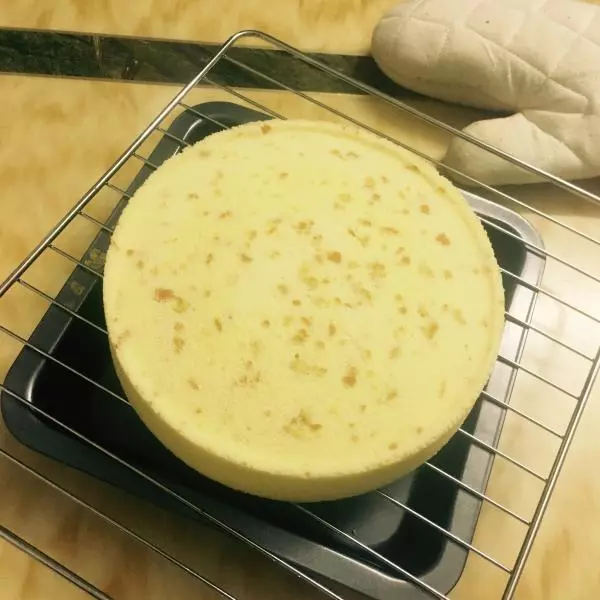
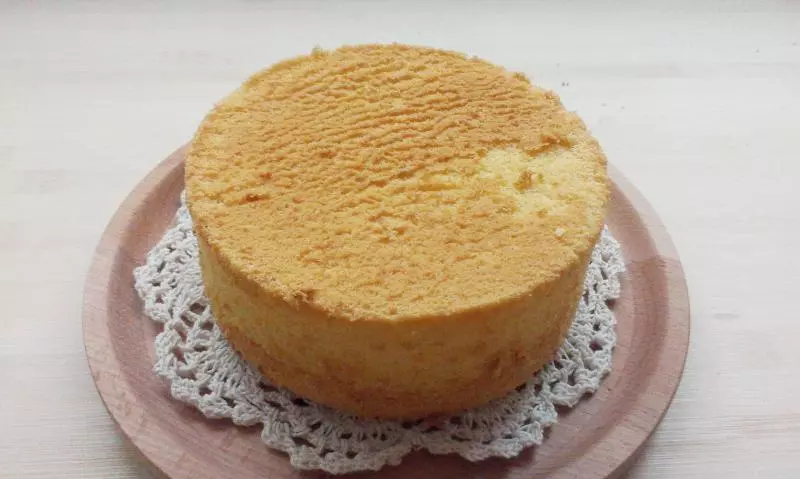
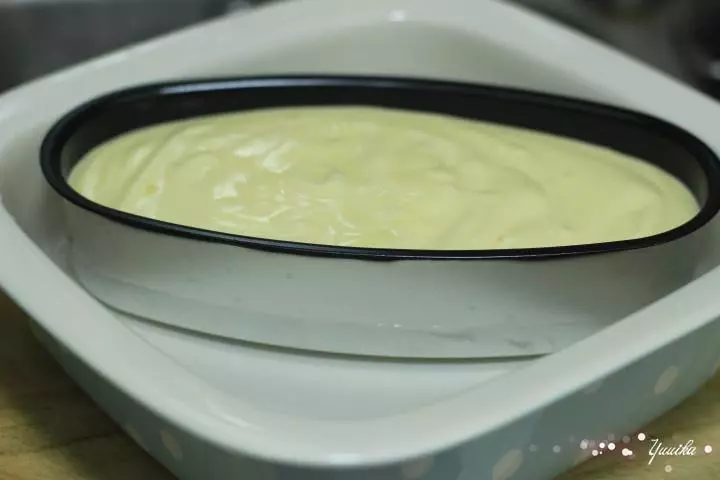
11装入模具。用水浴法来烘烤,选比蛋糕模具更大的模具(大的烘焙深盘最好),装入水,放入蛋糕模具(水没过蛋糕模具底约3cm左右),放入烤箱,180℃,上下火烤40分钟。这样烤出来的蛋糕顶部不容易开裂,品相很漂亮。
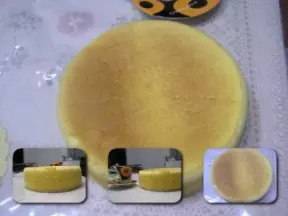
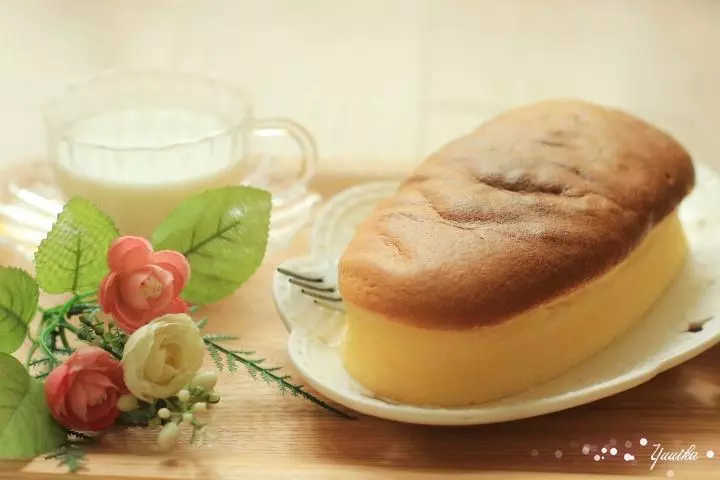
12看,烘烤过程中,蛋糕尽管膨胀到很高,但顶部始终没有开裂。
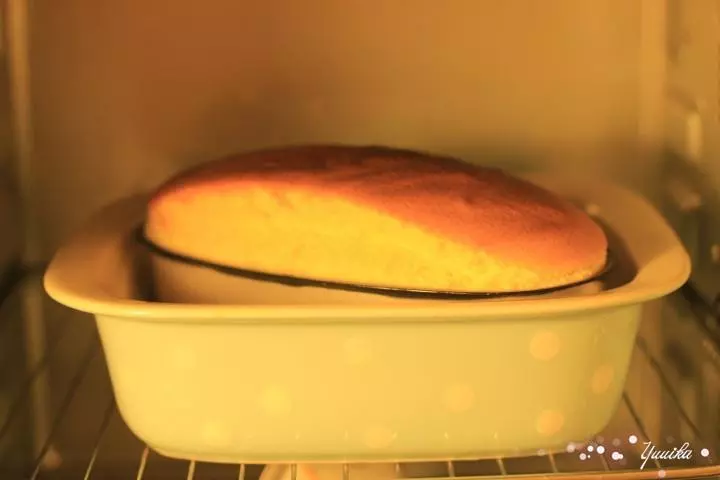
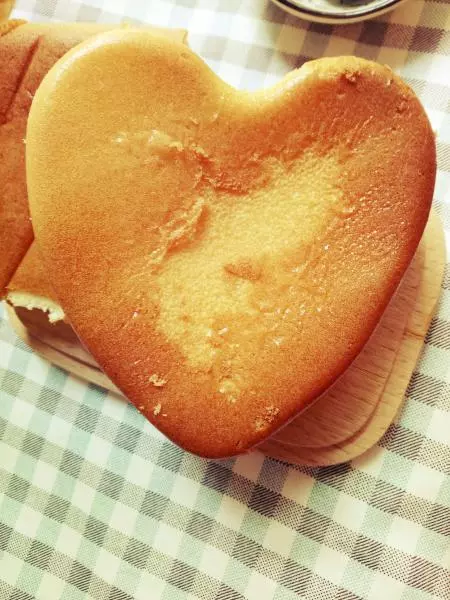
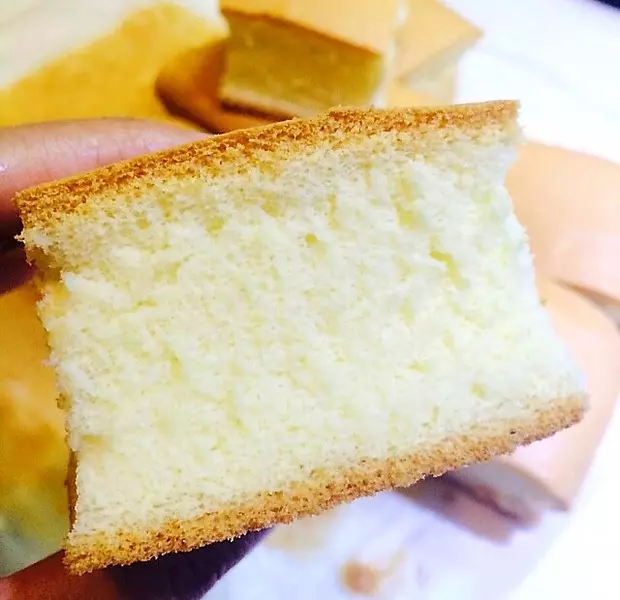
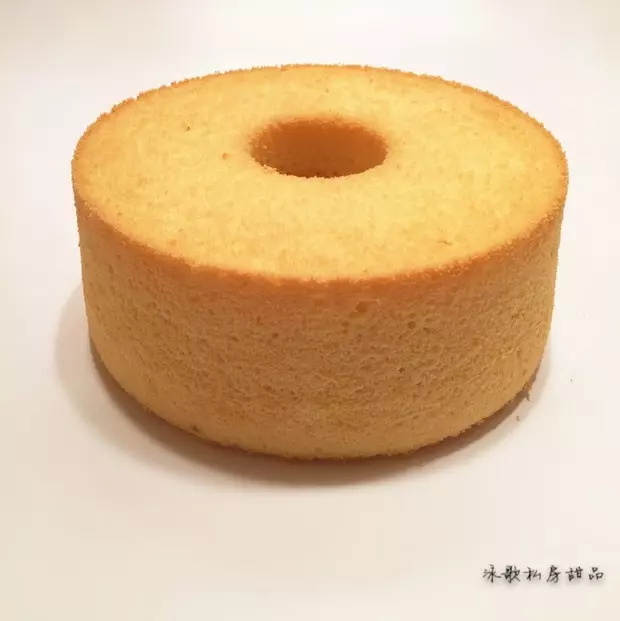
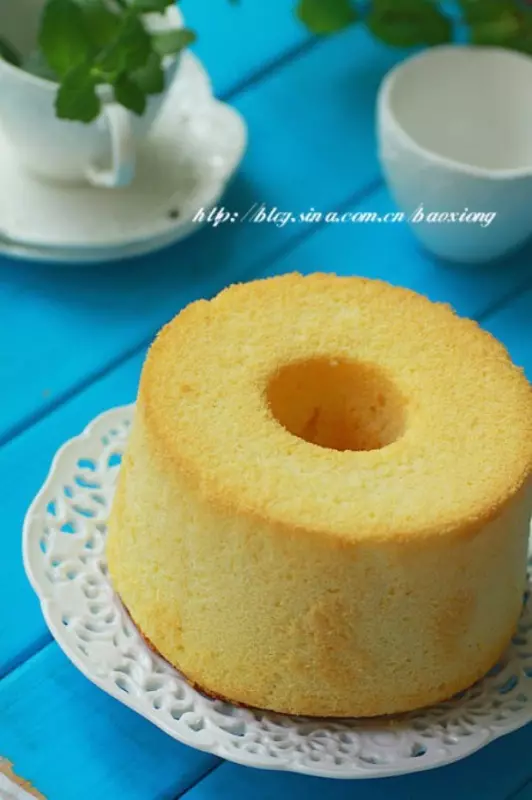
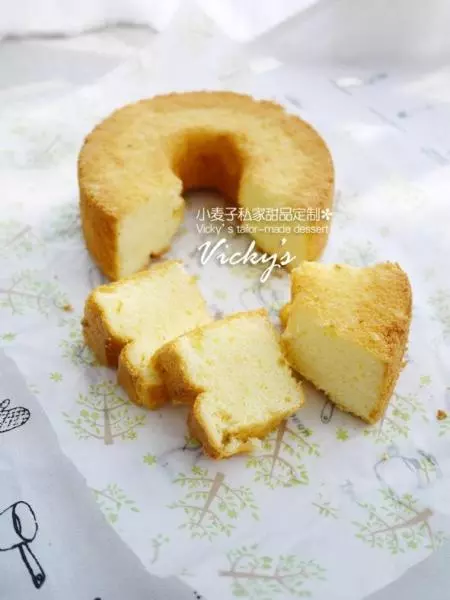
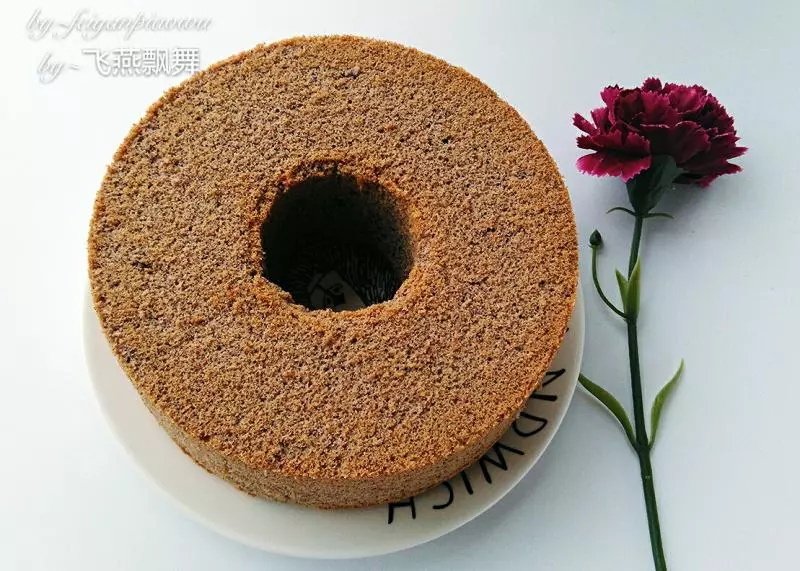
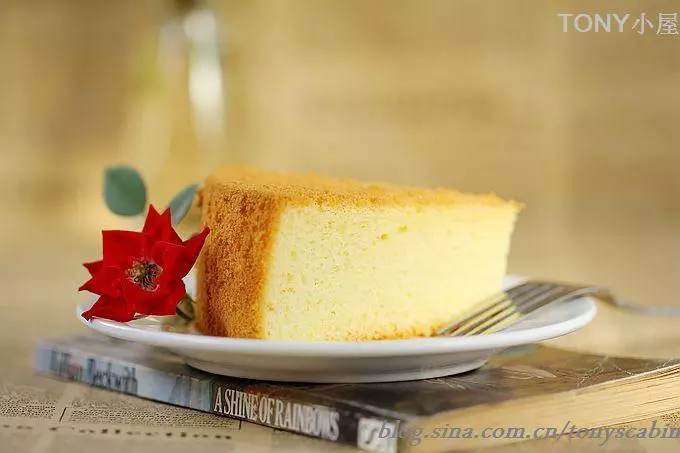
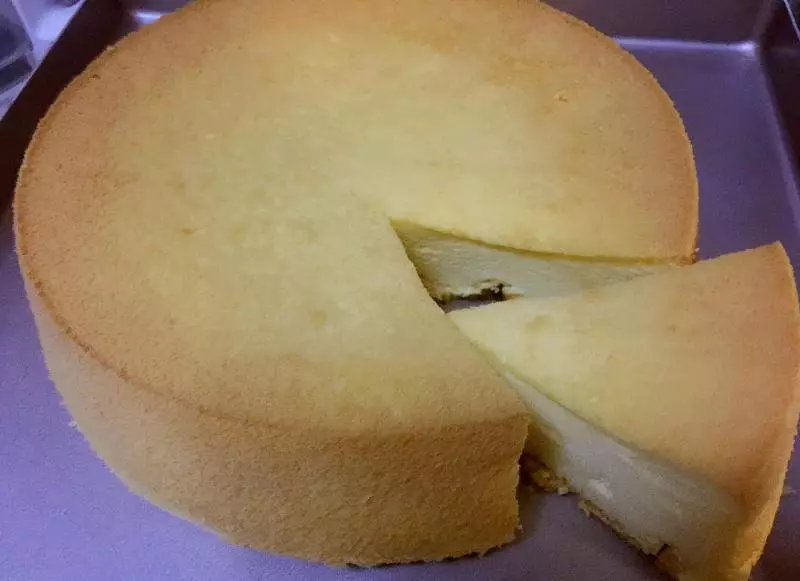
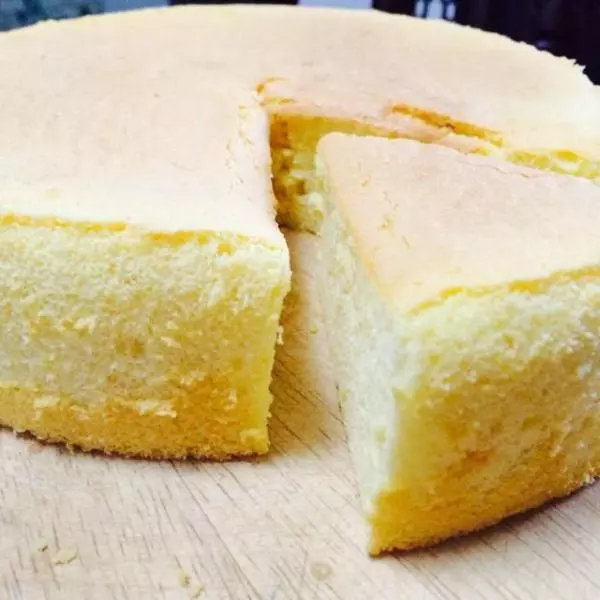
13烤好后,晾凉后即可出模。烤出来绵软香滑,口感细腻,真好吃。