原料
蔓越莓: 180克, 黄油: 235克, 糖粉: 180克, 全蛋液: 1只, 低筋面粉: 495克
步骤
1按照配料表备齐材料

2黄油用小火融化,关火倒入糖粉搅拌均匀,倒入鸡蛋和蔓越莓干搅拌均匀。

3加入低筋面粉

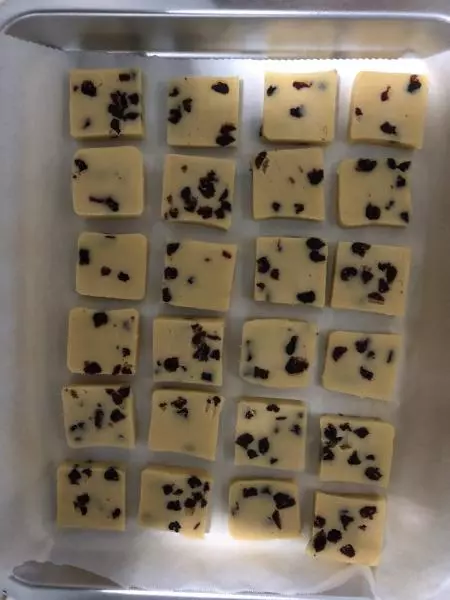
4揉成团,最好垫上一层油纸放入冰箱

5放入冰箱冷冻40分钟到一个小时

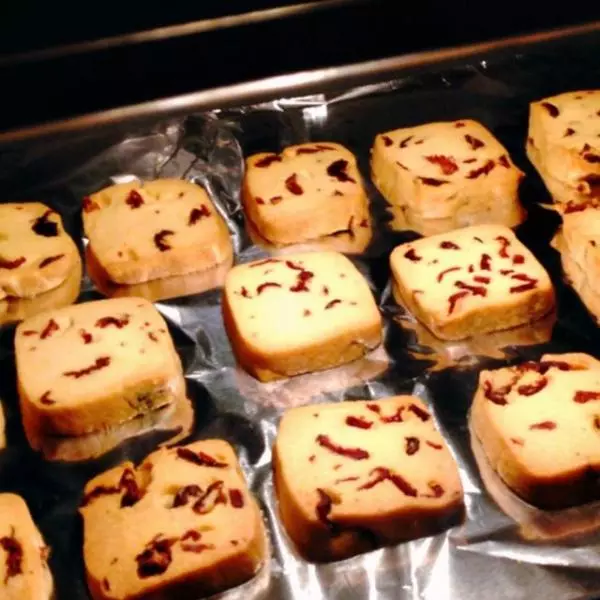
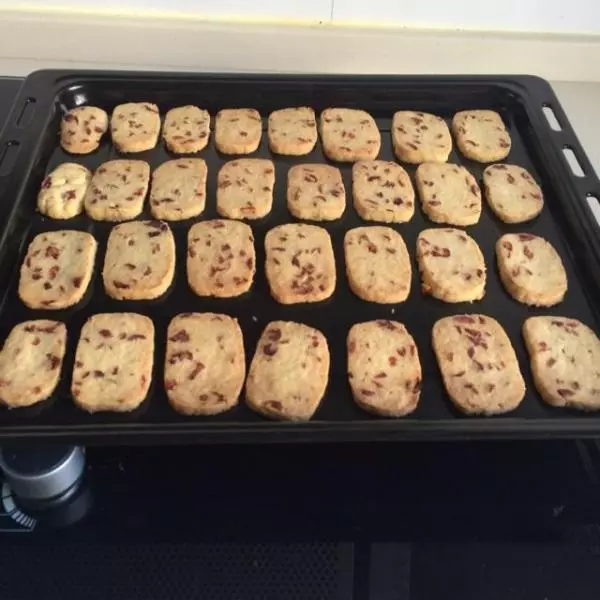
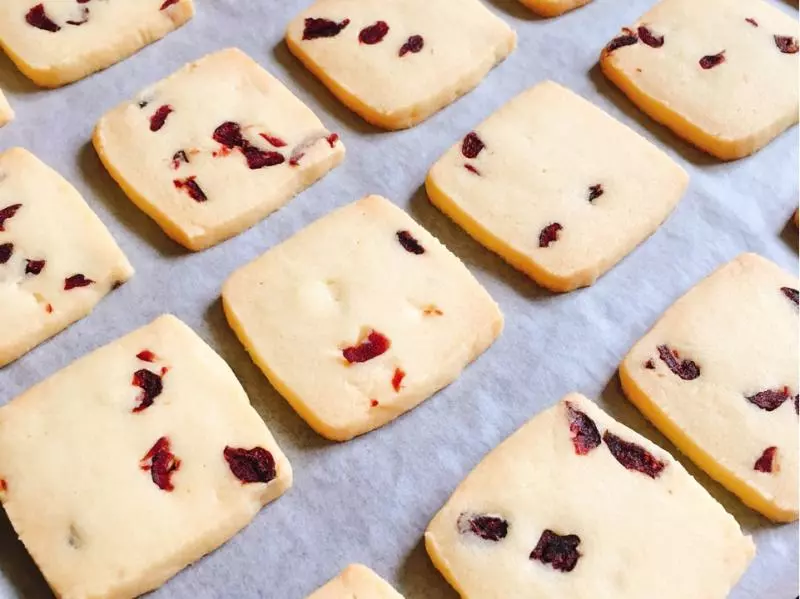
6烤盘铺上油纸或者抹上油切片装盘烤上下火165度烤20分钟

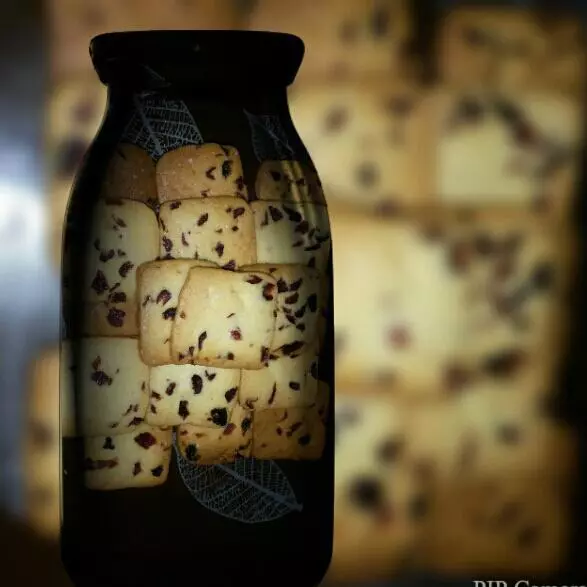
7考好啦!寄己烤得饼干好吃又放心。

8希望收到这个甜蜜包裹的女孩?吃的开心?

小技巧
1.注意融化黄油一定要小火小火再小火,千万别把黄油弄糊了。 2.切片最好用七孔刀。 3.烤前烤箱要预热大概5分钟。 4.糖粉也可以用绵白糖。 5.进冰箱一定要铺油纸否则冻住了不好拿下来。 6.低筋面粉如果没有可以按照2:8的玉米淀粉和普通面粉和匀代替,就是粘度差点。 7.蔓越莓干也可以用葡萄干代替。