原料
蔓越莓80: 克, 低筋面粉230: 克, 黄油150: 克, 糖粉110: 克, 全蛋50: 克, 鸡蛋也就1颗:
步骤
1把所需的黄油放在一个盆子里,用温水隔开融化。

2把蔓越莓干切小待用。

3将融化好的黄油与白砂糖混合,用打蛋机进行搅拌 打。(ps:最好用糖粉哦)

4黄油与糖粉打发完成后倒入蛋液再进行打发。

5以上打发完成后将过筛后的低筋面粉倒入其中,用刮刀或饭勺拌匀。

6最后再将蔓越莓干倒入一起拌匀。

7拌好后装进保鲜袋。

8我用保鲜膜壳做整形,后放入冰箱冷冻一小时。

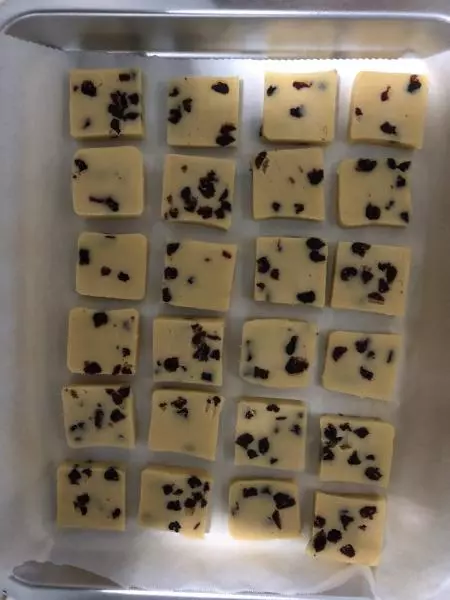
9冷冻好了取出切片!这个时候可以先预热烤箱。

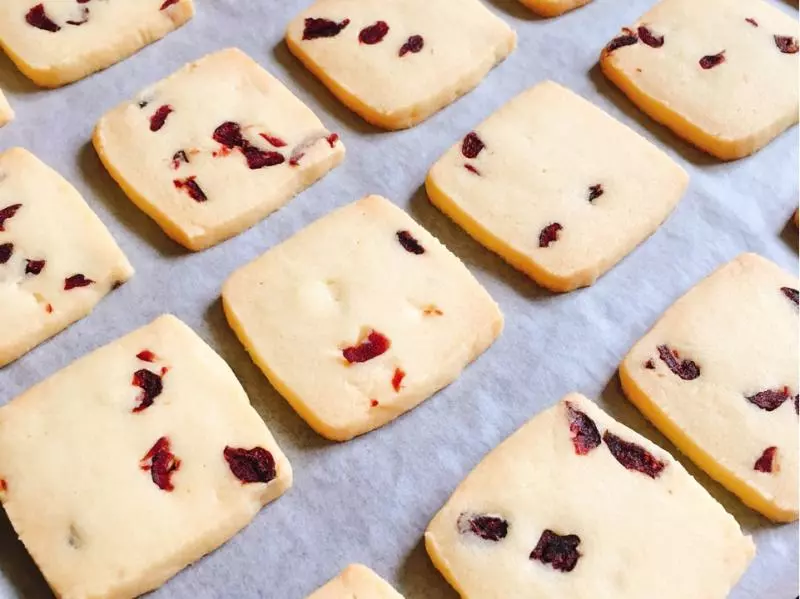
10切好未烤前的样子。

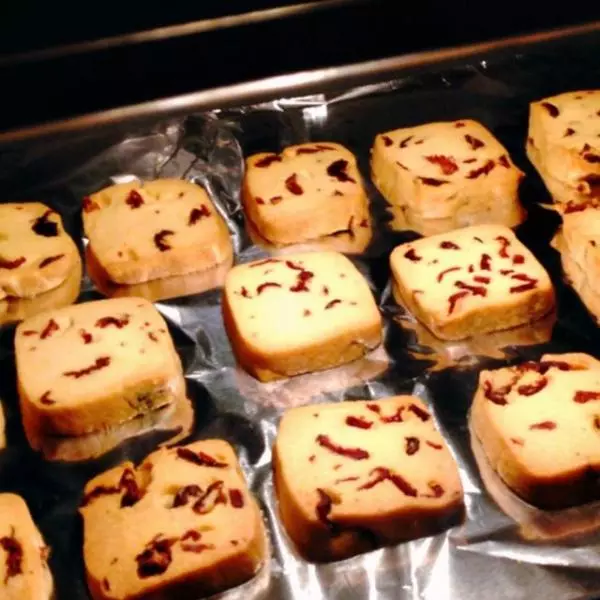
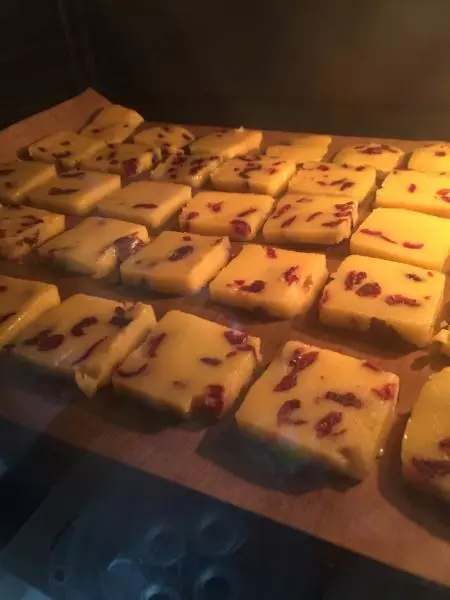
11上烤箱了,上下火,放中层。上火180下火170,烤了20分钟,这个可根据自家烤箱自行掌握时间。

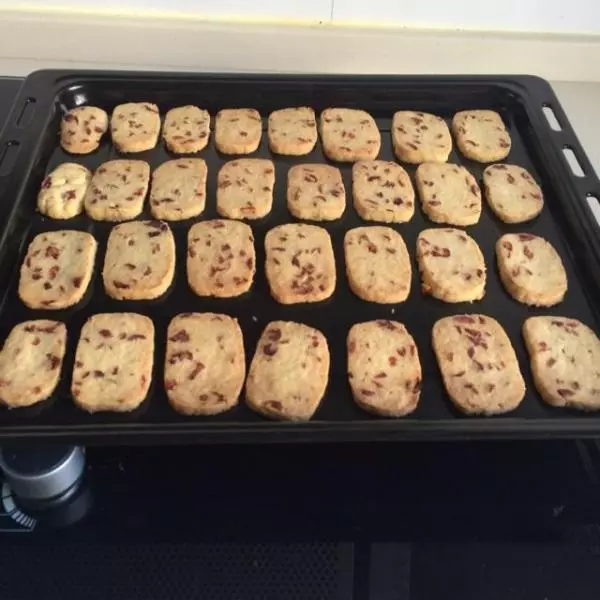
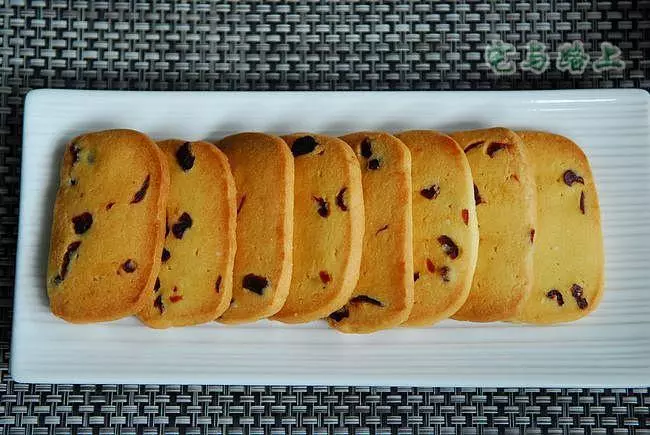
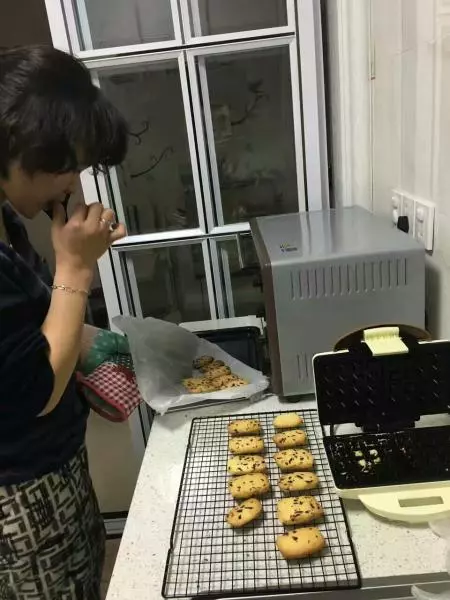
12烤好取出晾凉。

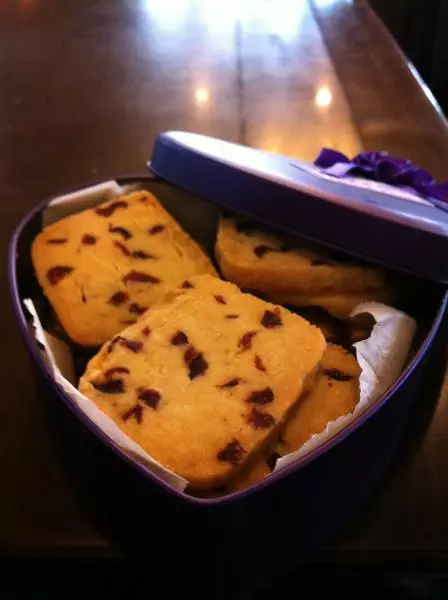
13最后用小包装袋分袋保存。

小技巧
第一次尝试,以后多多学习,多多尝试。烘焙小时光~