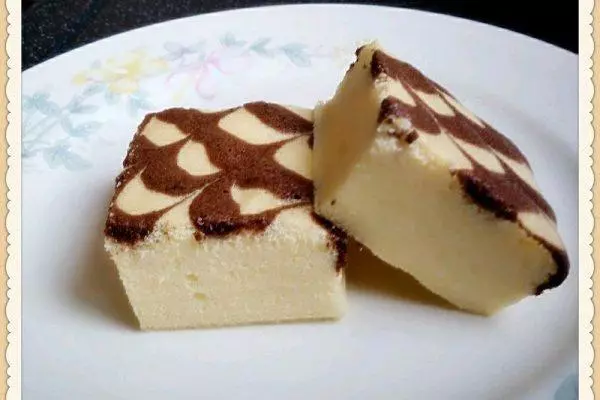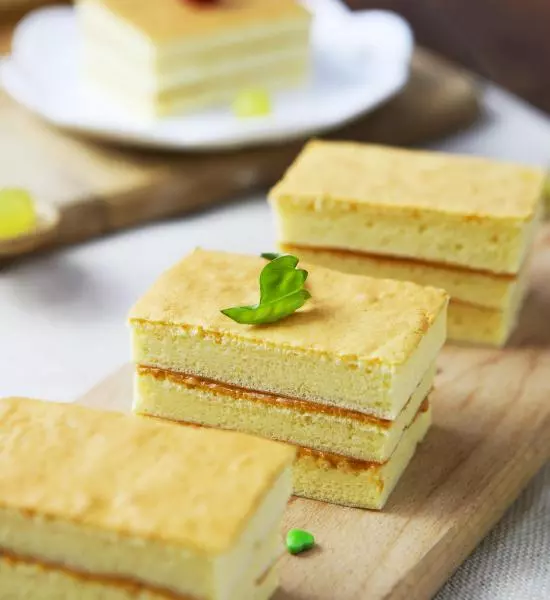
原料
低筋面粉: 50克, 鸡蛋: 4个, 牛奶(或水): 40克, 玉米油: 40克, 砂糖: 15克+40克, 柠檬汁(或醋): 几滴, 生粉: 10克, 麦芽糖(或比较粘稠的果酱): 适量, 心形棉花糖: 适量
步骤
1将牛奶、玉米油和15克砂糖倒入容器中,手动打到砂糖融化。

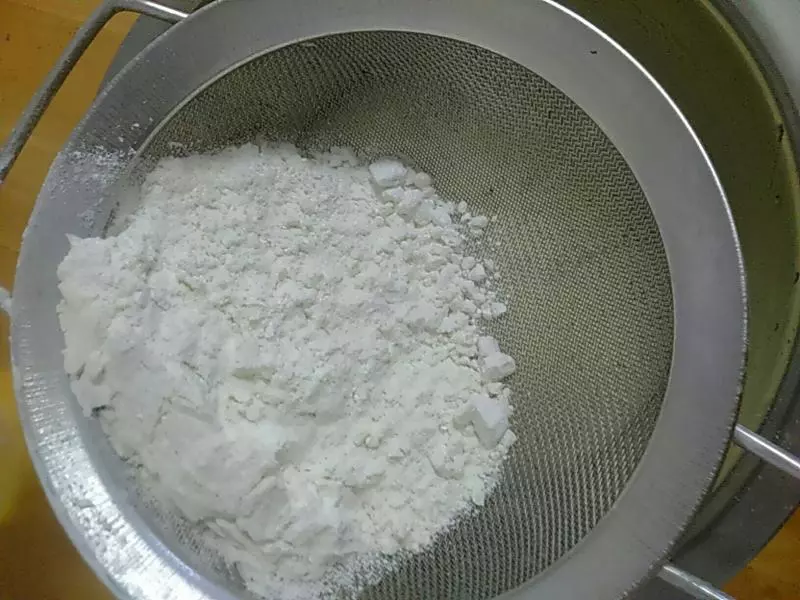
2过筛,加入面粉。
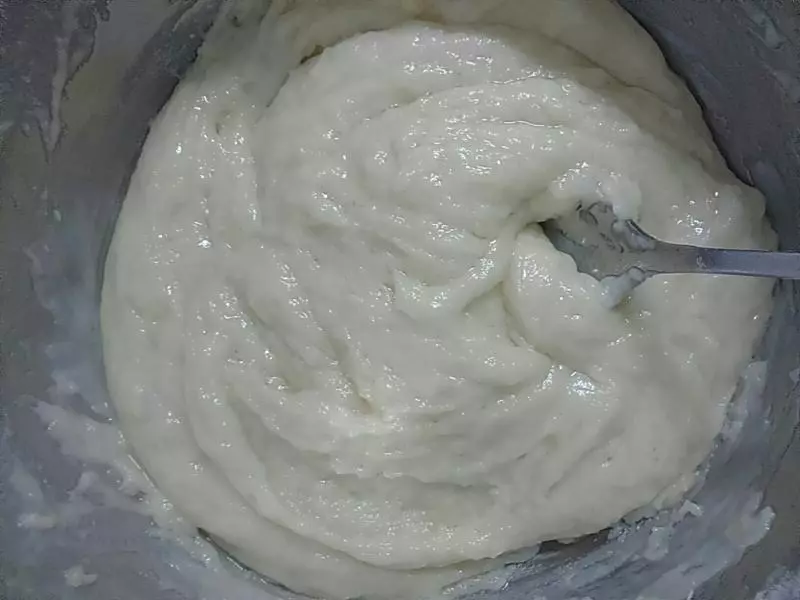
3搅拌均匀。
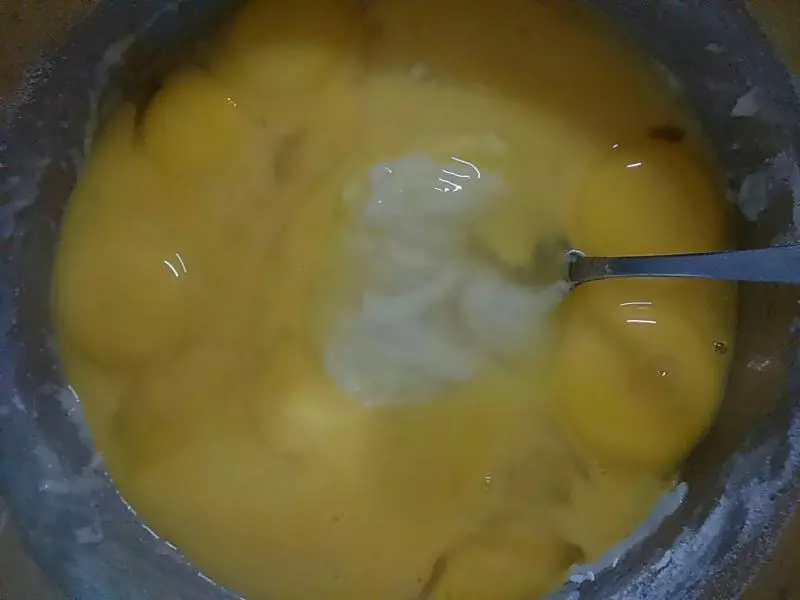
4加入4个蛋黄。
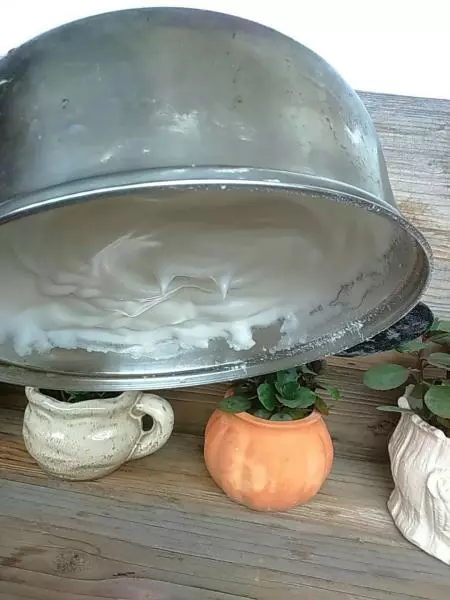
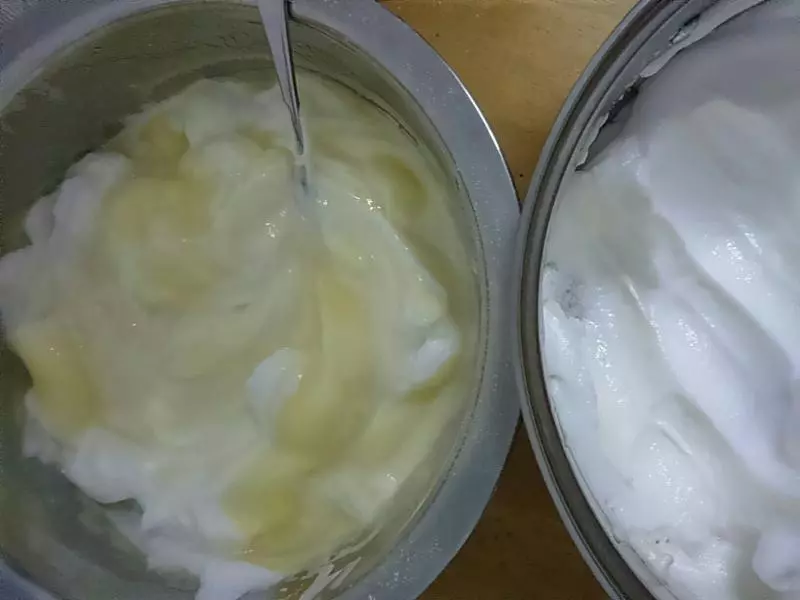
5分离出来的4个蛋白倒入不锈钢大碗中,加几滴柠檬汁,用电动打蛋器打到冒大泡,加20克的砂糖,继续打到纹路清晰,再加20克的砂糖和10克生粉,打发到提起打蛋器有小尖角,把蛋白倒扣,蛋白霜不会流动。全程中速打发。
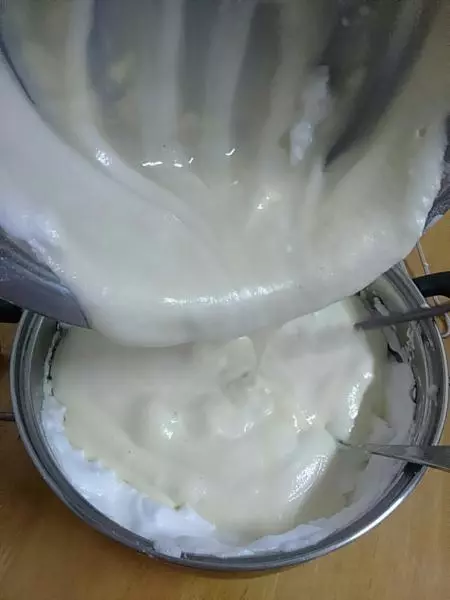
6把2分之1的蛋白霜倒入面糊中,翻拌均匀。
7把翻拌均匀的面糊,倒入蛋白霜里,再一次翻拌均匀。
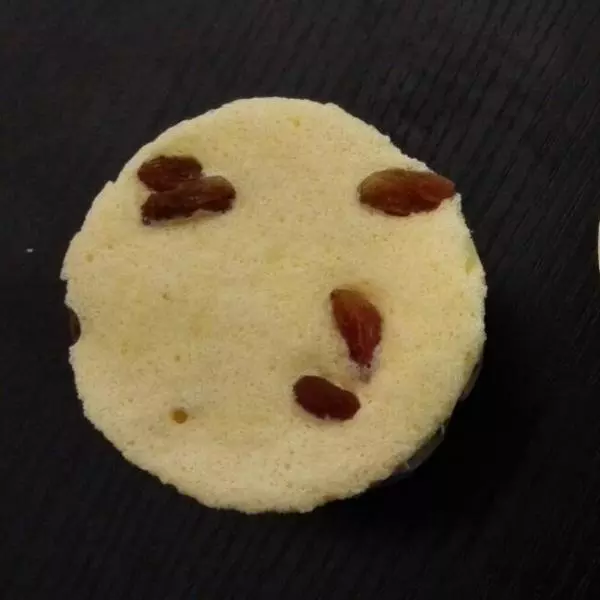
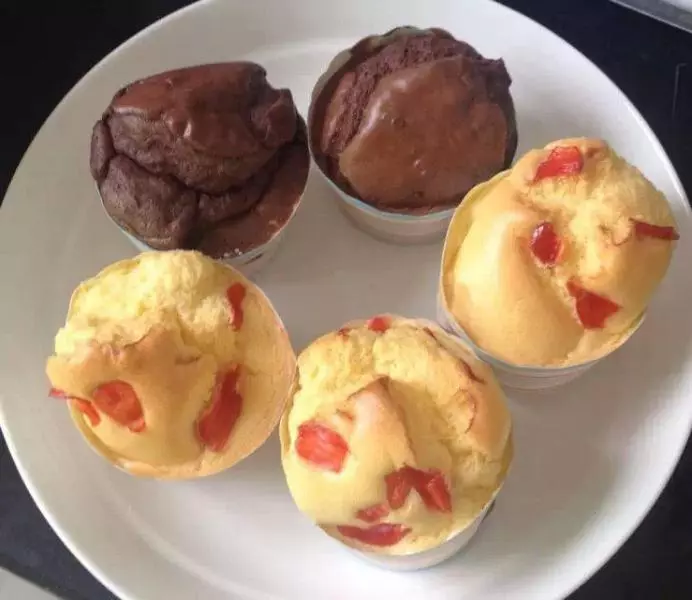
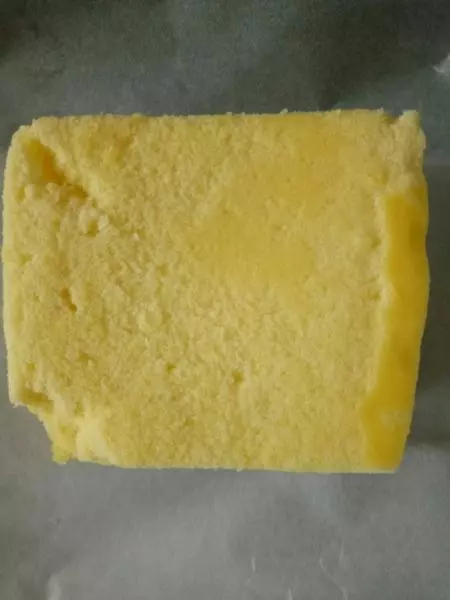
8倒入纸杯中。
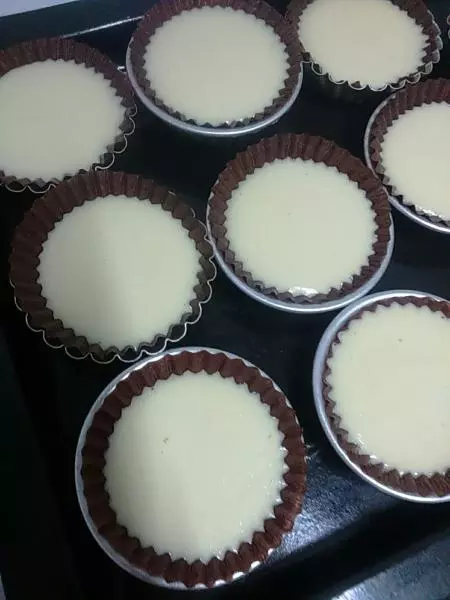
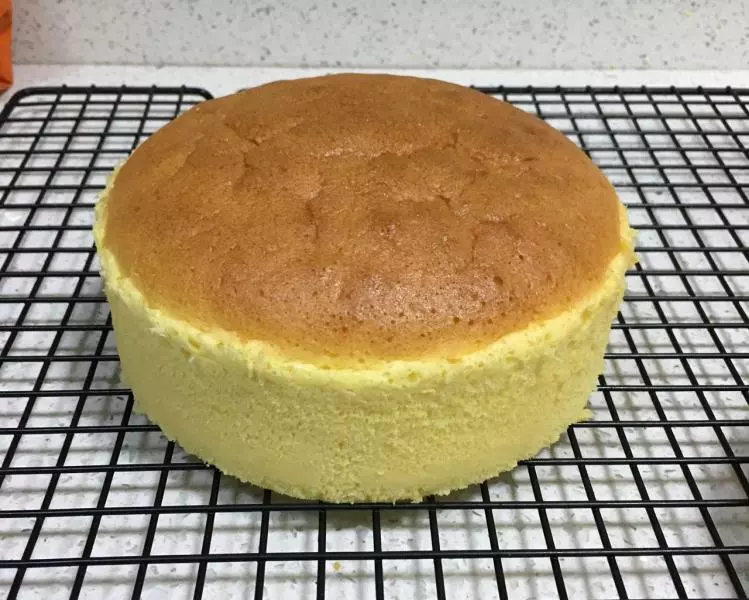
9预热烤箱5分钟160度,然后烤约20分钟。(我用的是很小号的纸杯,蛋挞般大小,每个烤箱的脾气不同,要自己把握哦!)
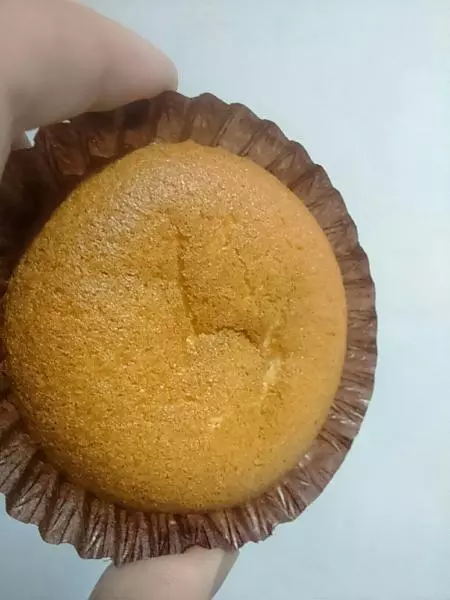
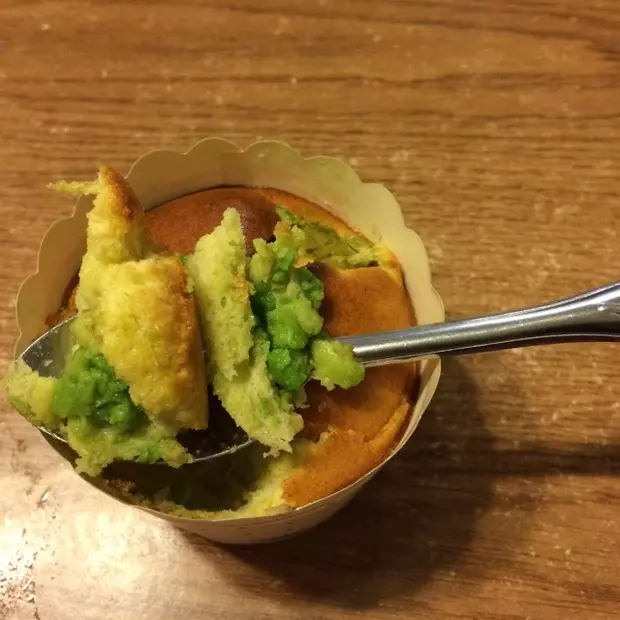
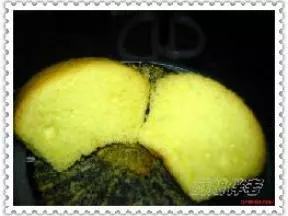
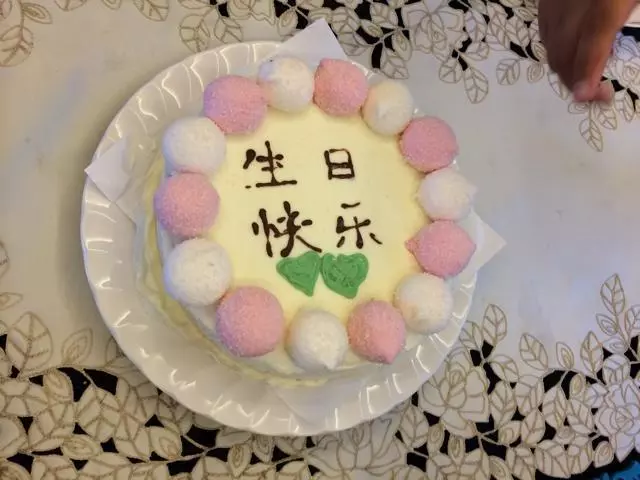
10在纸杯蛋糕中心划一刀,沾上麦芽糖,挤进棉花糖,完工,很简单哦!