原料
奶油奶酪: 250克, 牛奶: 80克, 鸡蛋: 3个(小,带壳46.5g左右), 消化饼干: 108克, 黄油: 52克(饼底)➕30g(蛋糕), 细砂糖: 80克, 玉米淀粉: 15克, 柠檬汁: 12g, 朗姆酒: 10g, 糖水黄桃: 2-3块
步骤
1准备称重好各种食材
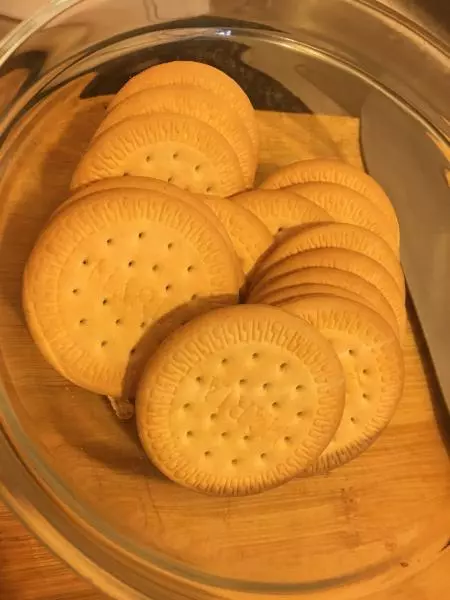
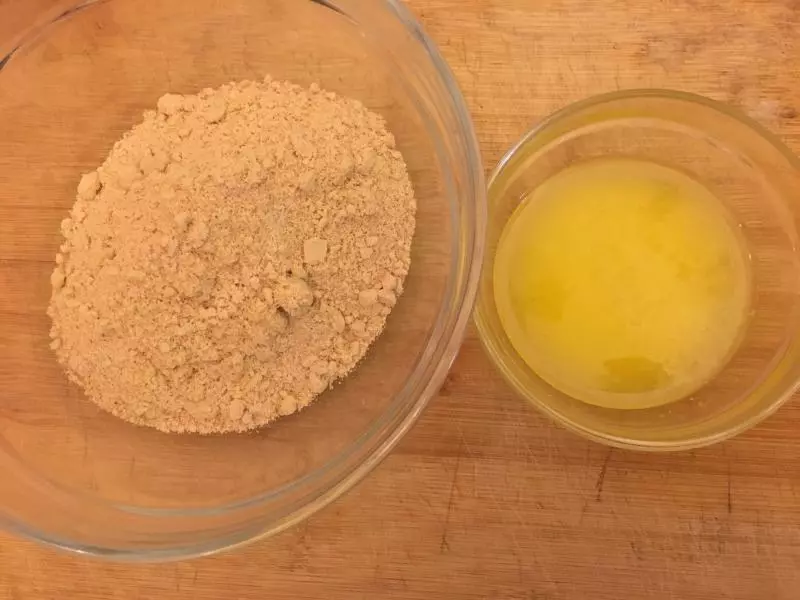
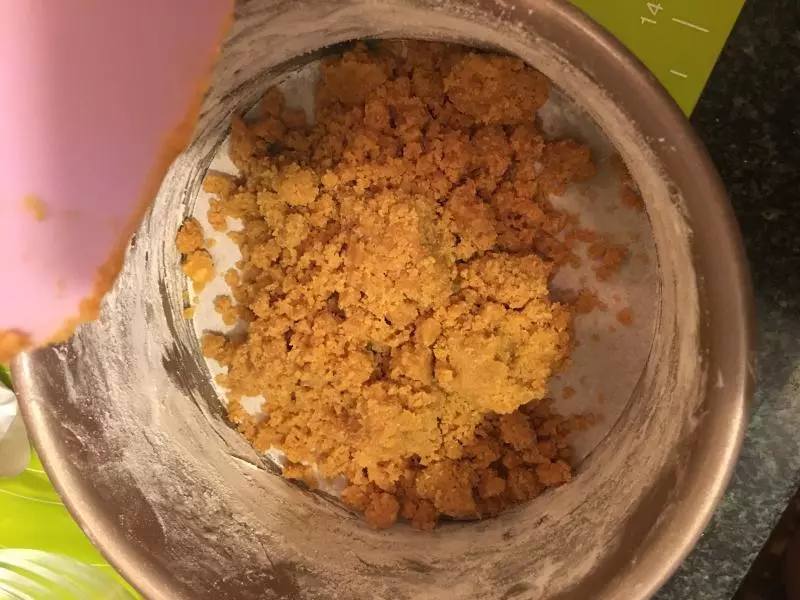
2消化饼干放入研磨机中磨成粉,混合搅拌至无干粉状
3底部铺一层6寸蛋糕模具的专用油纸,或者自己剪一张~忘记拍了,这是脱模后
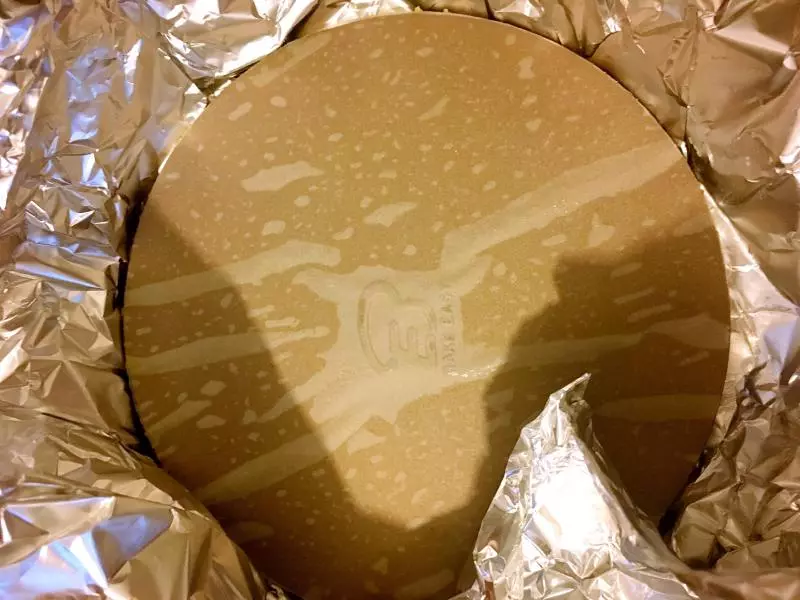
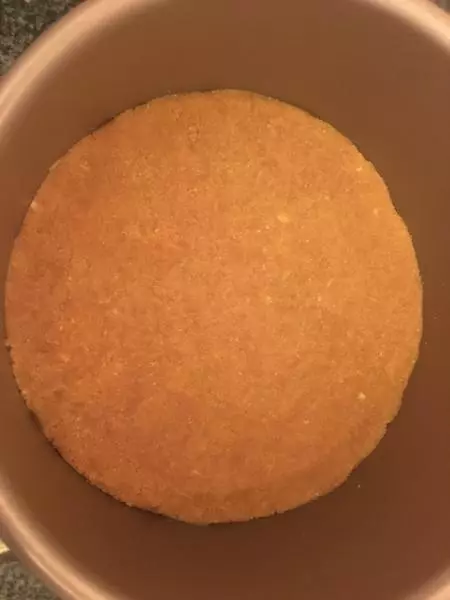
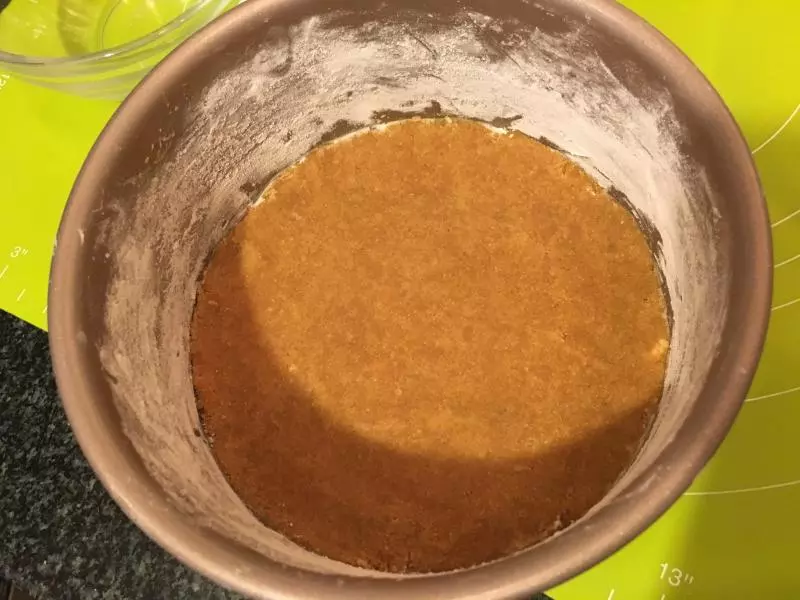
46寸模具,用刮刀压实于底部,盖上保鲜膜放入冷藏室冷藏备用
5室温软化奶油奶酪和30g黄油,加入细砂糖,不启动打蛋器的状态稍稍搅拌混合~以防启动搅打时砂糖喷溅
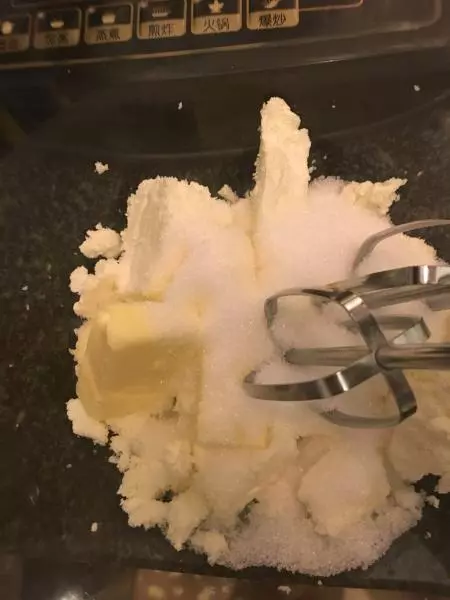
6快速搅打至奶酪黄油混合均匀且顺滑无颗粒
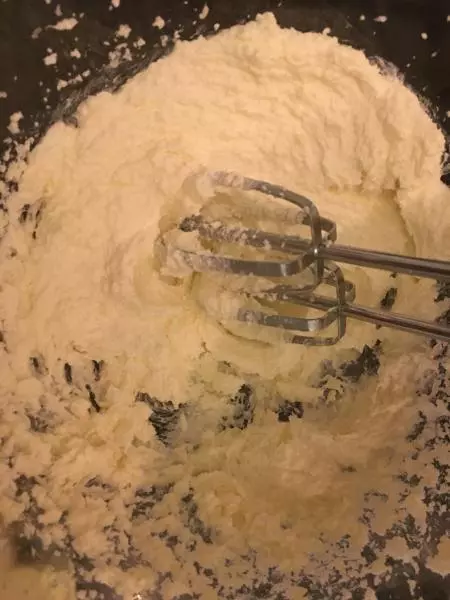
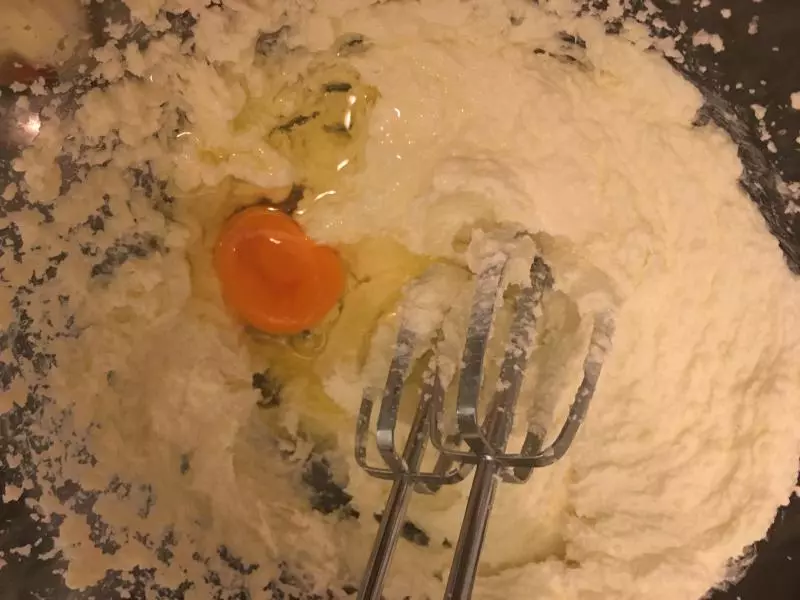
7打入一个鸡蛋,快速搅打至均匀后再加入下一个,直至完成三个的混合
8完成如图~烤网的下方放一个烤盘,注入水至烤盘的一半,预热烤箱,上下火160度
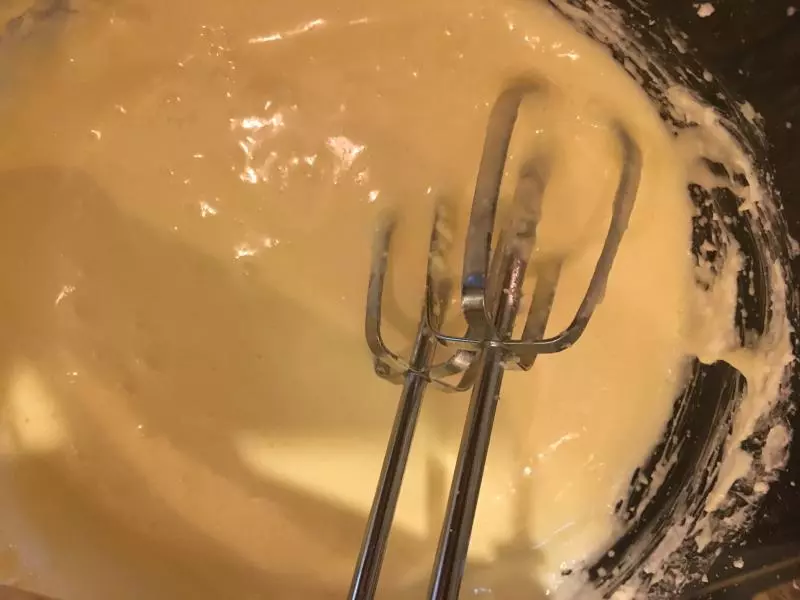
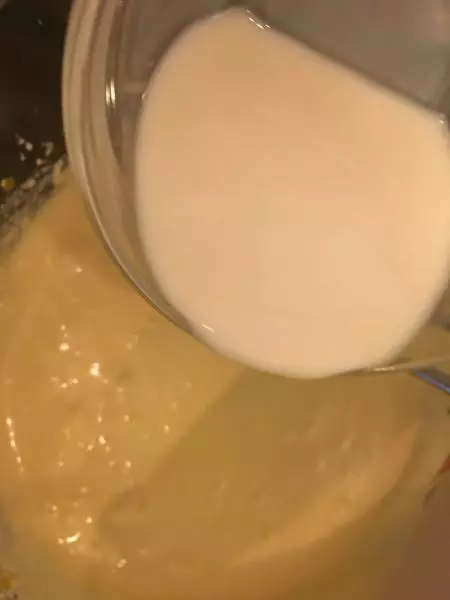
9加入柠檬汁,继续快速搅打均匀
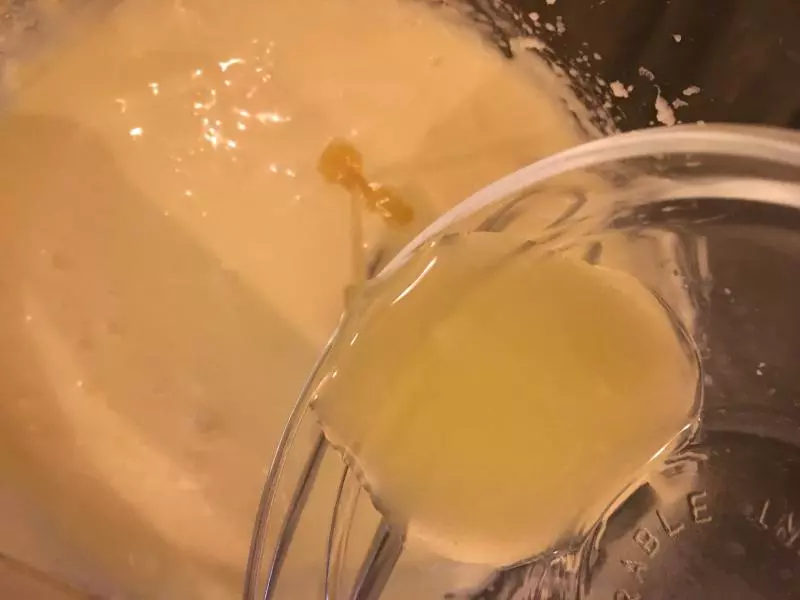
10加入牛奶搅打均匀,再加入朗姆酒,继续快速搅打至均匀,也就是全程快速搅打
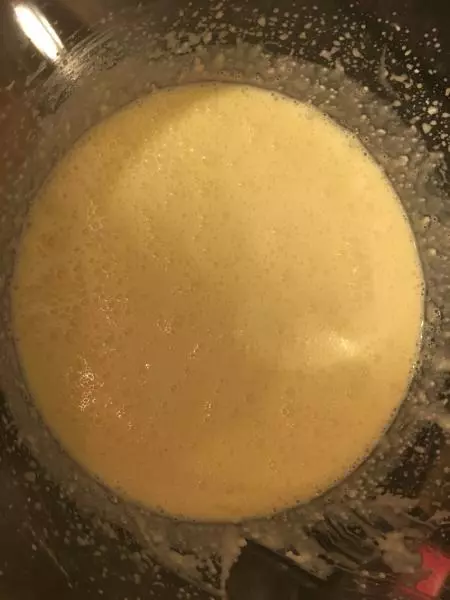
11完成如图~
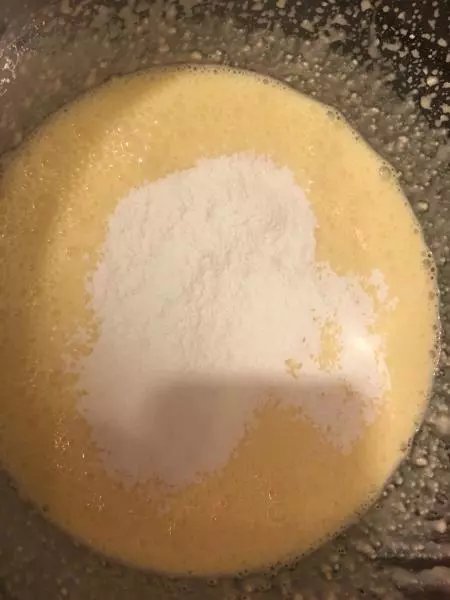
12筛入玉米淀粉,不启动稍稍搅拌后再搅打均匀,以免粉会乱飞
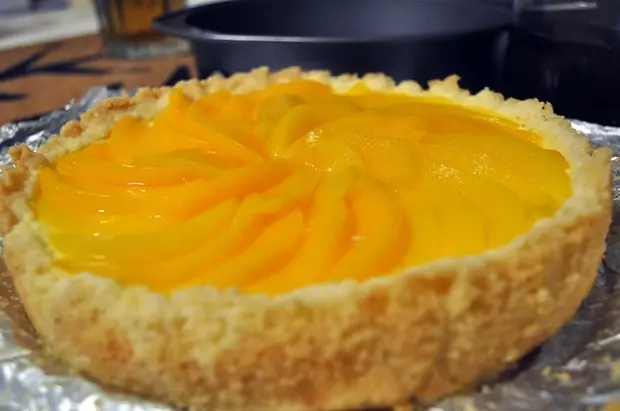
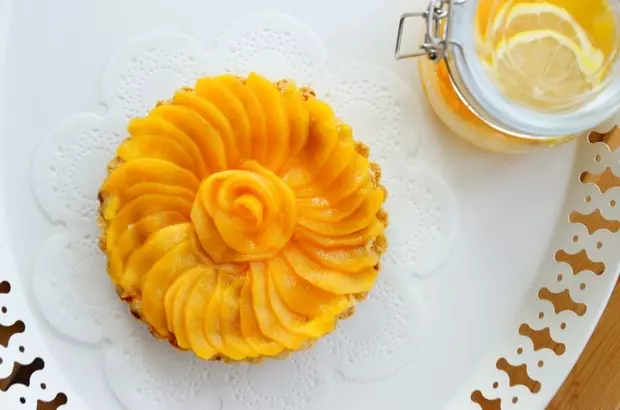
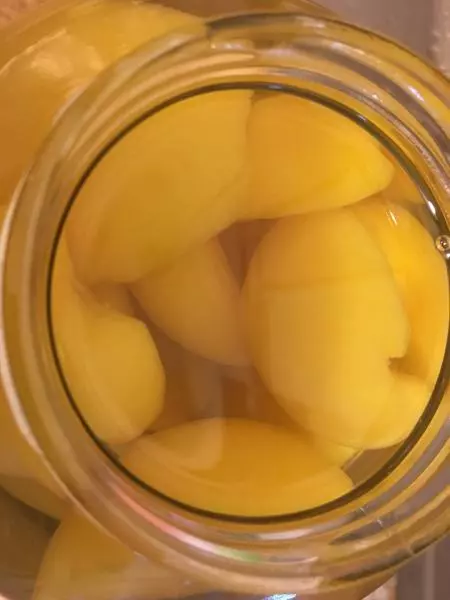
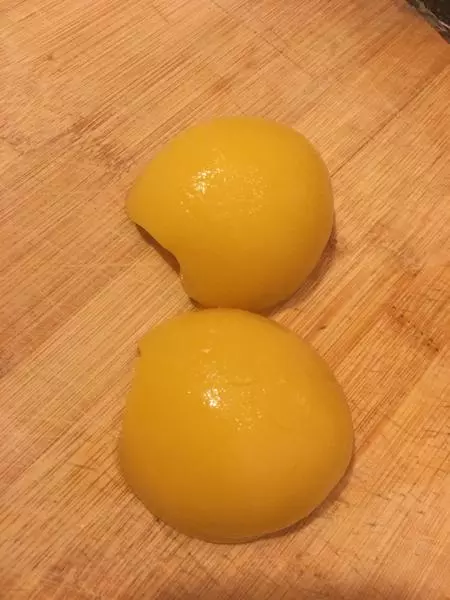
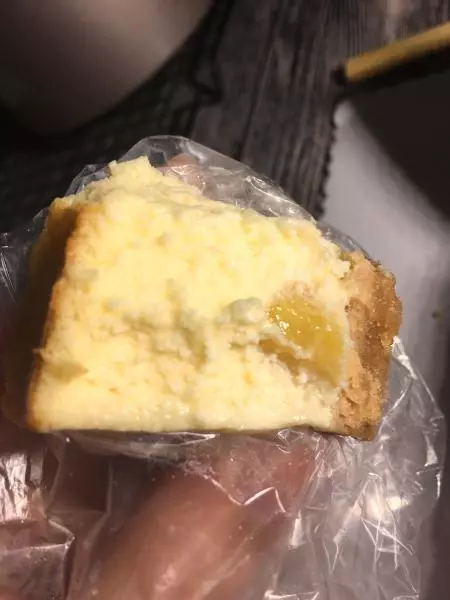
13取出两块黄桃
14放在案板上切成小块儿
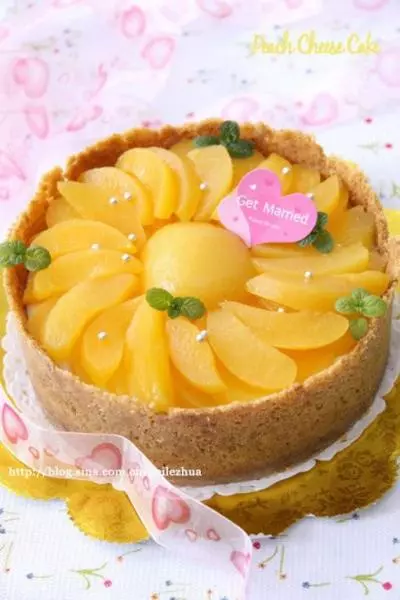
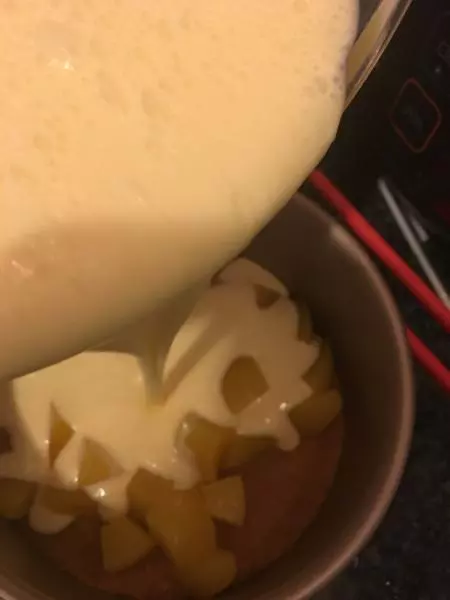
15取出冷藏室里的饼底,将黄桃放在上面,模具的外面包一层锡纸

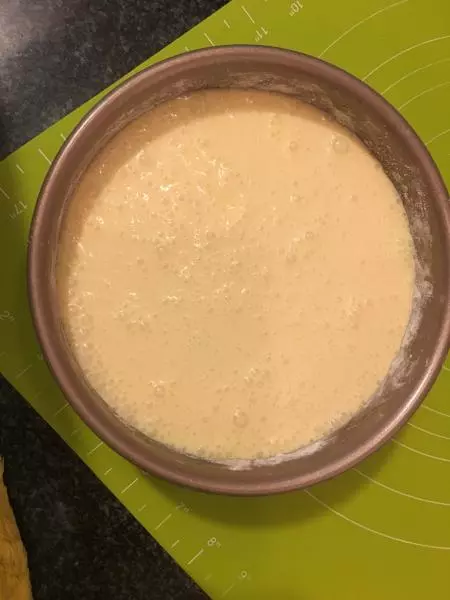
16将乳酪混合物倒入铺好饼底的模具内
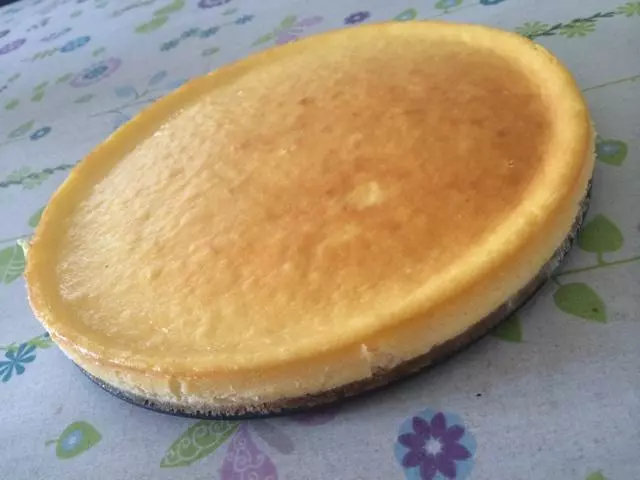
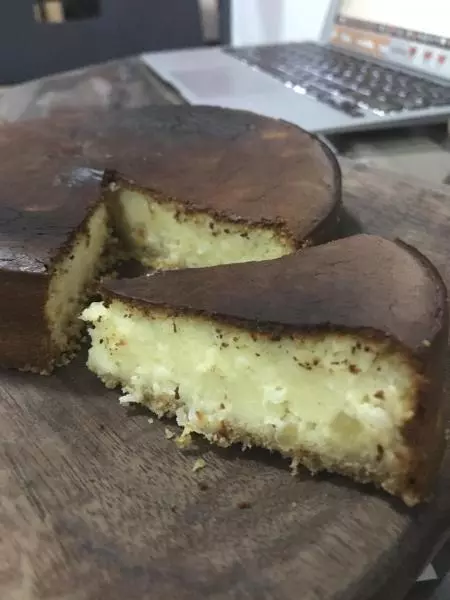
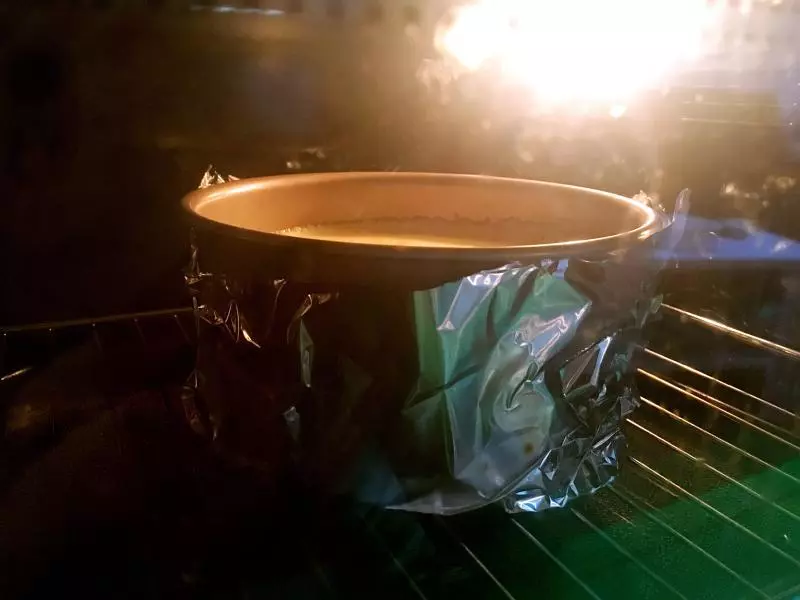
17送入烤箱中层,上下火160度,70分钟即可,具体请根据自家烤箱的不同来调整时间和温度哈
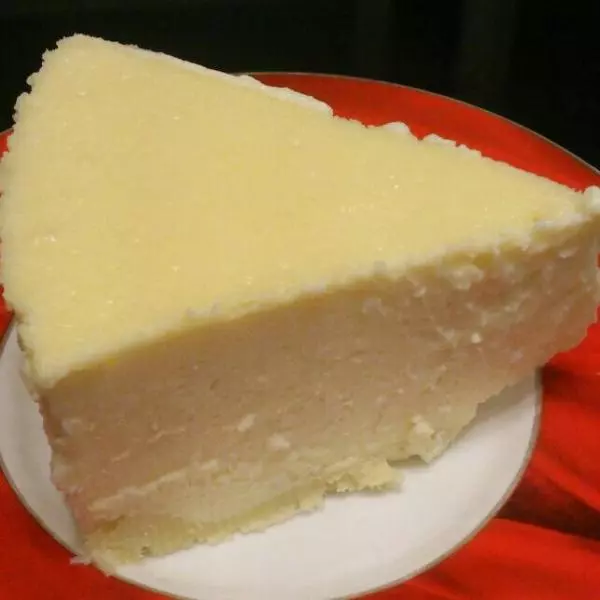
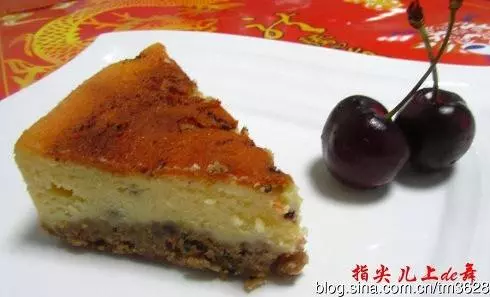
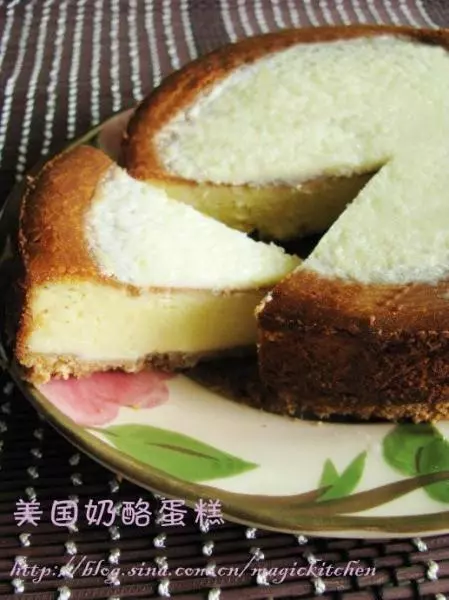
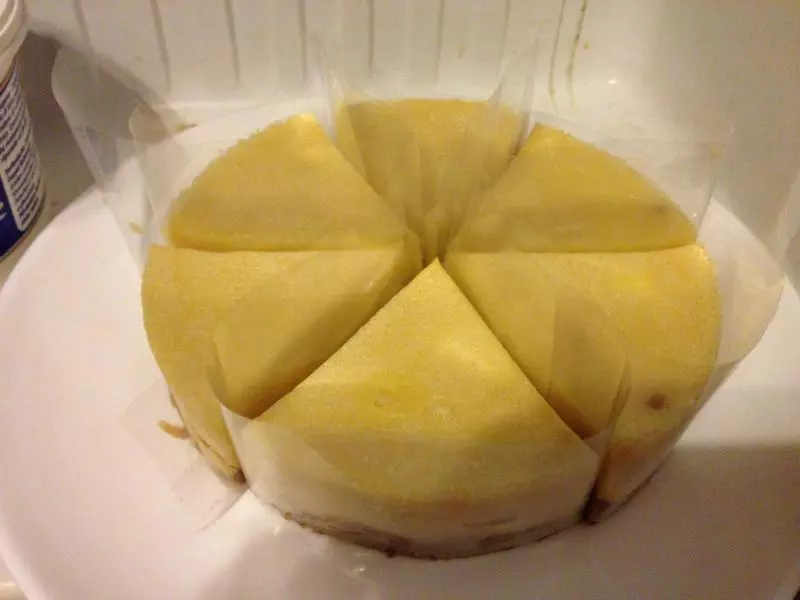
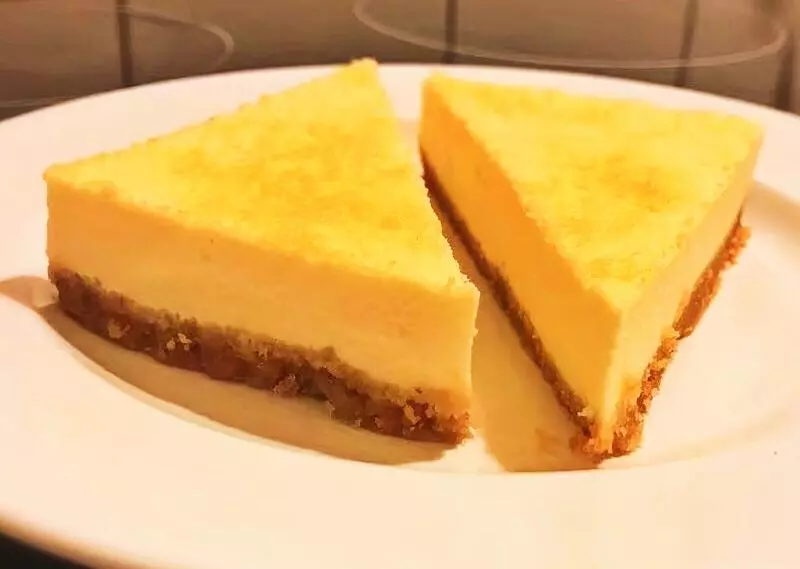
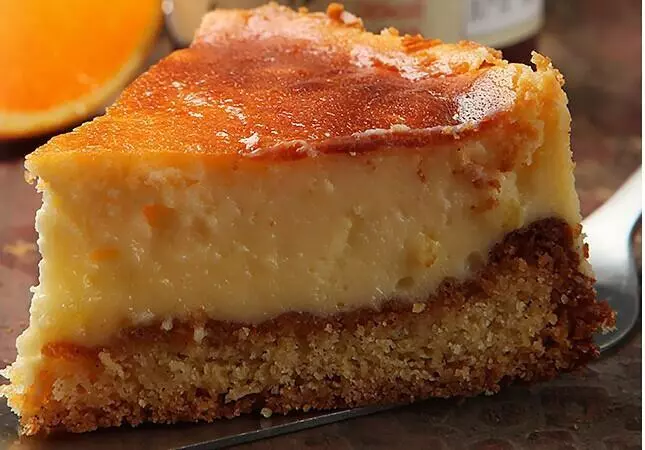
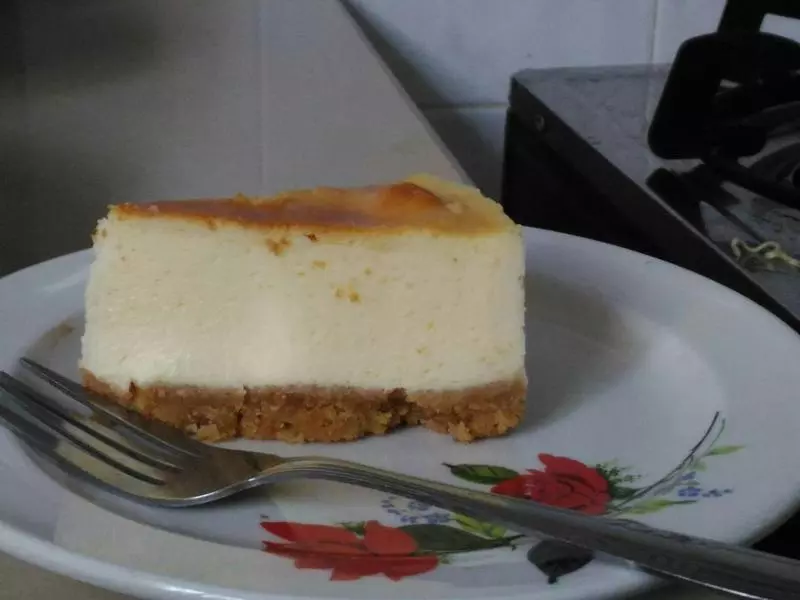
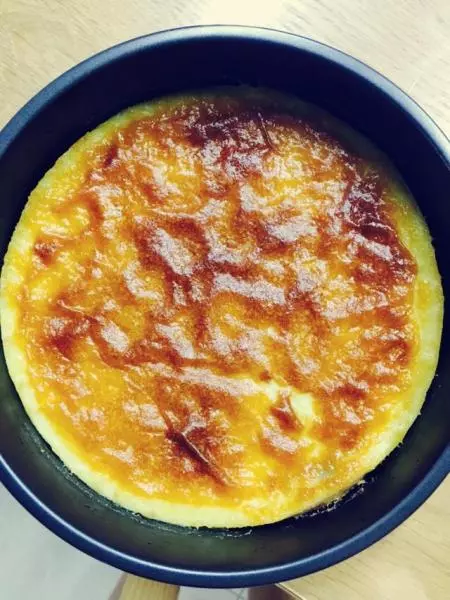
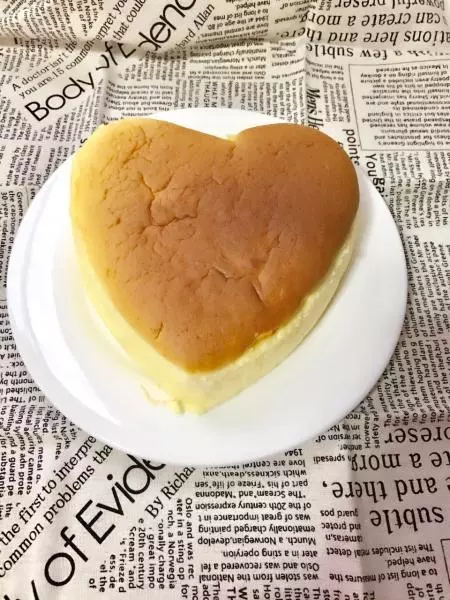
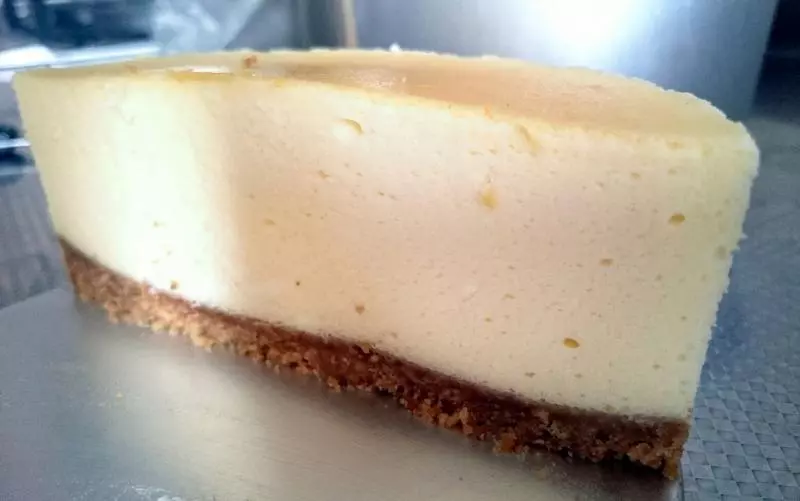
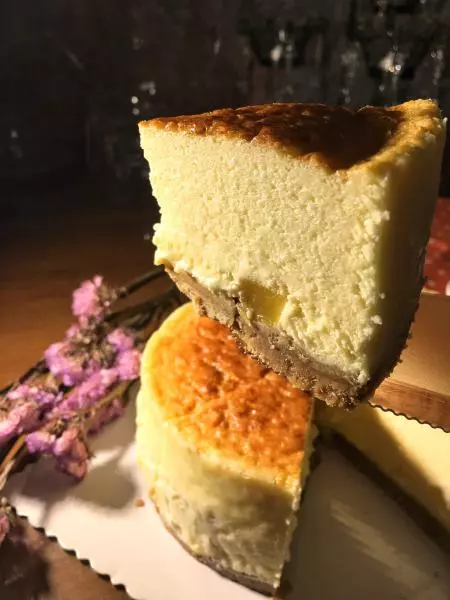
18出炉凉至手温如图~它是比较高的(话说拿拿比较喜欢厚块儿块儿的蛋糕??)
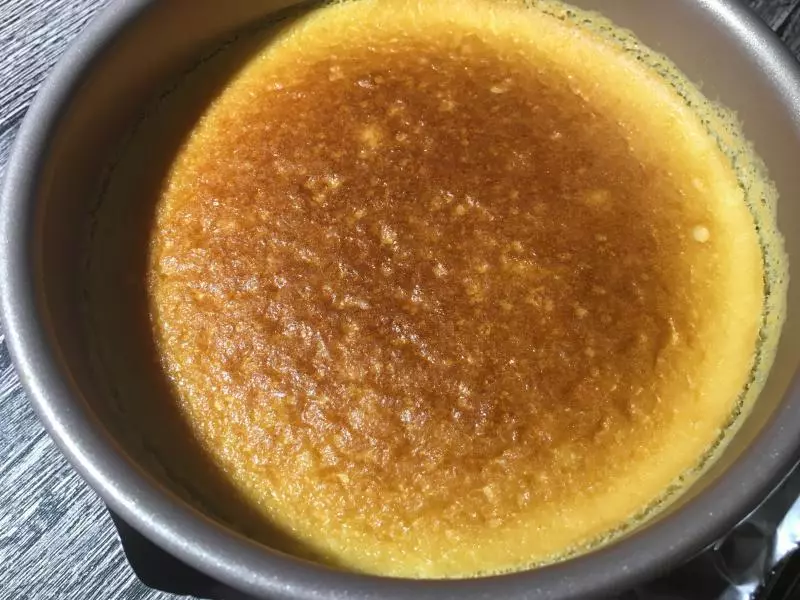
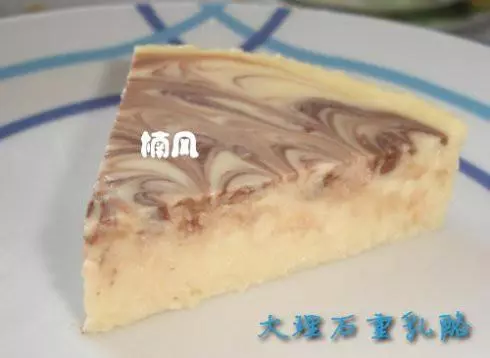
19脱模如图~

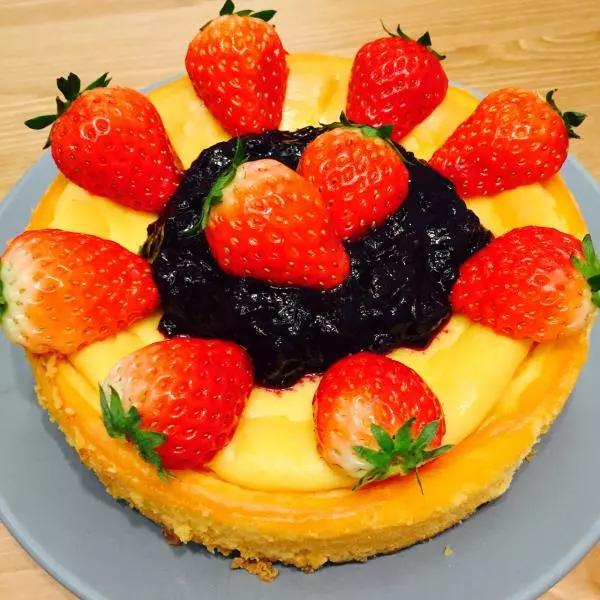
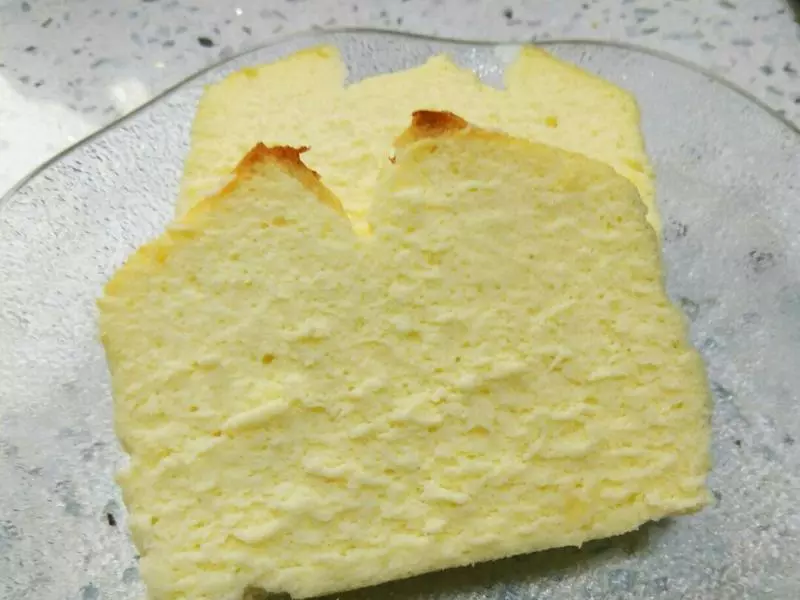
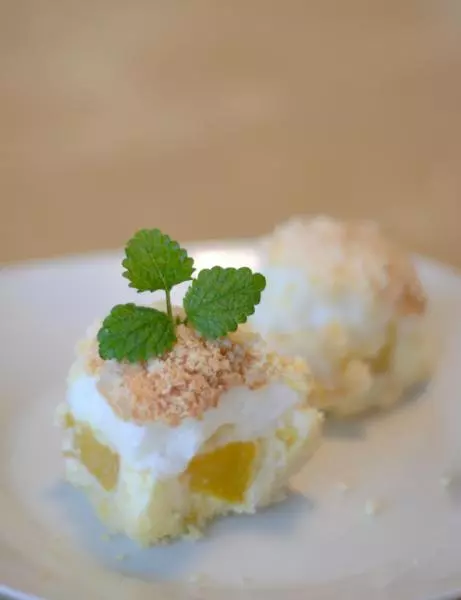
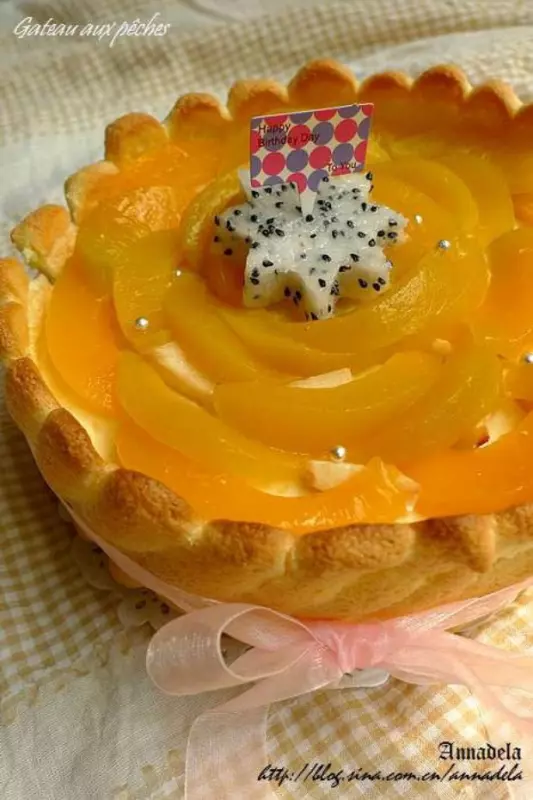
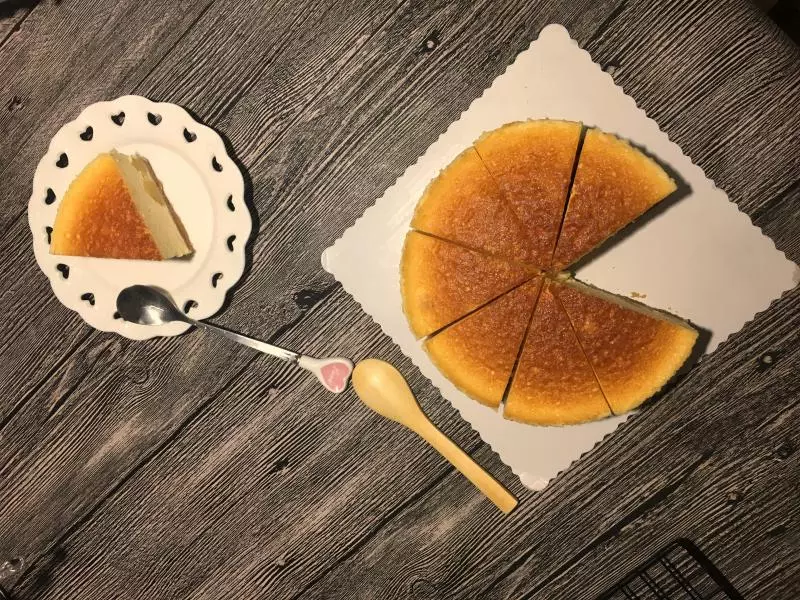
20切开~吃
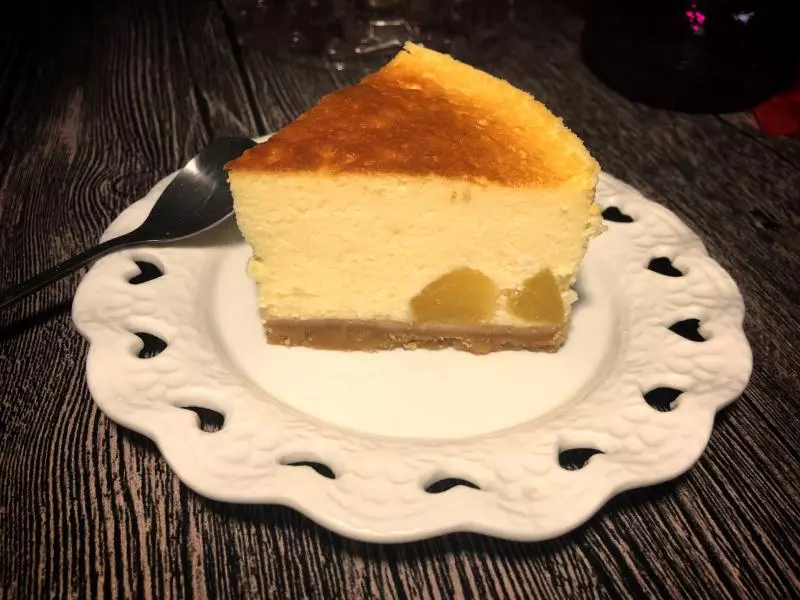
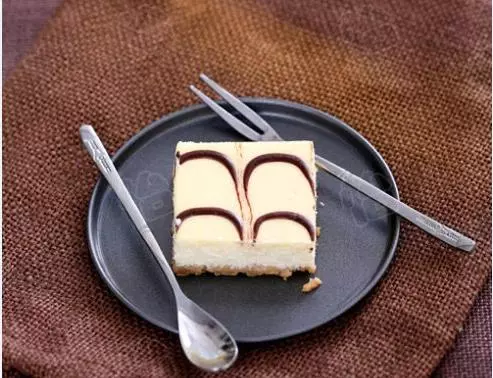
21此款非常细腻~口感层次丰富
22“航拍”??也美美哒~
23各种美?~

24方法2.模具内壁涂上一层黄油~如图
25撒上玉米淀粉,并抖去多余的玉米淀粉
26如图~再在底部铺一层油纸,倒进饼底混合物
27用刮刀压实~
28撒上黄桃块儿
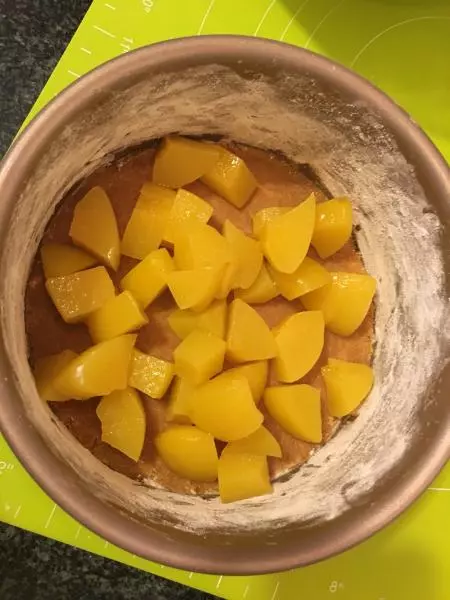
29倒入乳酪蛋糕液,预备烤制~
小技巧
1.烤好,放晾架上冷却后放入冰箱冷藏隔夜,第二天再脱模~或者放冷藏4个小时后再脱模 2.我用的活底蛋糕模和脱模刀脱模,新手不要尝试,可以先在模具边缘涂上一层黄油,撒上玉米淀粉再进行饼底和倒入蛋糕液的操作,用固体蛋糕模