原料
可可粉: 60克, 鸡蛋: 5个, 牛奶: 70克, 低筋面粉: 60克, 细砂糖: 30(蛋黄)克, 细砂糖: 60(蛋白)克, 玉米油: 70克, 泡打粉: 一勺
步骤
1把牛奶加热加入可可粉搅拌
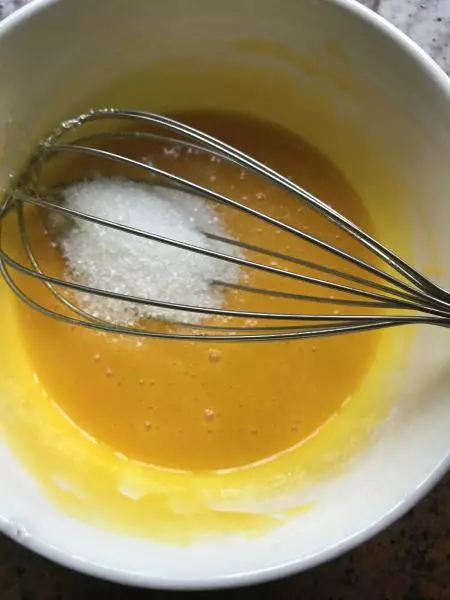
2然后把蛋黄装一个碗,蛋白装一个碗(无水无油),把蛋黄手打烂
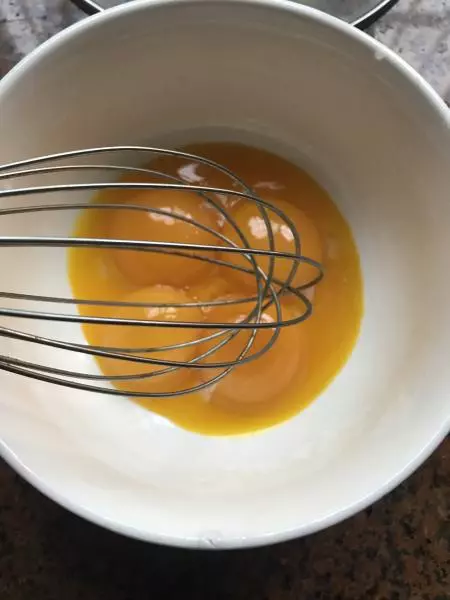
3蛋黄打的差不多放细砂糖搅拌至融化。
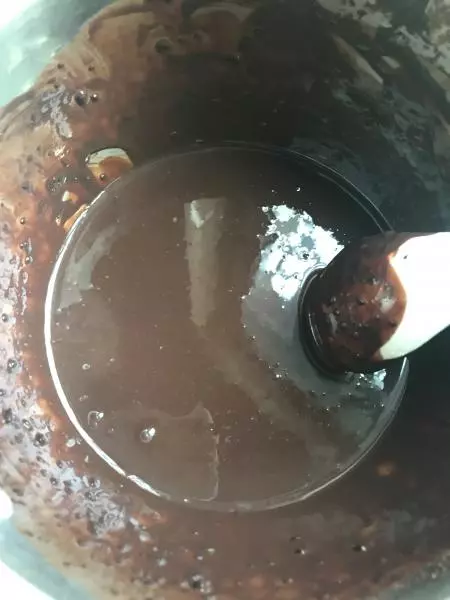
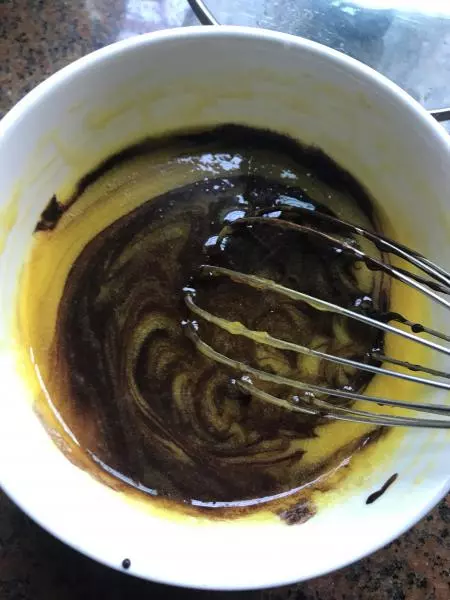
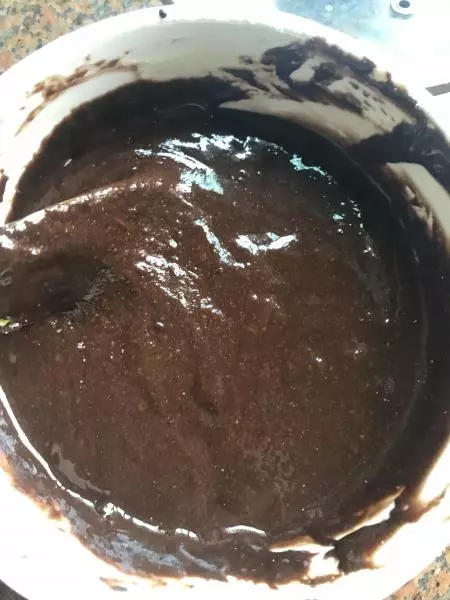
4把已经做好的巧克力牛奶倒进去搅拌均匀
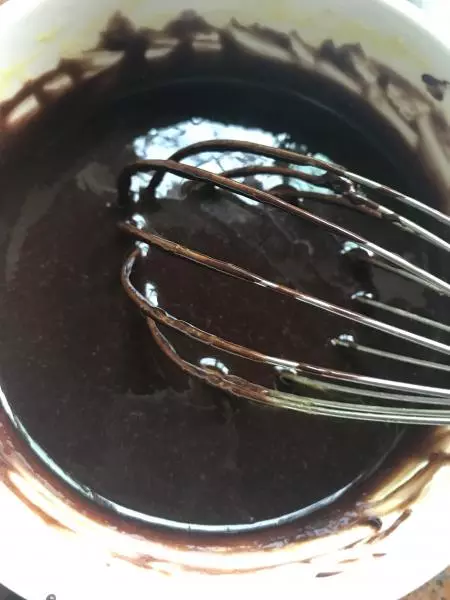
5这是搅拌好的
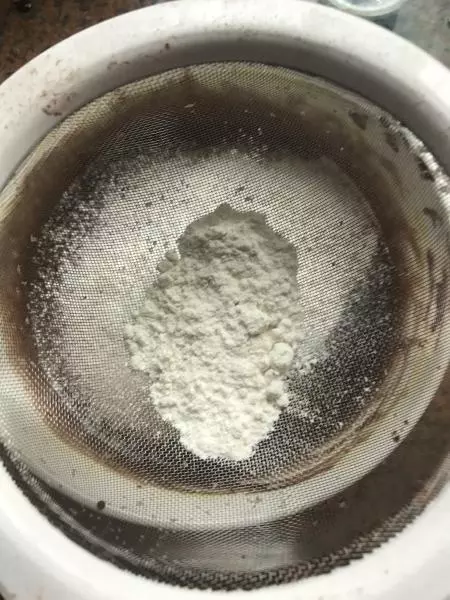
6把面粉过筛,然后轻轻搅拌
7这是搅拌好的,然后放一旁
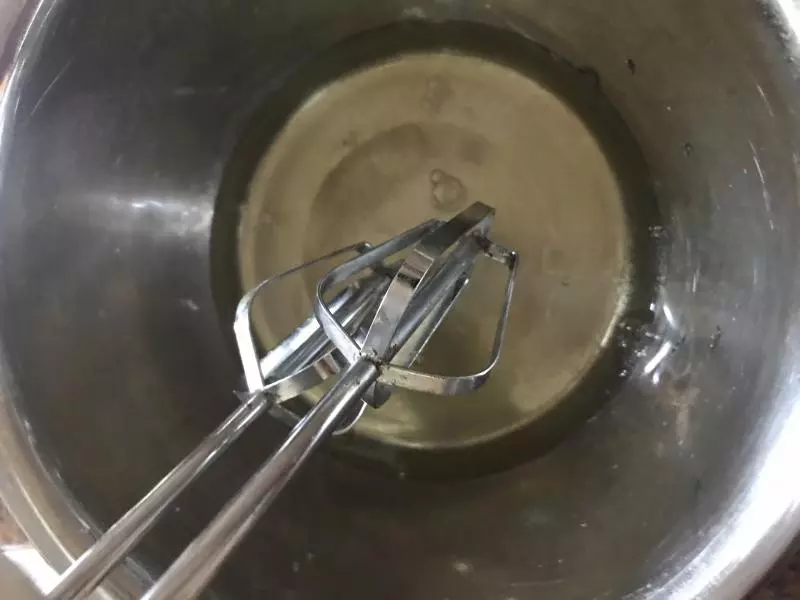
8开始用打蛋器打发蛋白
9打到有小泡泡那样就可以开始分三次放进白砂糖啦,别看蛋白少等一下会膨胀,选一个大一点的容器哈

10好累的,如果纸杯蛋糕的话这个程度就可以了,那个头会弯下去,如果8寸的就还需要再打一下
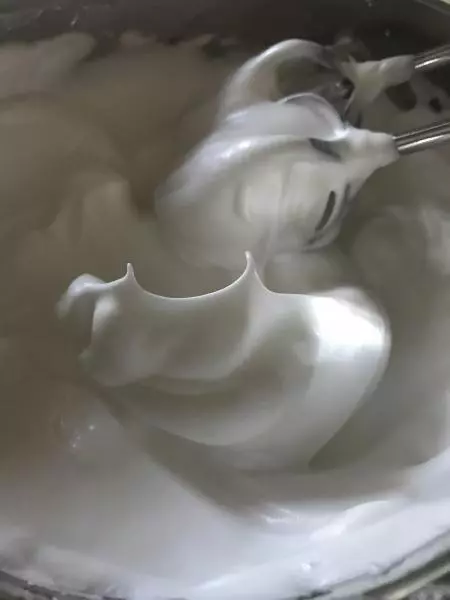
11这样直角就可以啦,明显比刚才硬朗了不少了呢

12这张图就明显很多了吧

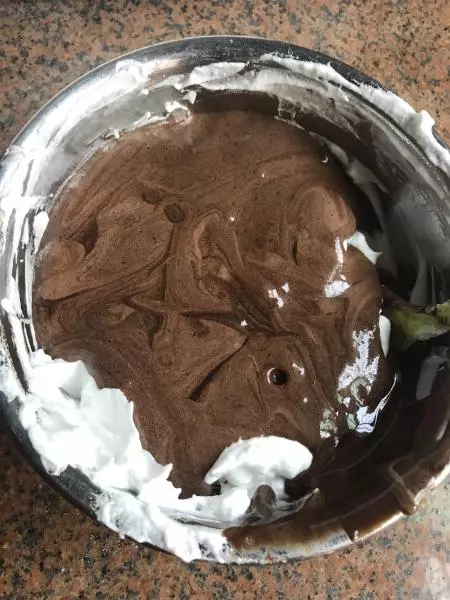
13然后把三分之一的蛋白放进可可蛋黄面糊中,轻轻搅拌,不要打圈圈搅拌
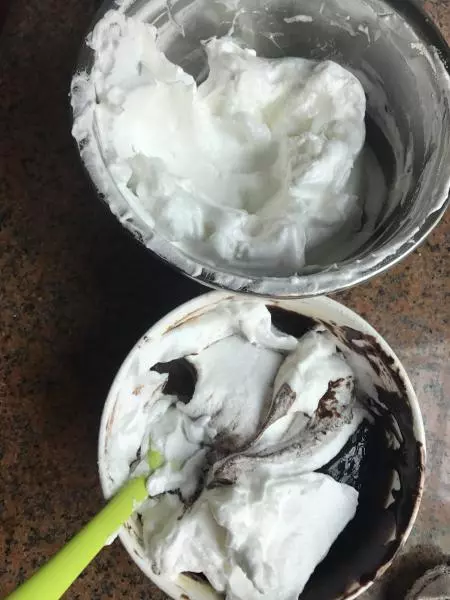
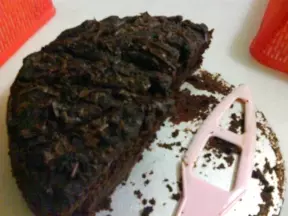
14然后把面糊再倒进蛋白中轻轻搅拌,也是不要画圈圈那样搅拌就可以了,
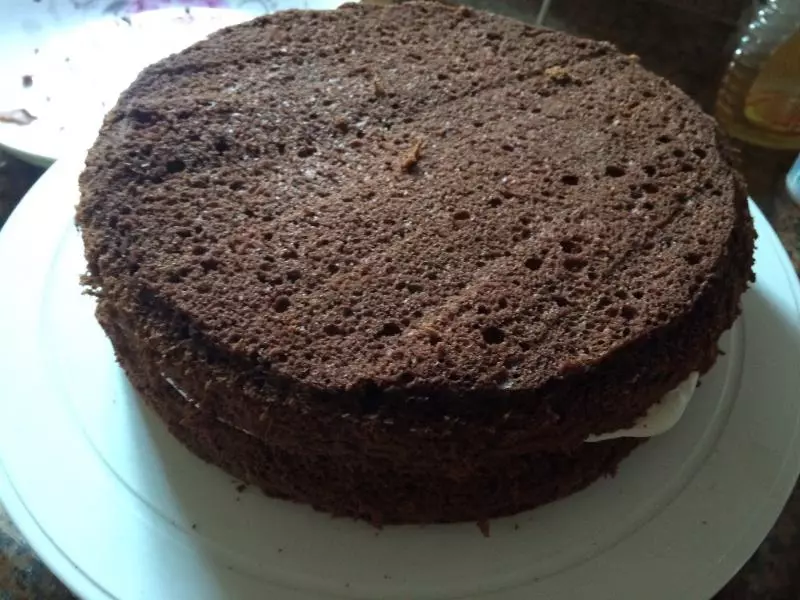
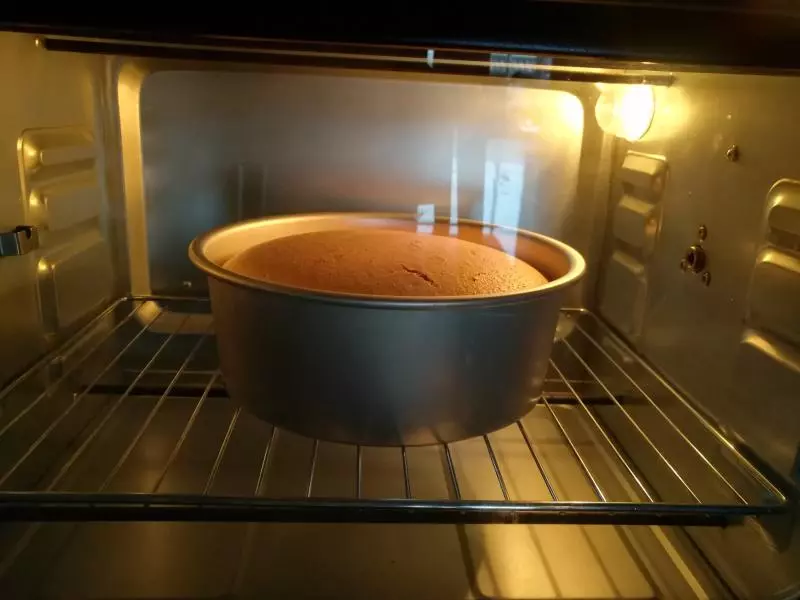
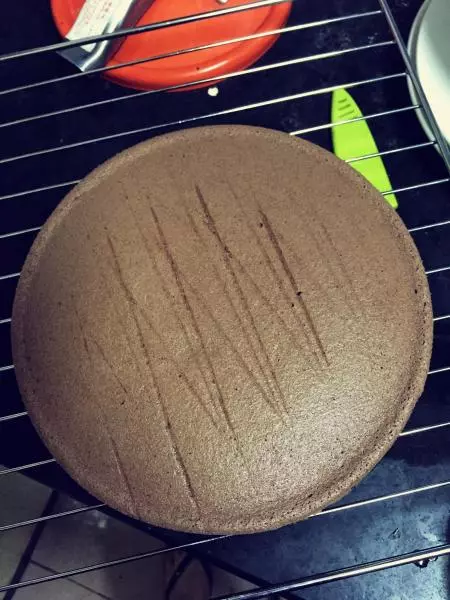
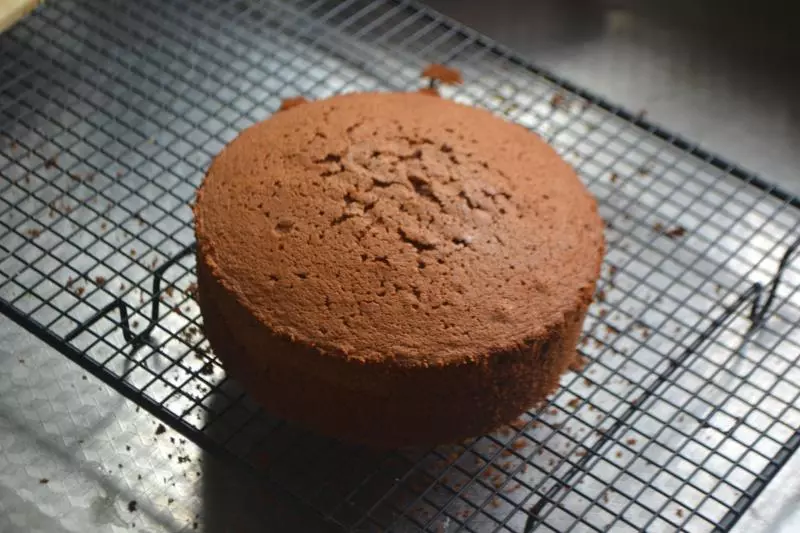
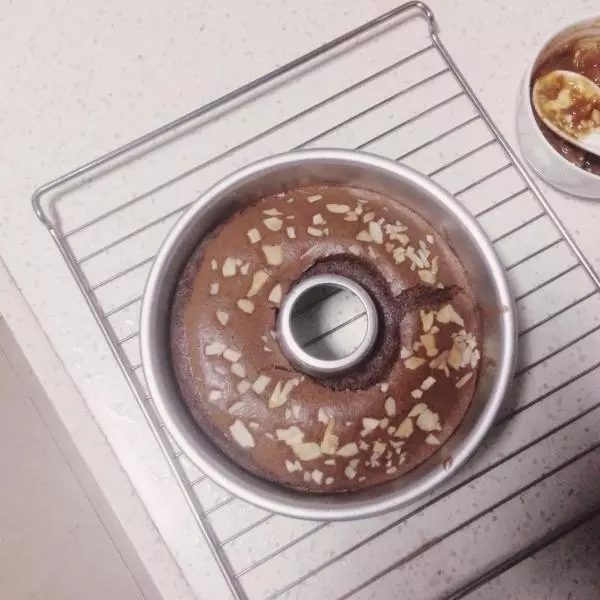
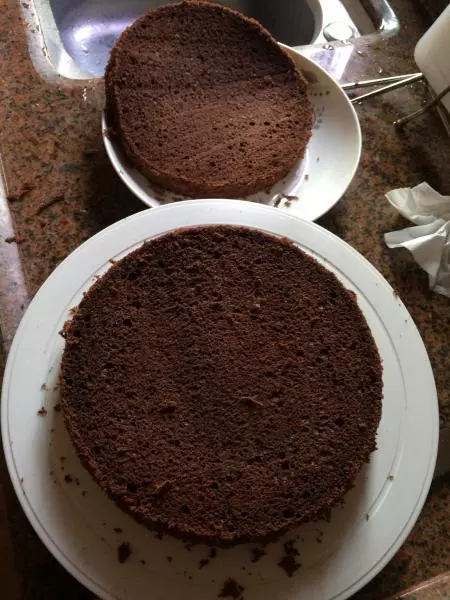
15最后放进8寸模具里,放进130度预热的烤箱中烤20分钟,再转185度烤35分钟。温度可根据自己烤箱适当调整
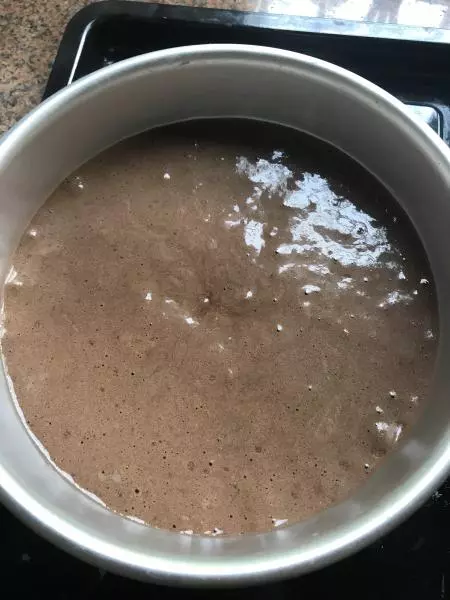
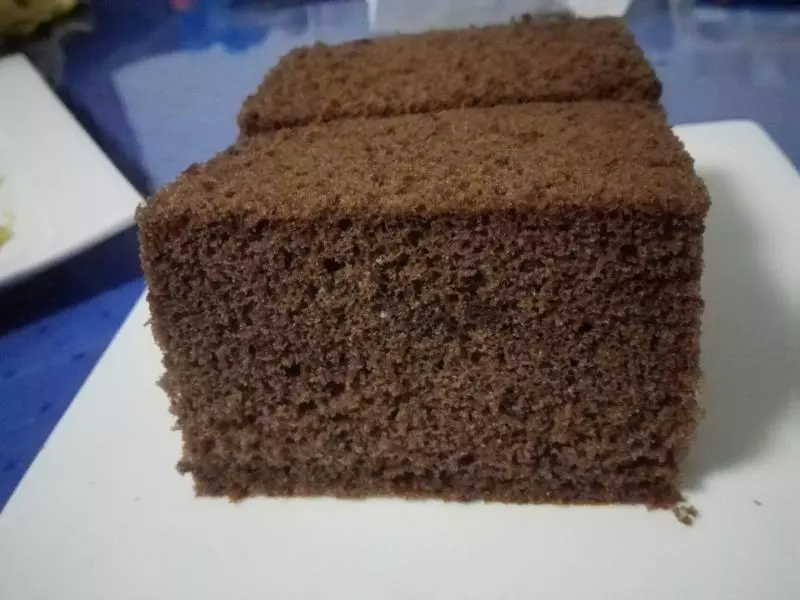
16这是已经好了,

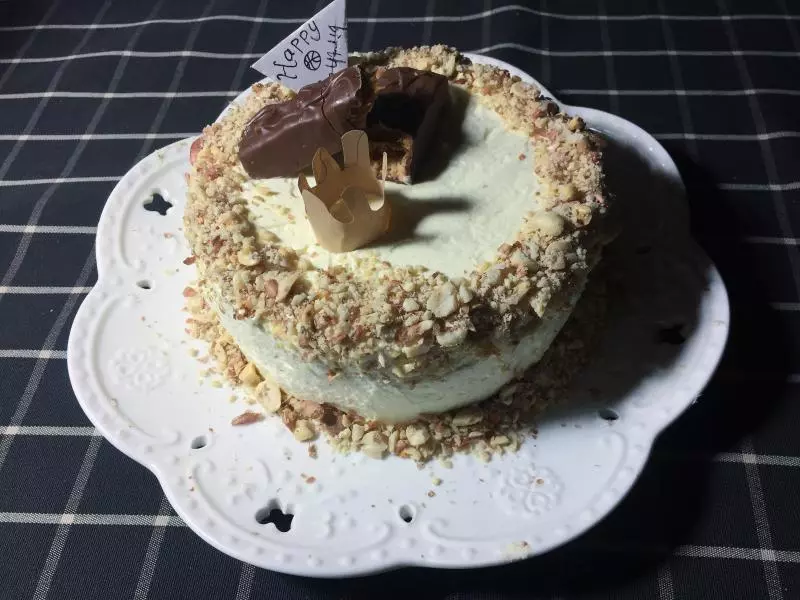
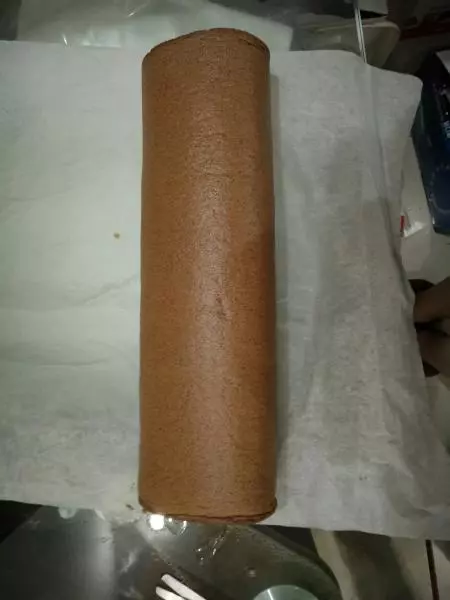
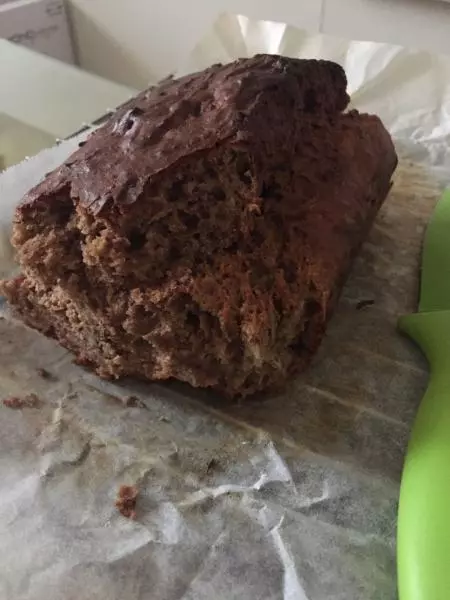
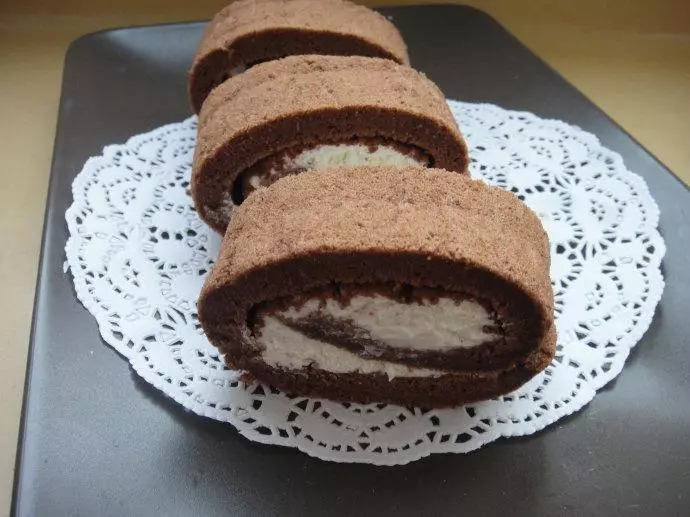
17最后就大功告成了,准备做奶油蛋糕哈