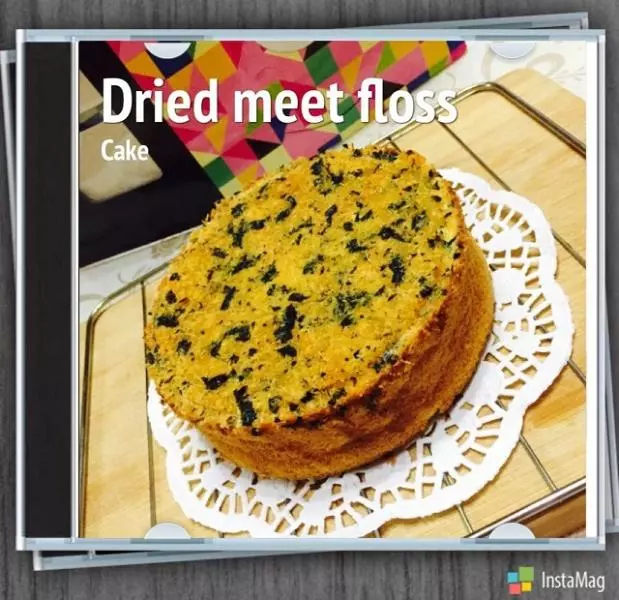
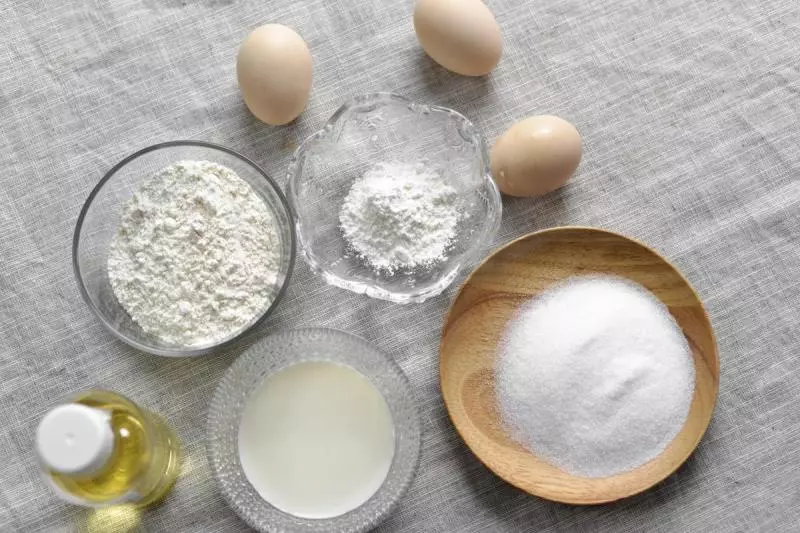
原料
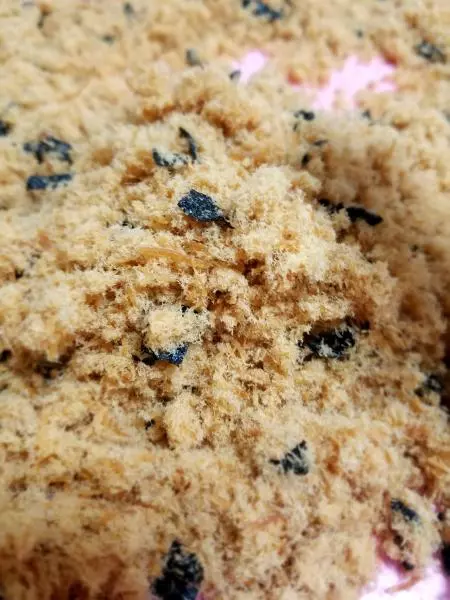
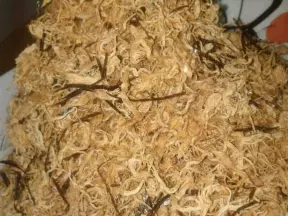
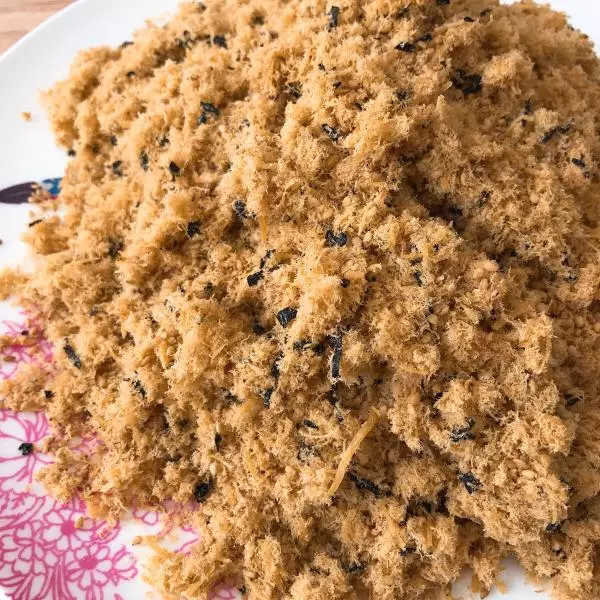
鸡蛋: 2只, 低筋粉: 40g, 牛奶: 30g, 细砂糖: 13g(蛋黄用), 细砂糖: 20g(蛋白用), 色拉油: 20g, 肉松、海苔、沙拉酱: 适量
步骤
1准备好材料
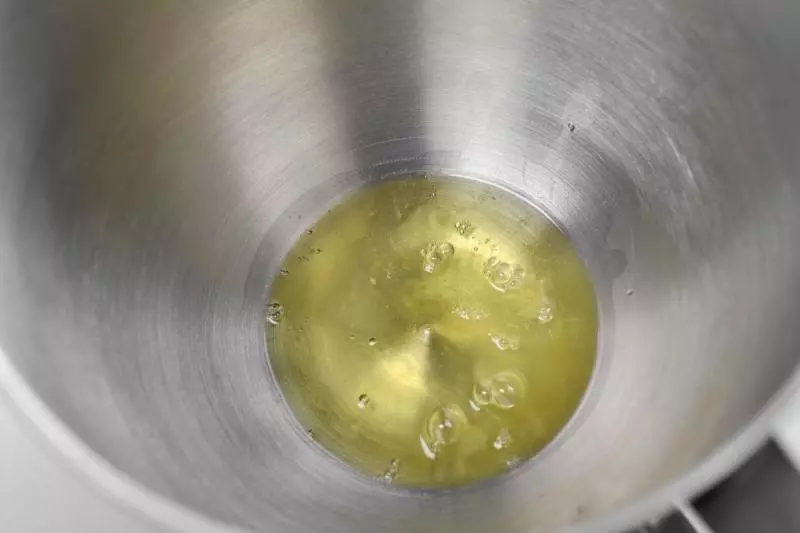
2准备两个干净无油无水的盘子,蛋白蛋黄分离,蛋白不能残留蛋黄,打发。
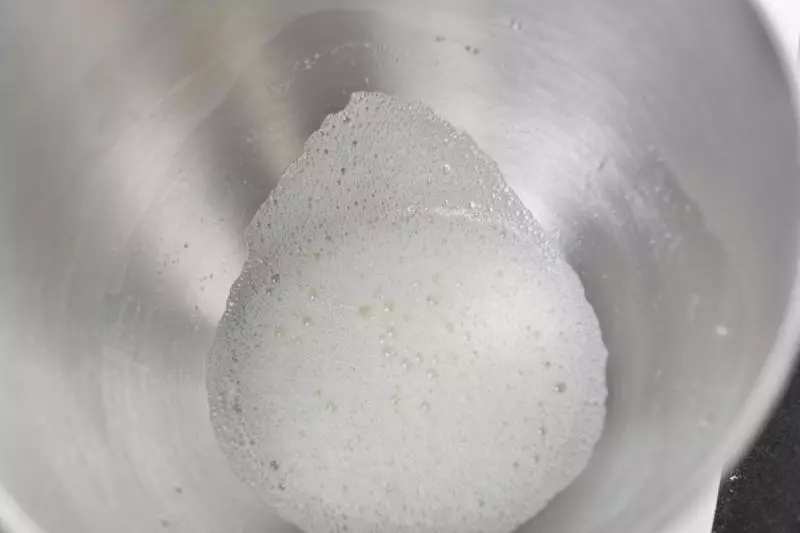
3打发到起泡加入细砂糖
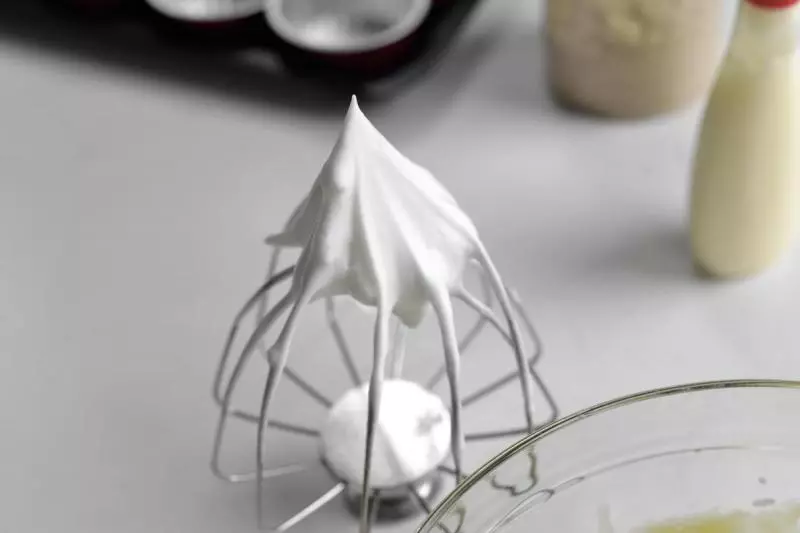
4直到提起蛋头有一个短小直立的三角形。
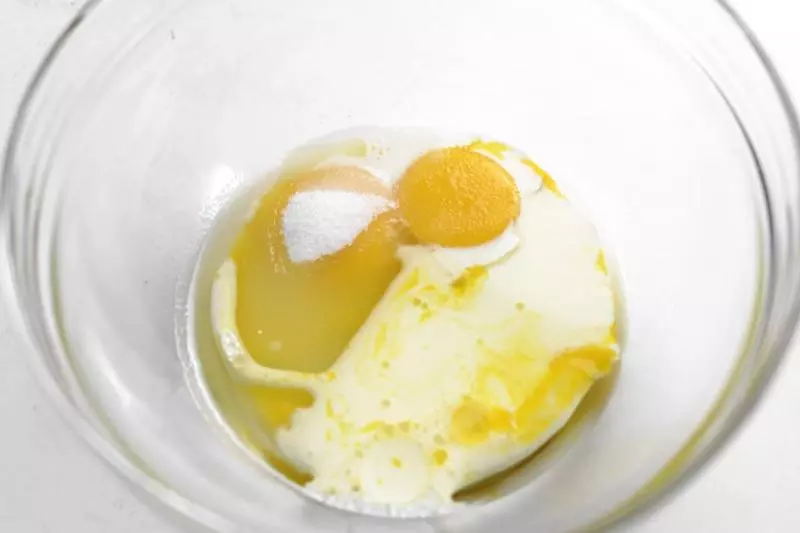
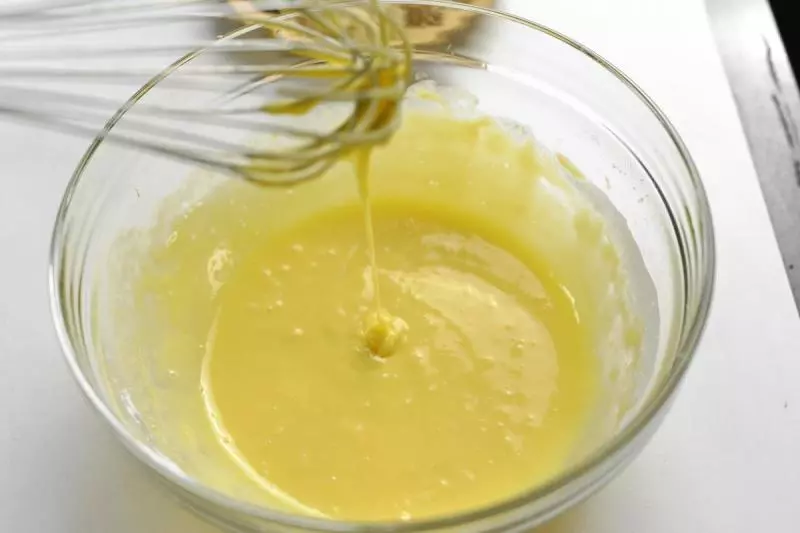
5蛋黄加入细砂糖+牛奶+色拉油用手动打蛋器搅拌直至乳化,刚开始会出现气泡,伴随着搅拌气泡会慢慢消失,这里搅拌没有手法要求,顺时针、逆时针都可以。最后变成细腻粘稠的状态。粘稠度达不到面糊那样,只是轻轻搅拌会有纹路出现,乳化过程我大概用了3-4分钟,给大家参考一下。
6搅拌好的蛋黄液筛入低筋粉。

7用打蛋器搅拌至润滑的状态。这个过程有些气泡是正常的
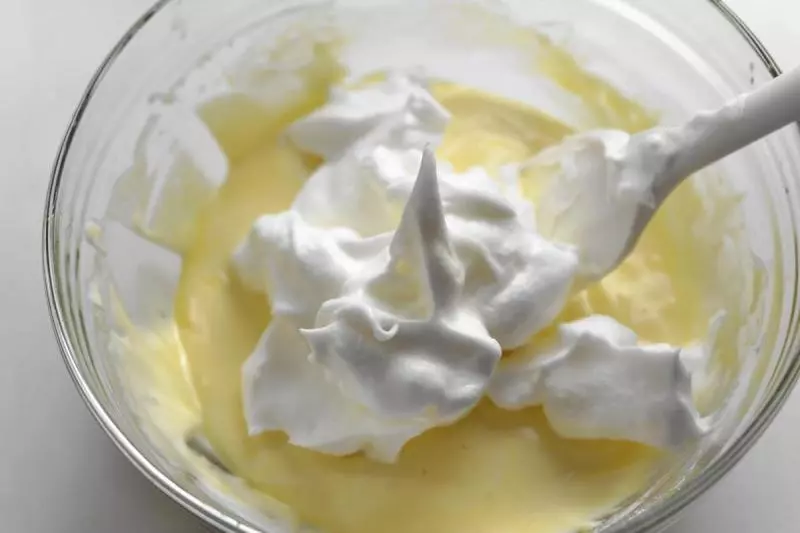
8取一半蛋白加入蛋黄糊内,用翻拌的手法搅拌,我的搅拌方法是左手转动盘子,右手拿搅拌刀从下往上翻拌,重复此动作,基本就是画半个椭圆。这里就可以预热空气炸锅,用140度预热。

9翻拌均匀把剩下的的蛋白全部加入,用同样的手法翻拌均匀,避免翻拌时间过长,用正确的手法,混合好就立即停止,否则可能会消泡导致蛋糕不膨胀。
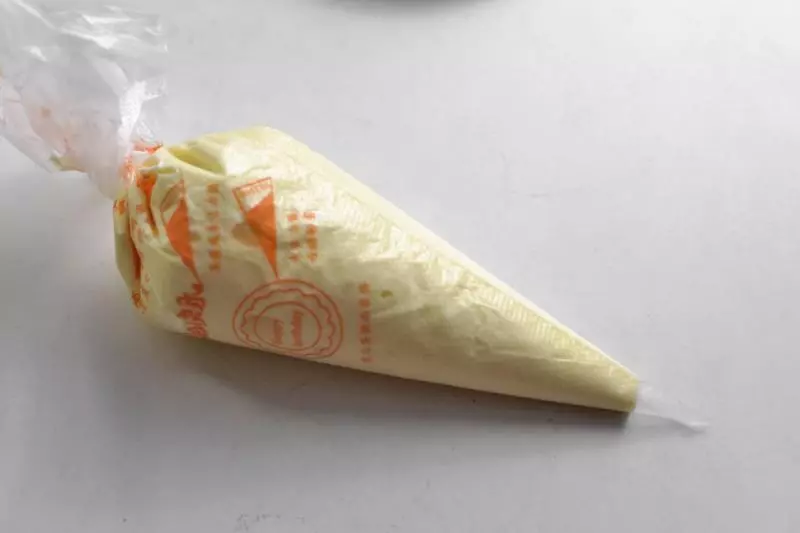
10混合好的面糊装进裱花袋
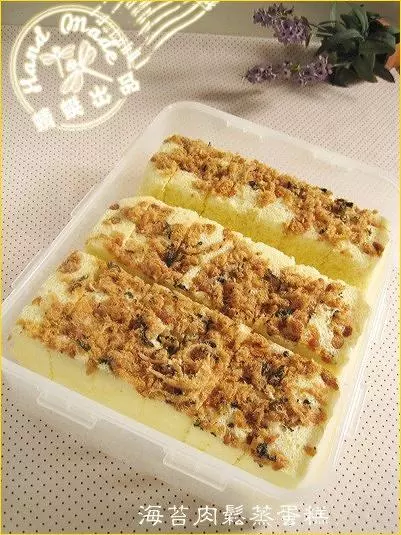
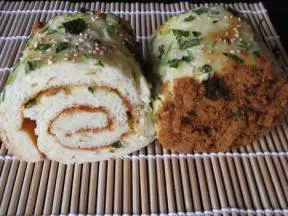
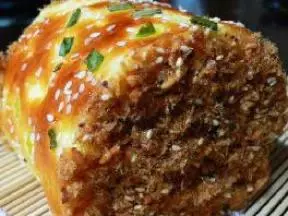
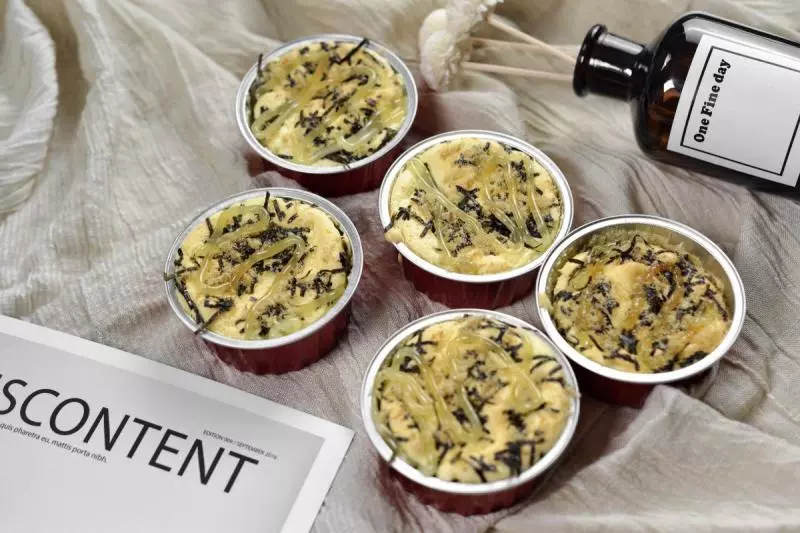
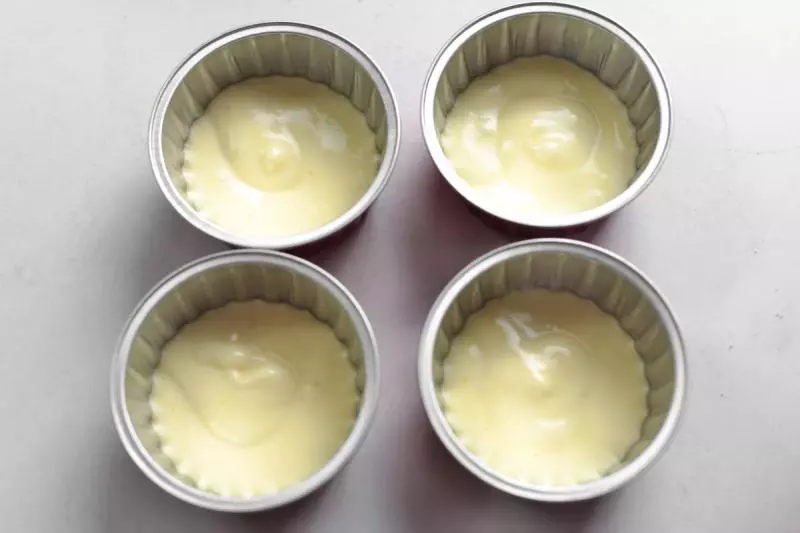
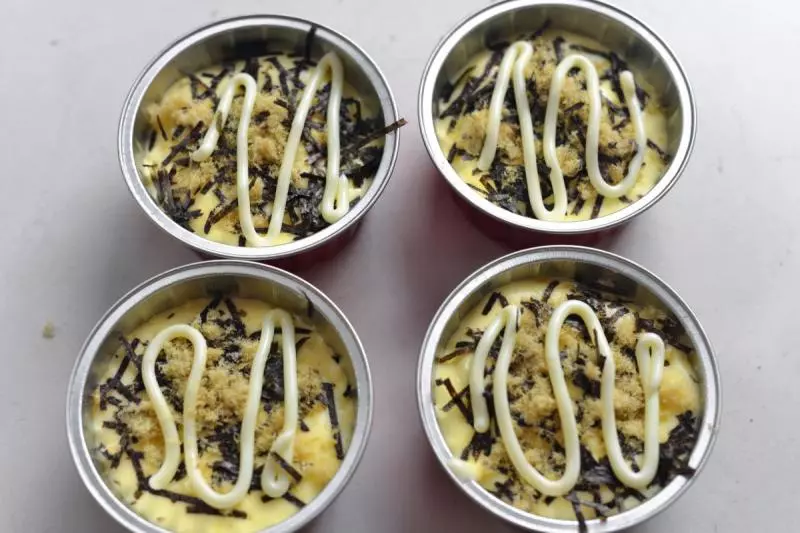
11我这里用的是锡纸杯,没有锡纸杯的可以用烘焙纸杯或者是4寸的蛋糕模具。第一层挤入面糊。
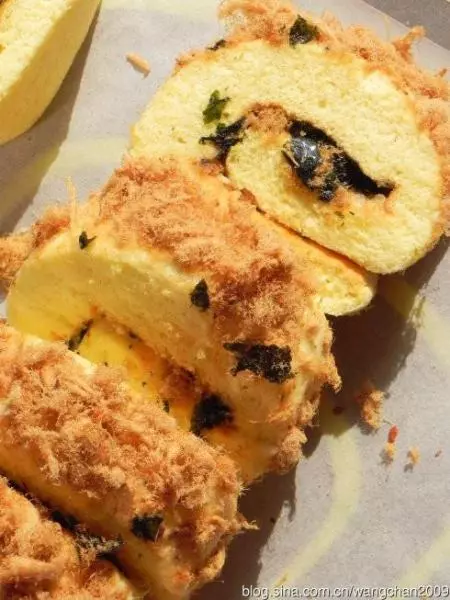
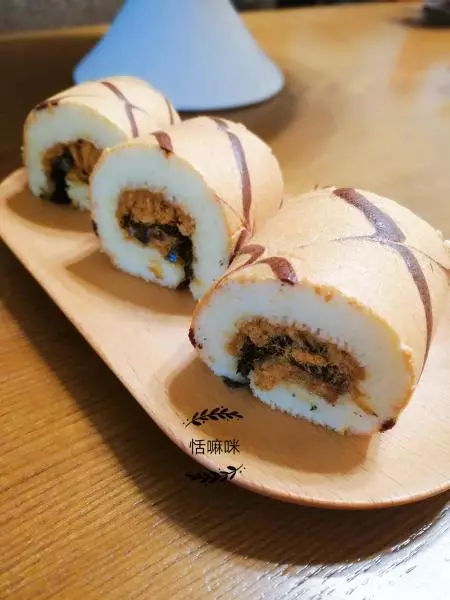
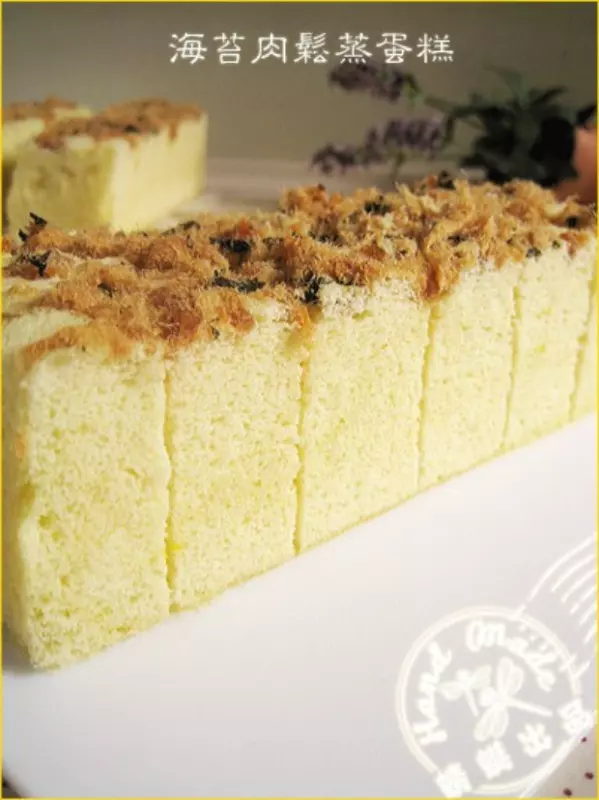
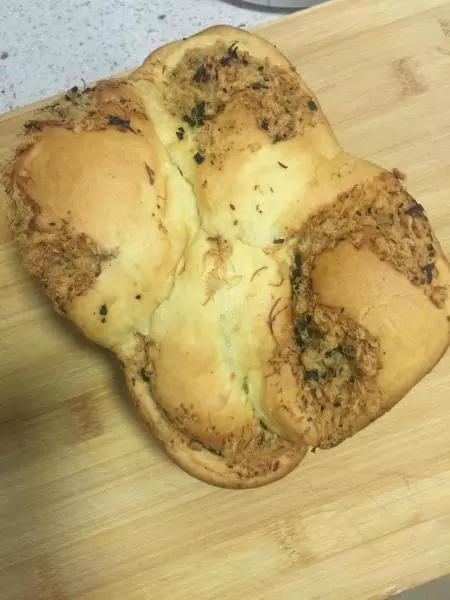
12第二层放肉松、海苔、沙拉酱,我这里的沙拉酱放的不多,喜欢爆浆口感就加多点哦。

13第3层加面糊

14最后加肉松、海苔、沙拉酱。放入已经预热好的空气炸锅内,用140度烤15分钟。
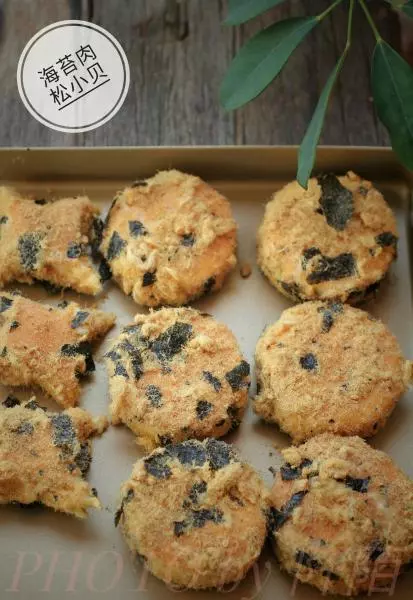
15刚出炉的小蛋糕表面会鼓鼓的,放凉后会缩小一点。
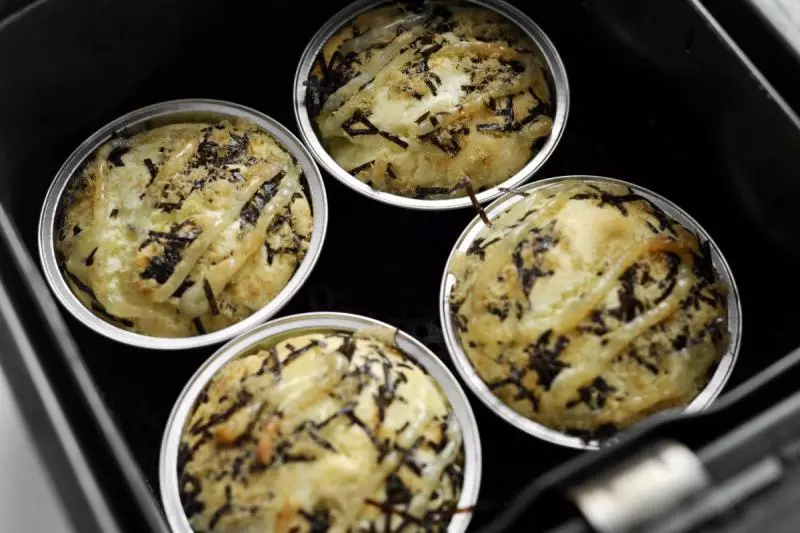
16个人感觉放冰箱冷藏过更加美味哦。

小技巧
1、关于鸡蛋是否需要冷藏。其实鸡蛋在室温状态是更容易打发的,所以有很多方子都有提到鸡蛋打发前要提前从冰箱拿出来回温。 2、有很多人反应说戚风蛋糕烤出来有鸡蛋的腥味,遇到这种情况可以加几滴香草精来去除鸡蛋的腥味。 3、关于蛋白与蛋黄糊的搅拌,这是制作戚风很关键的一步,有很多同学对于搅拌有“恐惧心理”,非常害怕蛋白消泡,以致搅拌的时候太过于小心翼翼。这样不但会大大延长搅拌时间,也很不容易搅拌均匀。正确的做法应该是:放心大胆的大幅度来搅拌吧!只要采用翻拌的手法,不要划圈搅拌,只要蛋白打发到位,它没有你想像的那么脆弱! 4、关于蛋白的打发。按照上面的步骤加糖打发到干性发泡以后就不要打发了,过度打发蛋白会呈块状,这样做的蛋糕口感会非常粗糙。注意观察打蛋器提前后,蛋白拉出尖角的状态,提起打蛋头残留有短小直立尖角,这样就是打发好了,打发好的蛋白不是马上用的话放到冰箱冷藏。