原料
酵母: 4克(夏), 牛奶(或水): 262克, 中粉: 505克, 紫薯粉: 15克, 食用油: 20克, 糖: 45克, 盐: 4克
步骤
1所有材料揉成团,3光状态,加盖醒面20分钟。我用面包机揉面。?
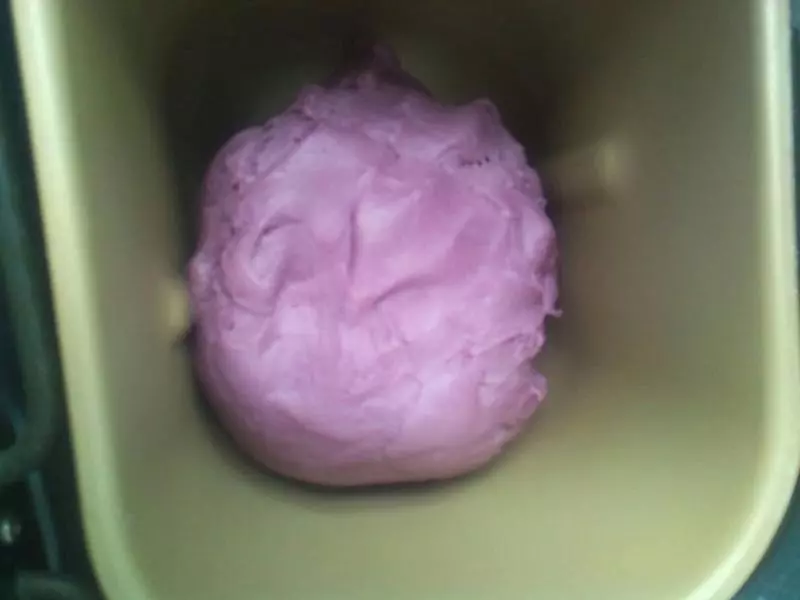
2醒好的面团取出接着揉,排气,直到揉到面团表面有小气泡。图片看不太清楚,大家意会吧。
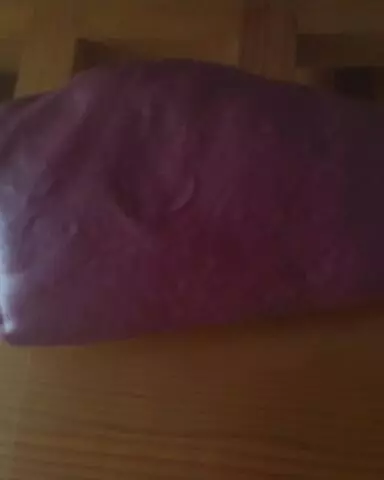
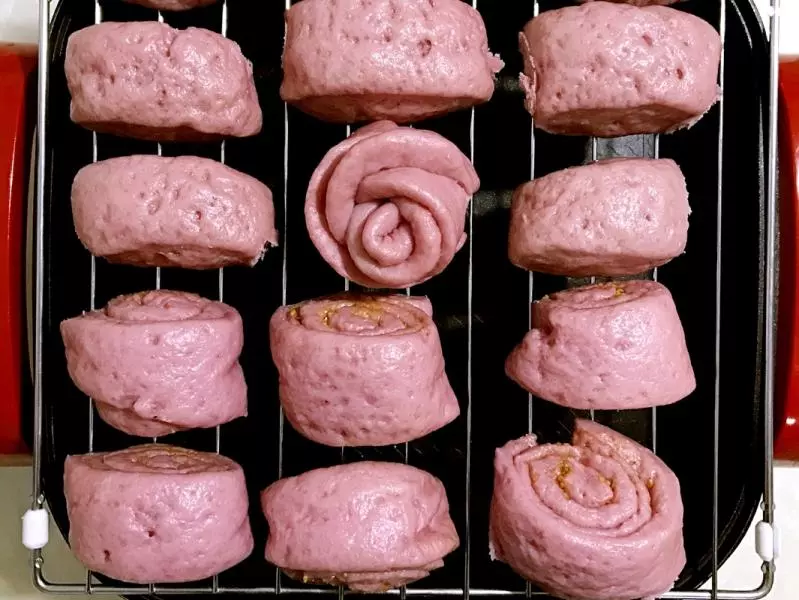
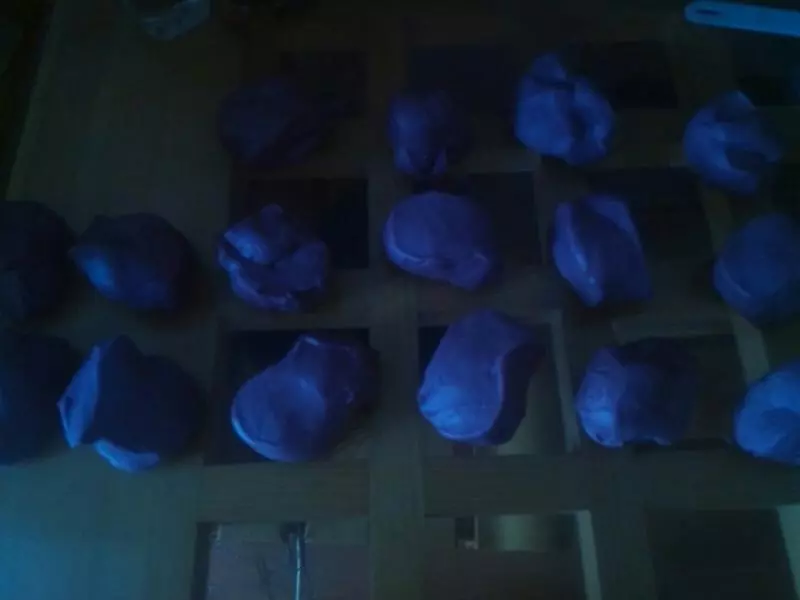
3再次揉好的面团称重,平均分割成你要大小。依次摆好。
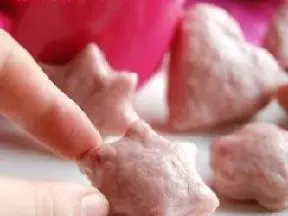
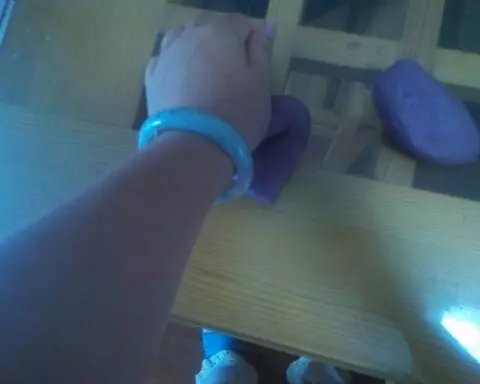
4取两块面团开始双手揉面,其余面团盖保鲜膜保湿。 这一步是为了让蒸出来的成品光滑油亮。绝对不可以省略。 具体手法如下图5-9。
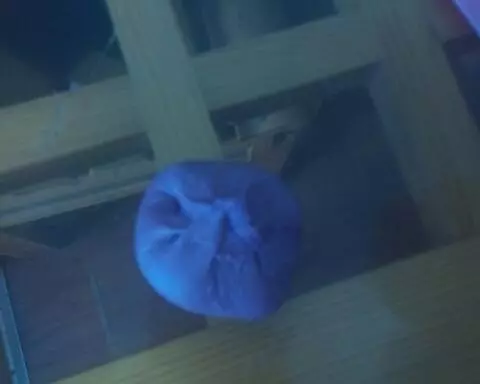
5揉面手法步骤1
6揉面手法步骤2
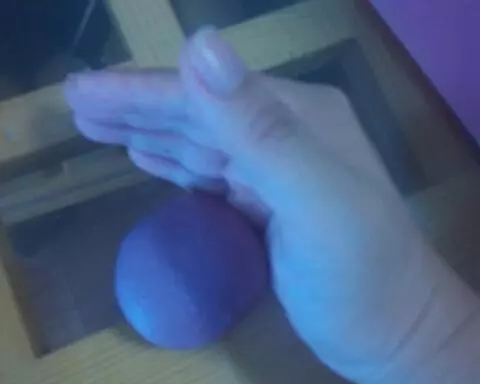
7揉面手法步骤3
8揉面手法步骤4 面团翻过来,双手配合整成圆形。我要拍照只能一只手入镜。
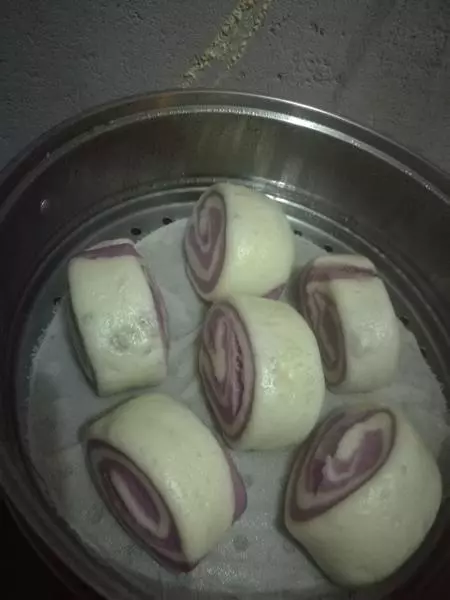
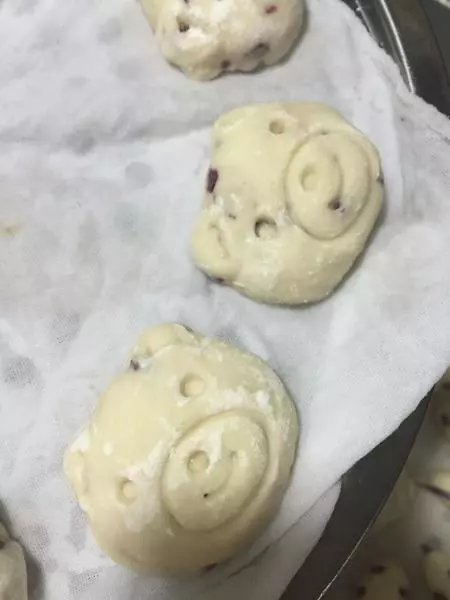
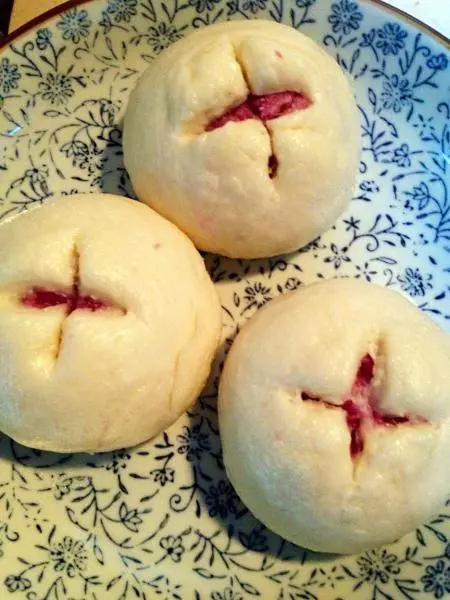
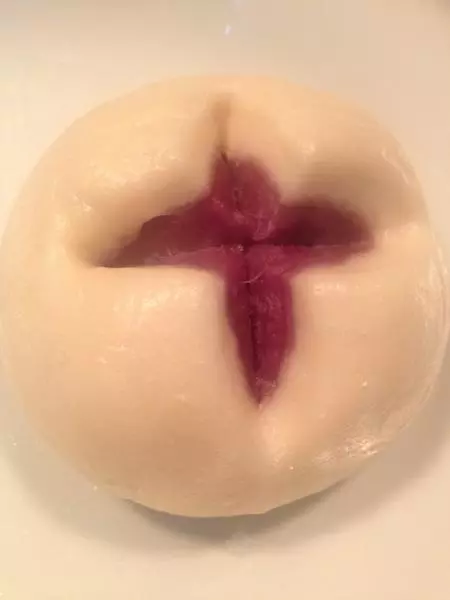
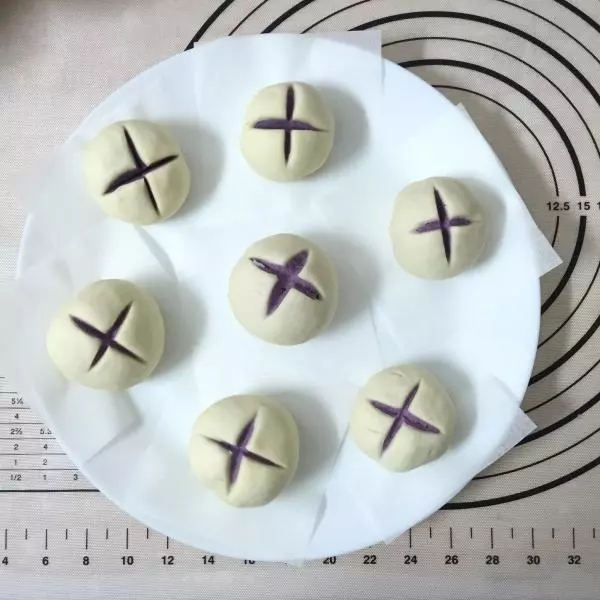
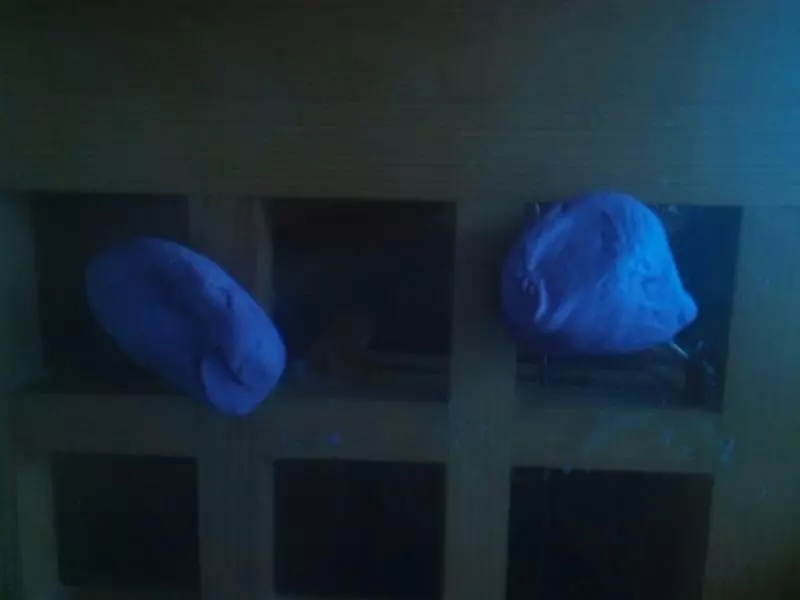
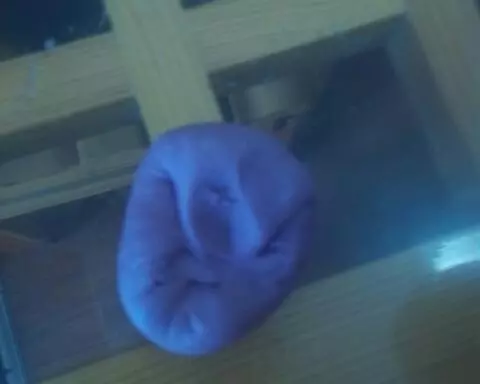
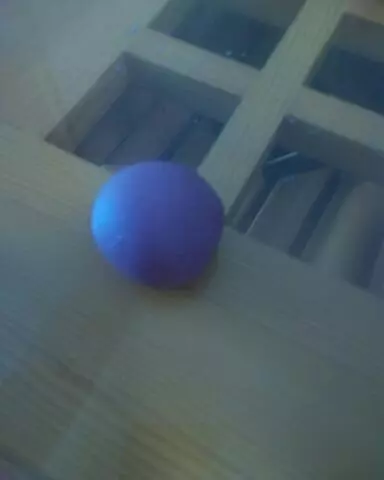
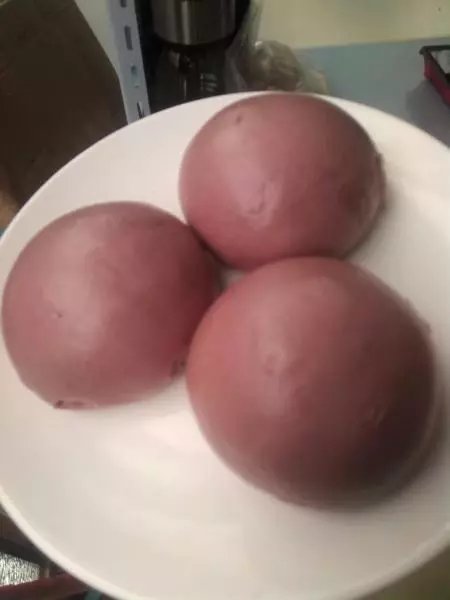
9揉面手法步骤5 整形好的馒头生胚。
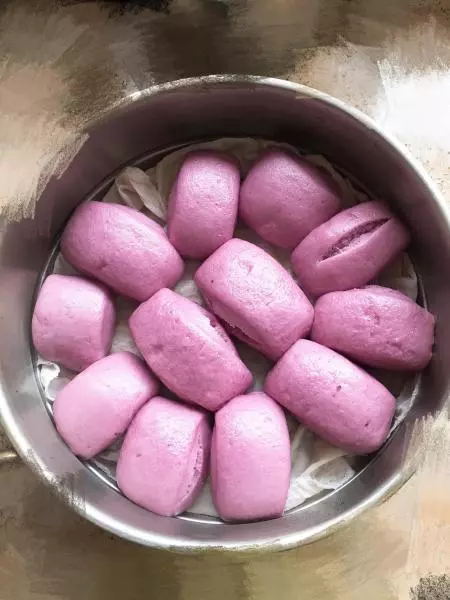
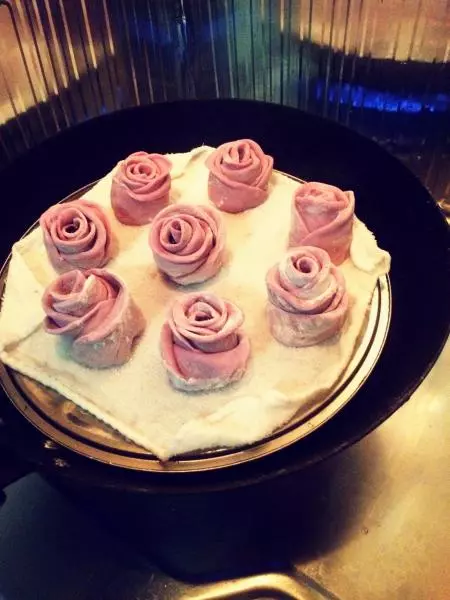
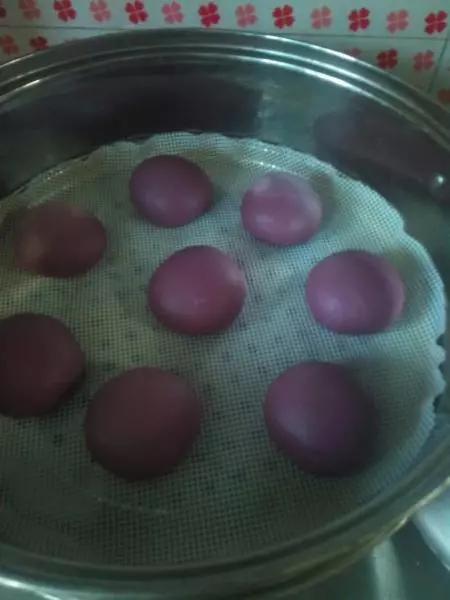
10整形好的馒头胚放入蒸锅,等待发酵至1.5-2倍大小时,开火。大火上汽后转中火20分钟关火。2-3分钟后揭盖即可。
11馒头冷却后放冰箱冷藏保存。做得多了一时吃不完就放冷冻。
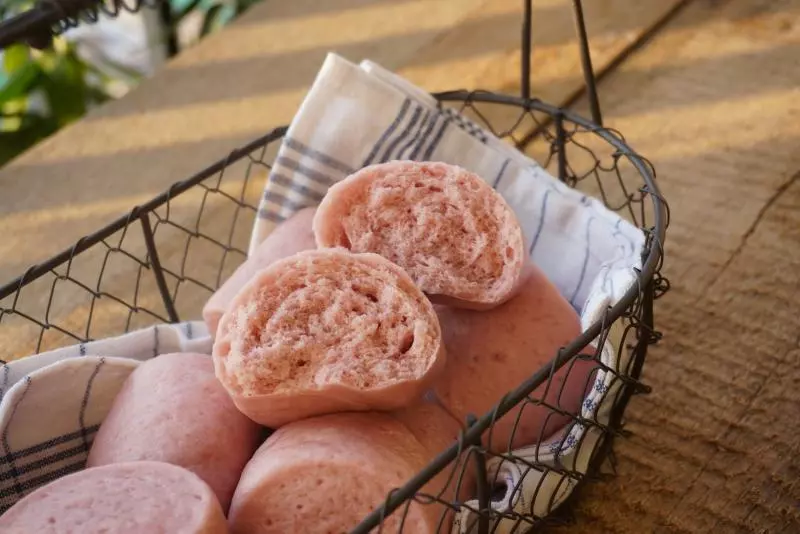
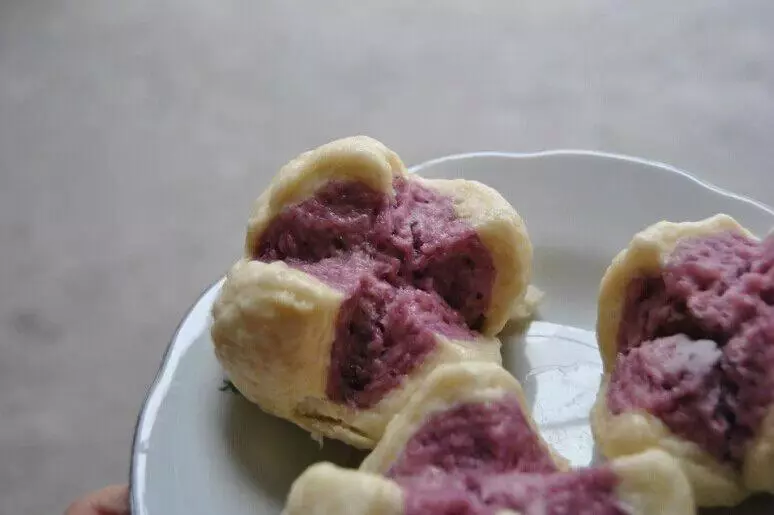
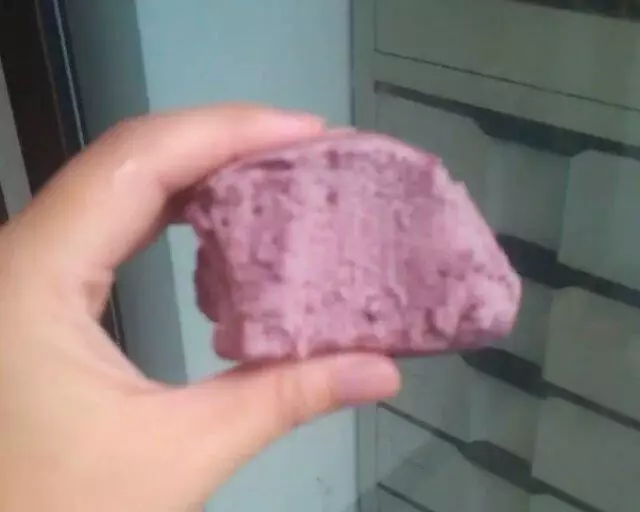
12内部组织和弹性。请原谅我把我闺女咬过的拿来拍。
小技巧
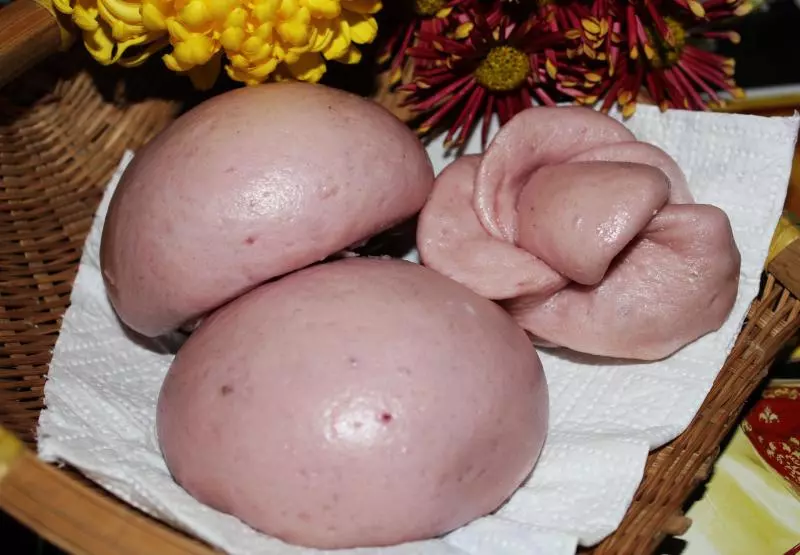
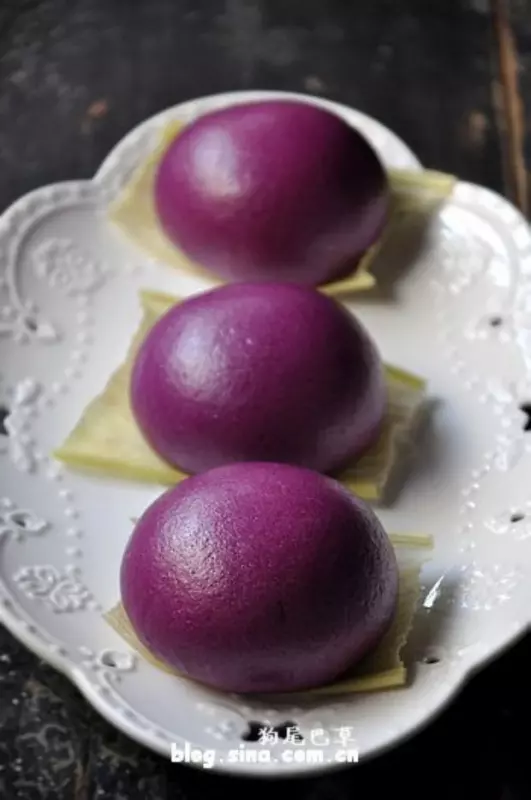
秘诀就是成型步骤多揉,多揉,多揉。成品才会光滑油亮。