原料
戚风蛋糕杯: , 鸡蛋: 3个, 糖: 45g, 植物油: 35g, 牛奶: 1/4杯, 低筋面粉: 75g, 香草精: 1 tsp, 盐: 1/8 tsp, 卡仕达酱: , 蛋黄: 2个, 牛奶: 3/4杯, 糖: 20g, 玉米淀粉: 1 tsp, 普通面粉: 1 tbsp, 香草精: 1 tsp, 淡奶油: 120ml, 糖粉: 适量
步骤
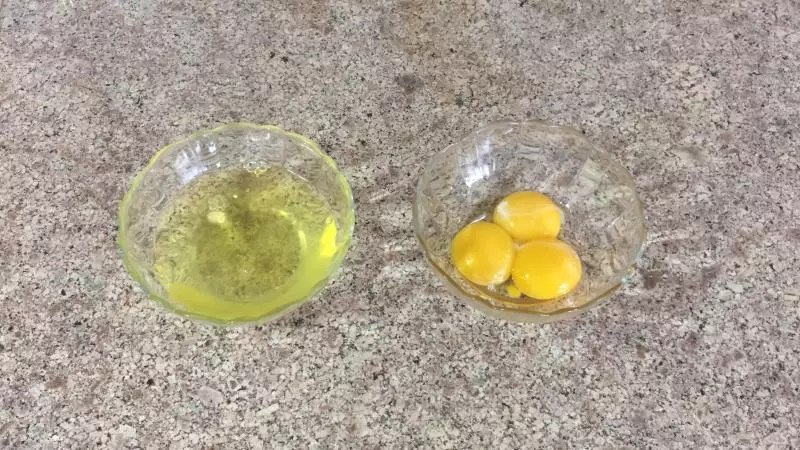
1把蛋白和蛋黄分开
2蛋黄加入糖,搅匀
3加入植物油,牛奶,和香草精,搅匀
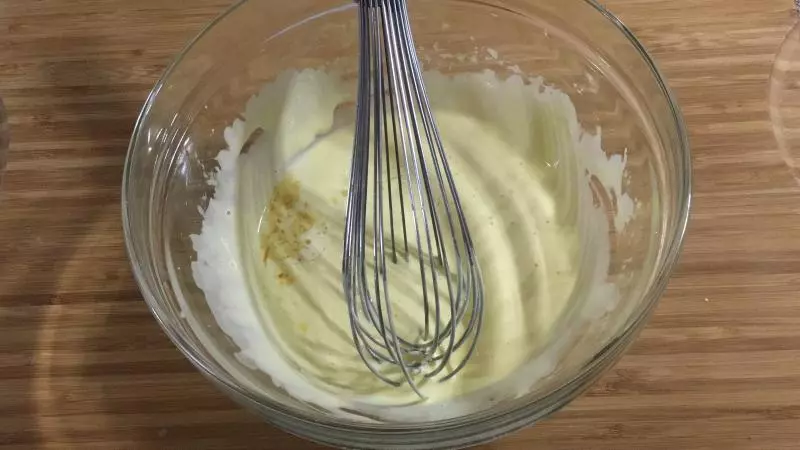
4分批筛入低筋面粉和盐

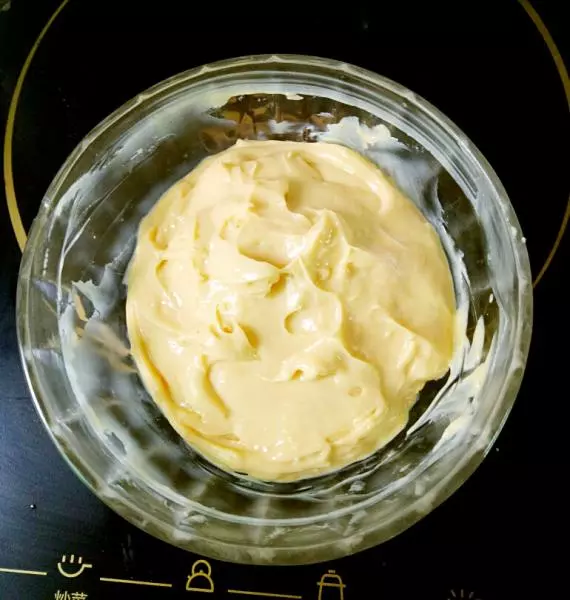
5搅匀,面糊后备用
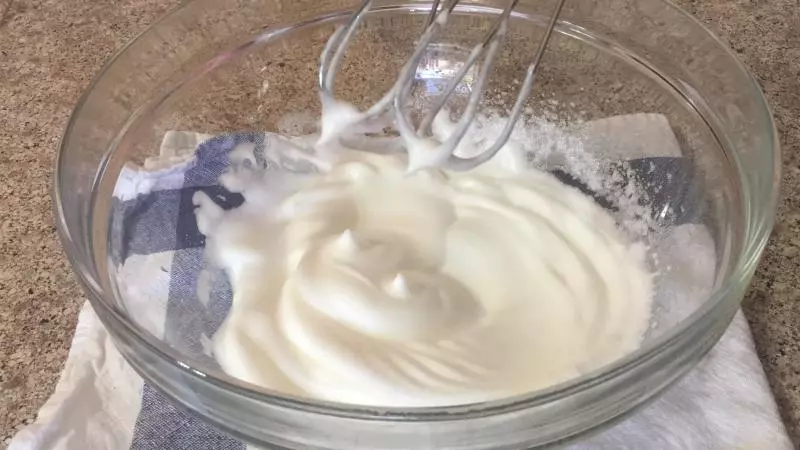
6打发蛋白霜:把蛋白打发至粗气泡
7分批加入糖,搅匀后再加下一次的糖 打发至硬性发泡
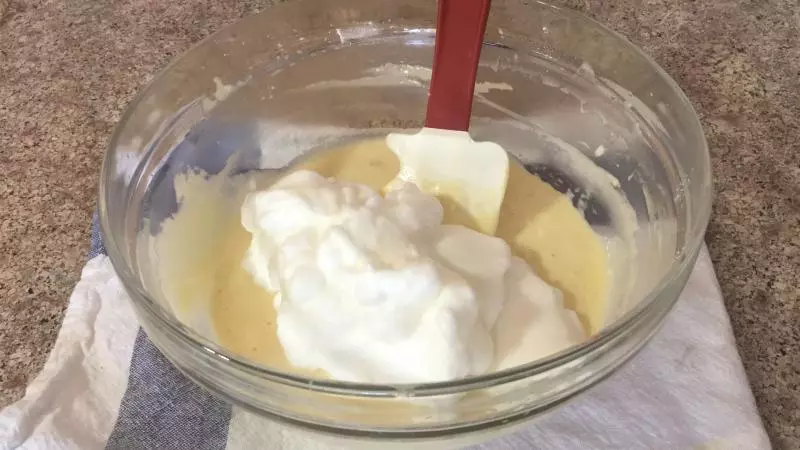
8把蛋白霜像翻书一样拌入面糊中。先加入1/3的蛋白霜,拌匀后,再加入剩余的蛋白霜
9拌匀后,把面糊要入纸杯中,大约3/4满就可以了。 把烤盘在桌子上震几下,把大气泡震出
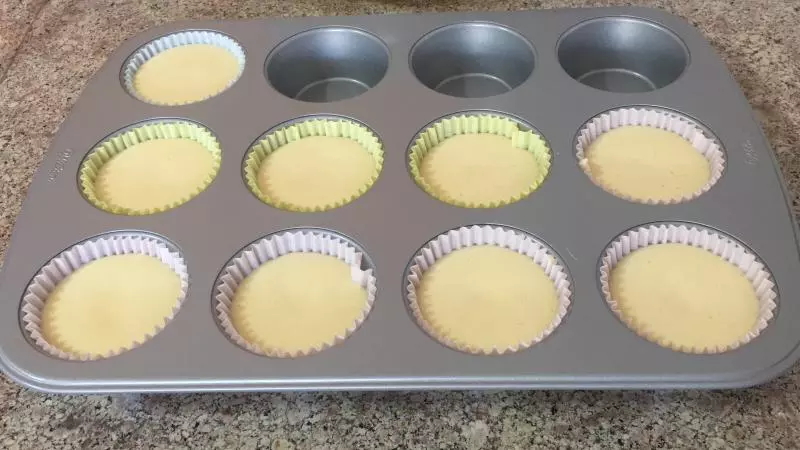
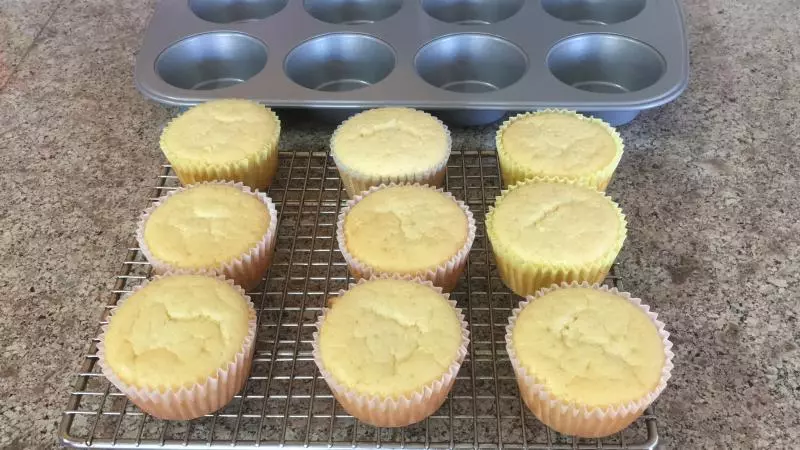
10放入预热好的烤箱325F (160C) 烤 20-25分钟
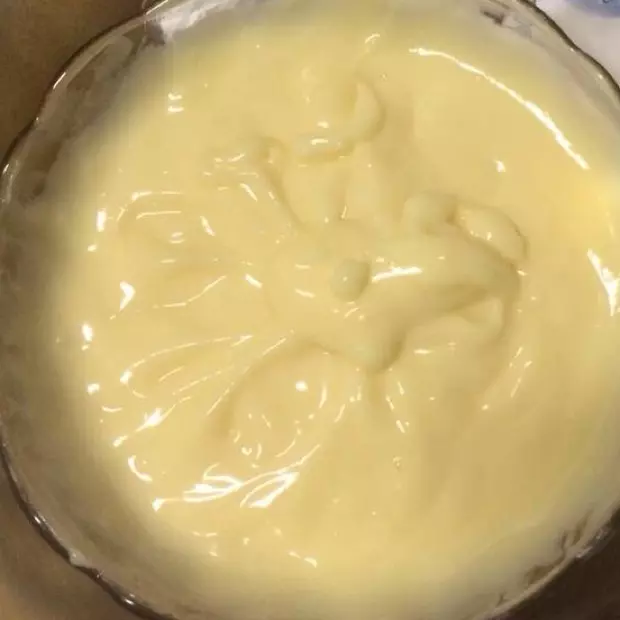
11在烤蛋糕杯时,来准备卡仕达酱:
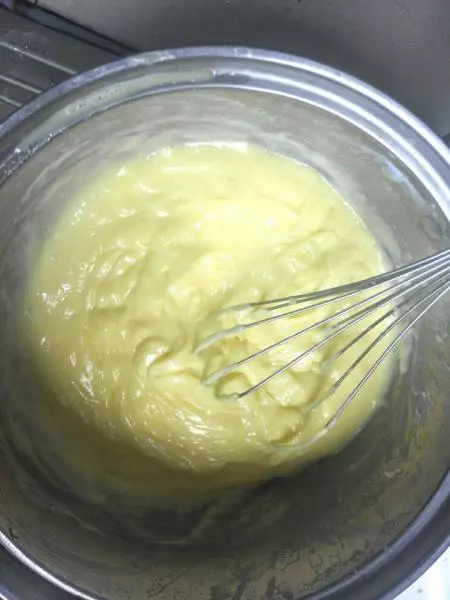
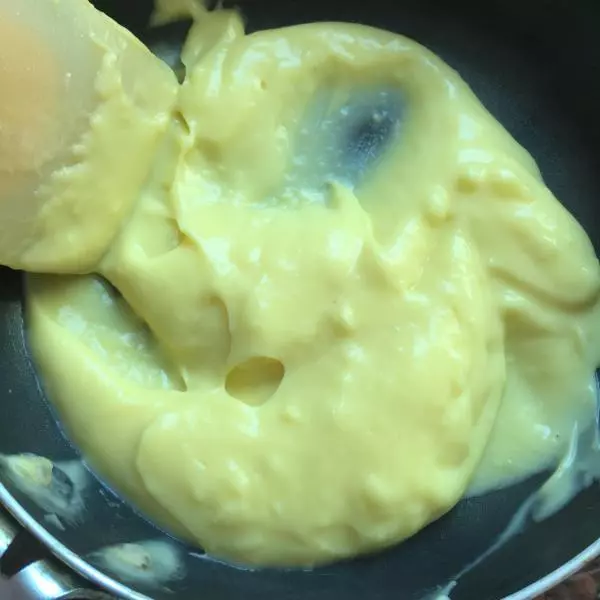
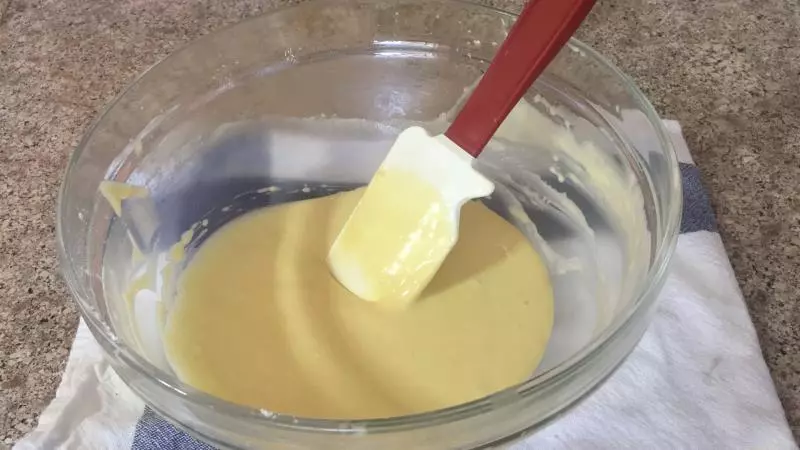
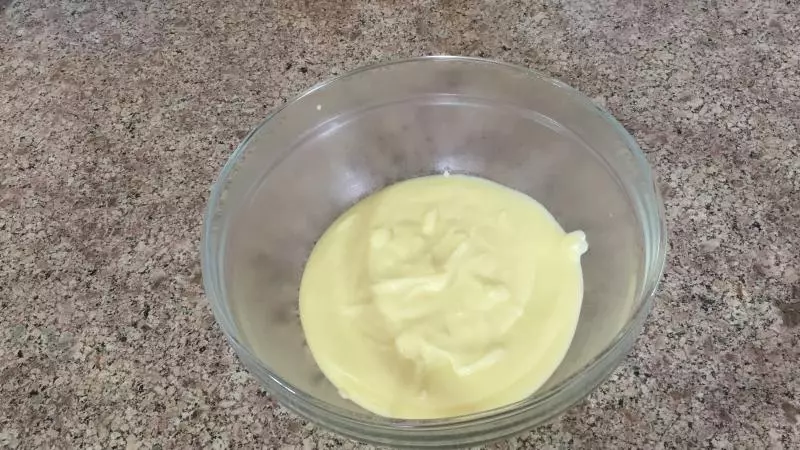
12把蛋黄打散。加入糖,玉米淀粉,和面粉,搅匀
13加入牛奶,搅匀
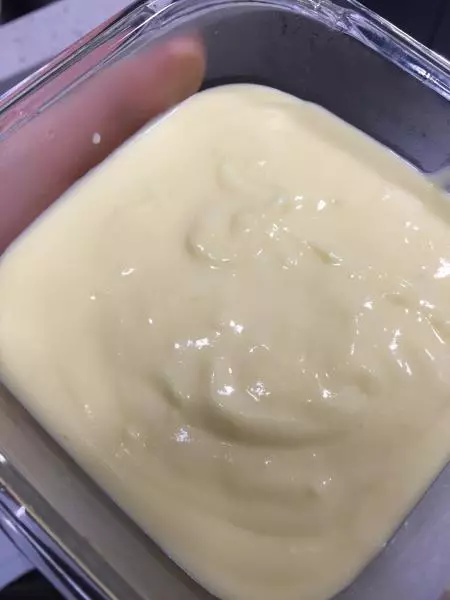
14混合好后倒入小锅中。 中小火加热,不停的搅拌
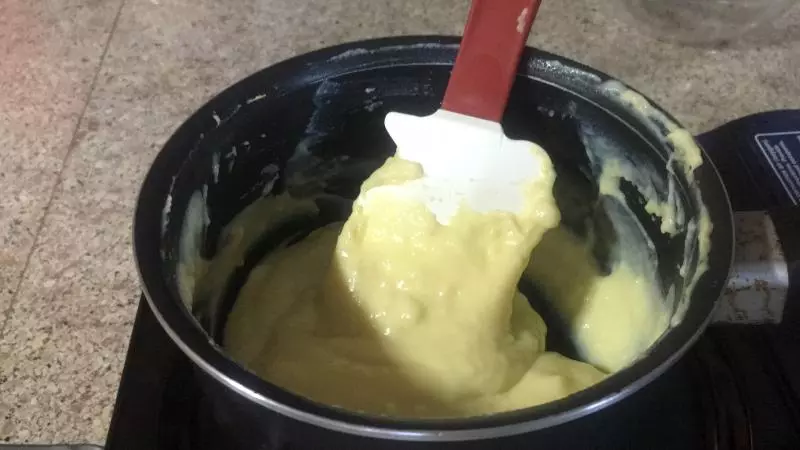
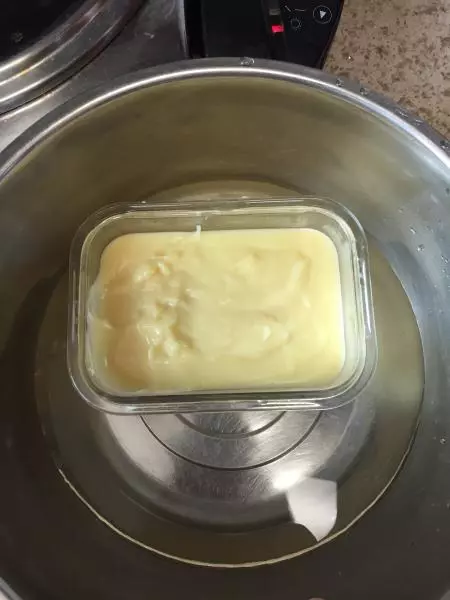
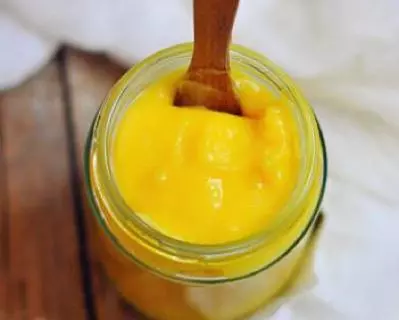
15煮至粘稠,马上关火,倒出。 加入香草精,拌匀
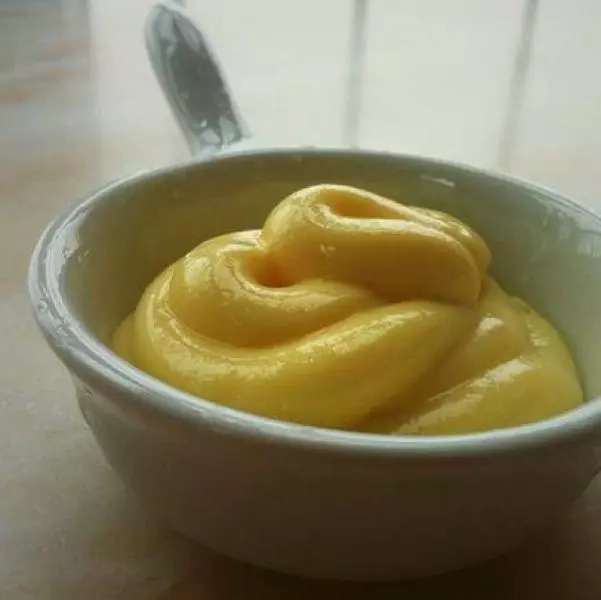
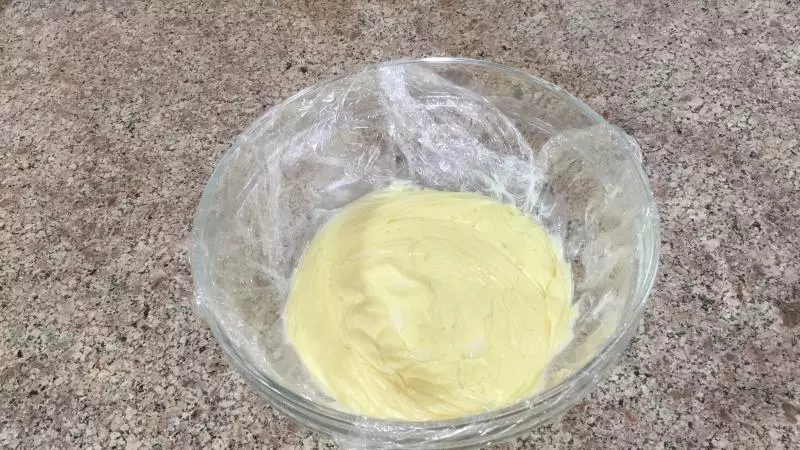
16在做好的卡仕达酱上紧贴盖上一层保鲜膜,放入冰箱放凉
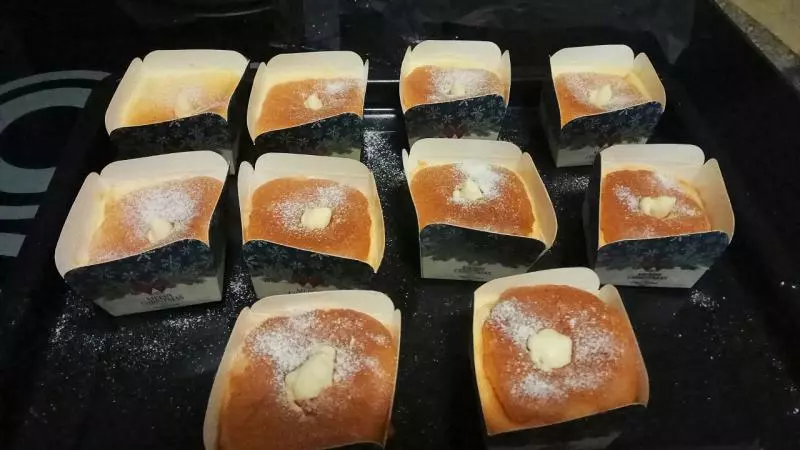
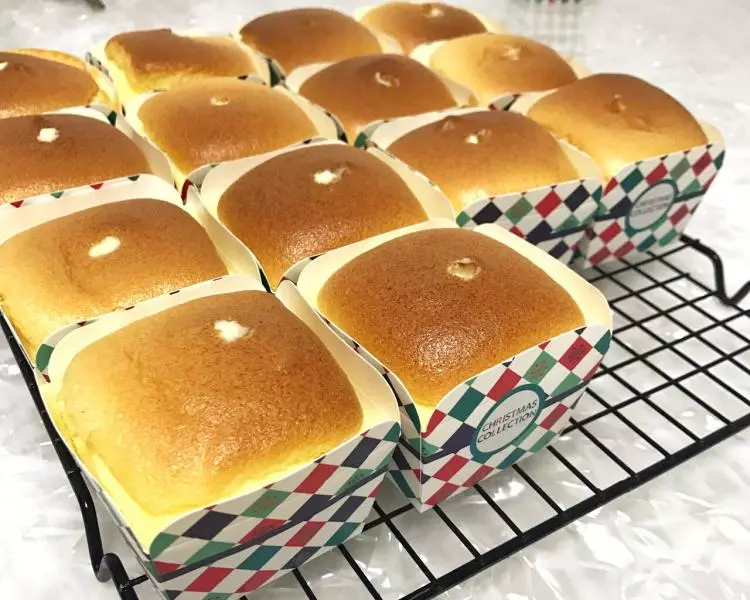
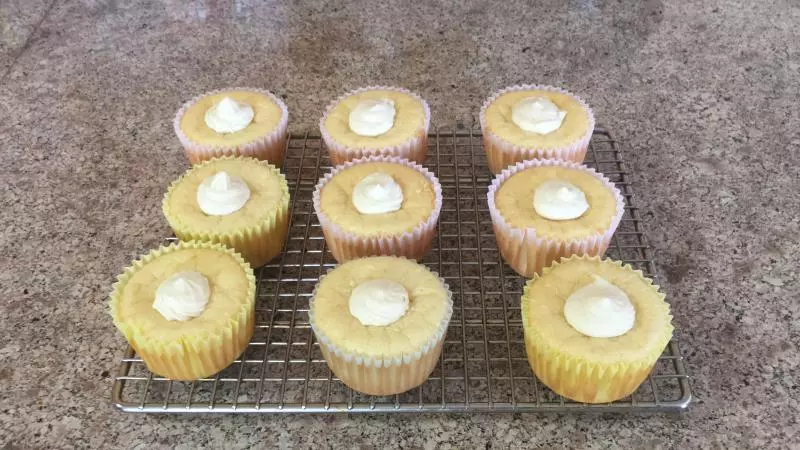
17烤好的蛋糕杯,放到烤架上放凉。
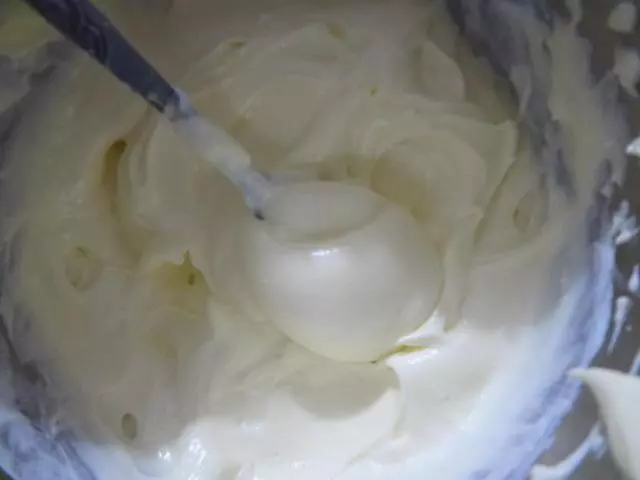
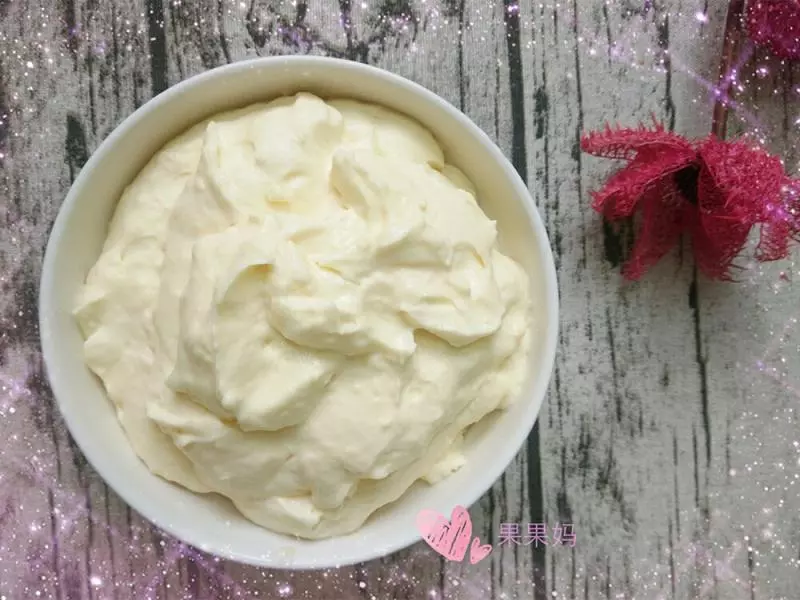
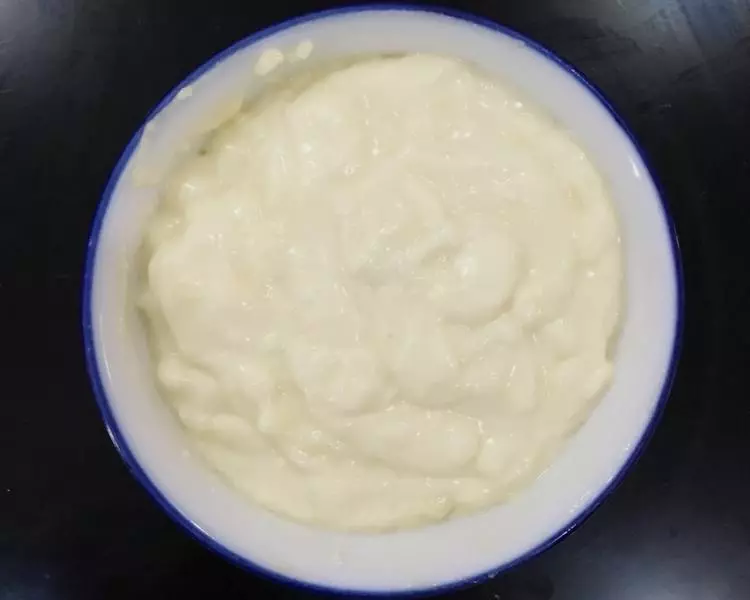
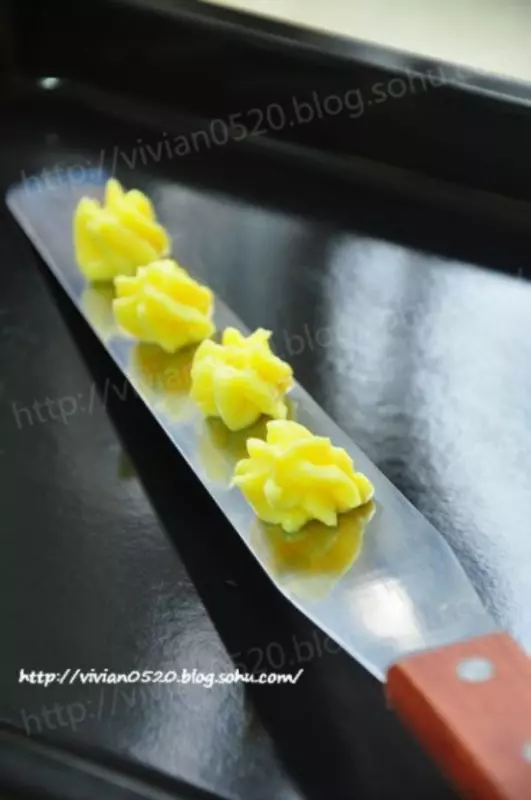
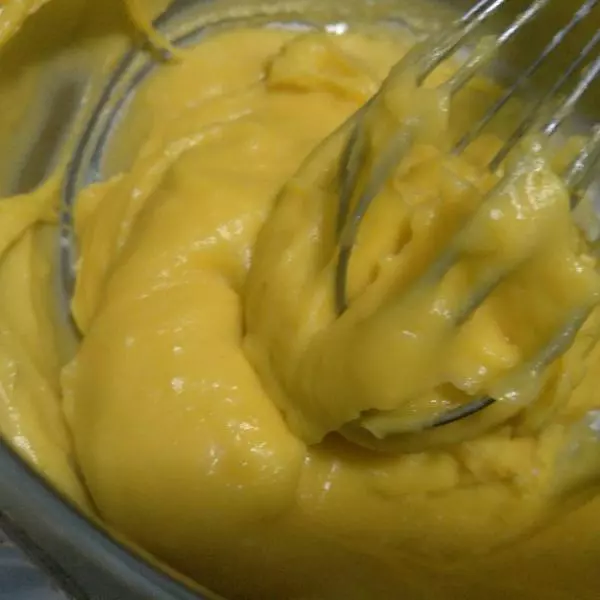
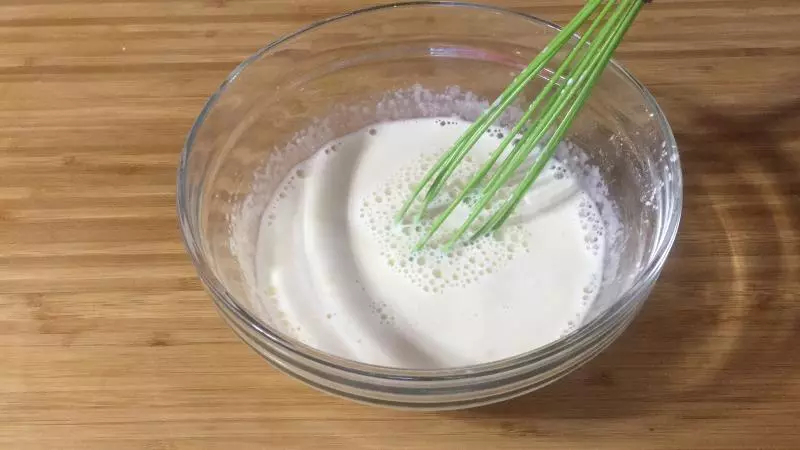
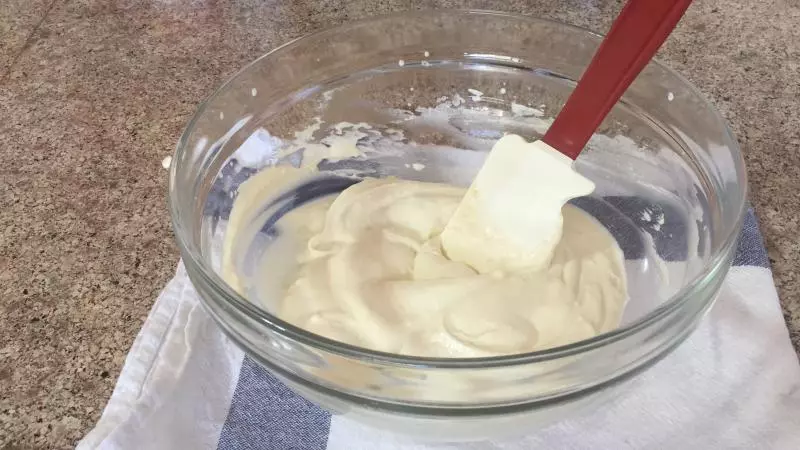
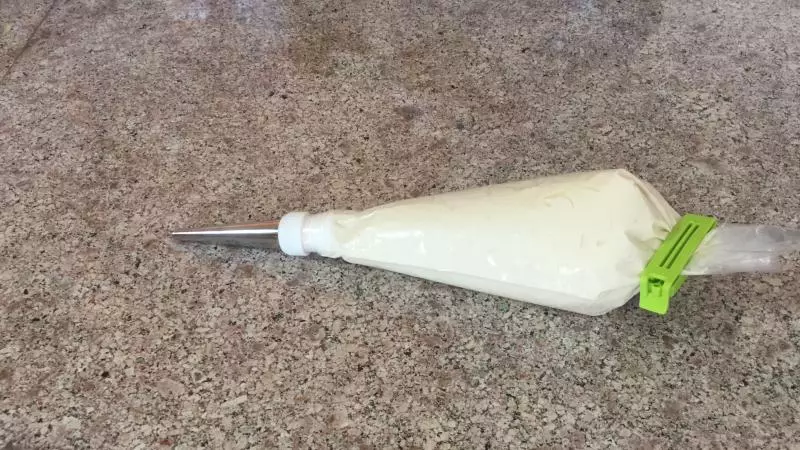
18蛋糕杯和卡仕达酱都完全凉了以后,开始打发淡奶油。 把淡奶油打发至硬性发泡
19加入卡仕达酱,搅匀
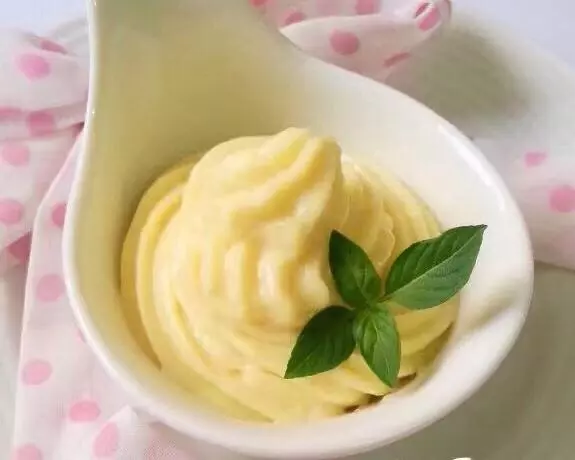
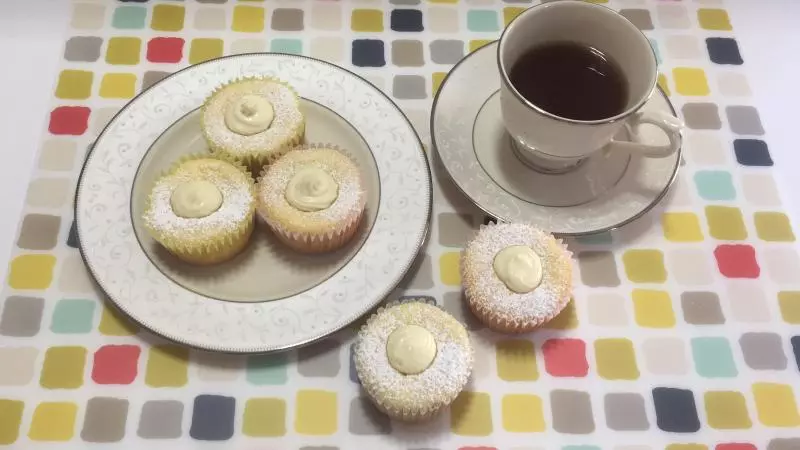
20装入裱花袋中
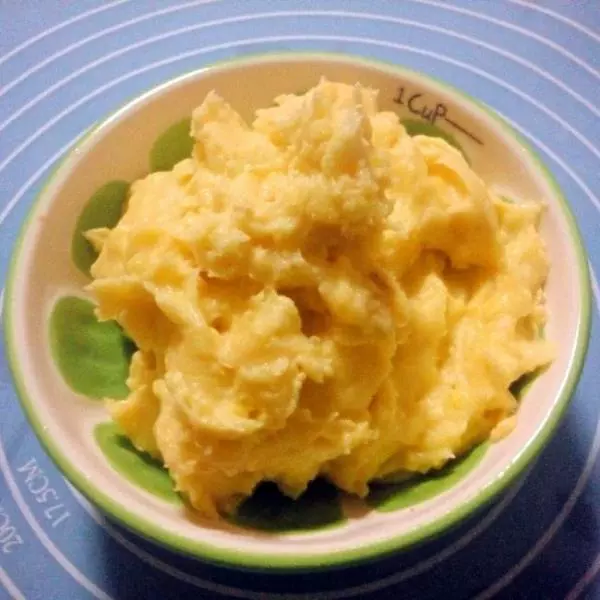
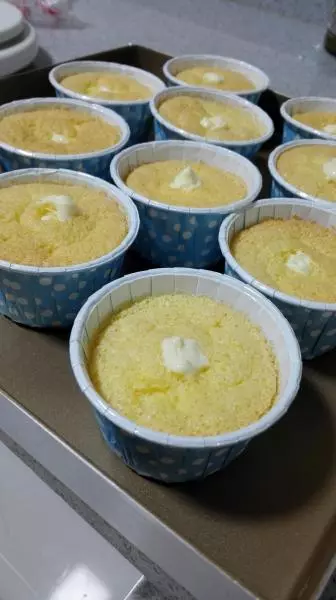
21把卡仕达酱挤入蛋糕杯中
22洒上糖粉
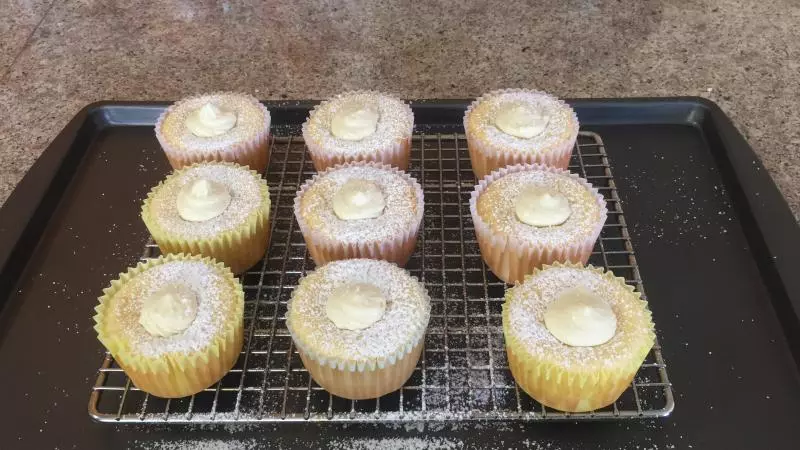
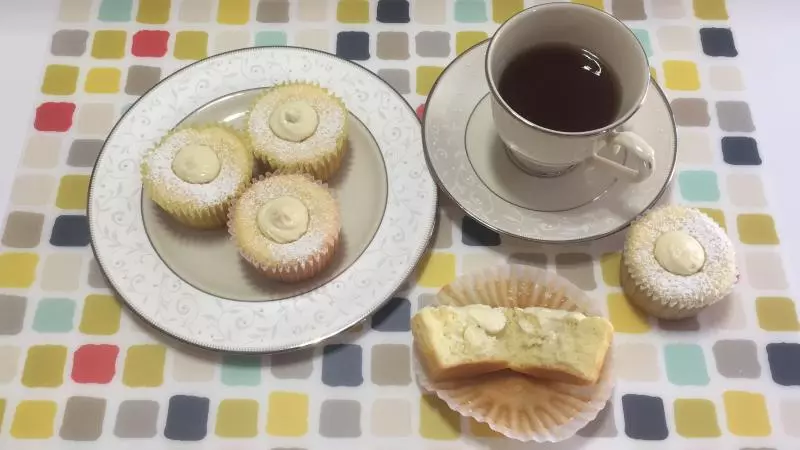
23就可以食用了!
小技巧
鸡蛋和奶牛一定要提前放置室温! 打发淡奶油时,可以下面垫一盆冰块,比较容易打发! 烤箱要提前预热好,烤时不要中途打开烤箱门!