原料
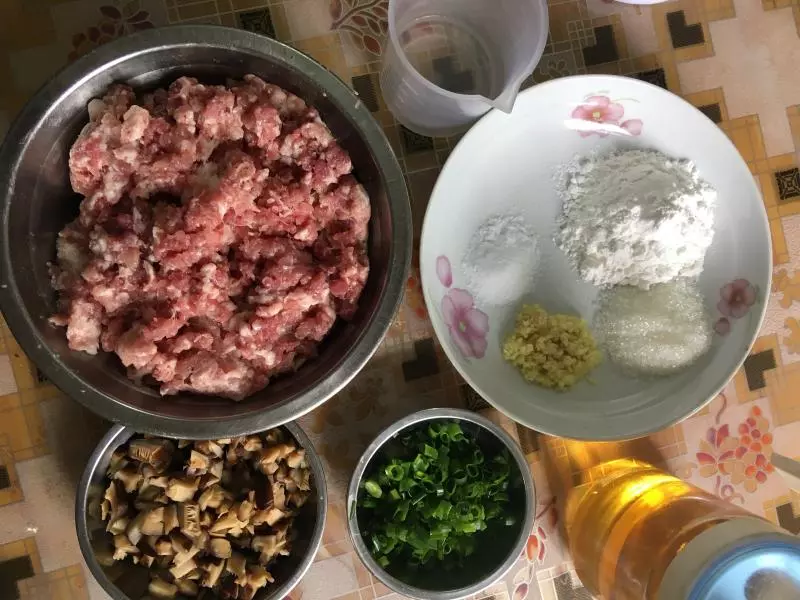
全蛋: 150g, 水麦芽: 6g, 细砂糖: 110g, 低粉: 100g, 无盐黄油: 26g, 牛奶: 40ml
步骤
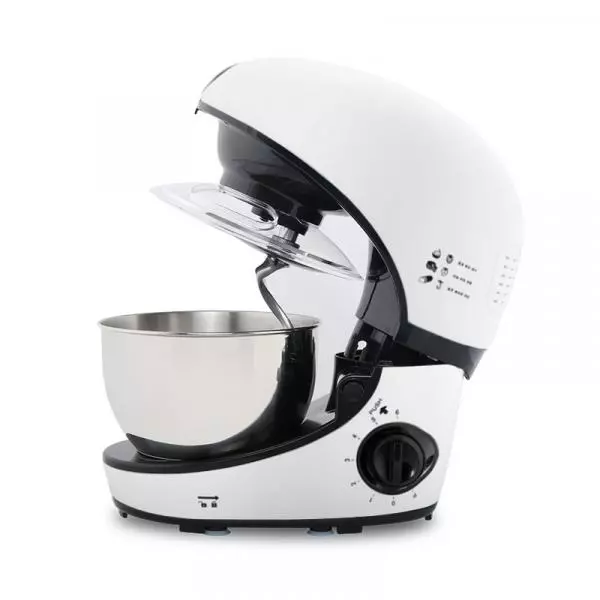
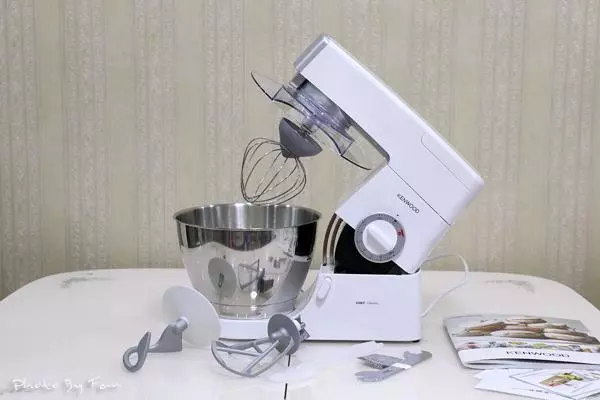
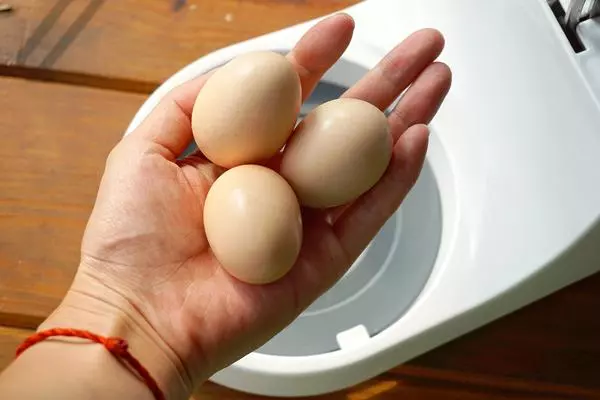
1这次使用的是凯伍德M336厨师机~ 容量4.6L,这个尺寸打发少量的鸡蛋OK的~ 适合家庭烘焙使用~
2准备活动 1.模具铺上油纸 2.鸡蛋回温 3.低粉先过筛一次 这次用的草鸡蛋,个头很小,每个约30g~各位不要纠结哈~~
3鸡蛋+水麦芽打入搅拌缸中~
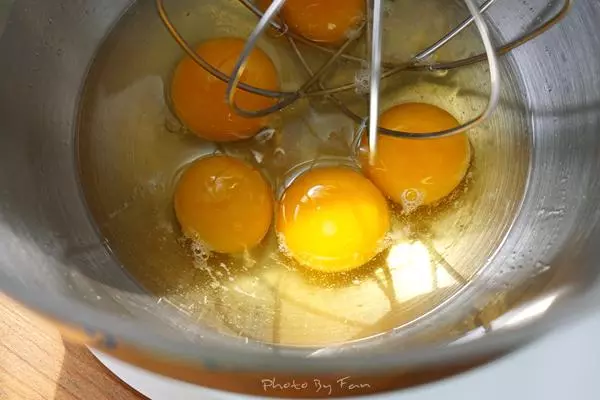
4调至5档,快速搅拌~
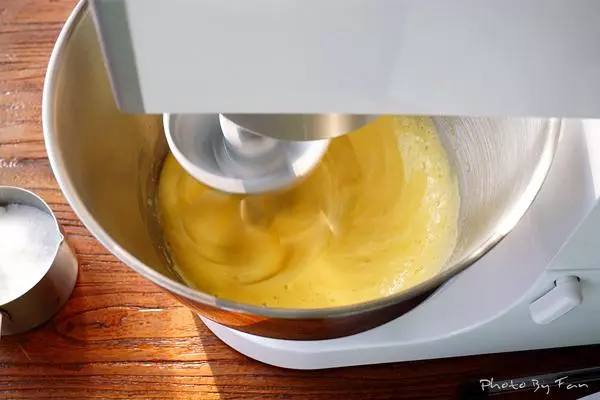
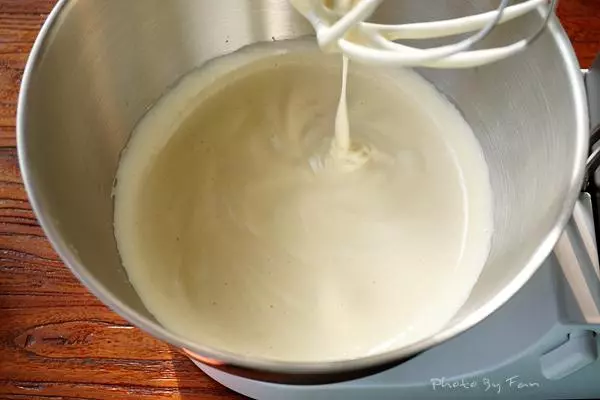
5大约打发5分钟左右,蛋糊的气泡变细密~ 时间只是个大概,各位最好还是看状态行事,毕竟鸡蛋的新鲜度还是会有些许影响的~~

6倒入细砂糖,继续5档打发
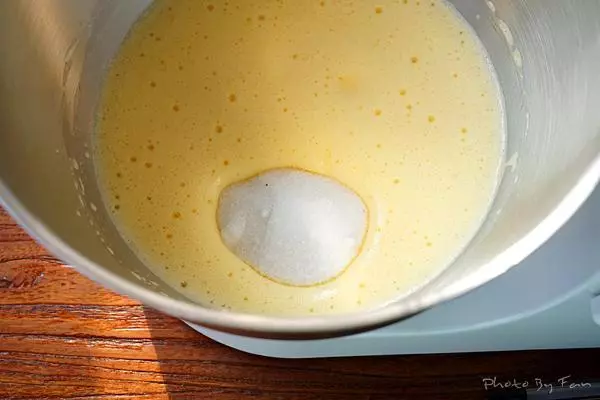
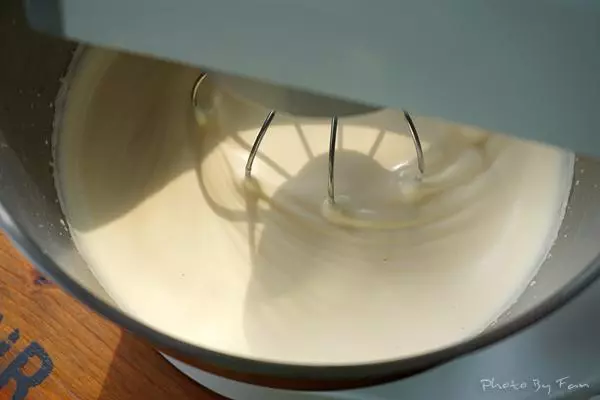
7打发约4~5分钟后,蛋糊变得非常细腻~
8转低速1档打发约4~5分钟~
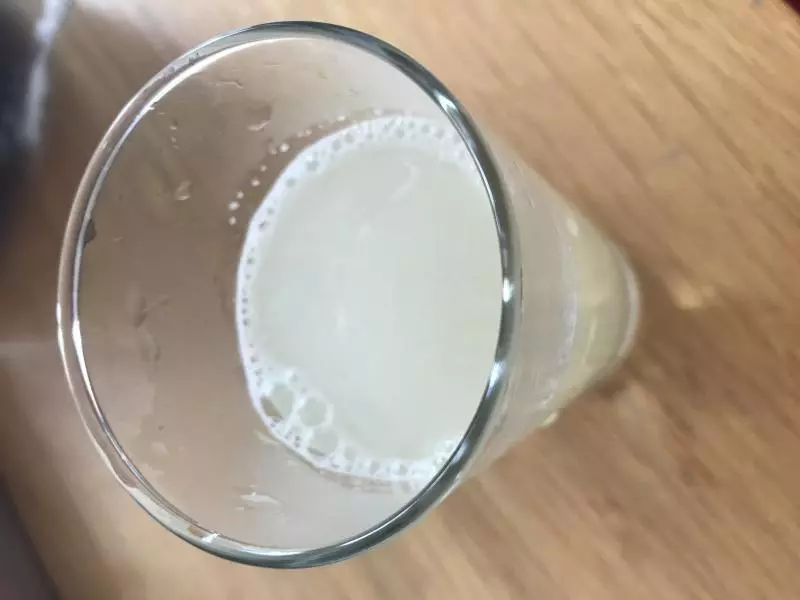
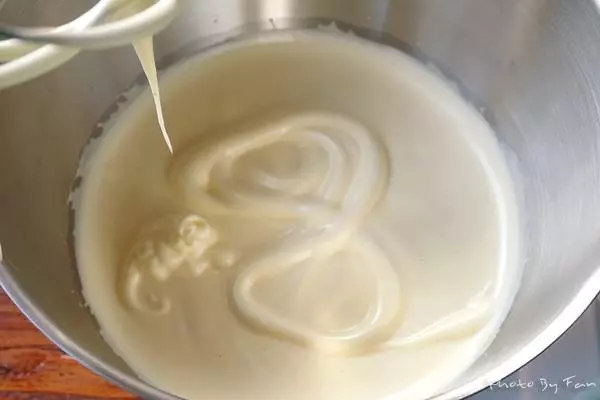
9打发好的蛋糊状态,画8字消失缓慢~ 于此同时,牛奶+黄油隔水加热~
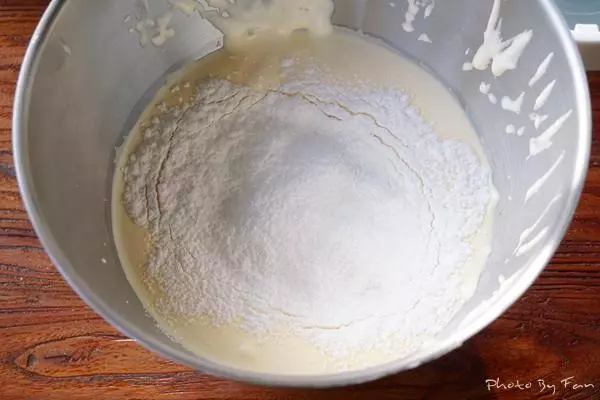
10筛入低粉,翻拌20下左右~
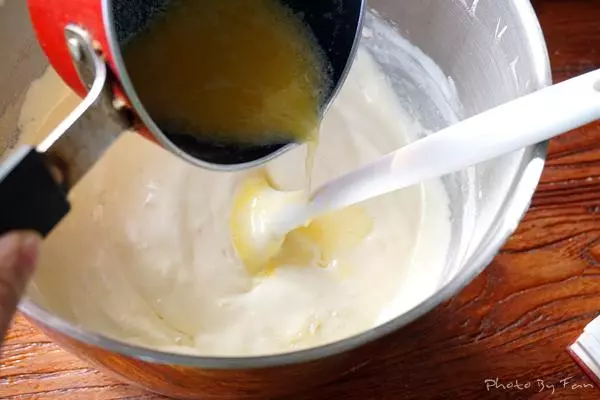
11牛奶+黄油温度保持在40度以上,顺着橡皮刮刀倒入打蛋盆中~翻拌~
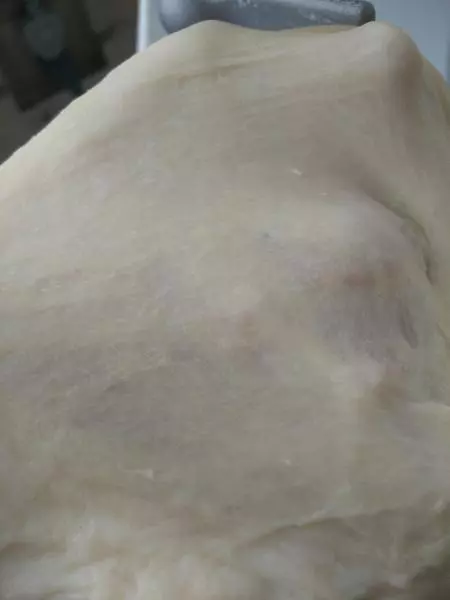
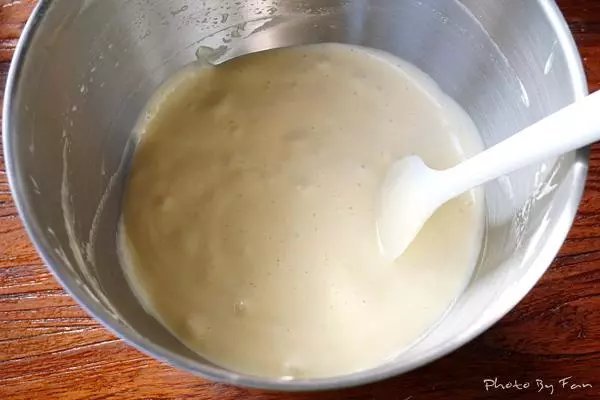
12翻拌80下左右~面糊完成
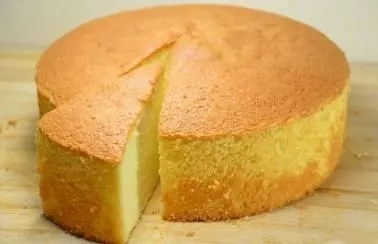
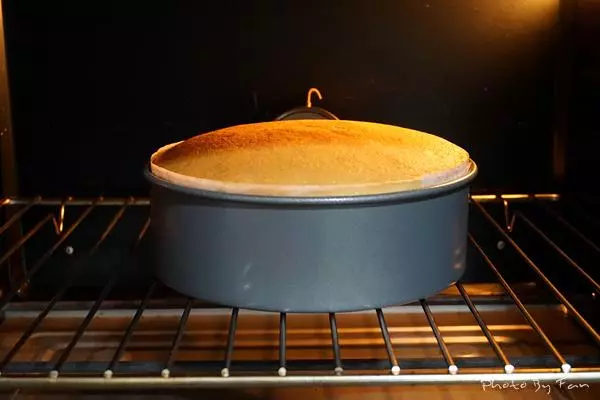
13180度预热,转160度,烤制40~45分钟

14蛋糕在烤箱中膨胀的样子
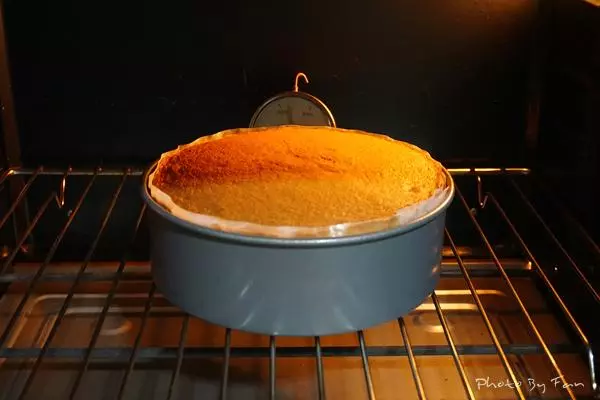
15蛋糕从最高点慢慢跟模具平行,就表示熟了~
16取出震出热气,离桌面约10cm的高度丢下模具即可
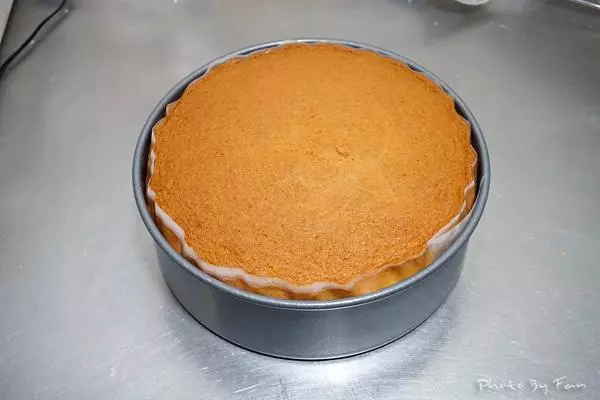
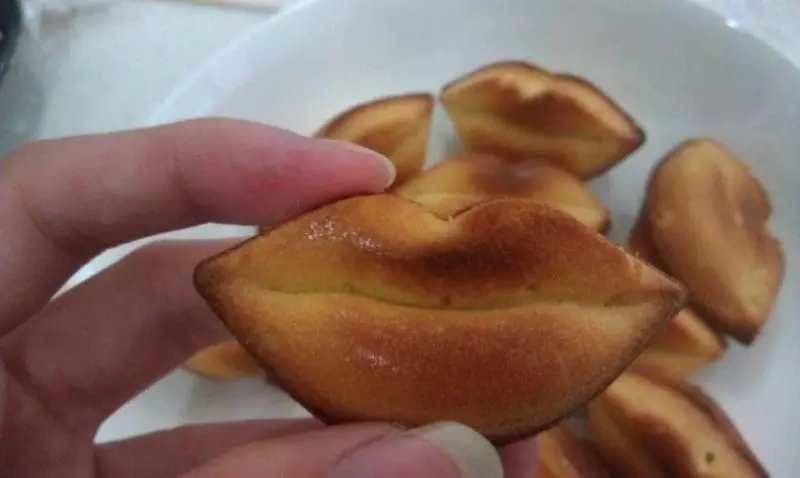
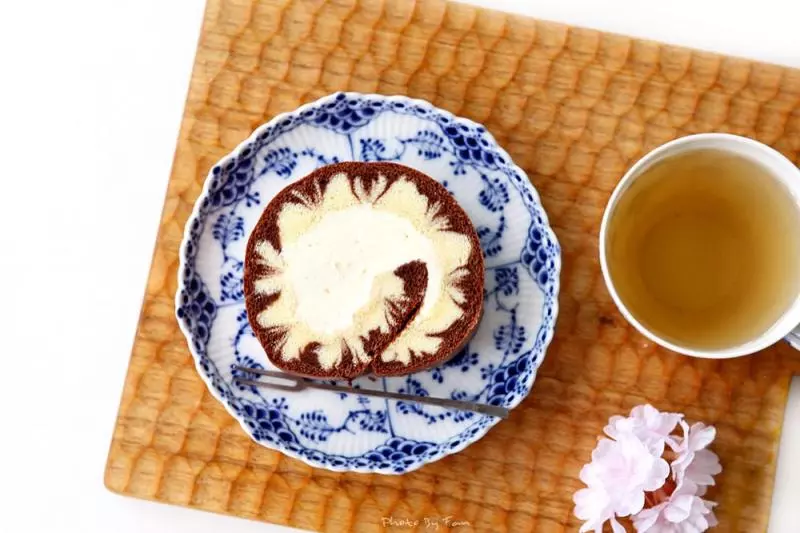
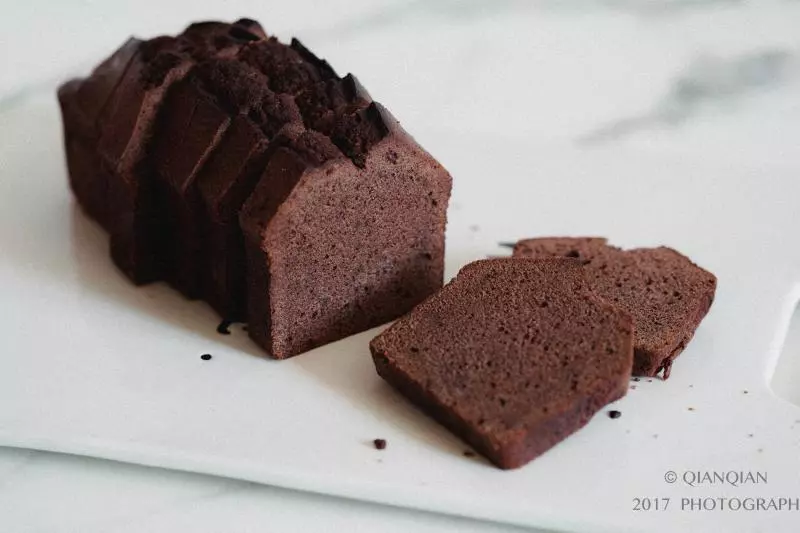
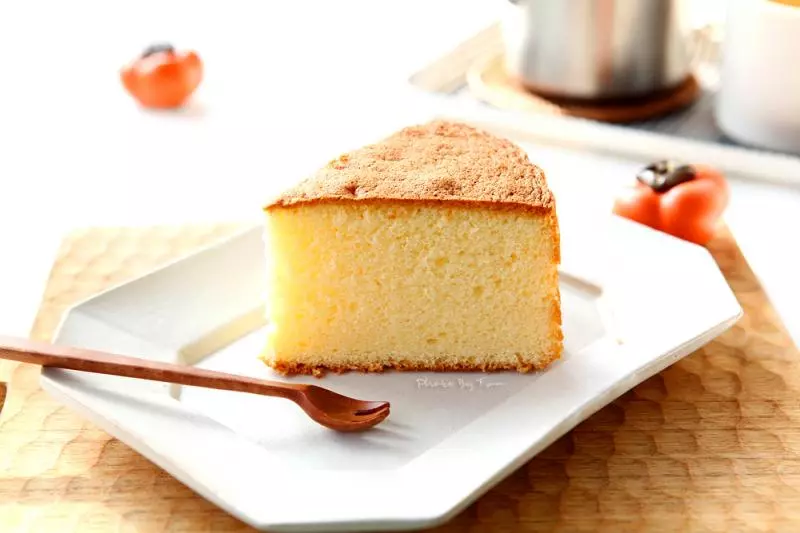
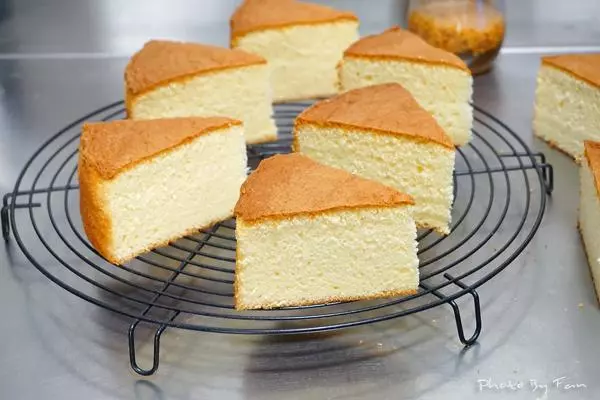
17完全冷却后,切开~

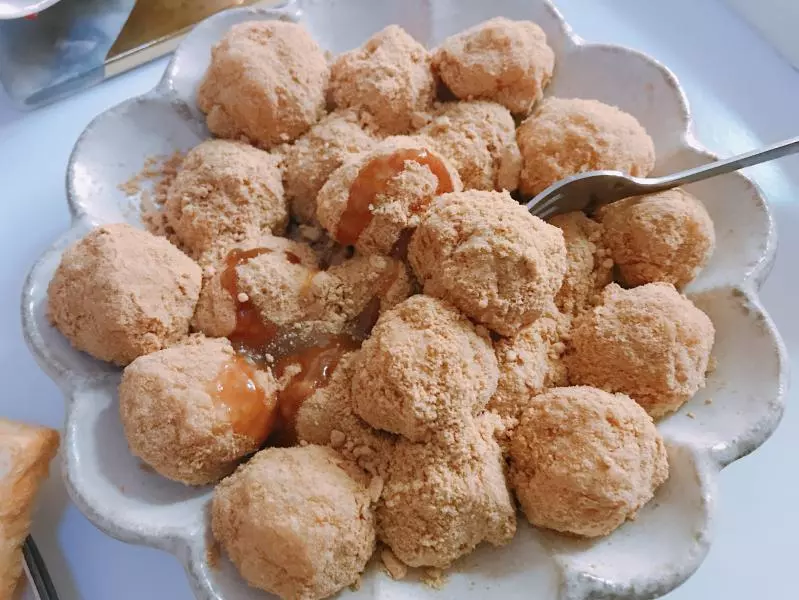
18切成小块~~
小技巧
1.以上时间只是个大概,仅供参考~ 各位最好还是看状态行事,毕竟鸡蛋的新鲜度还是会有些许影响的~~ ----- 很多厨友问水麦芽是啥?能否替代。。 其实百度一下,或者淘宝搜一下,就能完全清楚,写的还特别详细。。 有网友也留言说明了,仔细看一下或者自己动手搜搜就那么难? ----- 以下为复制粘贴我之前发过的总结: 1.水麦芽是透明粘稠状的,颜色如果糖般透明,却如麦芽一般粘稠固状. 2.水麦芽除了提供甜度之外,最重要的是可以让饼皮有黏性,并且增加香气. 3.没有能完全替代的 --- 以外,我觉得水麦芽有一定延缓老化的作用~ 其次,不要多加。。就是按比例加 加多了,容易造成成品口感发粘偏湿~ --- 如果没有水麦芽,买不到,不想加,那就不加呗~ 不要那么纠结~~