原料
土豆泥: 100g, 中筋面粉: 125g, 砂糖: 50g, 黄油: 55g, 泡打粉: 3g, 苏打粉: 1g, 盐: 4g, 黑胡椒: 1g, 葱粉(如无可不加): 1g, 鸡蛋: 半个, 淡奶油: 32ml
步骤
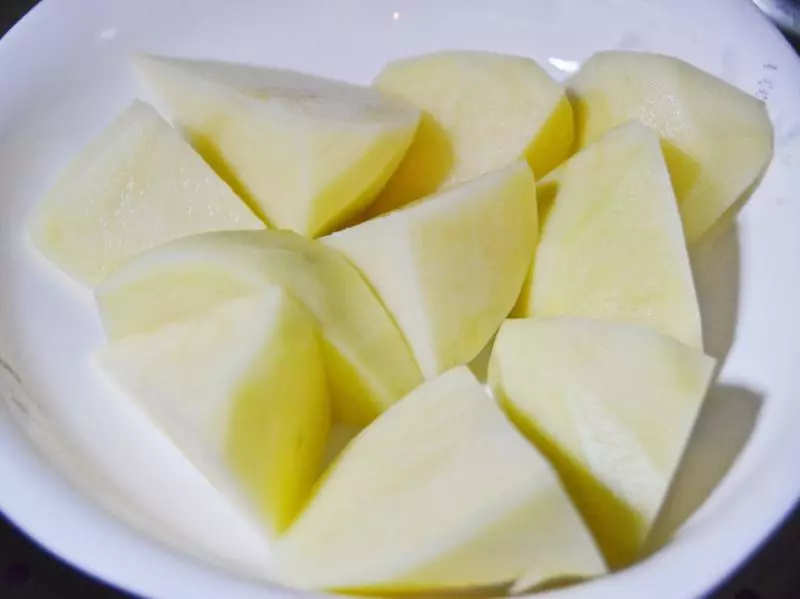
1土豆洗干净去皮切块上蒸锅,蒸20分钟左右,筷子可以轻易戳穿的地步。压成泥,取100g备用。
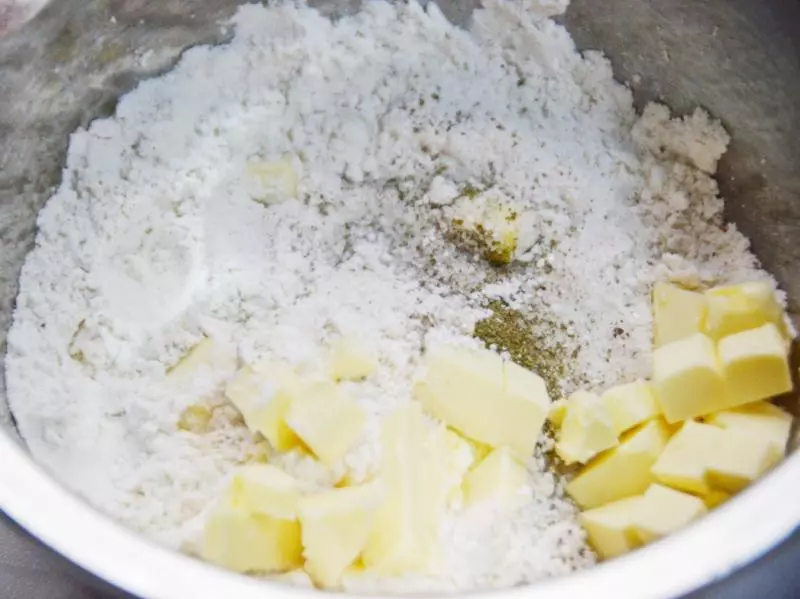
2取一个干净的碗,碗中混合粉类和糖盐黑胡椒葱粉,并过筛。再加入切小块的冷黄油,用手搓揉混合。
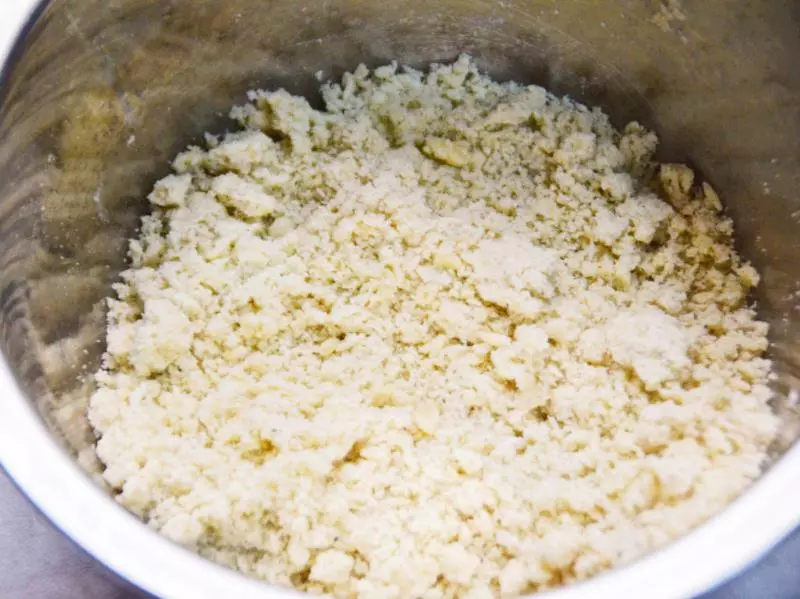
3混合成豆类大小即可。
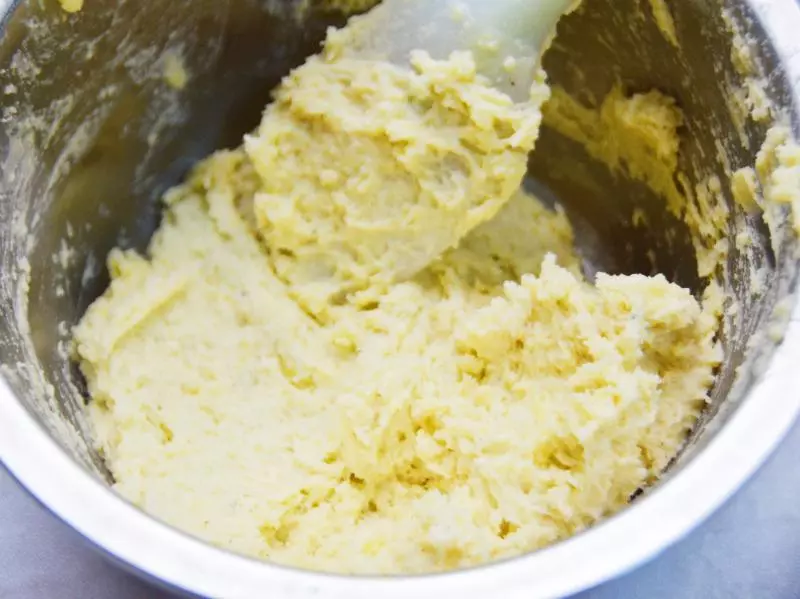
4预热烤箱,218度。 土豆泥加淡奶油以及鸡蛋混合均匀,与上一步的粉混合物搅拌均匀。
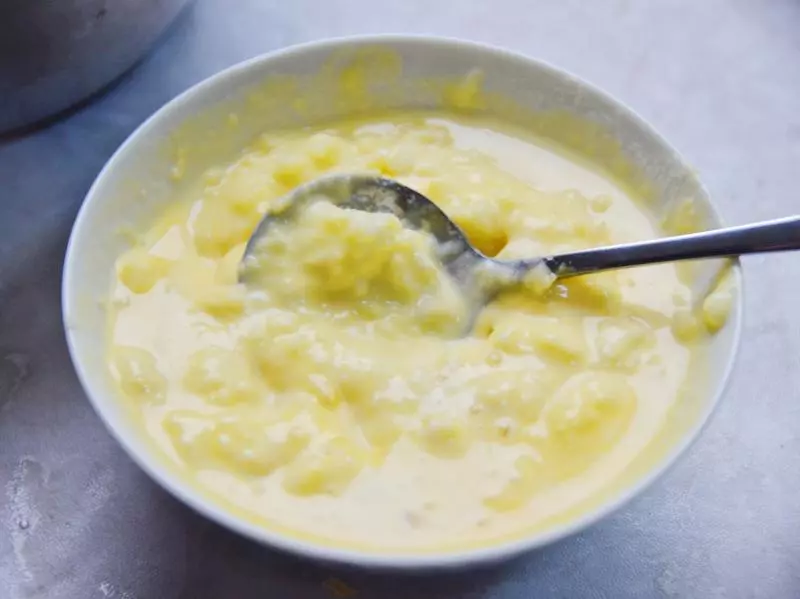
5面团整体比较湿软。
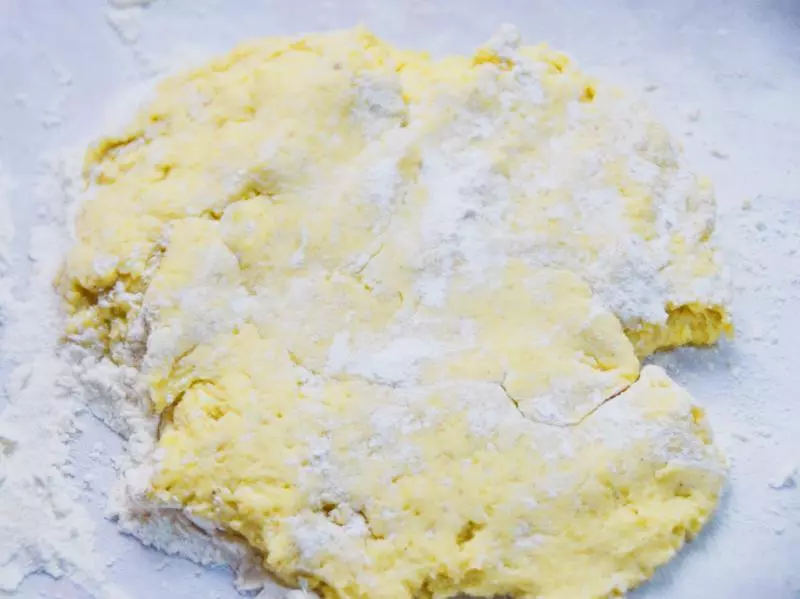
6案板上撒粉,把面团倒在桌上,揉捏成团,擀成20公分的面皮,取圆磨具,割出一个个圆饼干。
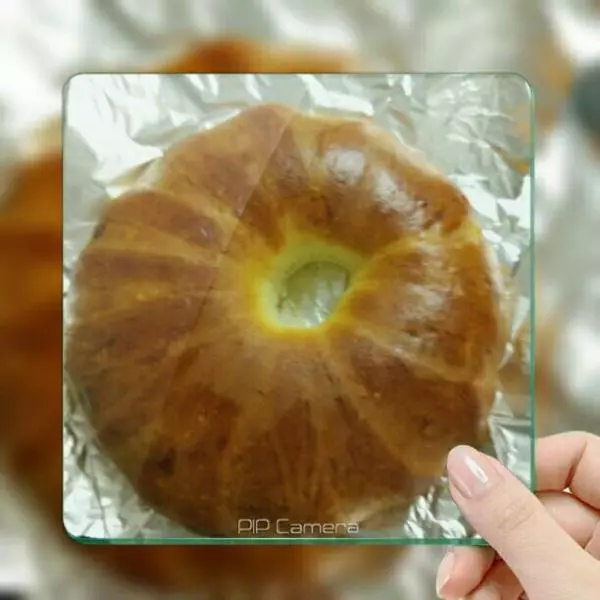
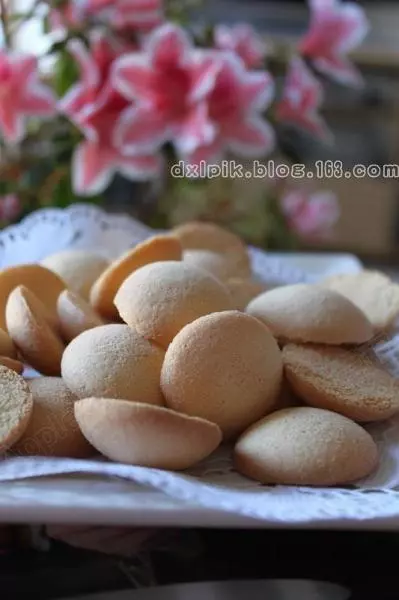
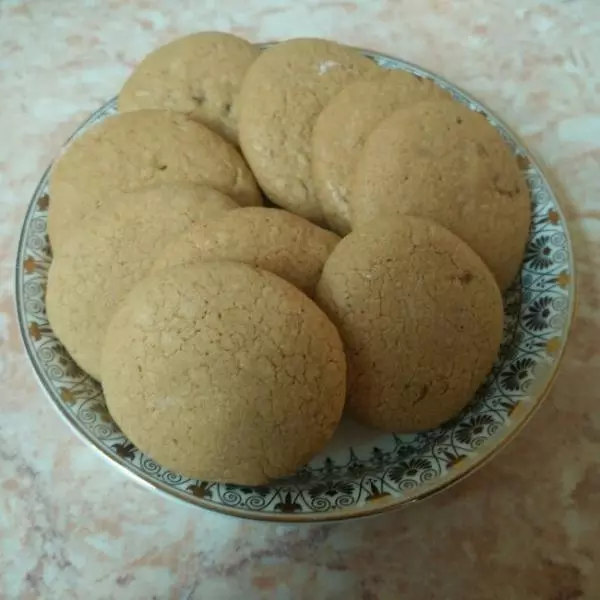
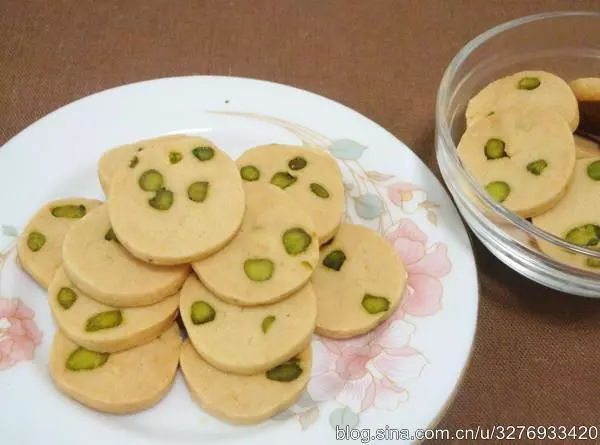
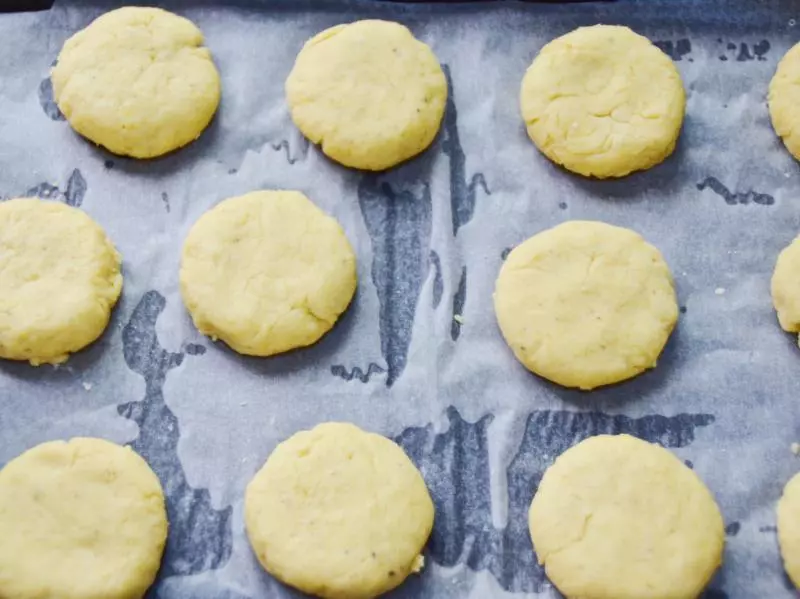
7放入烤盘,每个饼干之间间隔2厘米。(一块饼干约27g,此配方可做16块。)
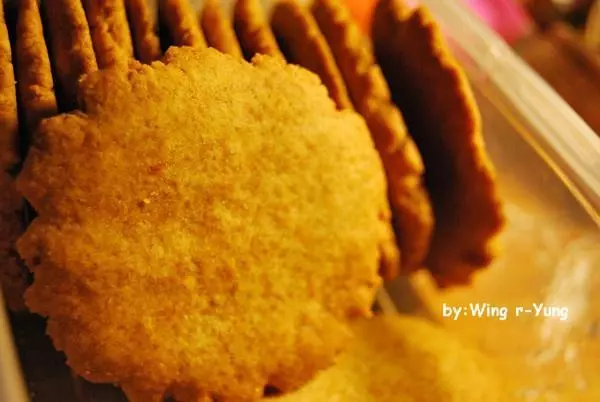
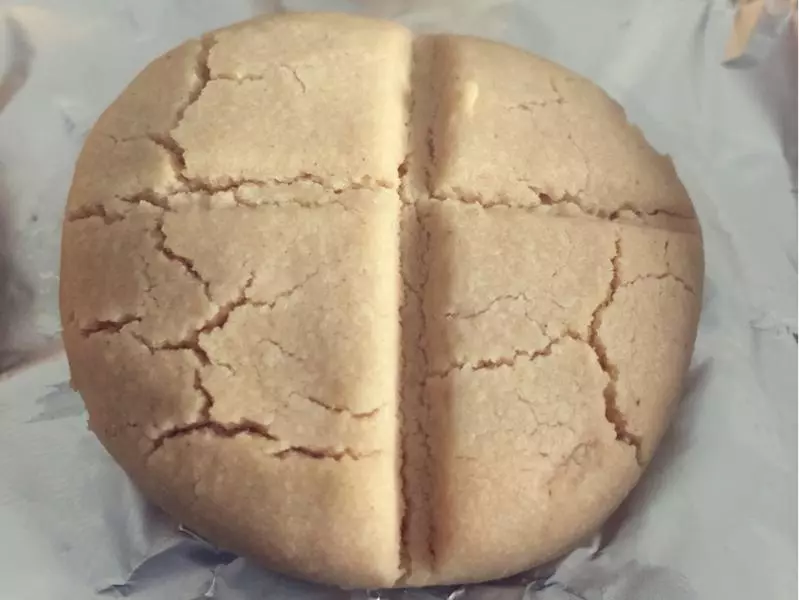
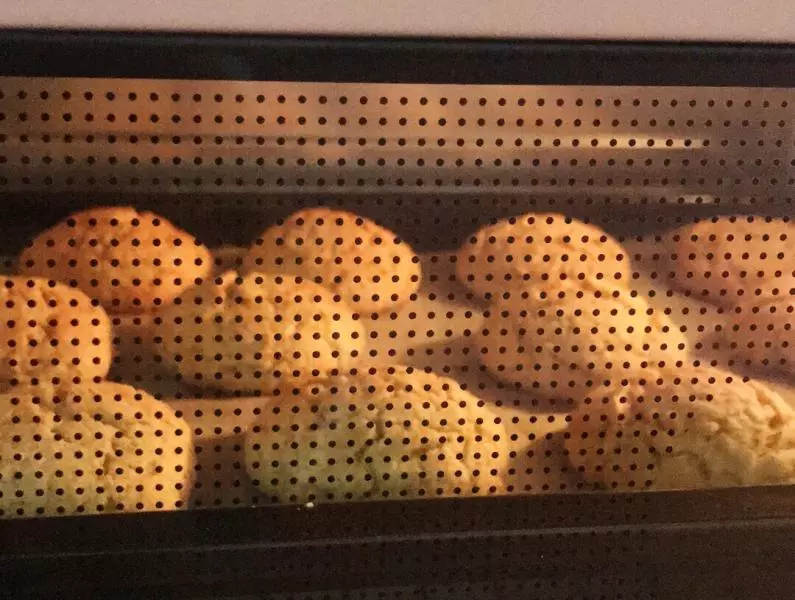
8放入预热好的烤箱,烤15分钟,表面呈现漂亮的金黄色即可。
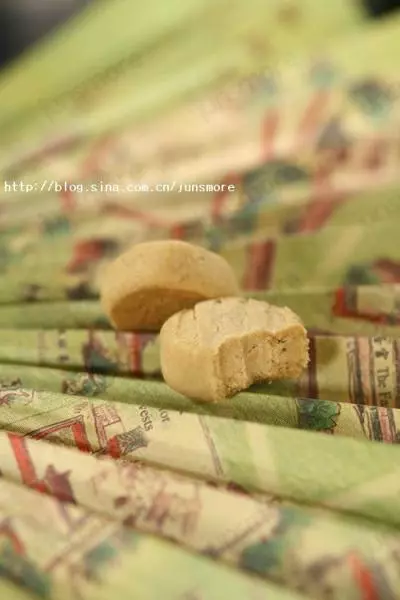
9转移到烤网上放凉,食用。 乘着热吃很像外皮脆脆的蛋糕,冷吃就像松软的大曲奇。 土豆的香气混合的非常美妙。 欢迎大家关注我们的公众号:gordonandhiskitchen (有不定期送东西的福利喔)