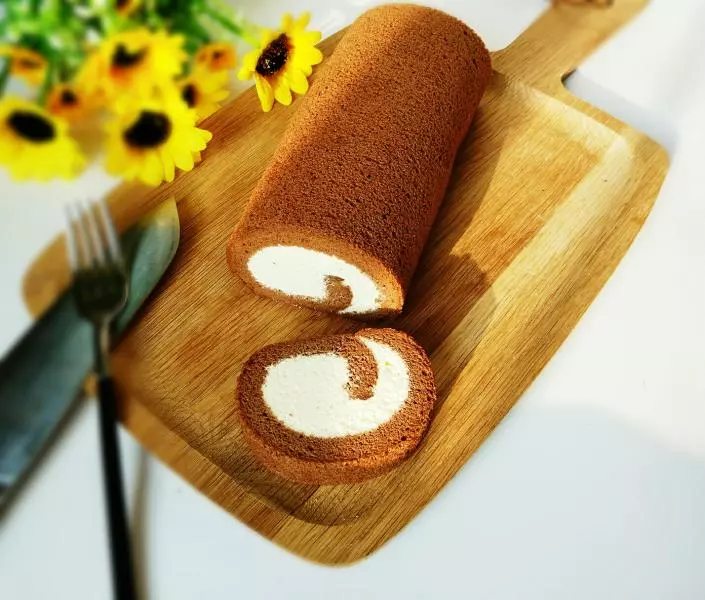
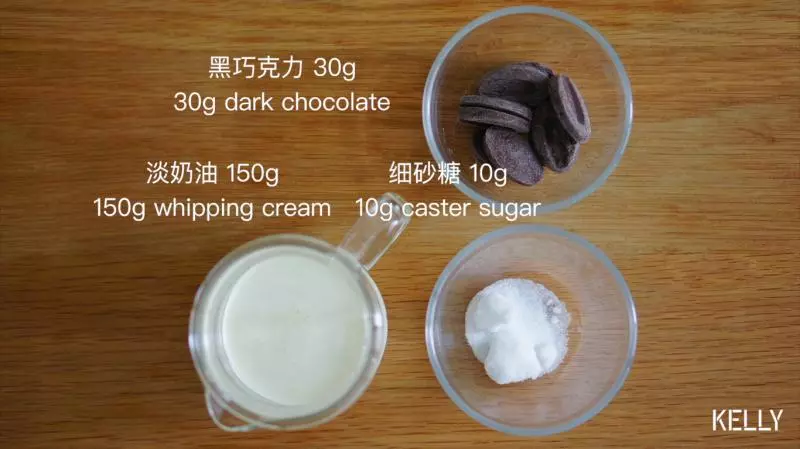
原料
鸡蛋: 4个, 牛奶: 55g, 植物油: 50g, 低筋面粉: 60g, 可可粉: 15g, 细砂糖: 60g, 盐: 1g(1/4小勺), 黑巧克力: 25g, 淡奶油: 150g, 细砂糖: 10g, 黑巧克力: 30g
步骤
1提早一天制作巧克力奶油。 使用微波炉操作方便快捷,如果没有,请按此配方根据“巧克力奶油蛋糕”步骤制作巧克力奶油。
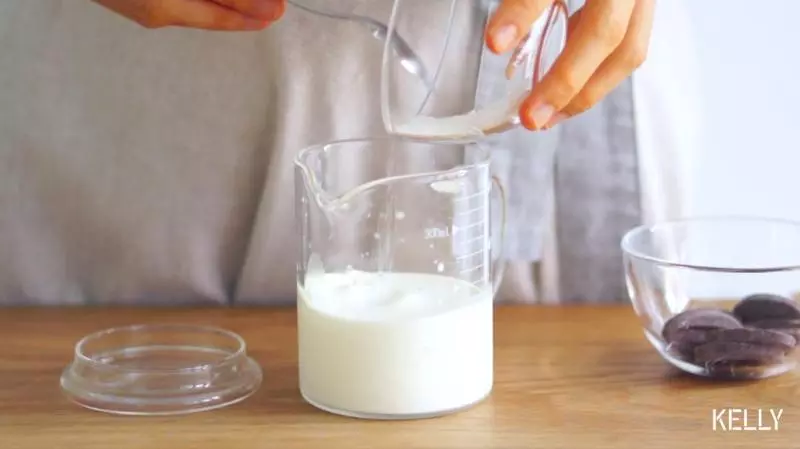
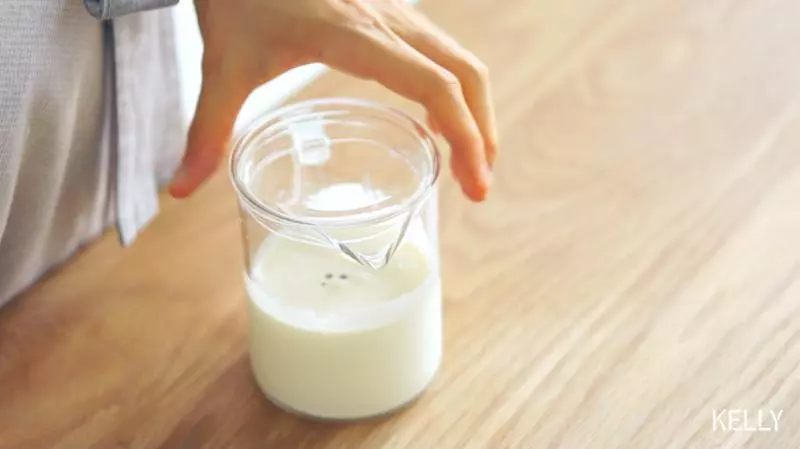
2淡奶油放在可入微波炉的容器内,加入细砂糖。
3加入巧克力。
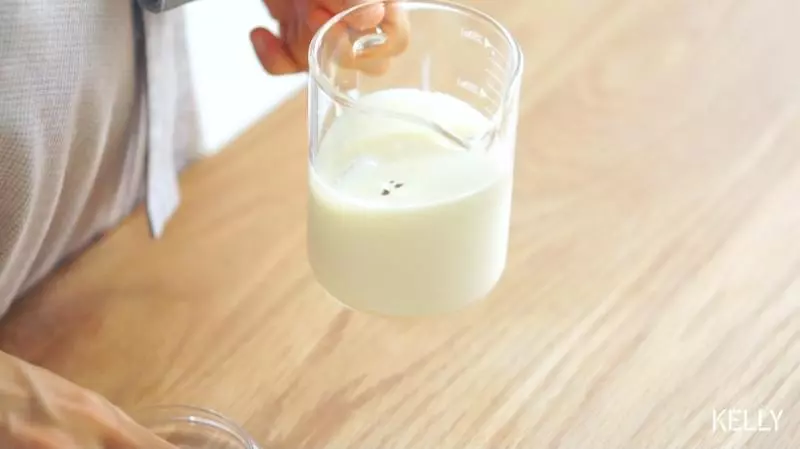
4晃一晃,让淡奶油没过巧克力。
5盖上盖子。
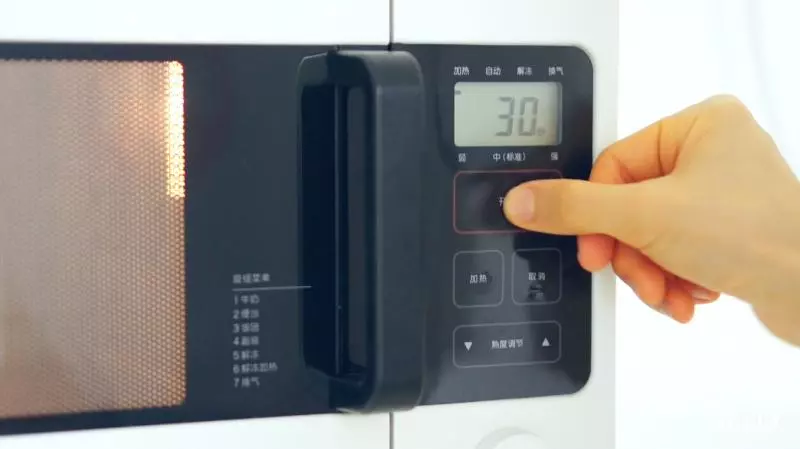
6中火微波30秒左右。 用手触摸杯壁,微微温热(不是很热)就好了。 千万不要加热过度。 如果没有把握,最好10秒钟一次,取出来感觉一下温度。 外壁温热,说明奶油在30-40℃之间,恰好是巧克力溶解的温度。
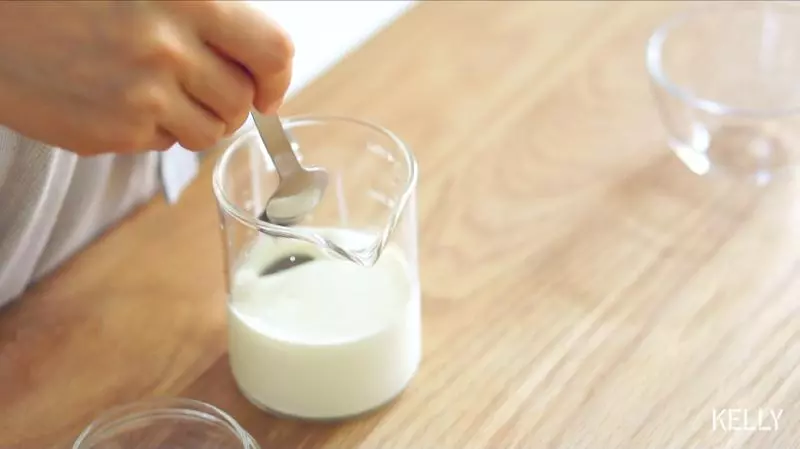
7趁热搅拌至砂糖和巧克力都融化掉。
8盖好,冷藏一夜备用。 冷藏不可以省略。
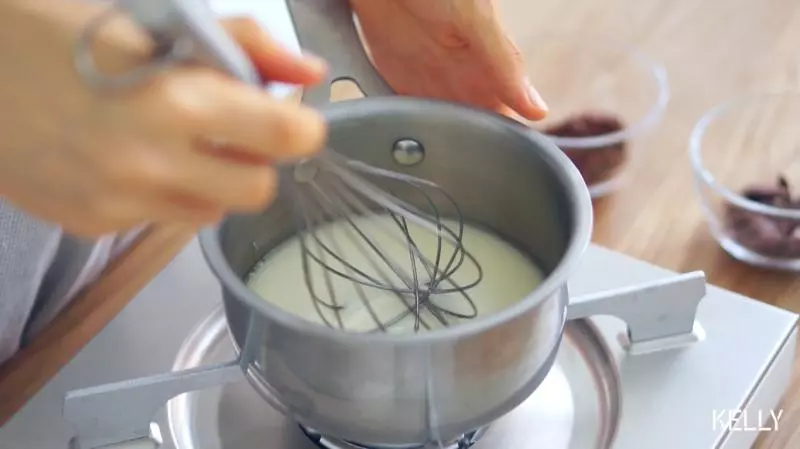
9第二天我们来烤蛋糕。 植物油和牛奶一起倒入奶锅,一边搅拌一边小火(注意!是小火!)加热10-15秒。

10摸摸锅壁有一点点烫就关火。 这个时候,液体温度在45-50℃之间。 千万不要加热到开始冒泡快沸腾,我们只是温一下奶方便溶解融化啊~
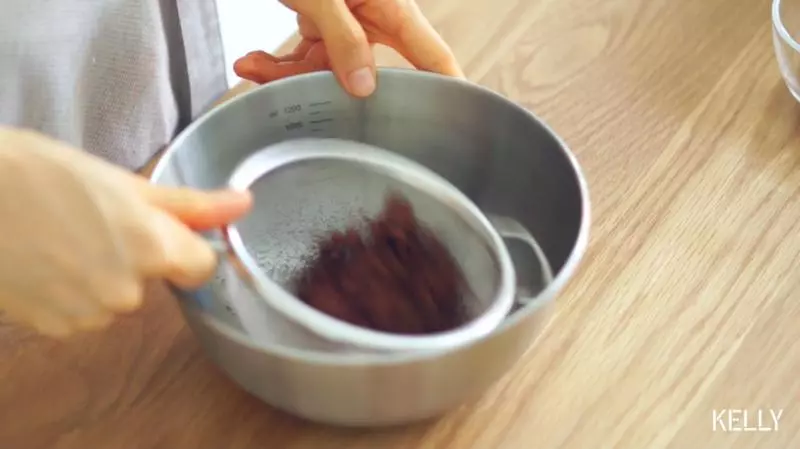
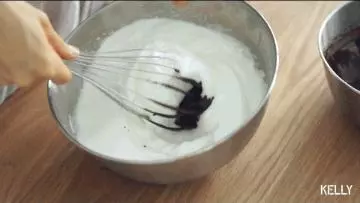
11如果你的锅很薄(冷却速度快),那么可以直接筛入可可粉。 像我这种厚锅,关火后把液体放一边(反正够厚保温没问题),取一打蛋盆过筛可可粉。
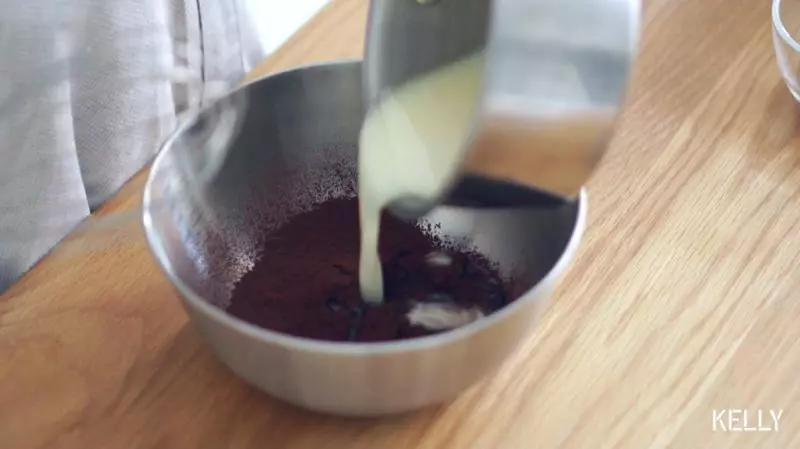
12倒入液体。
13搅拌均匀。
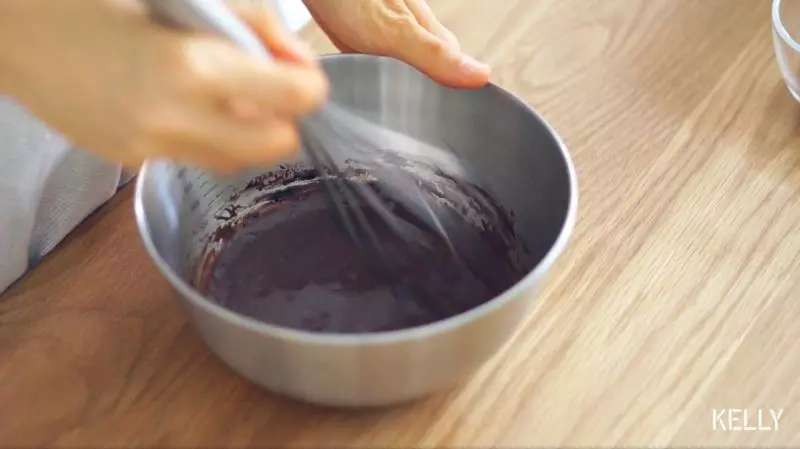
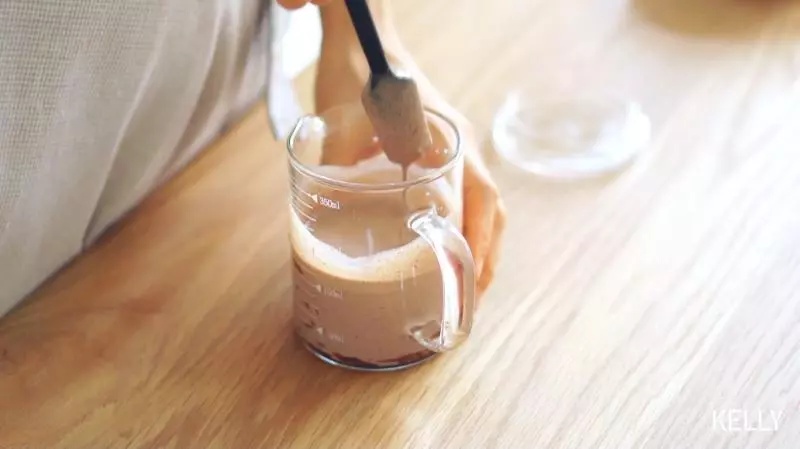
14此时摸摸盆壁,略有温度但不会烫手,大概在35-40℃左右。 倒入巧克力,慢慢搅拌至溶解。
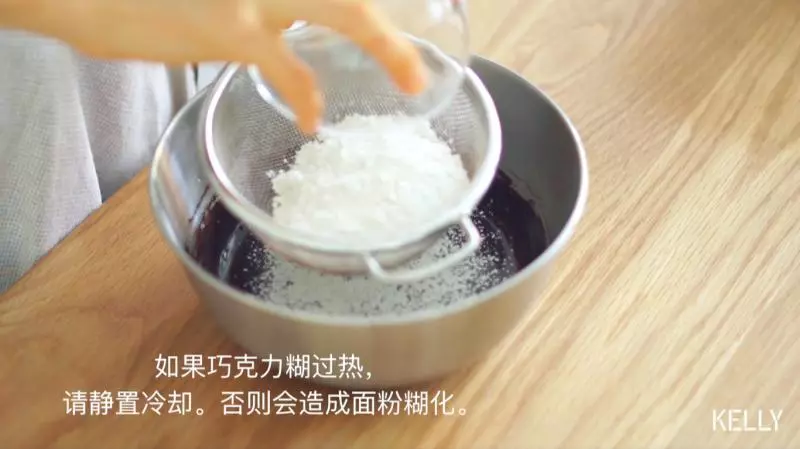
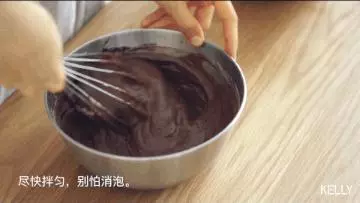
15搅拌过程也是帮助降温过程,待巧克力完全溶解后,筛入低筋面粉。 此时盆子只有一点点温热,和手心温度接近或略高于手温,如果感觉比较热,静置冷却。 否则会造成面粉糊化后面就很难拌匀。
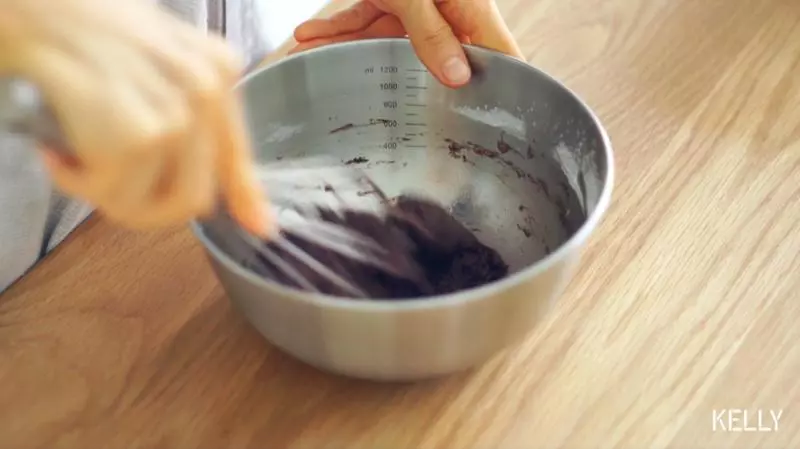
16搅拌成团。
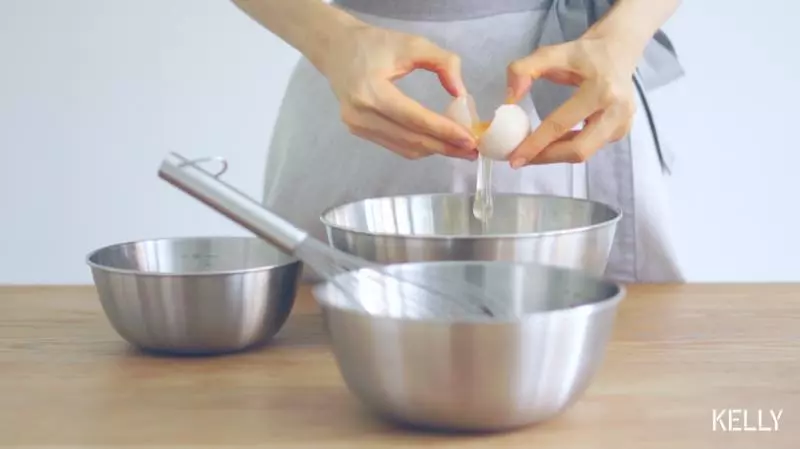
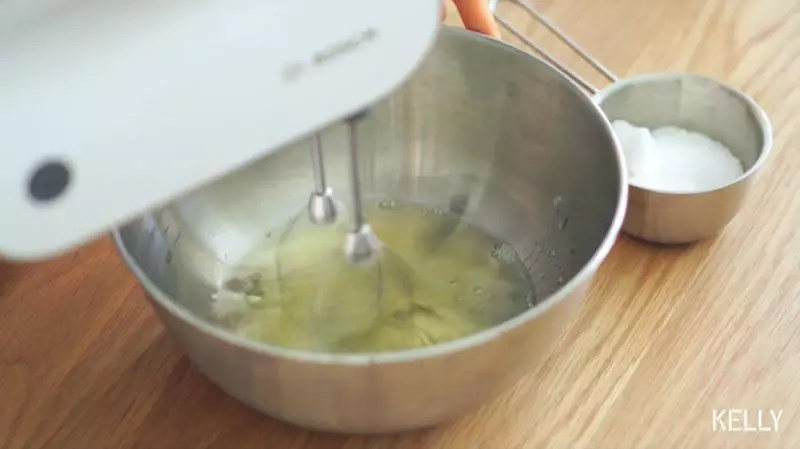
17加入蛋黄。
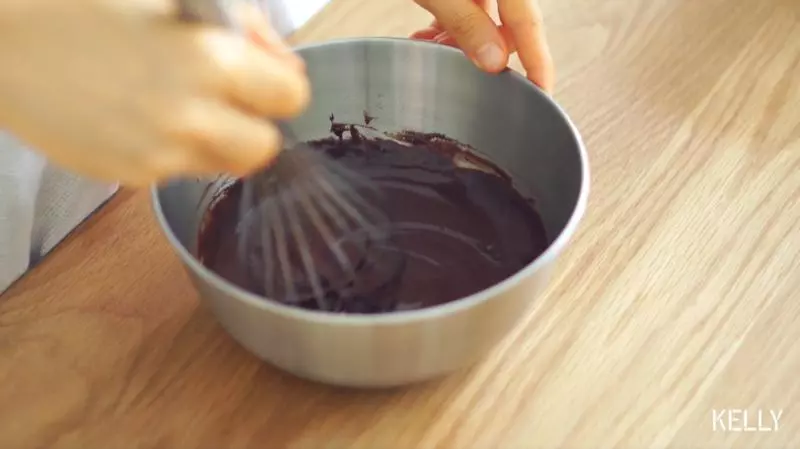
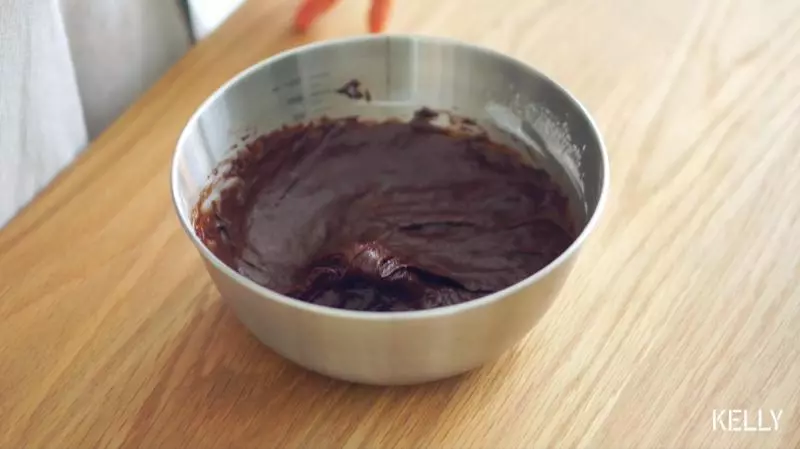
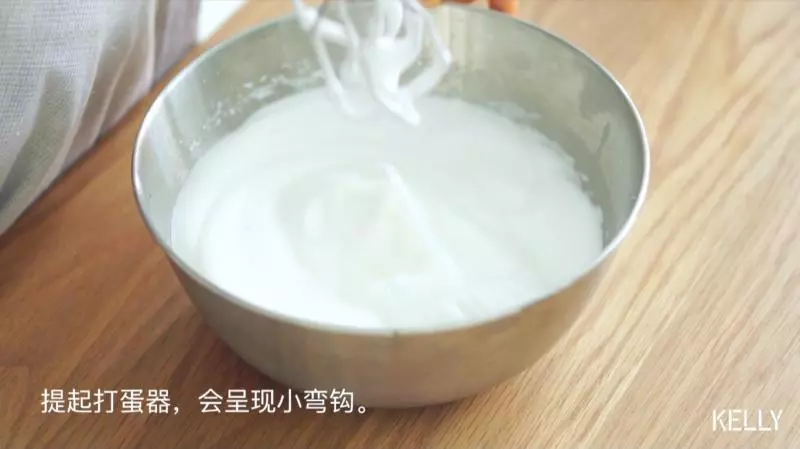
18拿出捣糍粑的力气用力搅拌成粘稠的蛋糕糊。
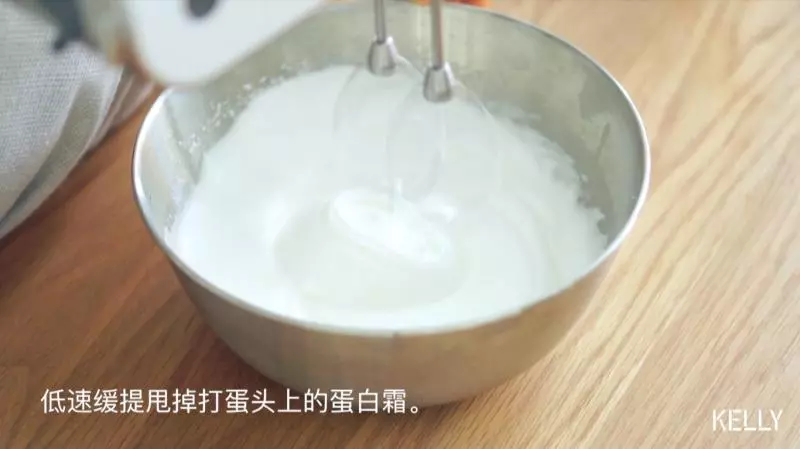
19接下来打发蛋白,分三次下糖(糖和盐混合一起)。
20直到湿性发泡,提起打蛋器,会弯起一个小弯钩。 (打的比薄卷硬一点)
21低速缓提甩掉打蛋头上的蛋白霜。
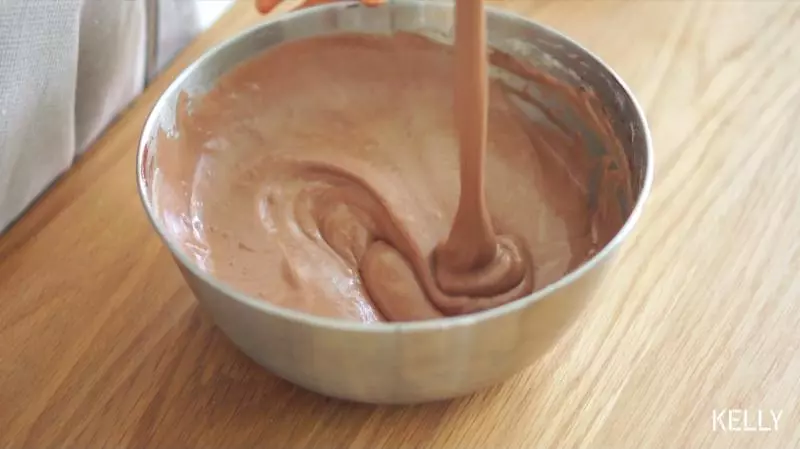
22挖一勺蛋白霜和蛋黄糊拌匀。
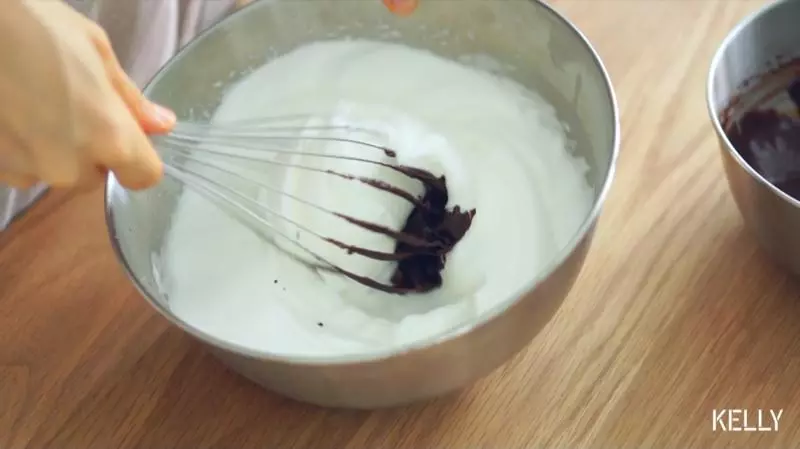
23一开始不好拌匀,因为蛋黄糊比较稠。 如果用蛋抽,那么要时不时用力把蛋黄糊砸回盆子里。 如果用刮刀,那么请用切拌的方式尽可能快的拌匀。
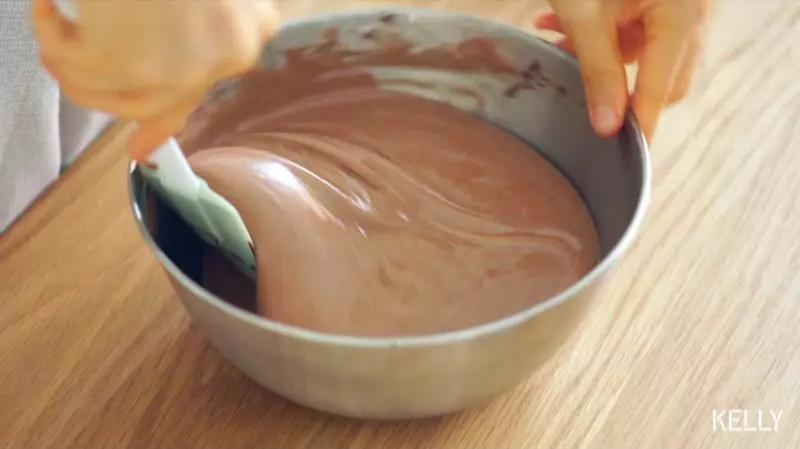
24速度要快,姿势帅不帅无所谓。 不要怕消泡,尽可能快一点大致混合均匀就好。
25倒回蛋白霜中。

26捞拌均匀。
27用刮刀贴紧盆壁整理面糊。
28高处入模倒入铺有硅胶垫的烤盘里。
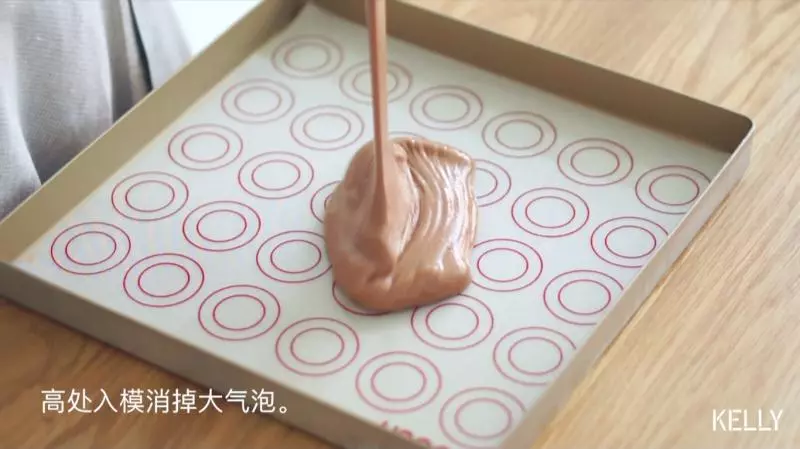
29向四角倾斜。
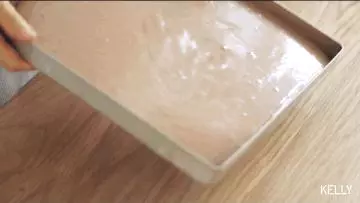
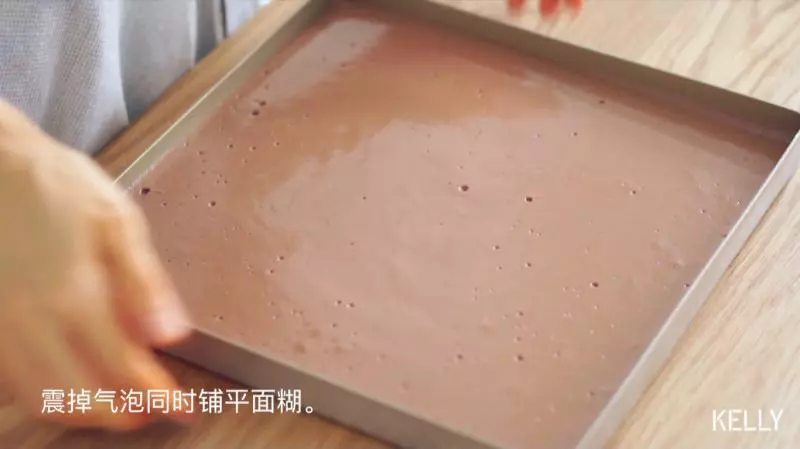
30震出大气泡。
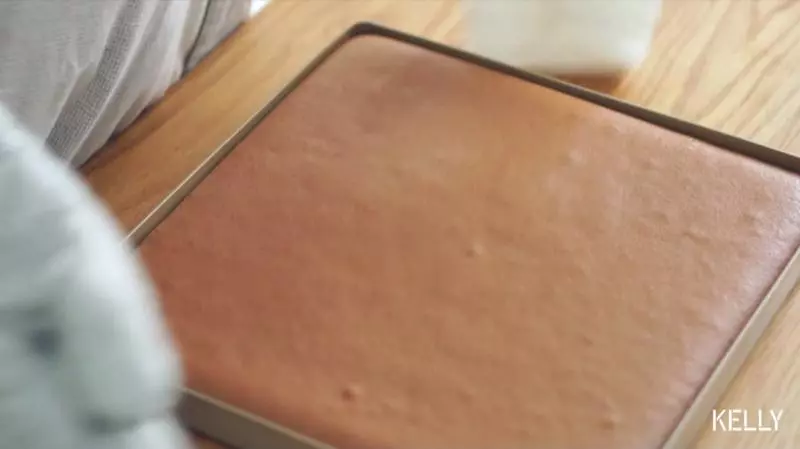
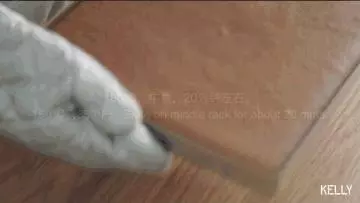
31180℃ 中层 20分钟左右。 这个蛋糕卷比较容易掉皮,所以建议铺硅胶垫做反卷,如果要正卷,请最后开热风烤硬一点,出炉后正面朝上完全晾凉再脱模。
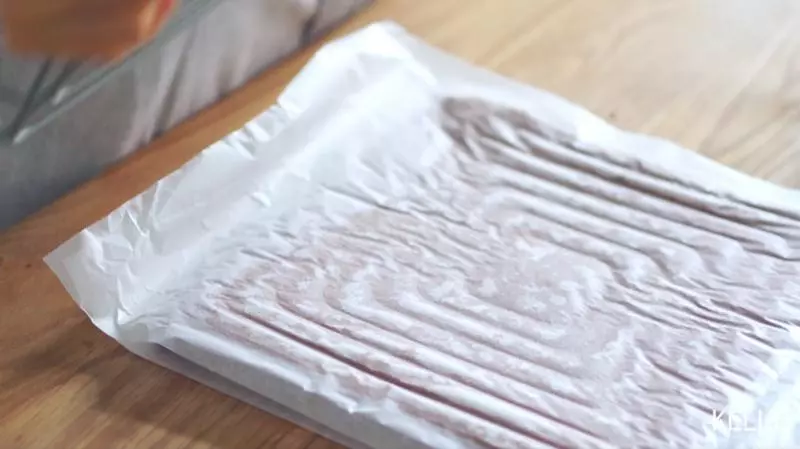
32出炉后震出热气。
33马上脱模。 刮刀紧贴四壁一滑到底。
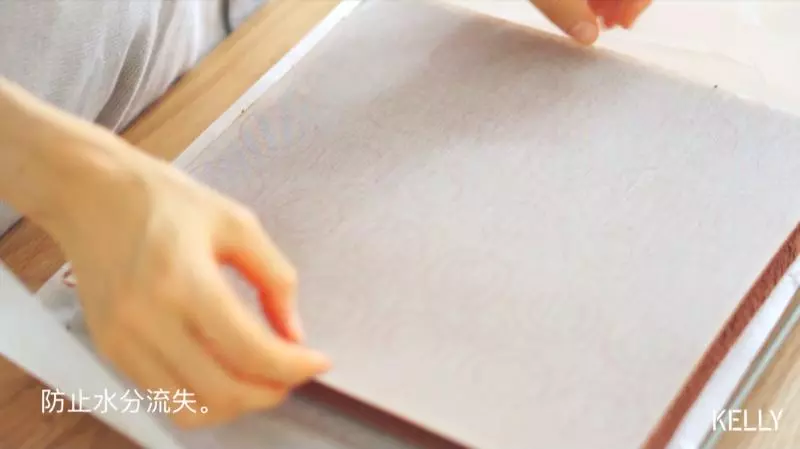
34盖上油纸。 放上晾架。 翻转倒扣(小心烫) 轻轻抖动脱模。 蛋糕一角轻轻撕开硅胶垫,就能得到完整的毛巾面了。

35盖回去防止水分流失。
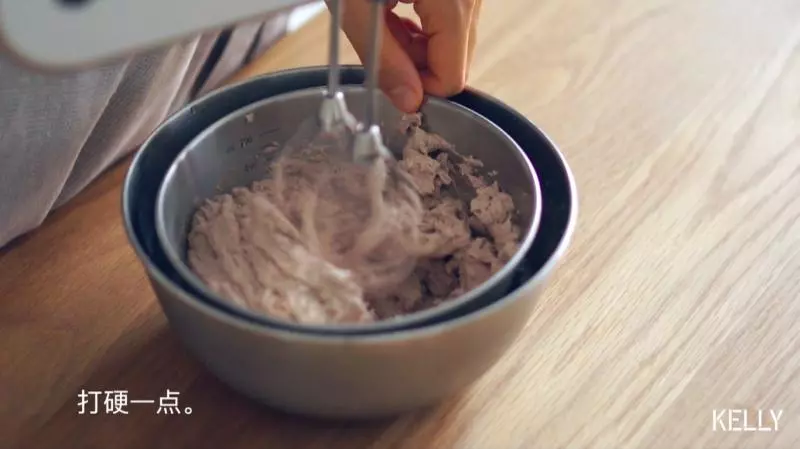
36等待蛋糕冷却时打发巧克力奶油。 天气很热,最好准备一盆冰水。

37隔冰水低速打发巧克力奶油。

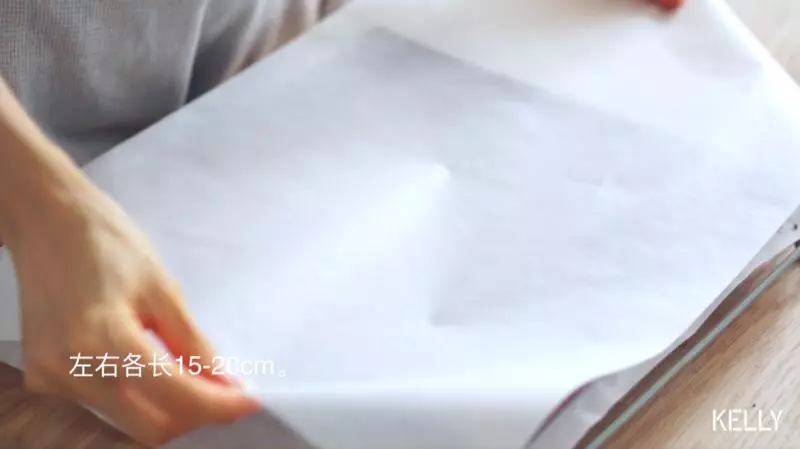
38直到非常结实。
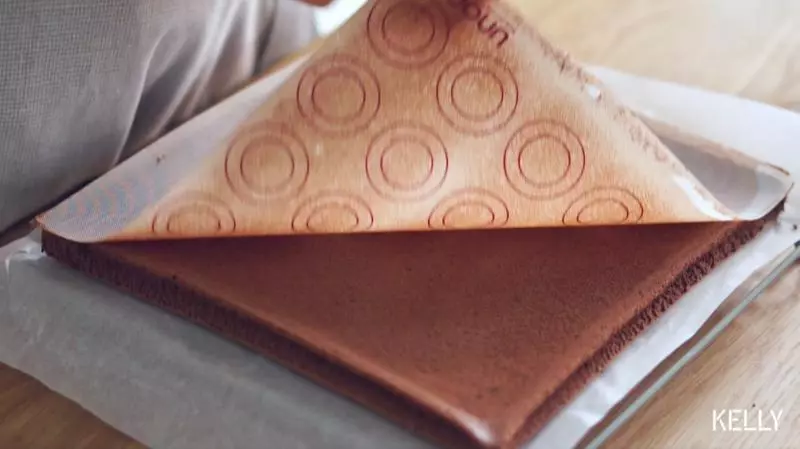
39准备卷制。 拿掉硅胶垫。
40盖上油纸,左右各长15-20cm。
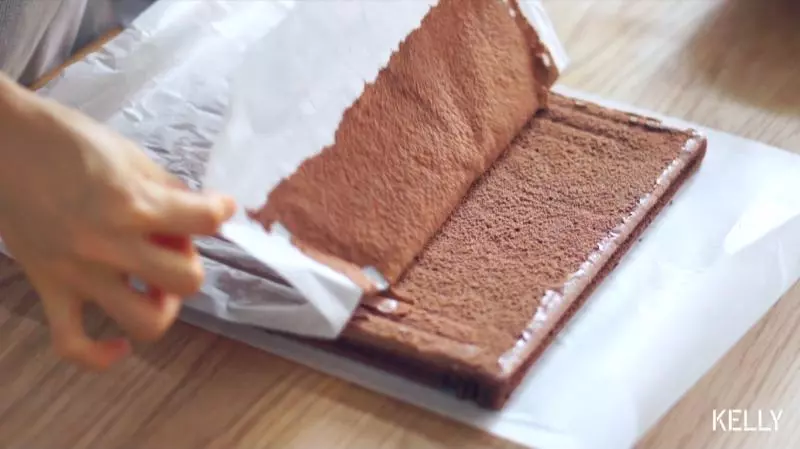
41放上硅胶垫(防滑)
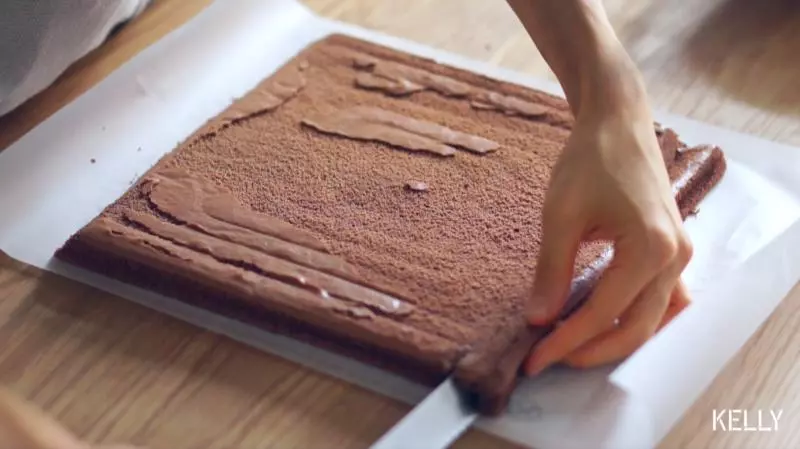
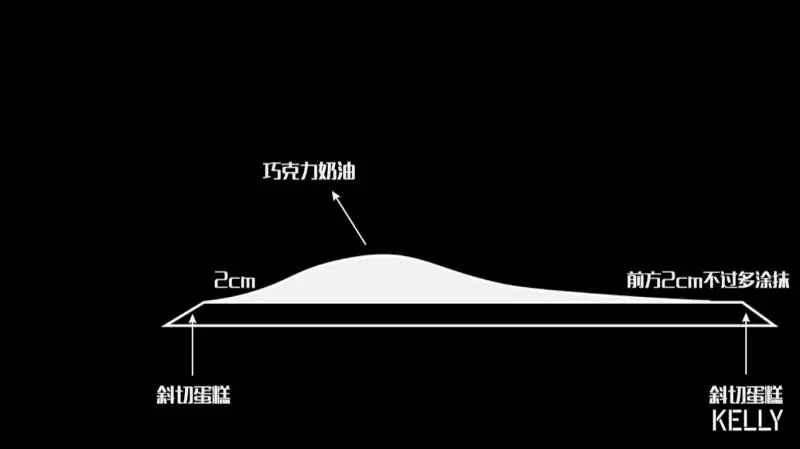
42翻转。
43撕掉表面油纸。
44斜切掉前后边缘。
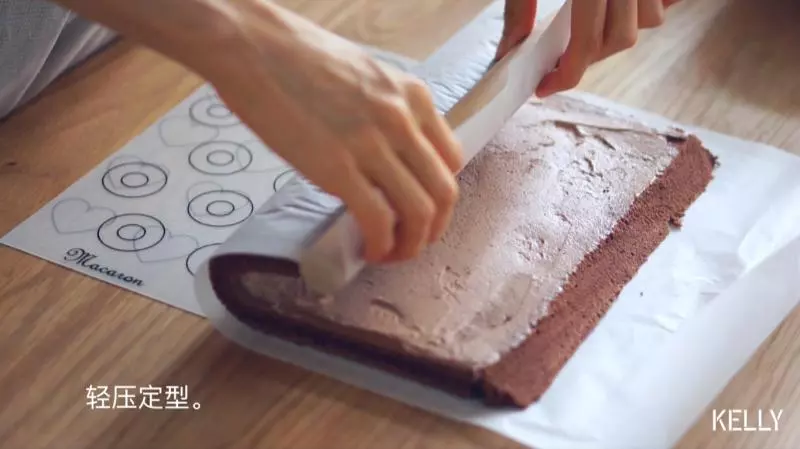
45抹上奶油。
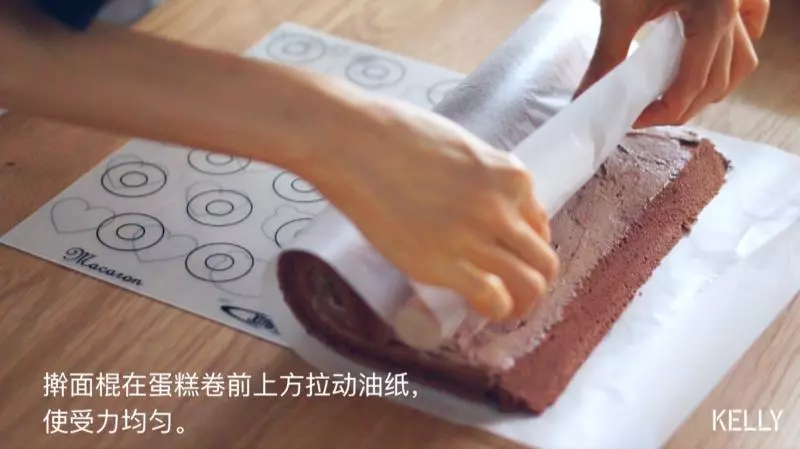
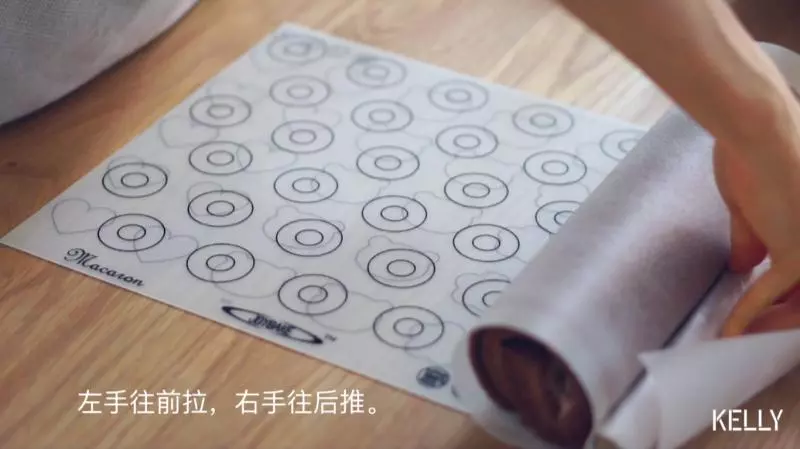
46双手提起擀面棍拉起油纸。

47轻压定型。
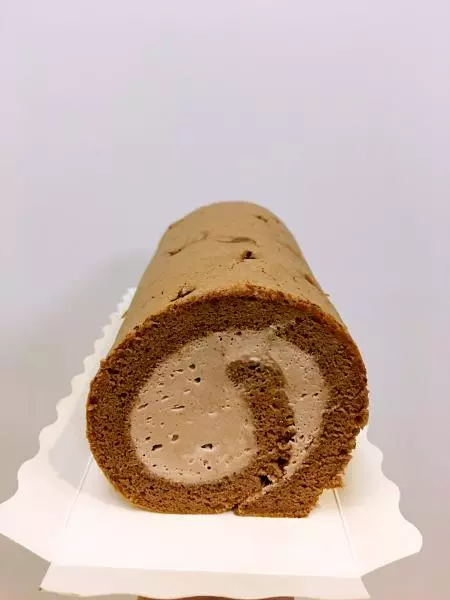
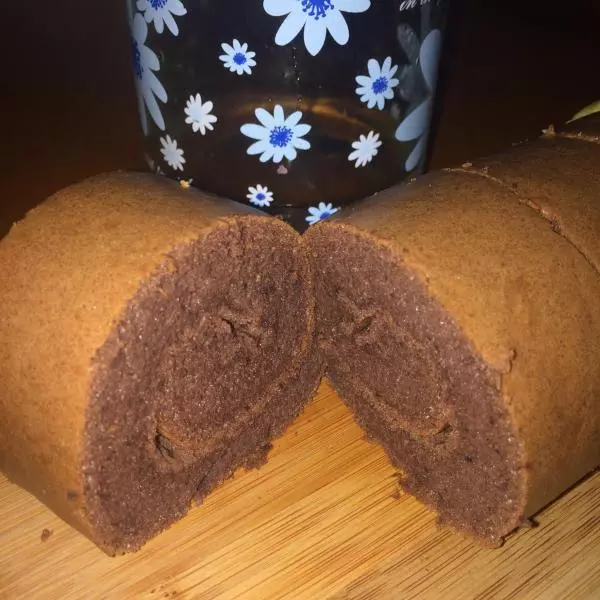
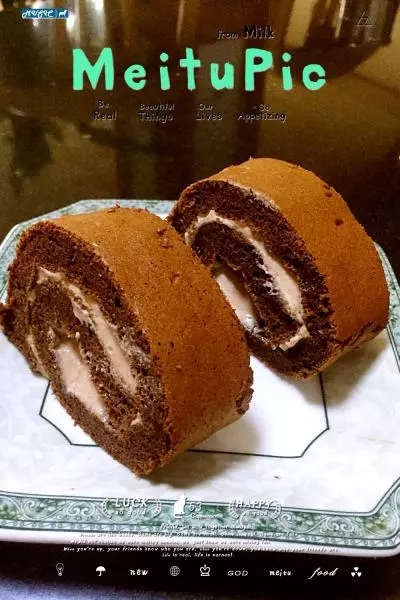
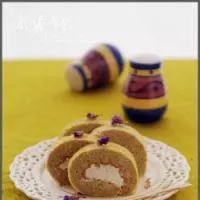
48擀面棍提起油纸在蛋糕前上方往前拉,利用油纸均匀发力将蛋糕往前卷。
49直到擀面棍碰到垫子。 左手往前拉,右手往后推,用力抽紧蛋糕。
50冷藏定型后切块,可以开动啦!