原料
麵粉: , 食用油: , 鹽:
步驟
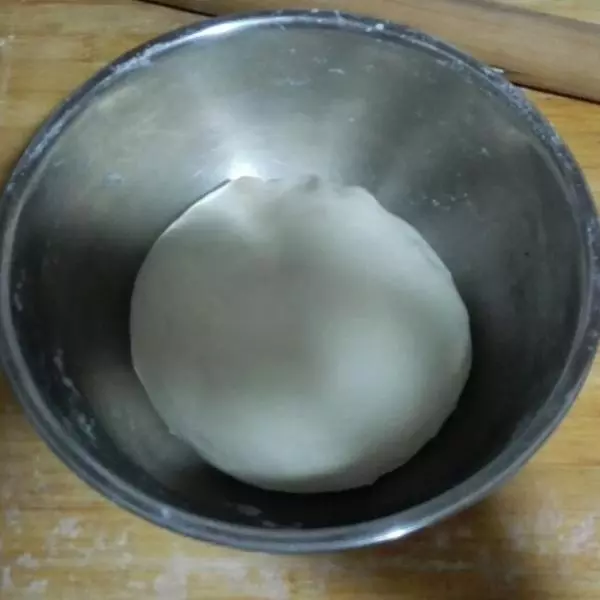
1將面和好 後備用。可以適當的進行醒面(就是和好面後將它蓋好放置5~10分鐘)和面時要注意軟硬度 軟硬適中就可以
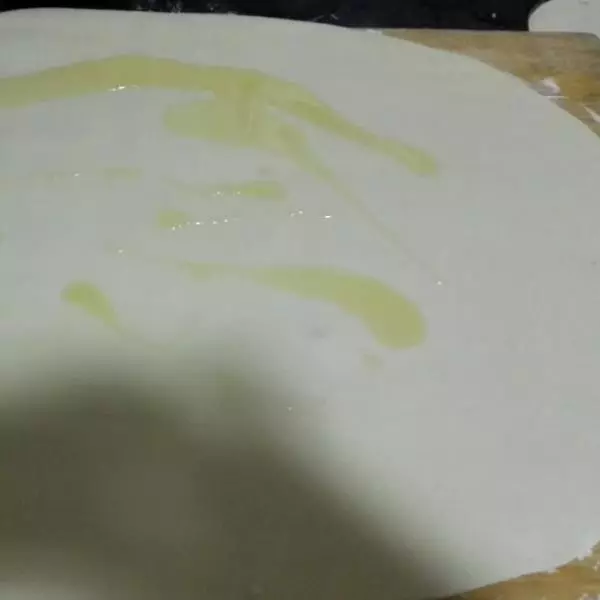
2將和好的面擀成長方形或者橢圓形以方便後續工作,然後在面上撒上鹽,塗抹均勻後在撒適量食用油,在將食用油塗抹均勻即可。鹽和油的用量以均勻塗抹與表面為準
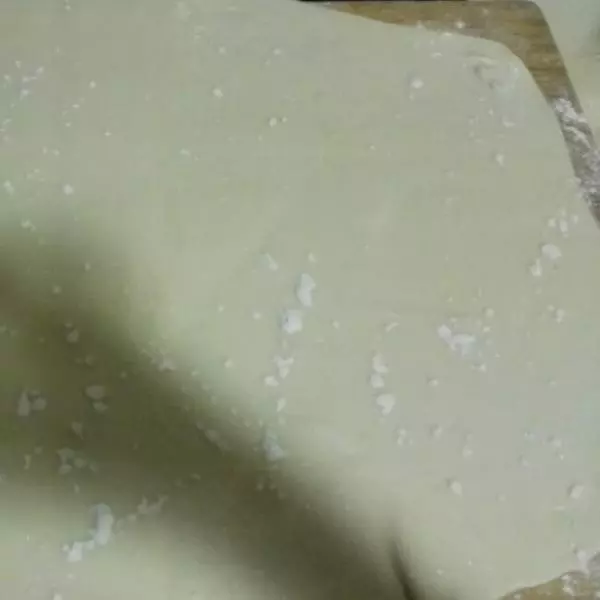
3塗抹均勻後適量撒上一點點麵粉,然後將他們捲成一個卷,從下往上卷(也可依照個人方便)卷好後 將兩邊捏住,以防止油漏出
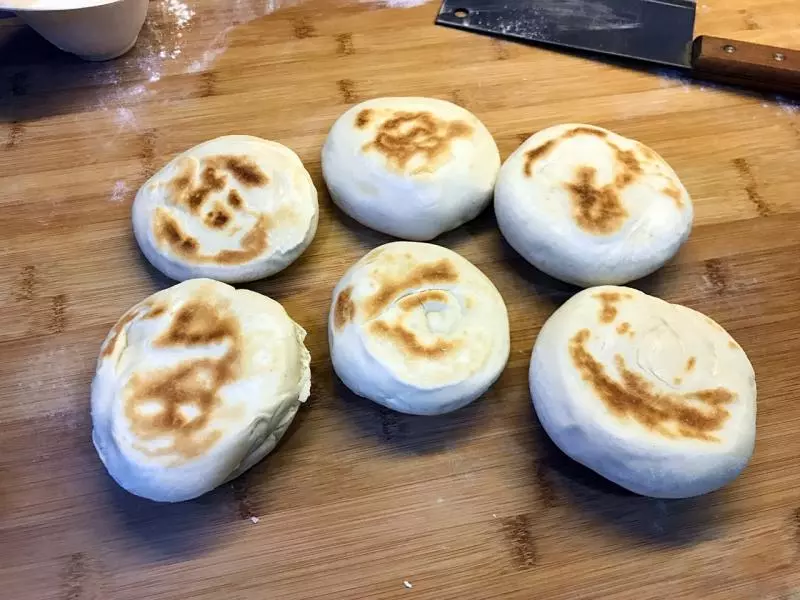
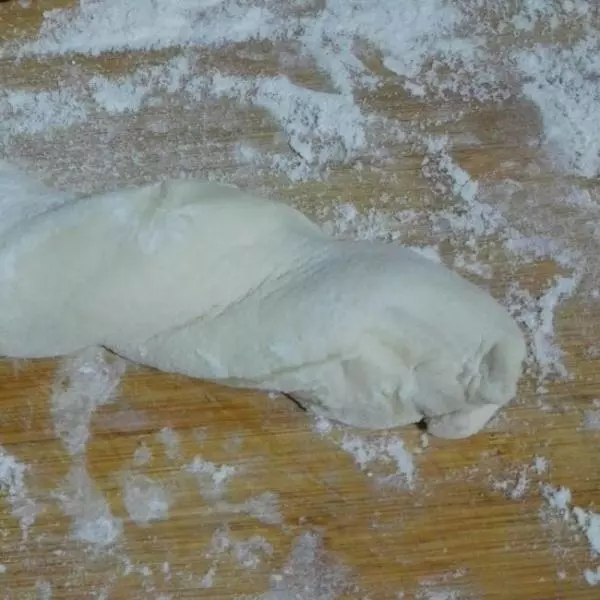
4卷好後平均分成小段,這裡要注意的是分好小段後在壓成圓片時(如圖上方)要邊擰邊壓
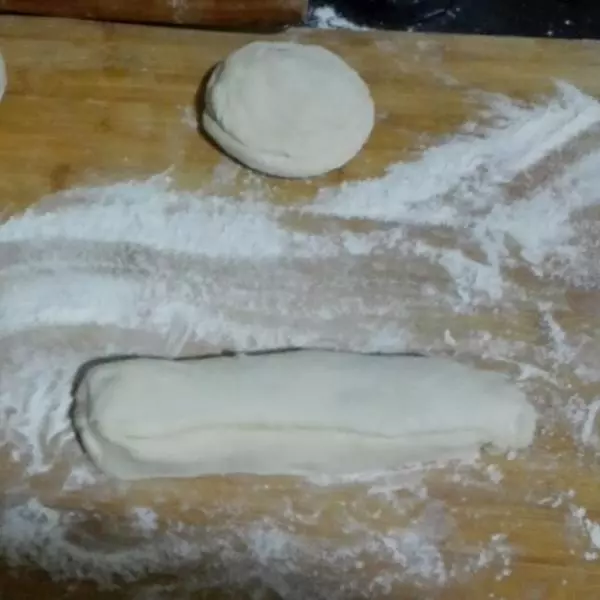
5在擰的過程中 不要把它擰的太死,如圖這樣就可以了 然後在將它壓成圓餅備用
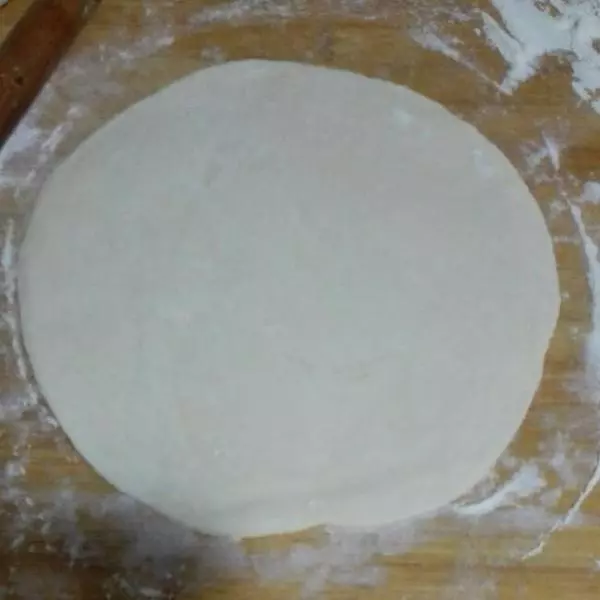
6將壓好後的麵餅擀成圓形 如圖,厚度大約在3~5毫米之間 不宜太厚也不一太薄。太厚中間易生,太薄外面易糊
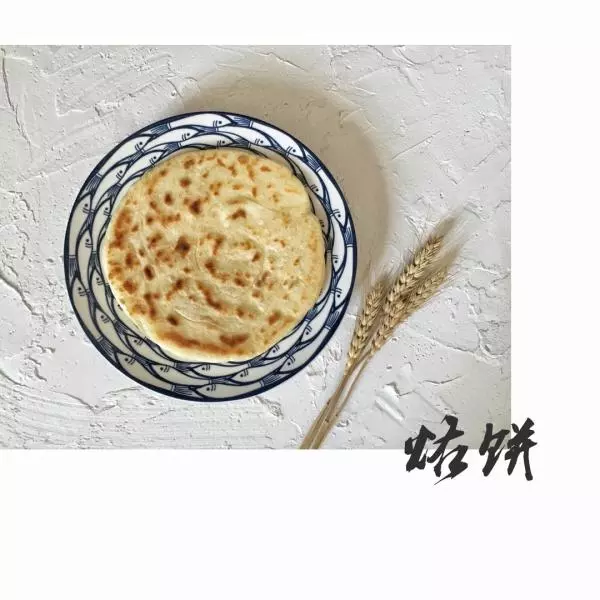
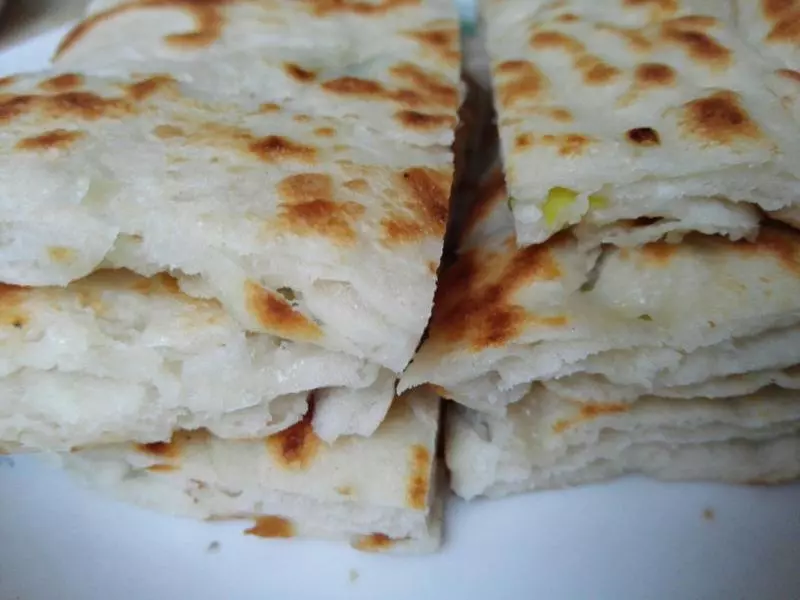
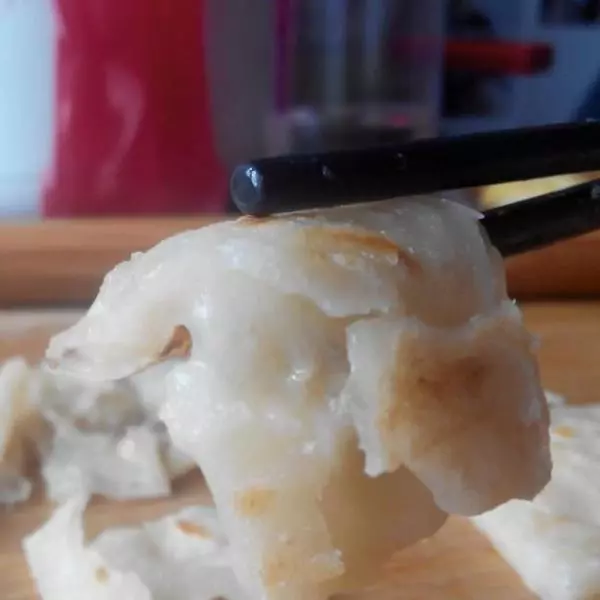
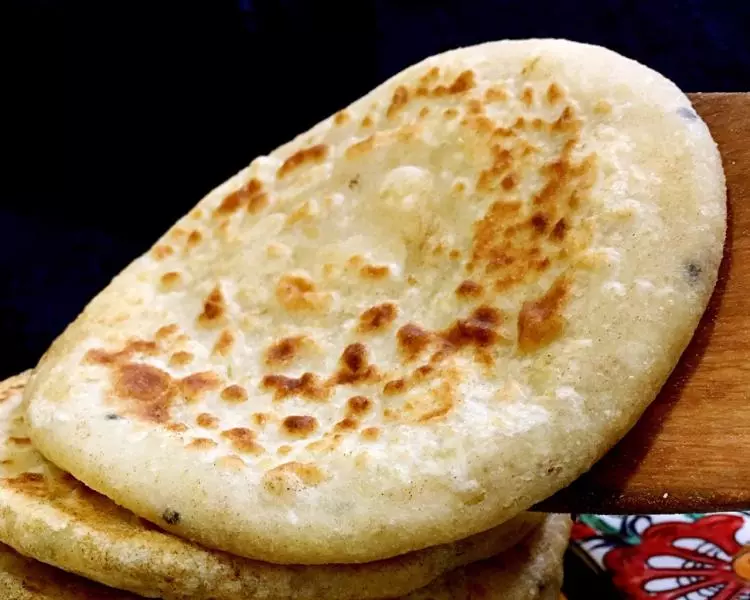
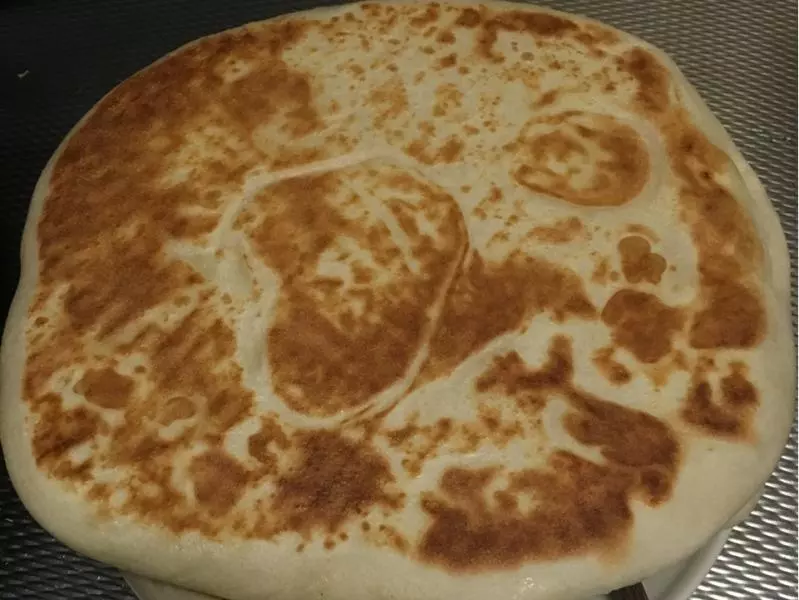
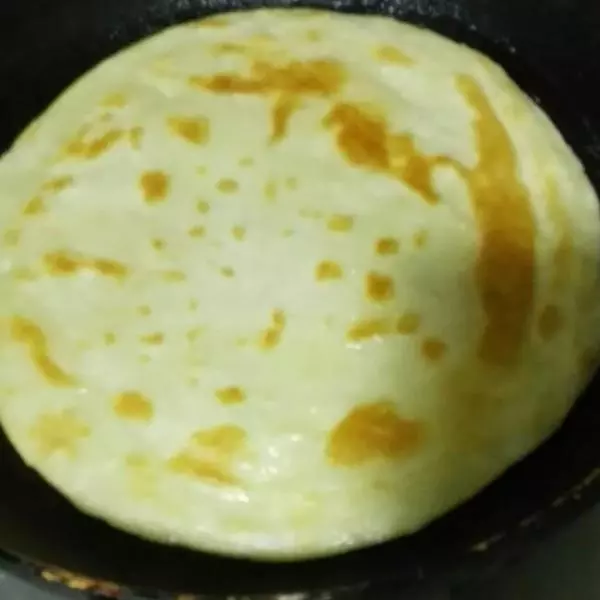
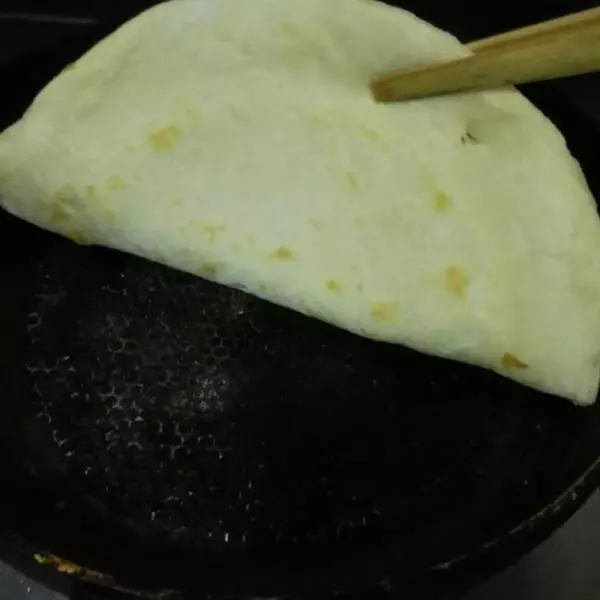
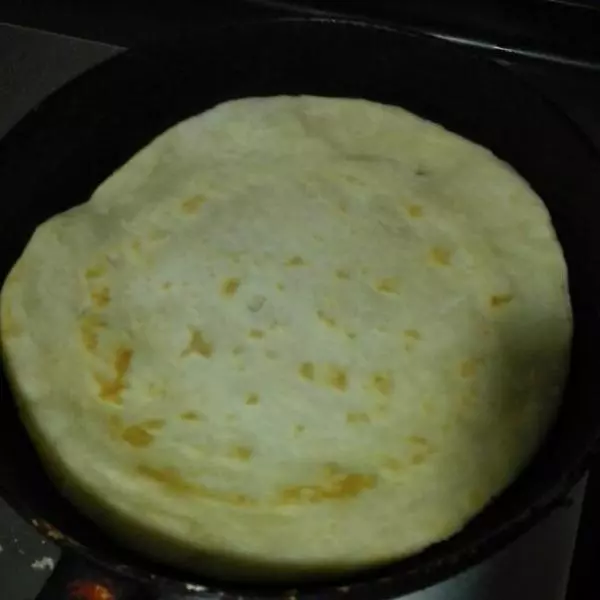
7鍋放入少量油預熱,餅放入鍋中後不要動過3~5分鐘後看背面是否已有金黃色的感覺,如圖一樣後 可將餅翻面。
8第一次翻面後的效果,在烙餅的過程中不要過多的翻面 翻面的次數控制在5次以內最好是翻3次
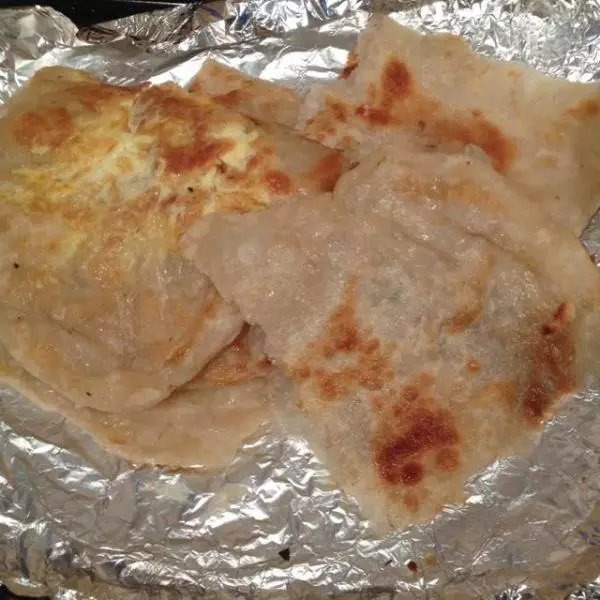
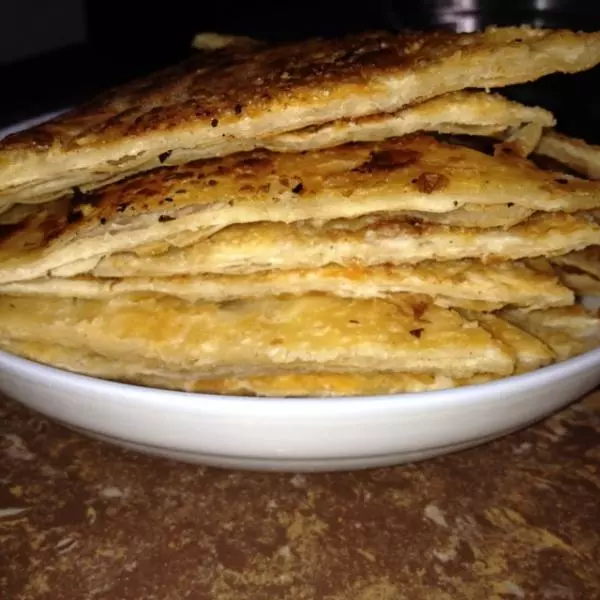
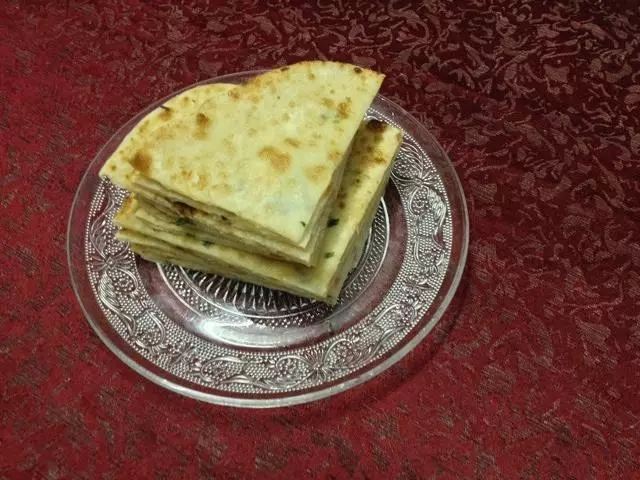
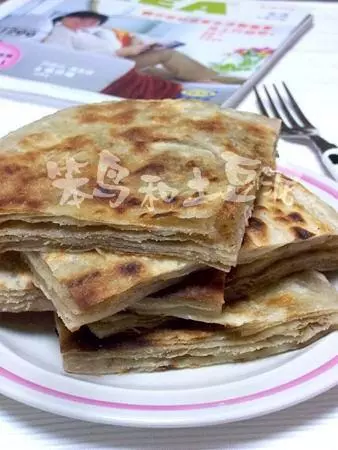
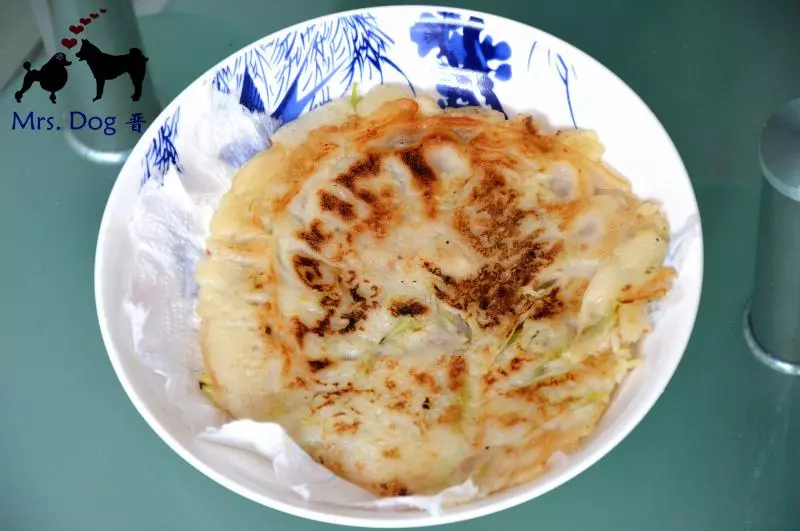
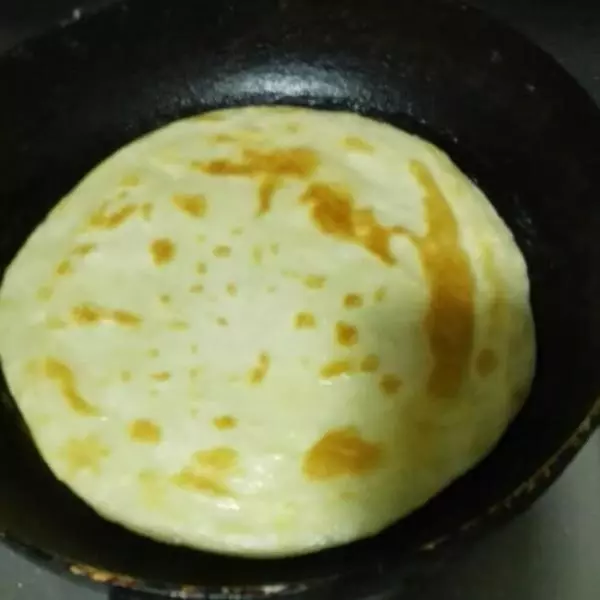
9第一次翻面後 要觀察烙餅面,後面成此圖顏色金黃,且接觸時有清脆聲響時,便可翻第二次面。此次翻面後 兩面都成此效果後。便可出鍋。如果用的是兩面的專門烙餅的那中鍋 也是同理
小技巧
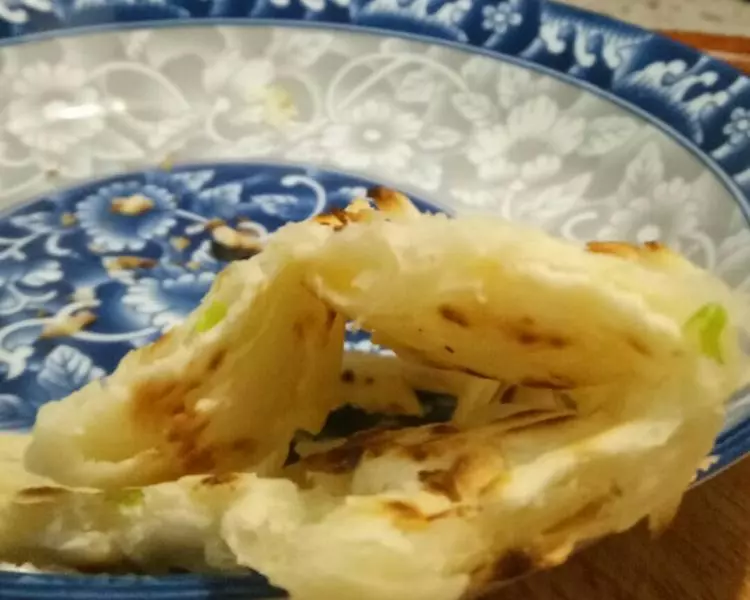
再翻面過程中,烙餅比較燙,要小心,或者像我一樣拿架子架。還有就是翻面時要小心不要破壞烙餅的完整性