原料
豆渣: 250克, 麵粉: 250克, 水: 適量, 油: 適量, 鹽: 隨意, 椒鹽(可選): 隨意, 黑芝麻(可選): 隨意
步驟
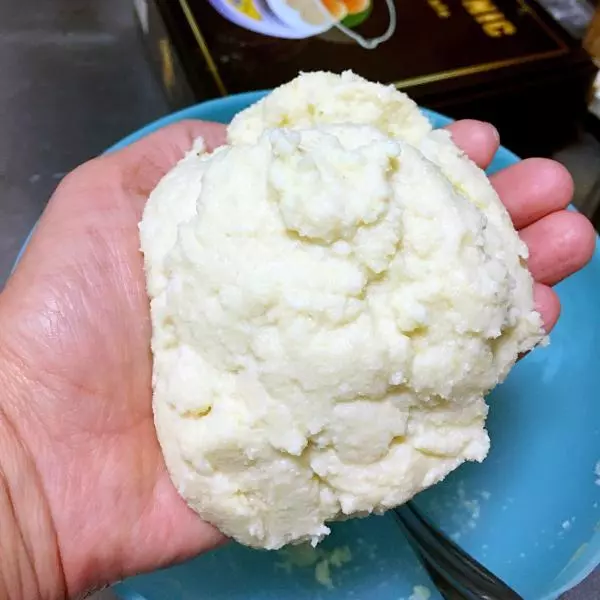
1豆渣儘量控干,我控了兩個小時左右。 這樣看上去比較直觀。大概就是這麼多。
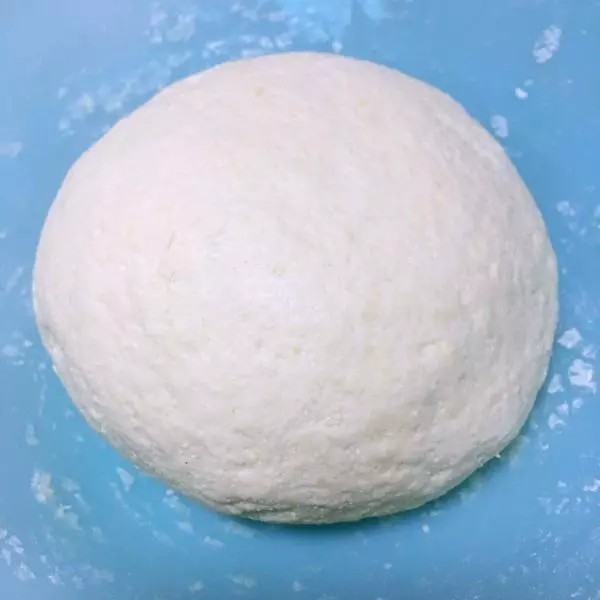
2加入麵粉攪拌成團,視具體情況適當加水。我加了20克左右的水(因為豆渣的乾濕度不一樣,所以不能確定加水的量)。 揉成麵糰後醒面20分鐘。
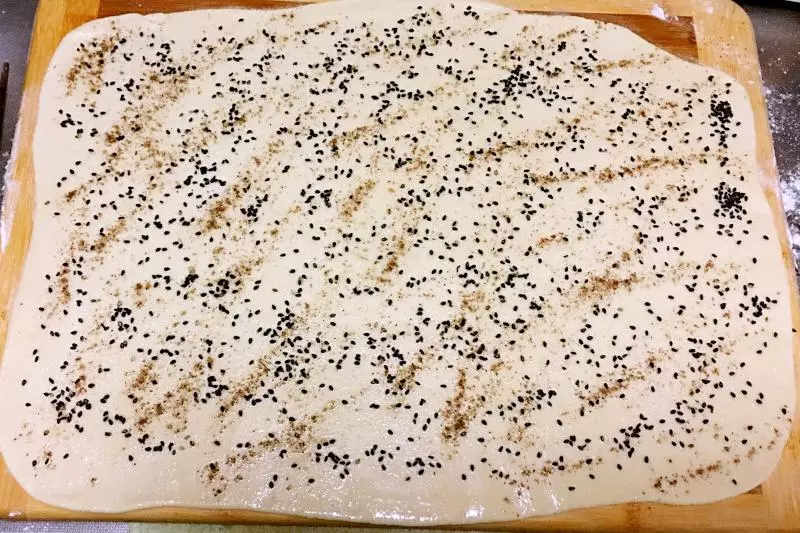
320分鐘後,直接擀成長方形薄片(注意要撒乾麵粉防粘)。 刷上一層油、撒鹽、椒鹽、黑芝麻。
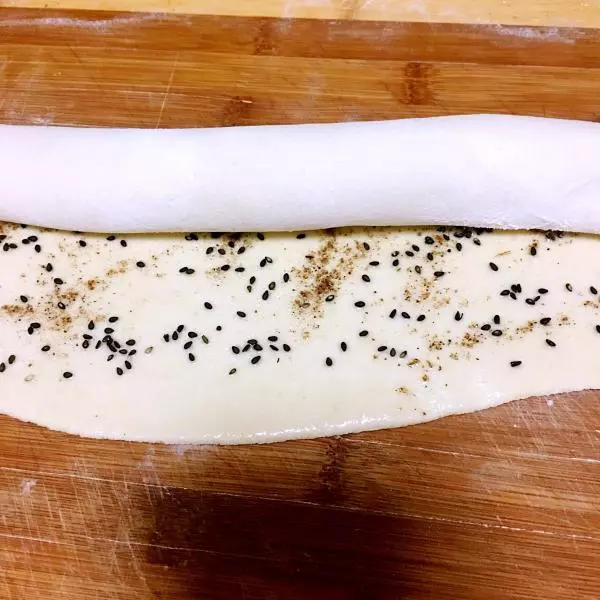
4捲起來。
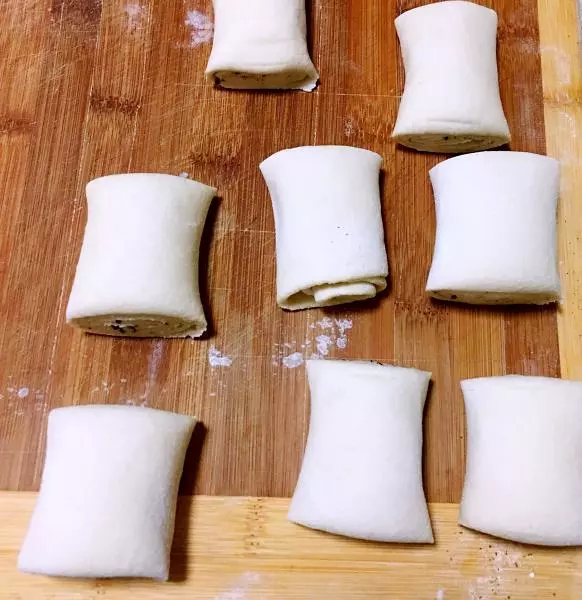
5切分成小段。我分了8個。你們隨意,不必強求。
6看一下毎個小段的封囗按扁方法?(動圖1)。 我是一手操作,因為另一手拿著手機拍攝。你們可以兩手配和。
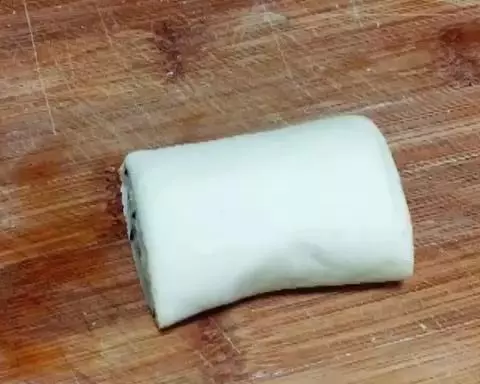
7看一下毎個小段的封囗按扁方法?(動圖2)。 我是一手操作,因為另一手拿著手機拍攝。你們可以兩手配和。

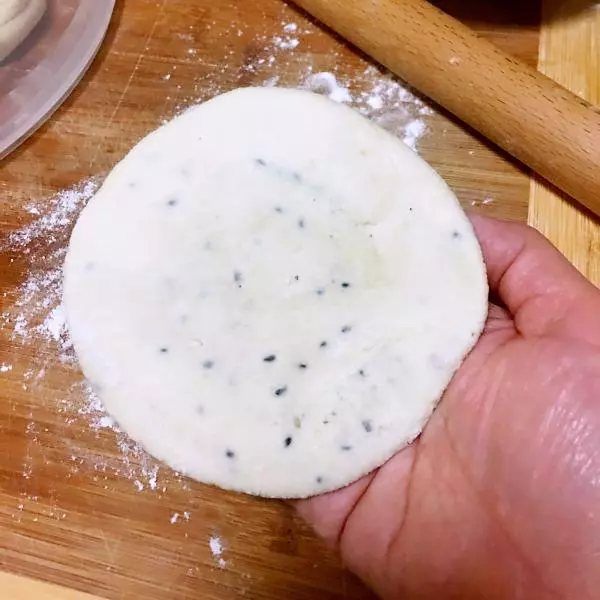
8全都按扁後,擀成小餅。
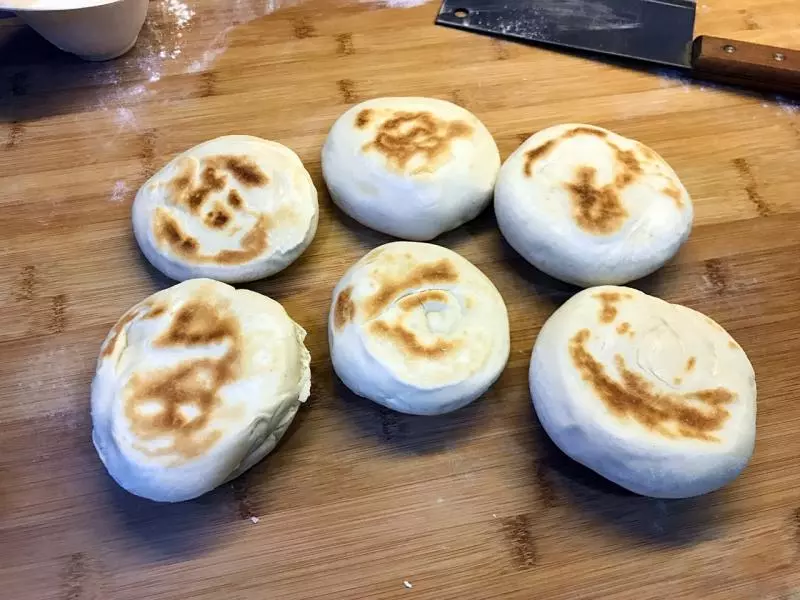
9平厎鍋上火燒熱,保持中火偏小。放上小餅。可以一鍋烙2~3個。

10半分鐘後翻面,刷上一層油。再過半分鐘翻回來,再在這一面刷上一層油。

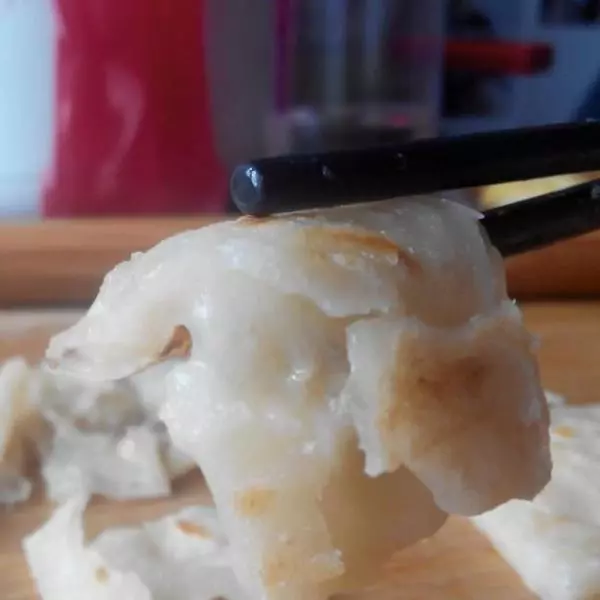
11來回多次翻動,約3分鐘左右即可烙熟(動圖3?)

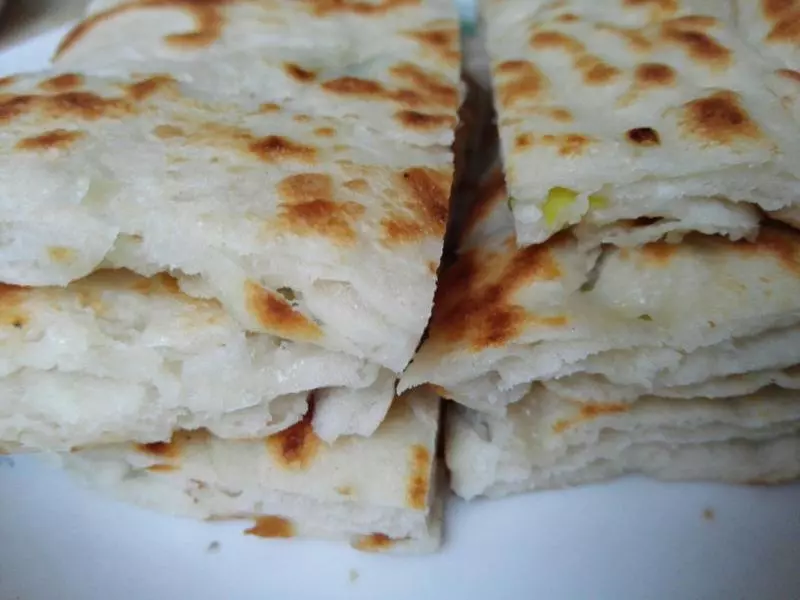
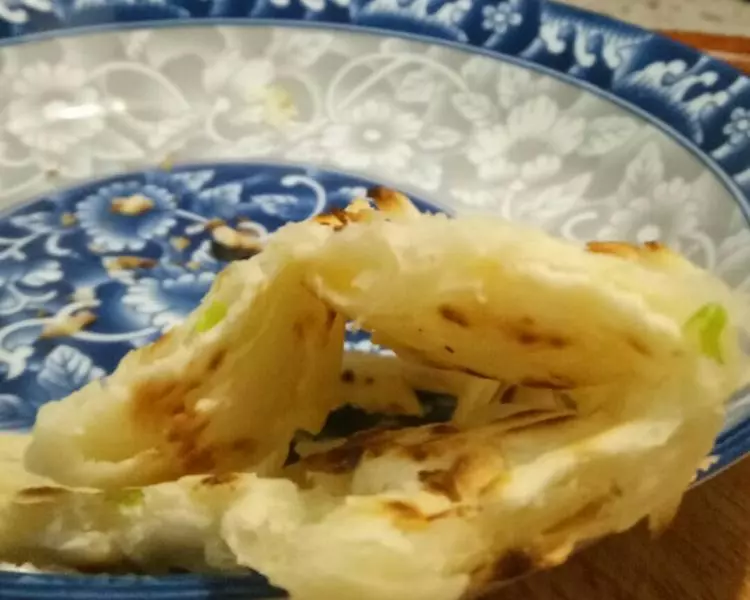
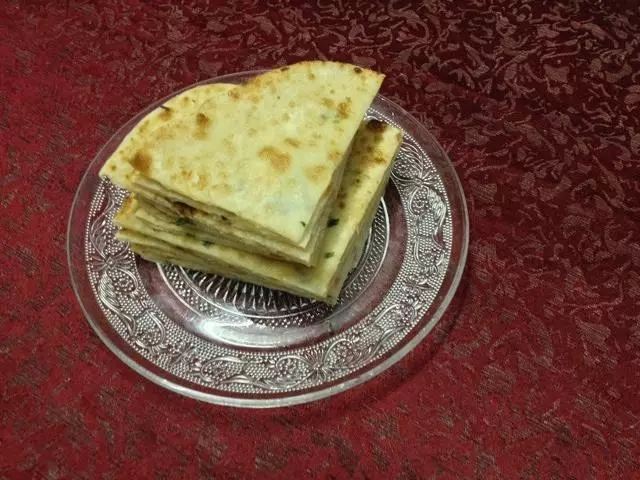
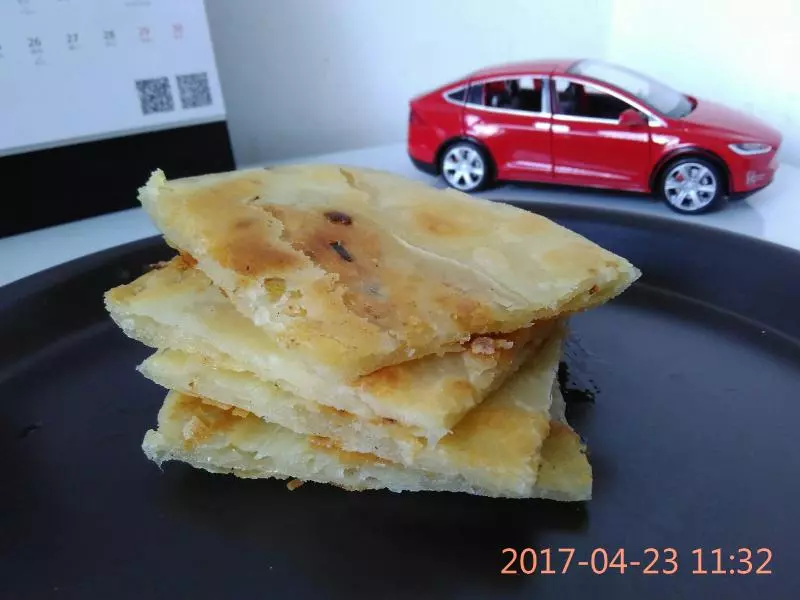
12看!鬆軟的豆渣餅出鍋。層次也很豐富哦!