原料
鴨蛋: 2隻, 黃油: , 低筋麵粉: , 奶粉: , 細砂糖: , 牛奶: , 椰子油: , 小蘇打: , 花生碎:
步驟
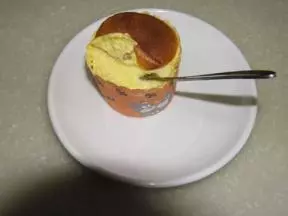
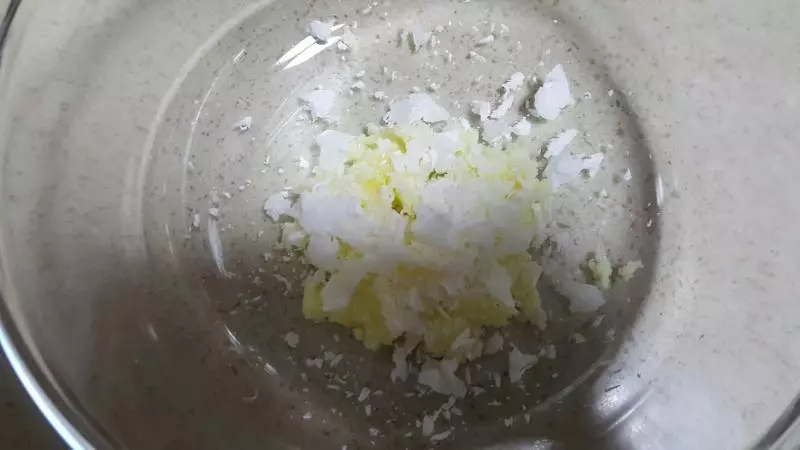
1(最近買了椰子油,所以做什麼都喜歡放椰子油。。。) 椰子油,黃油微波爐叮一下,使其成液態。
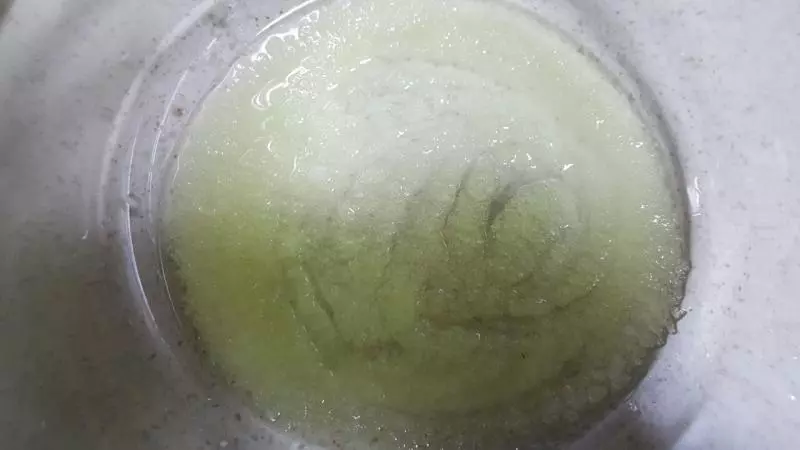
2加入白砂糖攪拌 (沒有克數概念。。。做的時候感覺加了好多糖,但是最後的味道是不甜的。)
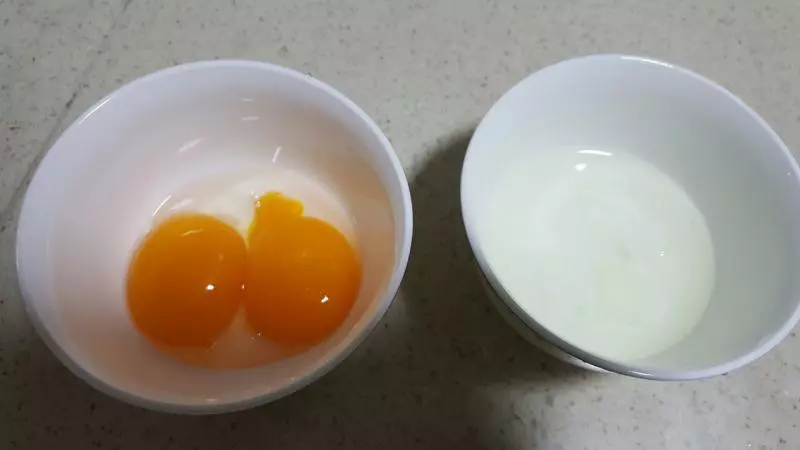
3加入鴨蛋(家庭習慣買鴨蛋) (本來參考其他方子是只放蛋黃的,但是總覺得會太甜,又把蛋清也放入了,所以兩者的分離步驟沒有太大必要。)
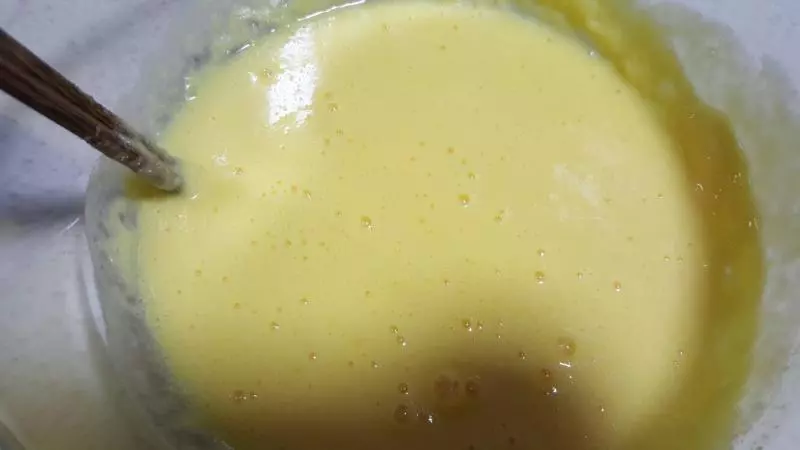
4加入奶粉,一些牛奶,攪拌,打發。
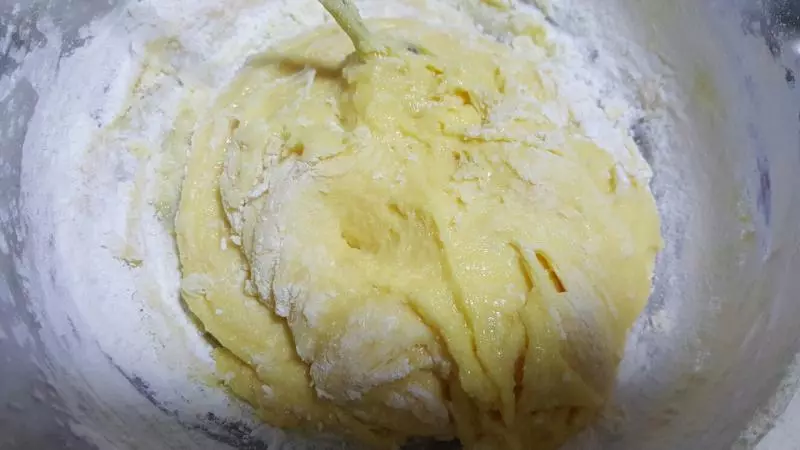
5篩入麵粉,小蘇打,攪拌。
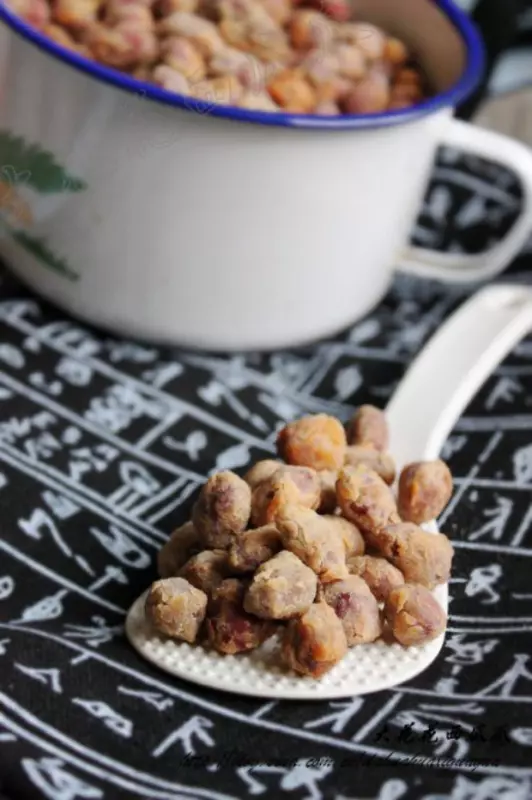
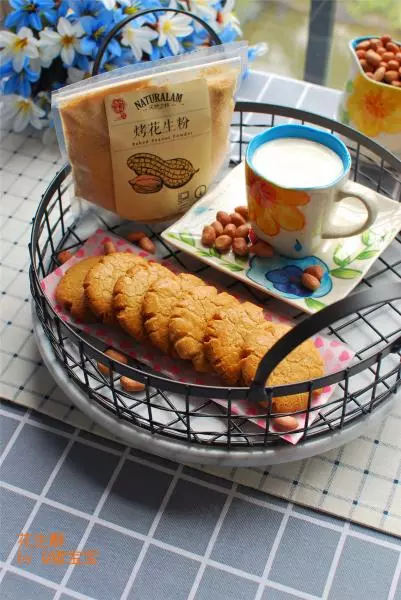
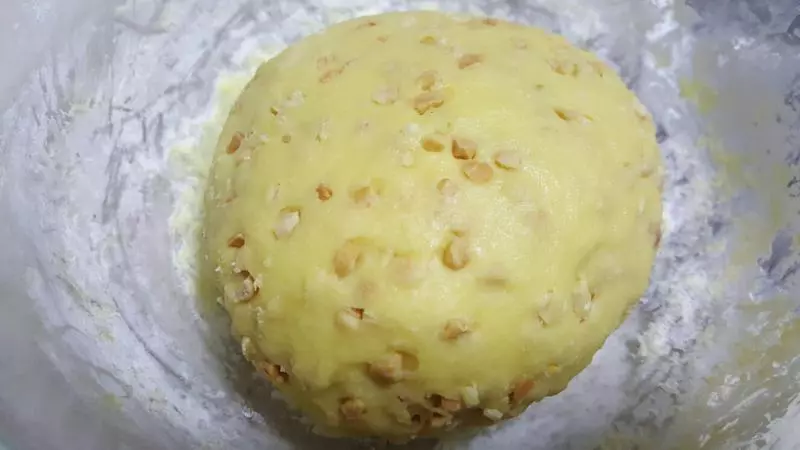
6加入花生碎揉成麵糰。
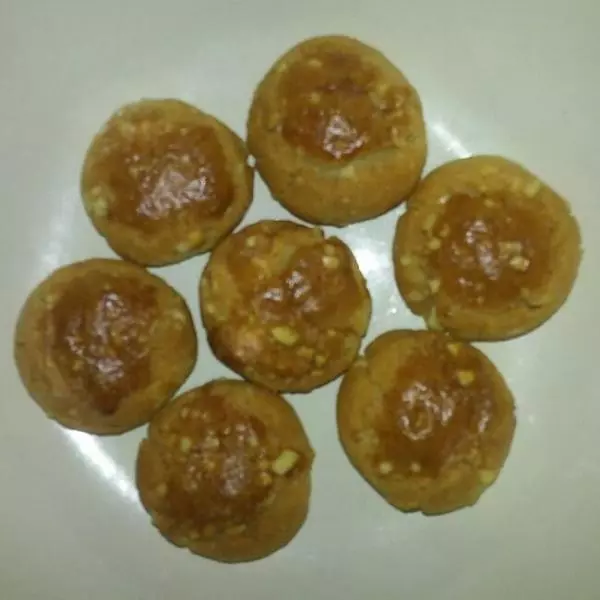
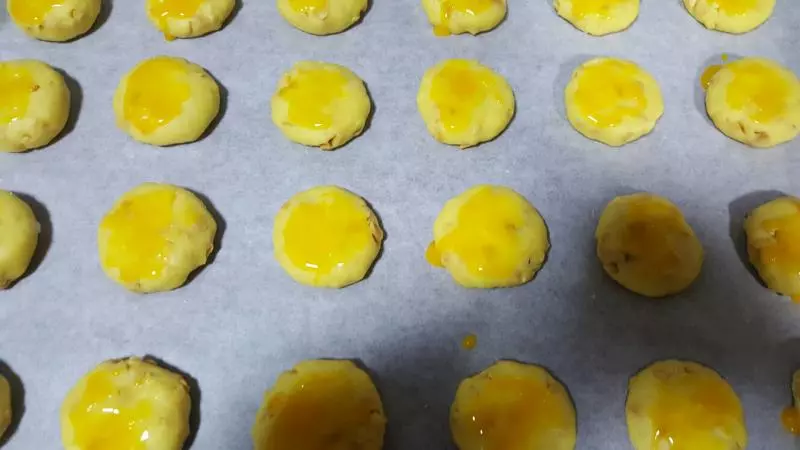
7捏成小圓餅,鋪在油紙上。

8刷上蛋液。
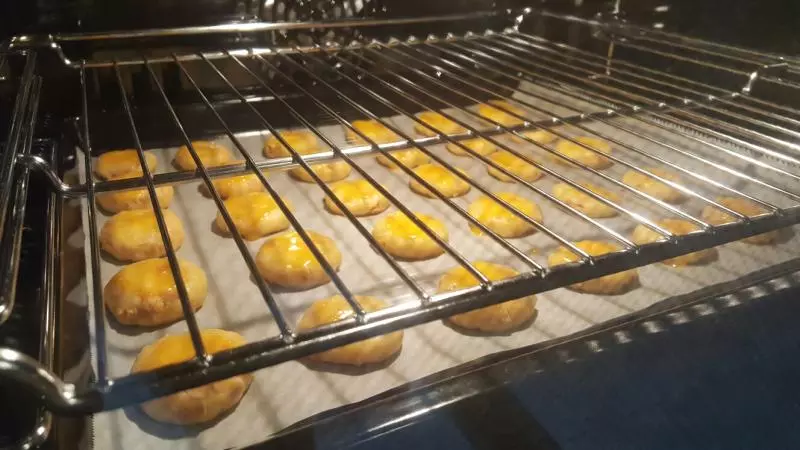
9準備時,烤箱150度預熱10分鐘。 放入後,上下層加熱模式,180度,先設了15分鐘。
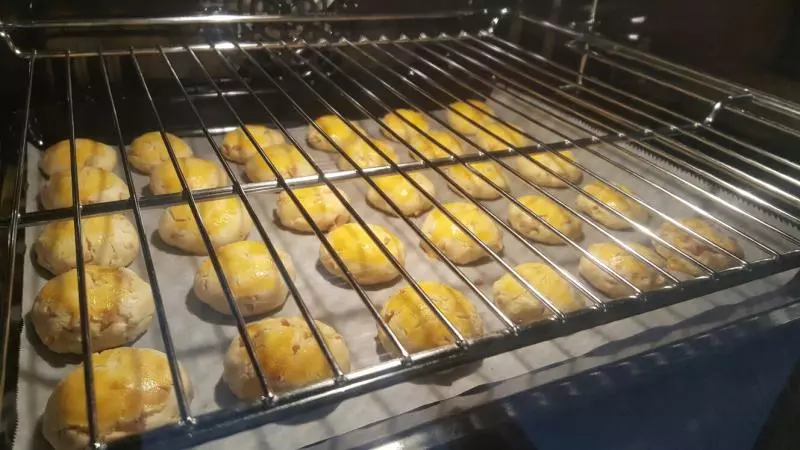
1015分鐘後,觀察感覺鼓起來了,但是顏色太蒼白。再設8分鐘,溫度調致150度。時間到後,沒有立即取出。讓餘溫上色。
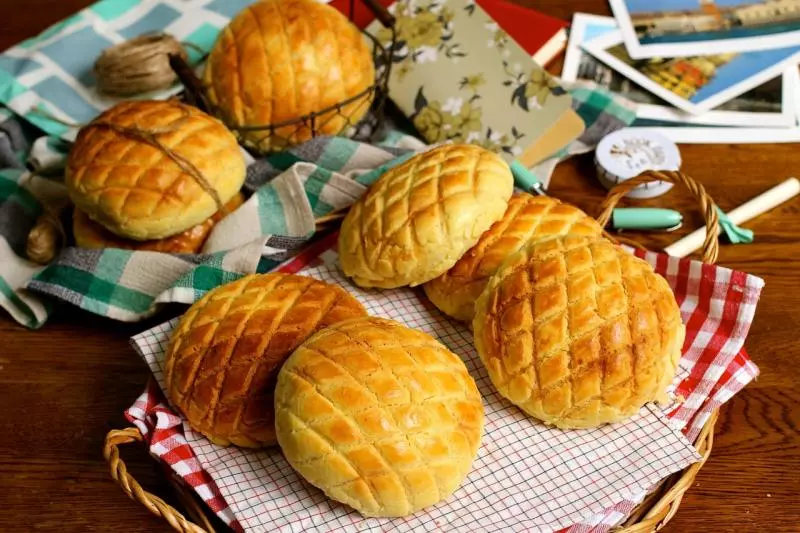
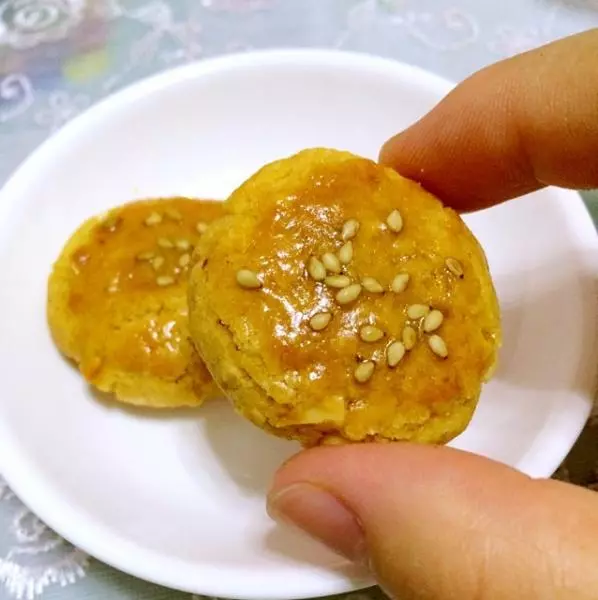
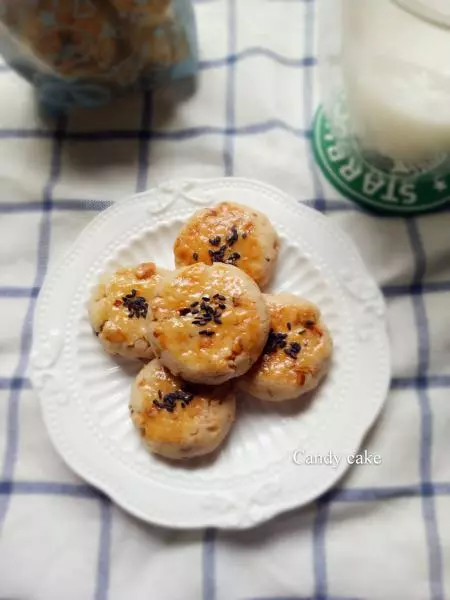
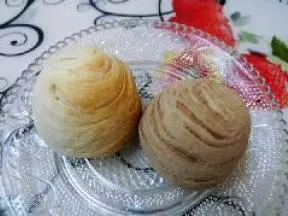
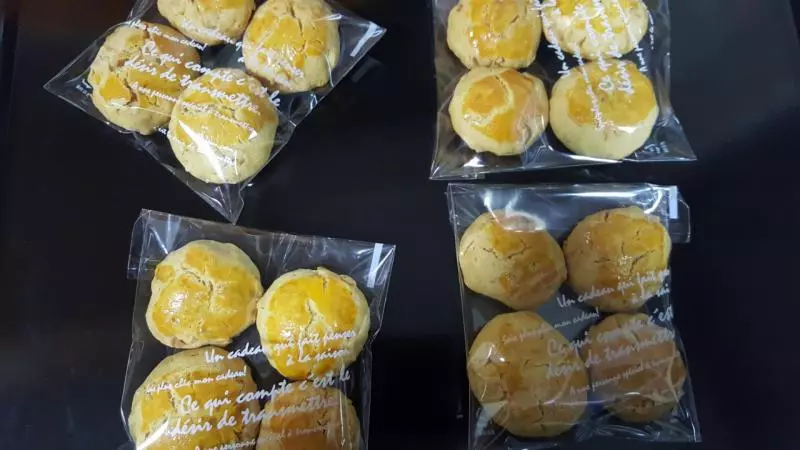
11噹噹當~出爐

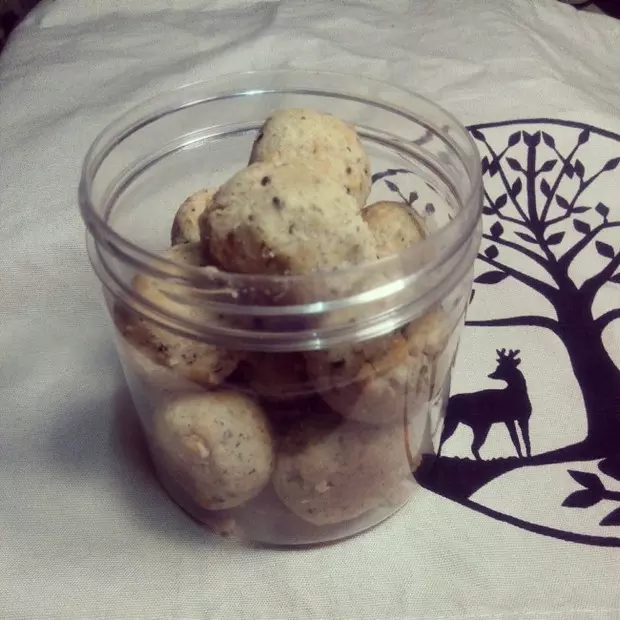
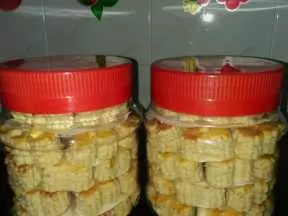
12冷卻後包裝。
小技巧
花生酥基本方子都是雷同的。區別在於油的選擇,奶粉,牛奶,煉乳的選擇,糖量的添加,蛋清的加與不加。溫度與時間的話,一般大致範圍在150-180度,15-25分鐘。看觀察。